
Making a Modern Floating Media Console
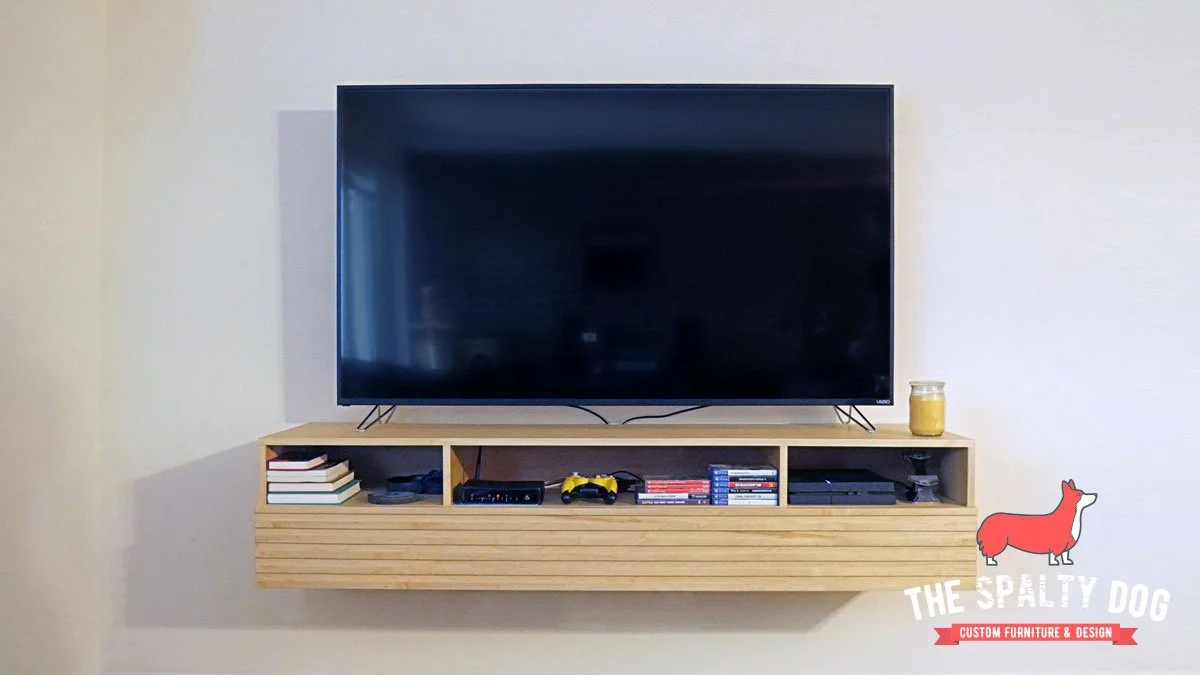
A long time friend of mine was moving into a new space and asked me to build a media console for him. After talking design, we ended on a modern floating style cabinet. The console would have a single shelf for gaming consoles and a lower area for storing games and other items. The lower area would also have a single door that would swing down for access. After that we discussed materials and budget. He really liked the finish of the modern plant stand I recently built so we decided to go with soft maple. The entire cabinet will also be made of veneered plywood and edge banded with solid maple to help stay within his budget.
Materials
5/4 Maple Boards
Mineral Spirits
Sandpaper
Rubio Monocoat (Pure)
3/8” Dowels
Titebond 3 Wood Glue
Magnets
Spring Hinges
Tools
Jet Proshop Table Saw
Powermatic 8” HH Jointer
Makita Random Orbit Sander
Ryobi 10” Sliding Miter Saw
Rockler Centering Doweling Jig
Drill
Plunge Router
Laguna 14” SUV Bandsaw
Brass Spacer Bars
Ryobi Corded Buffer
I start off by cutting the plywood down to manageable pieces using my circular saw and the kreg straight cut edge guide.

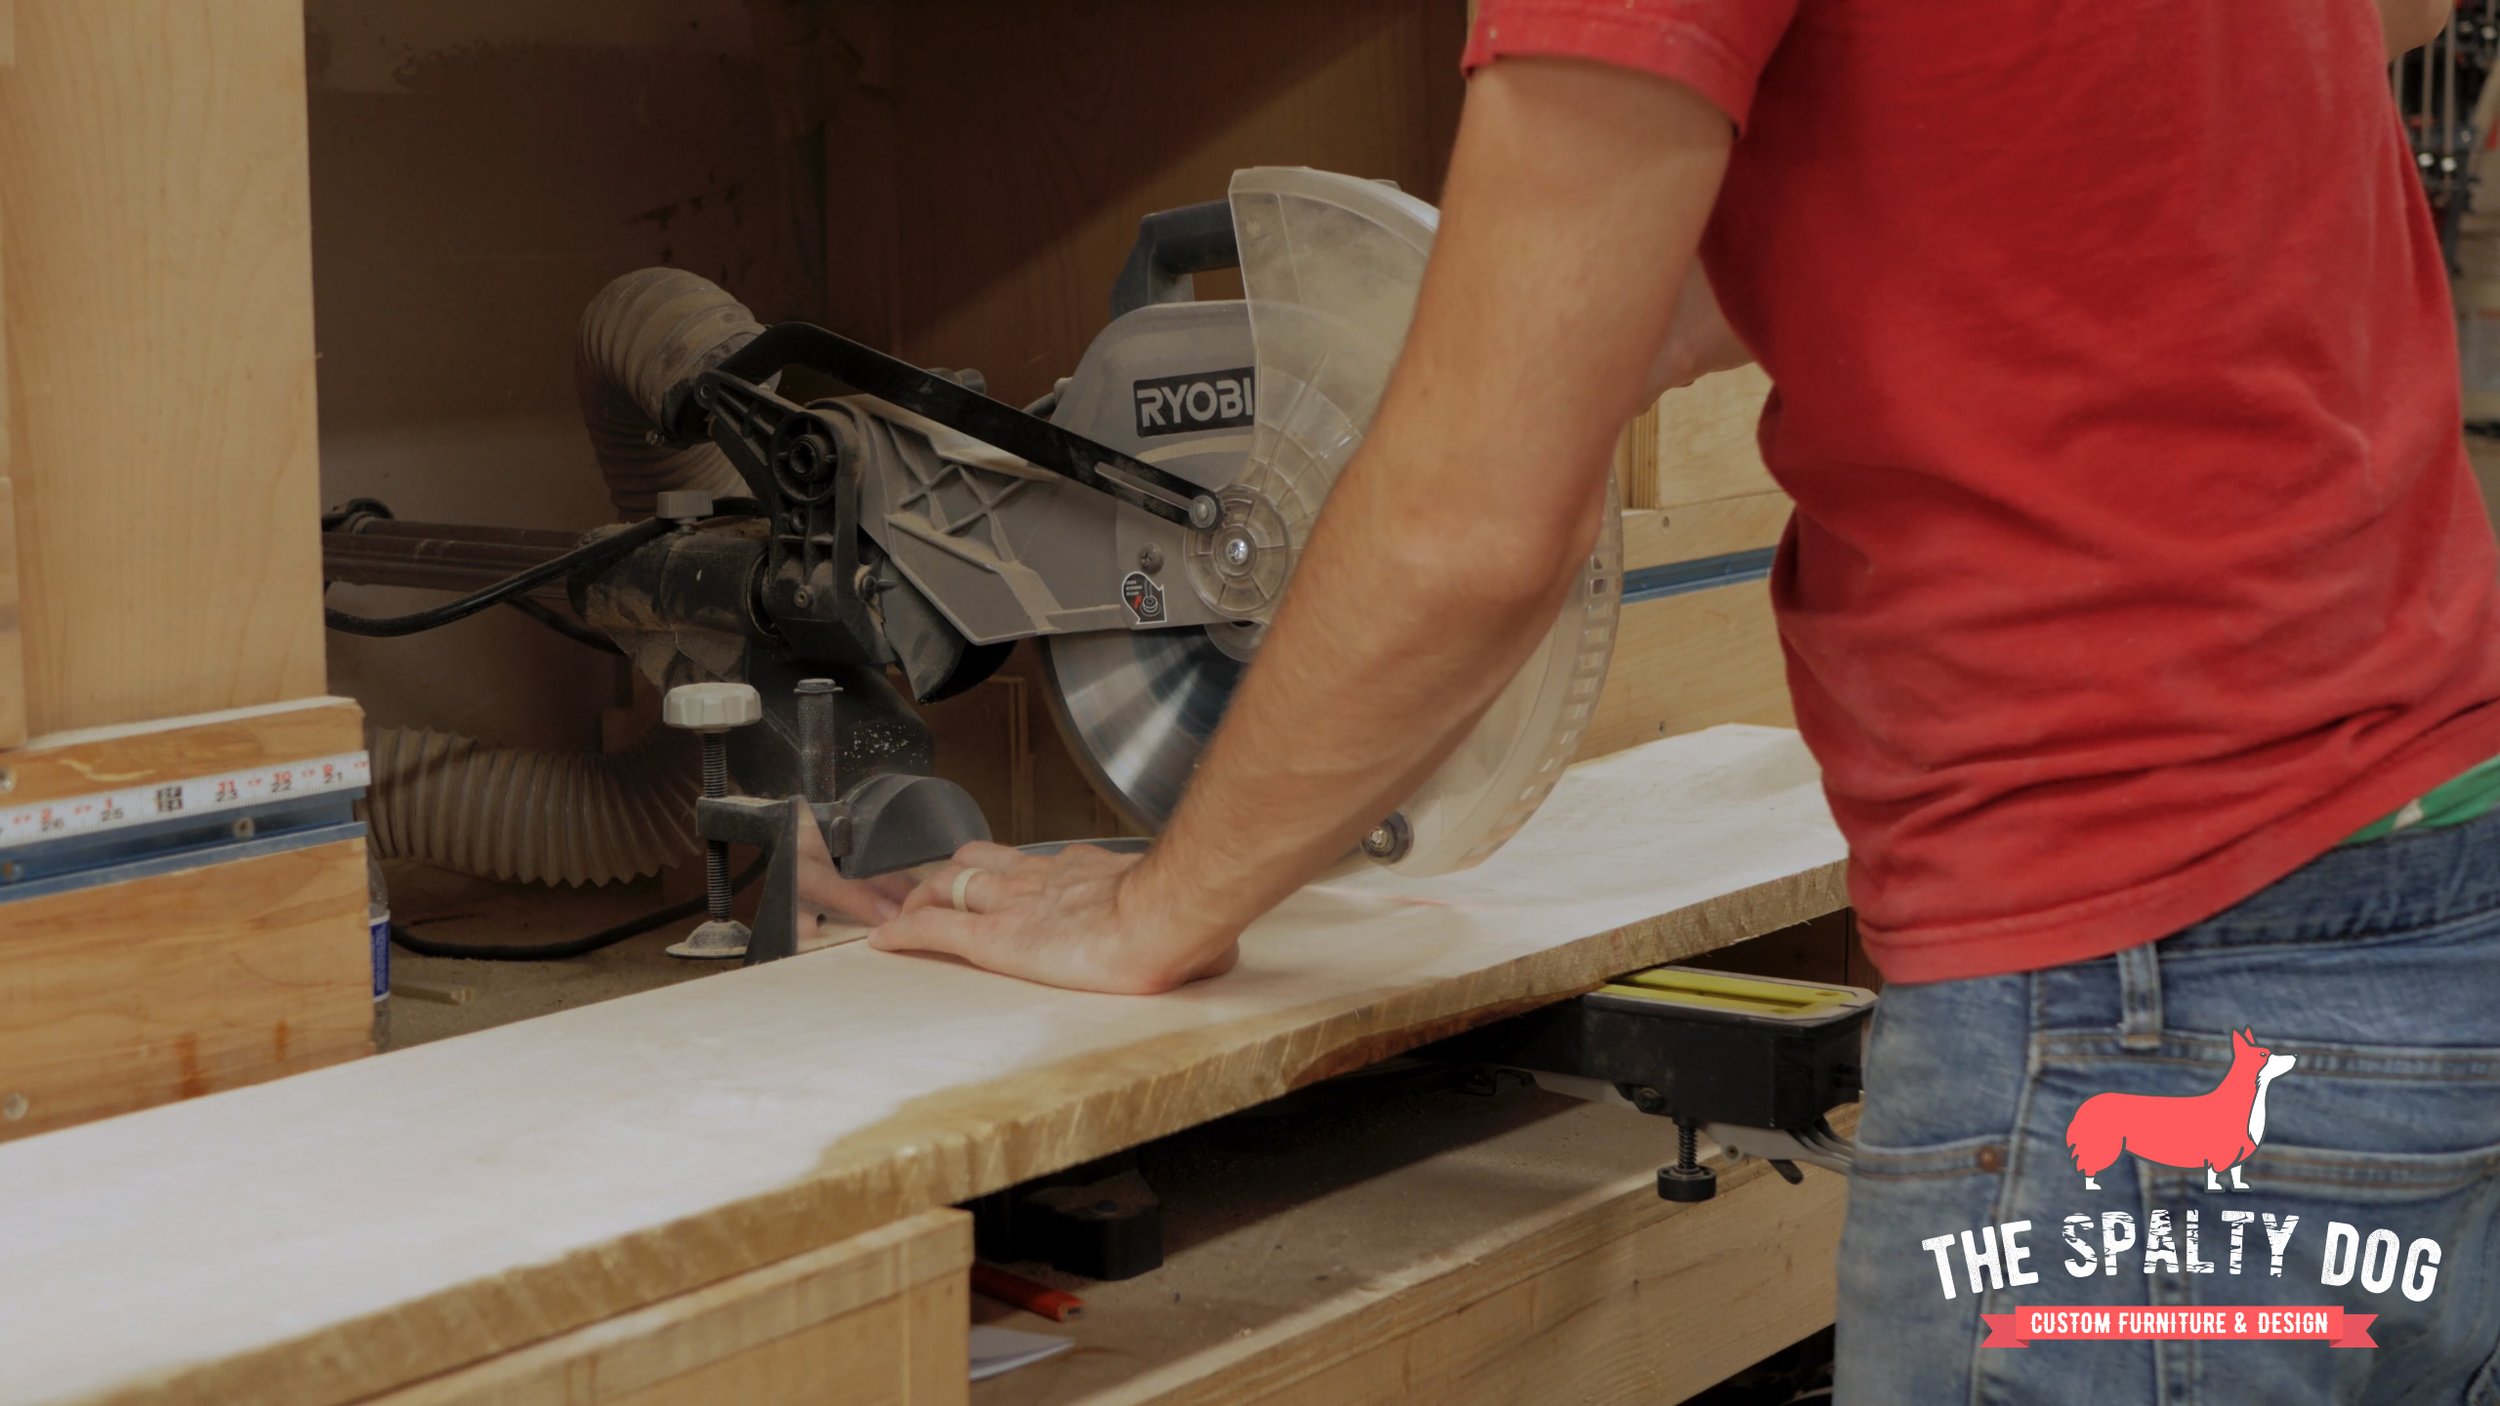
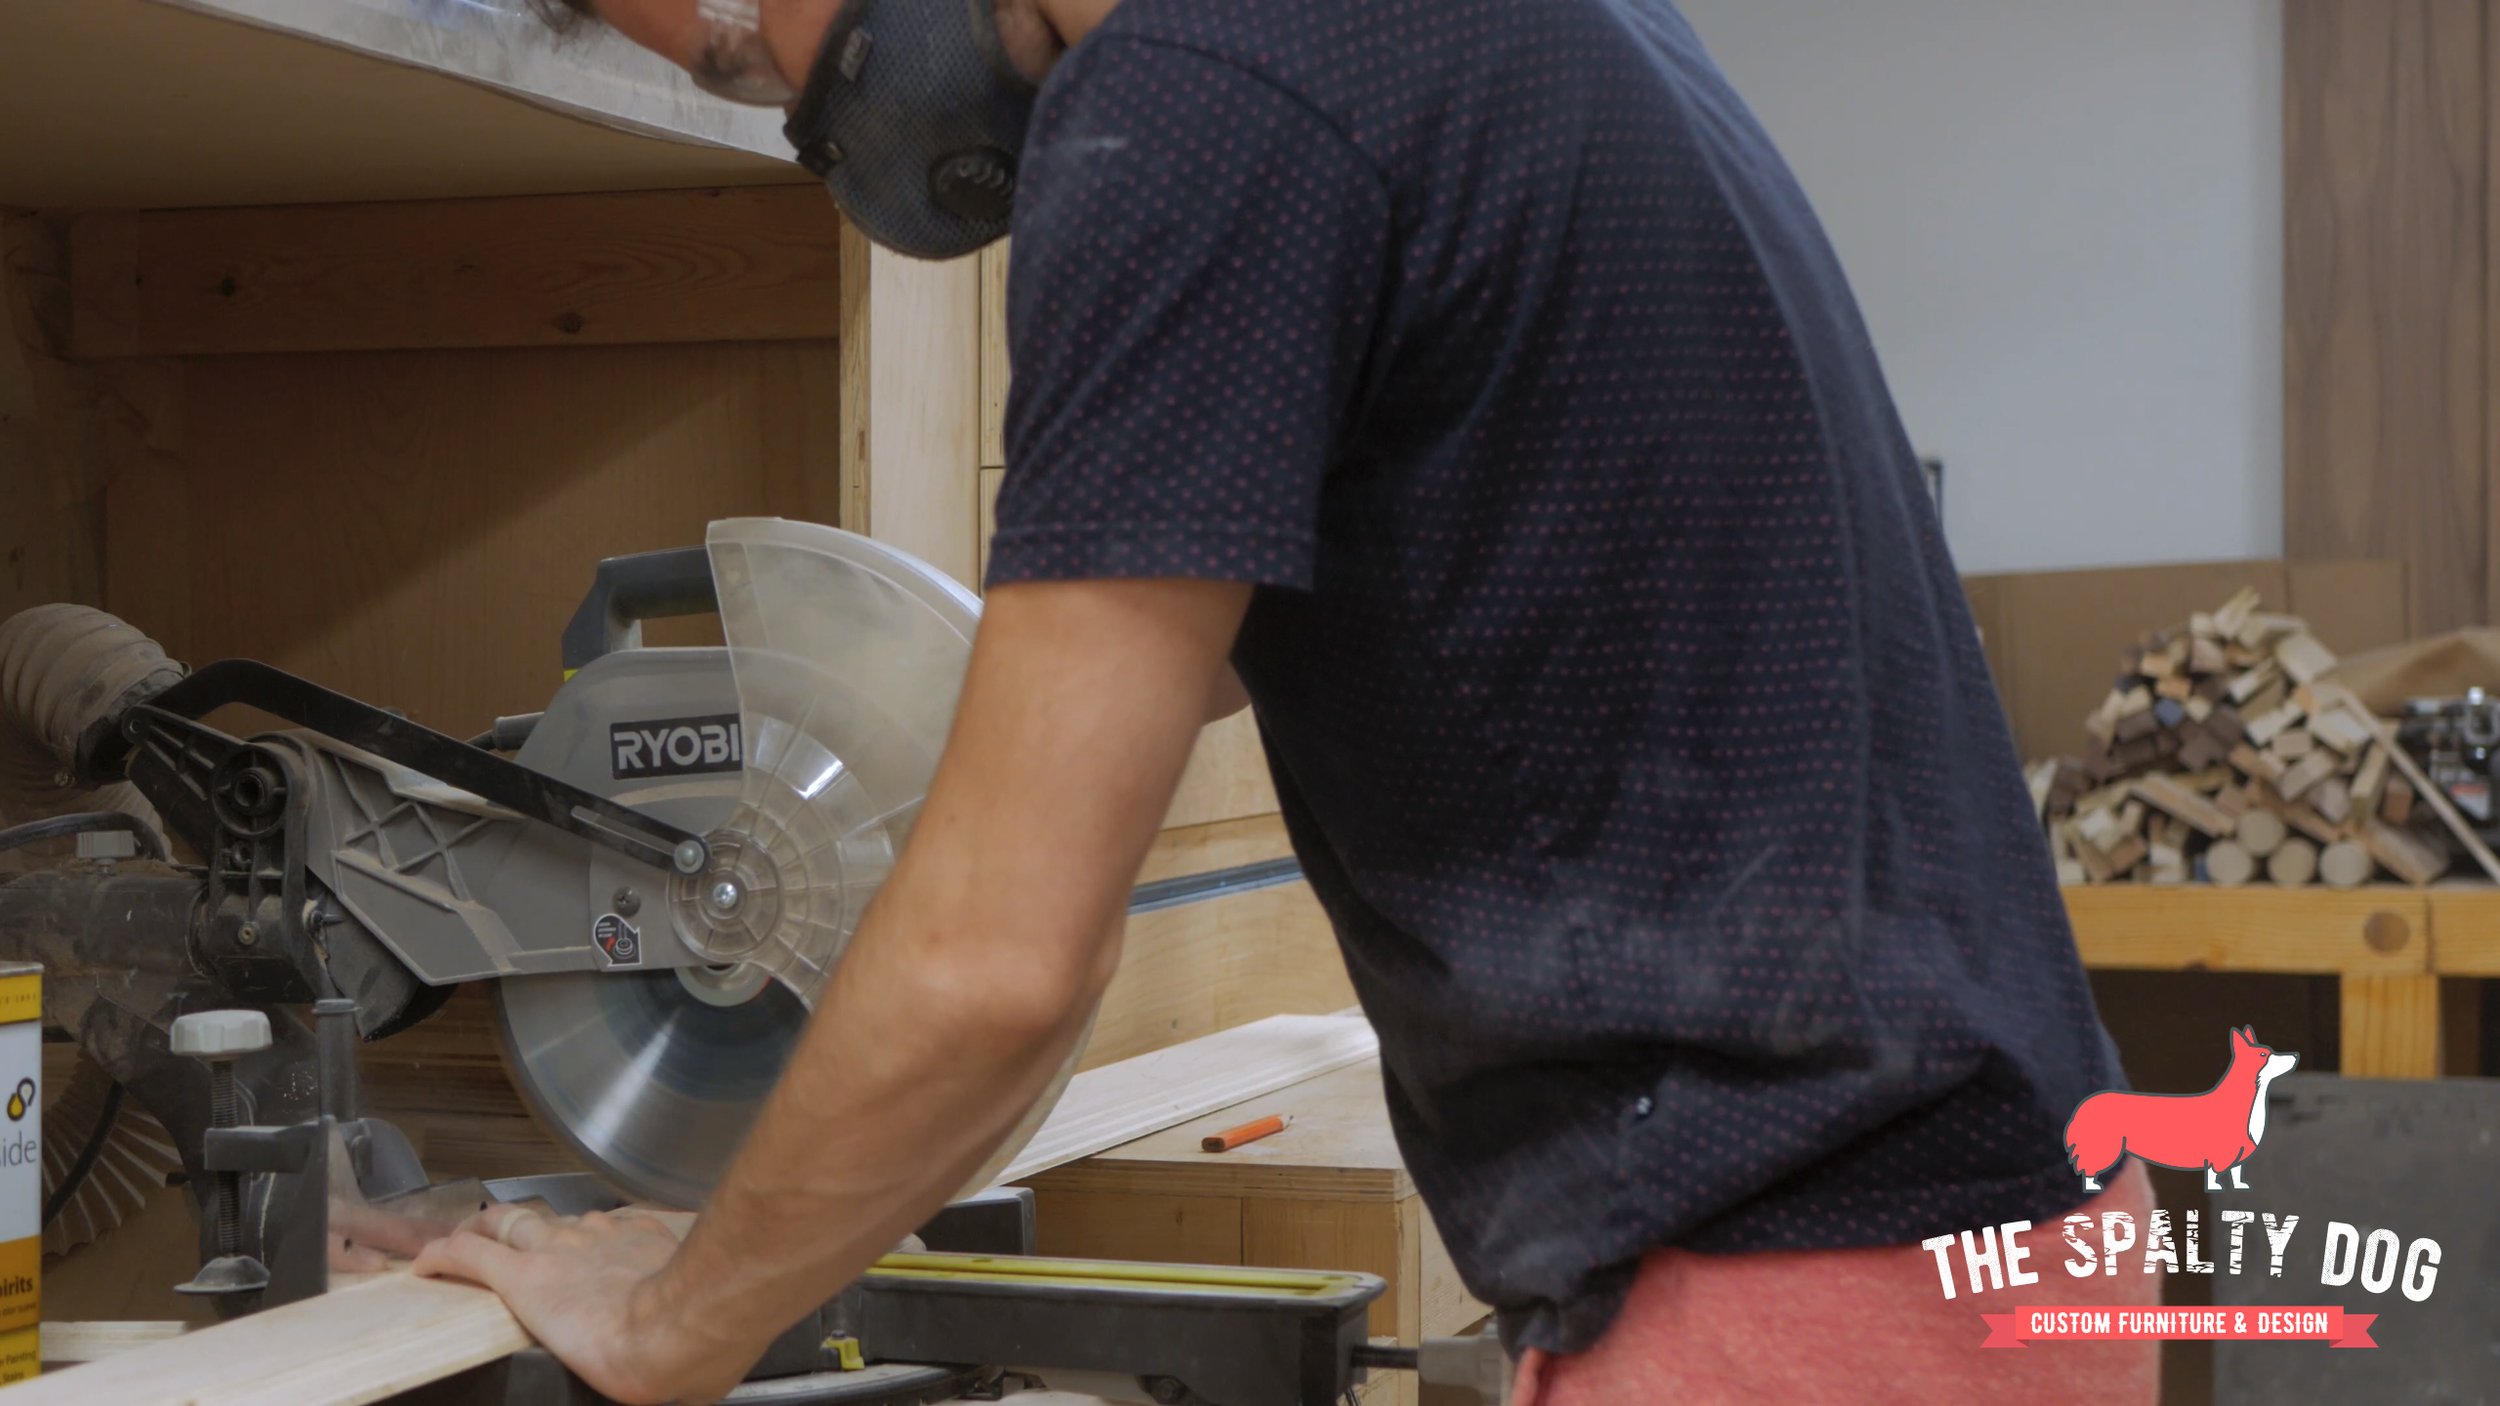
Then I can cut everything down to its final length at the miter saw.

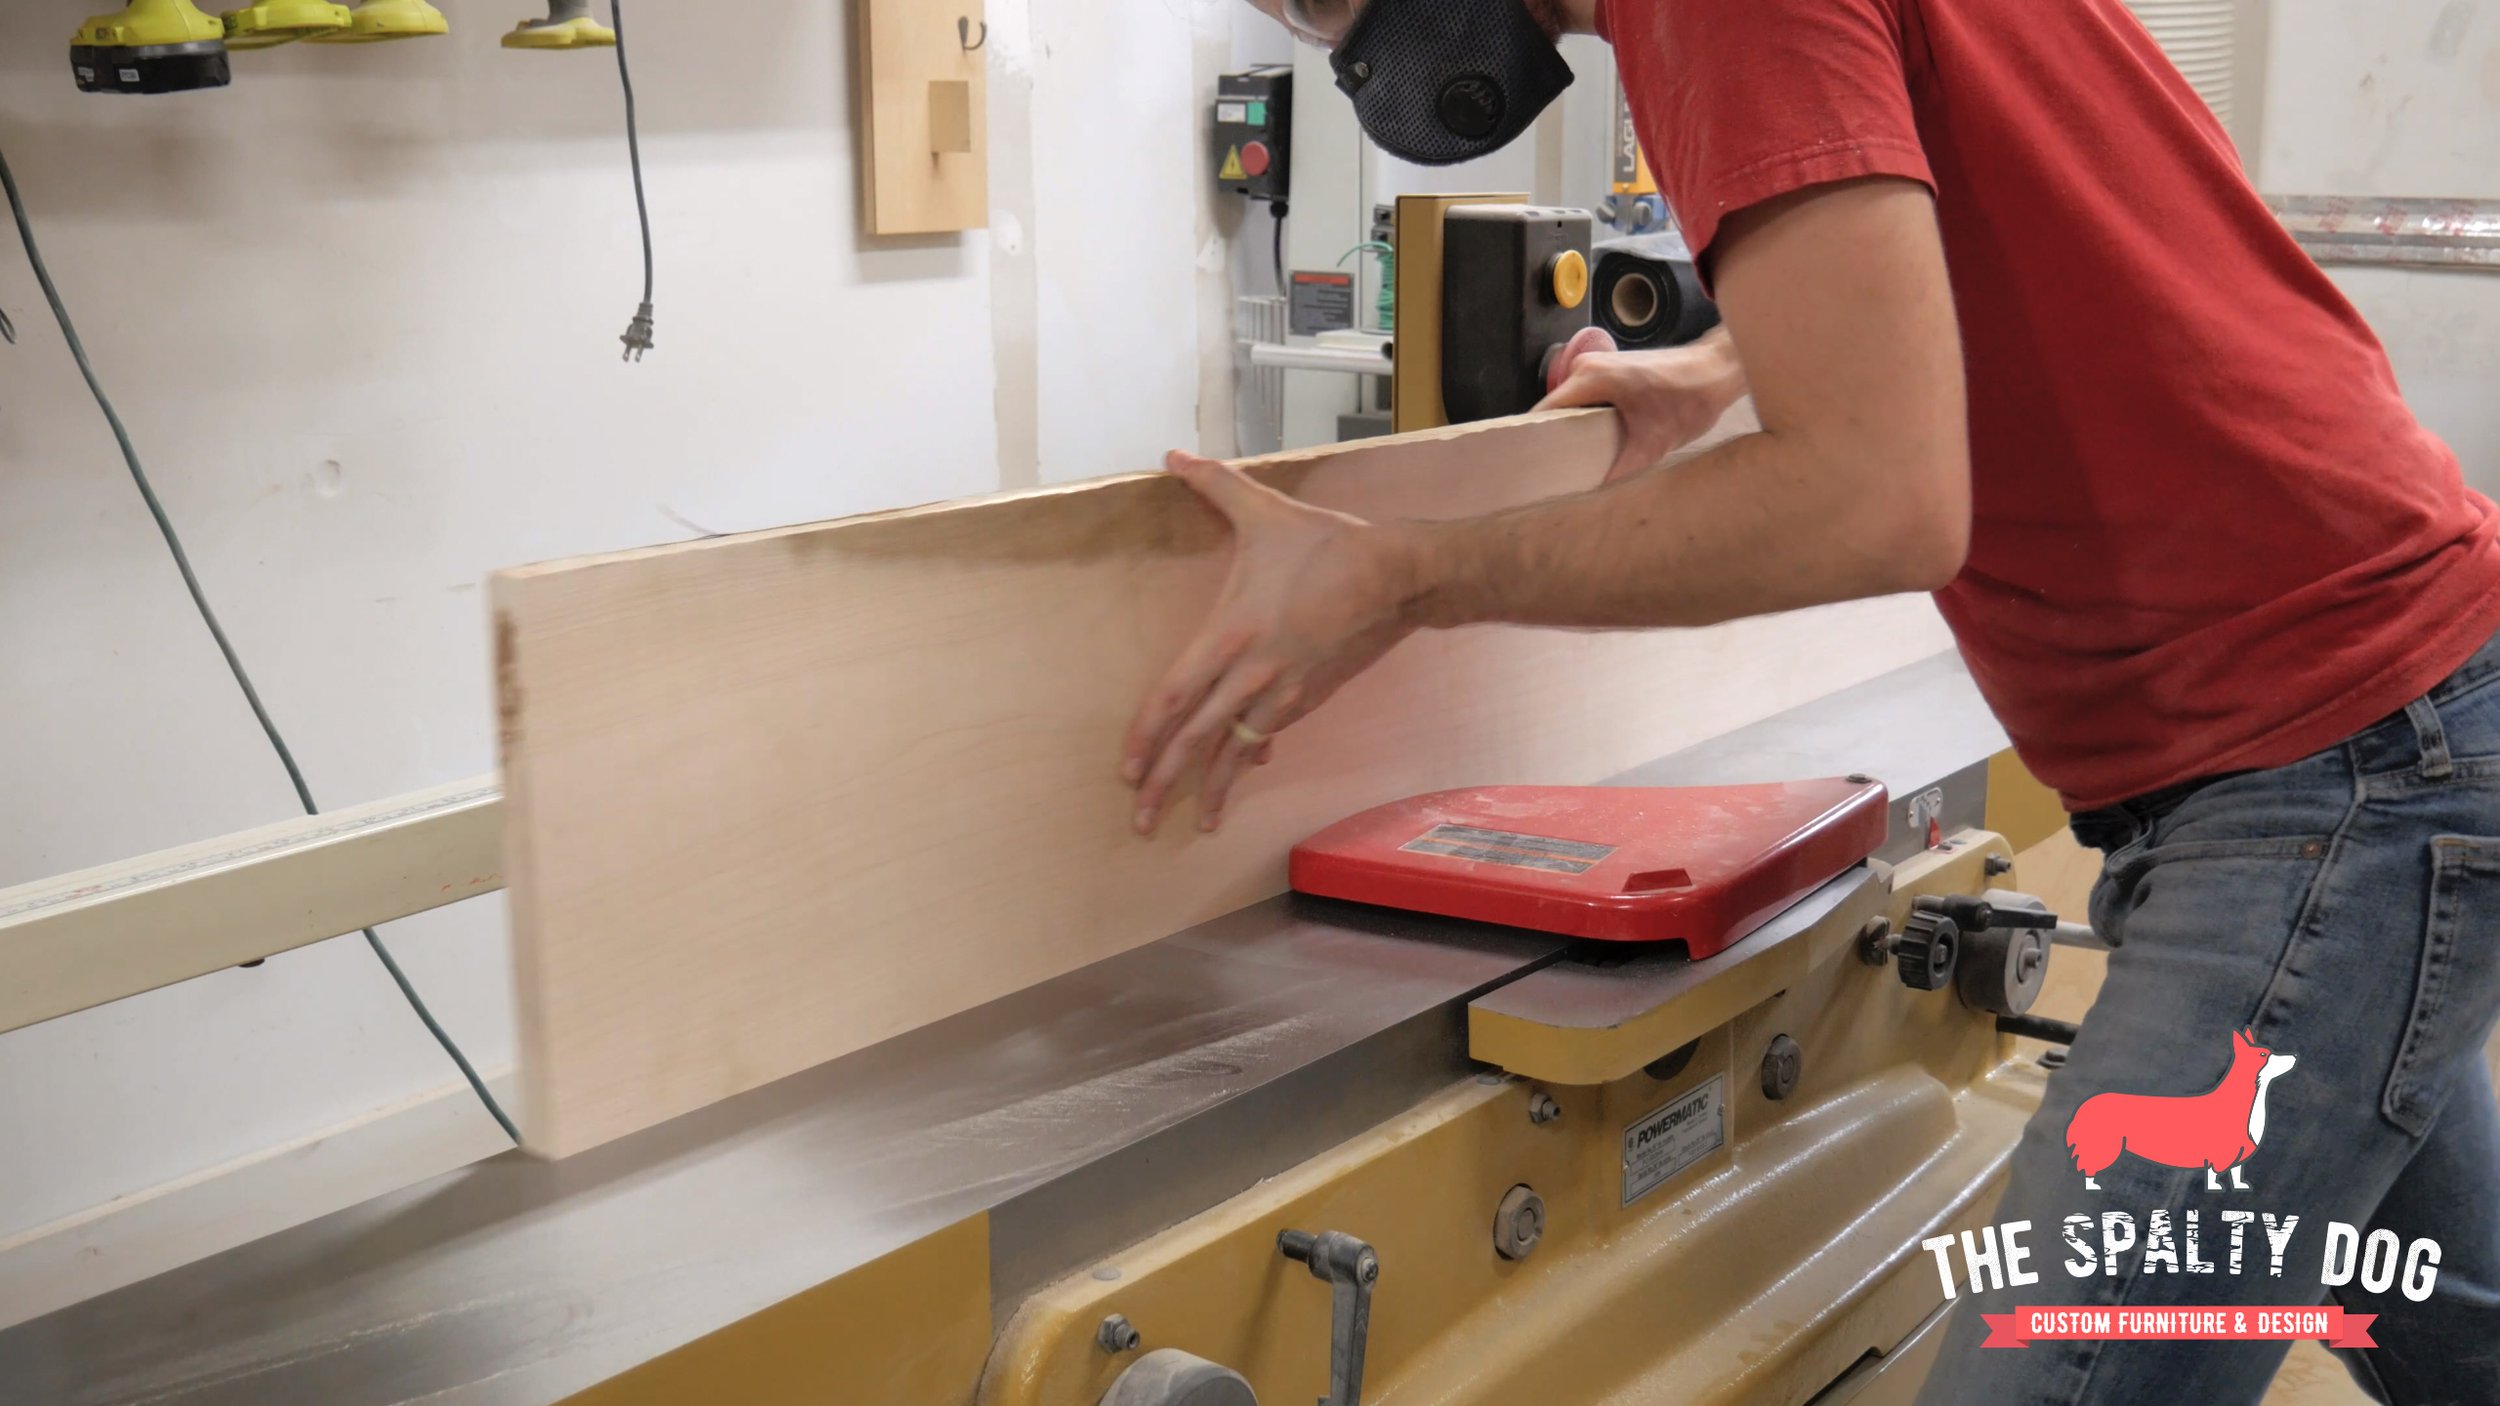
I also cut some 5/4 maple roughly the length of the cabinet and straightened one edge over at the jointer.
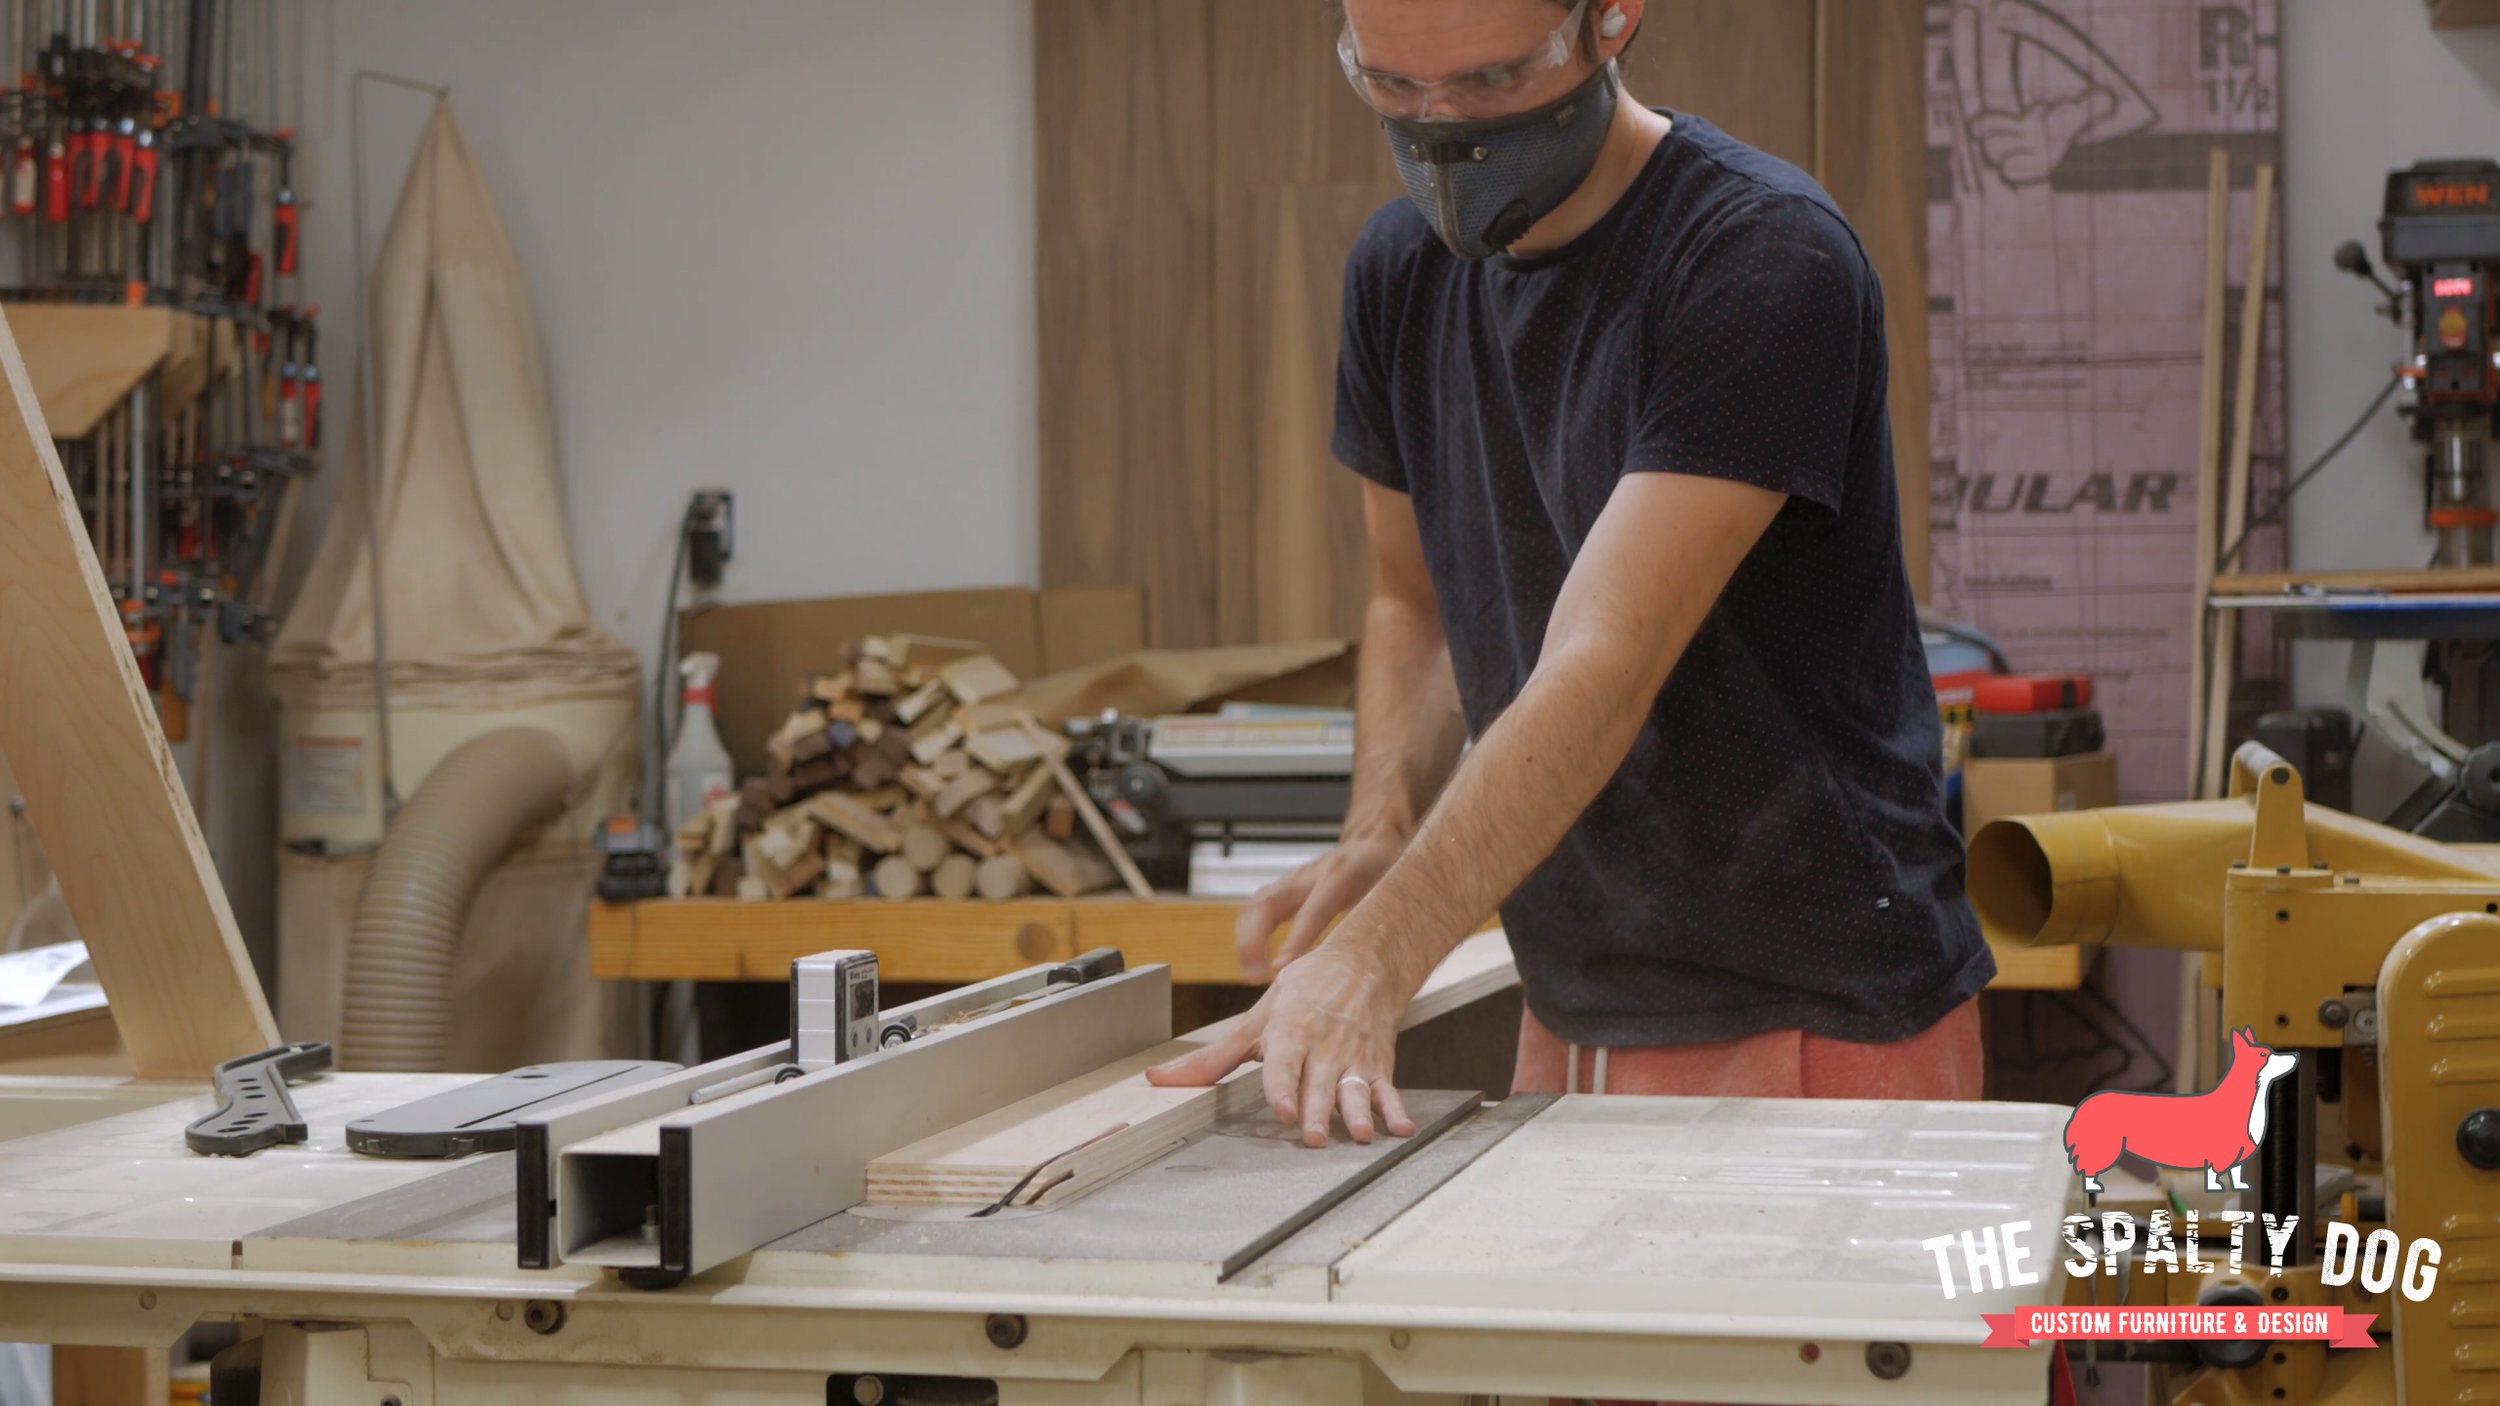
I then referenced that edge on my table saw to cut multiple strips from the board which will be used for solid edge banding.

While I’m at the table saw I also cut the shelf dividers down to their final size.

With everything cut roughly to size I start gluing on the edge banding and holding it place with painters tape.

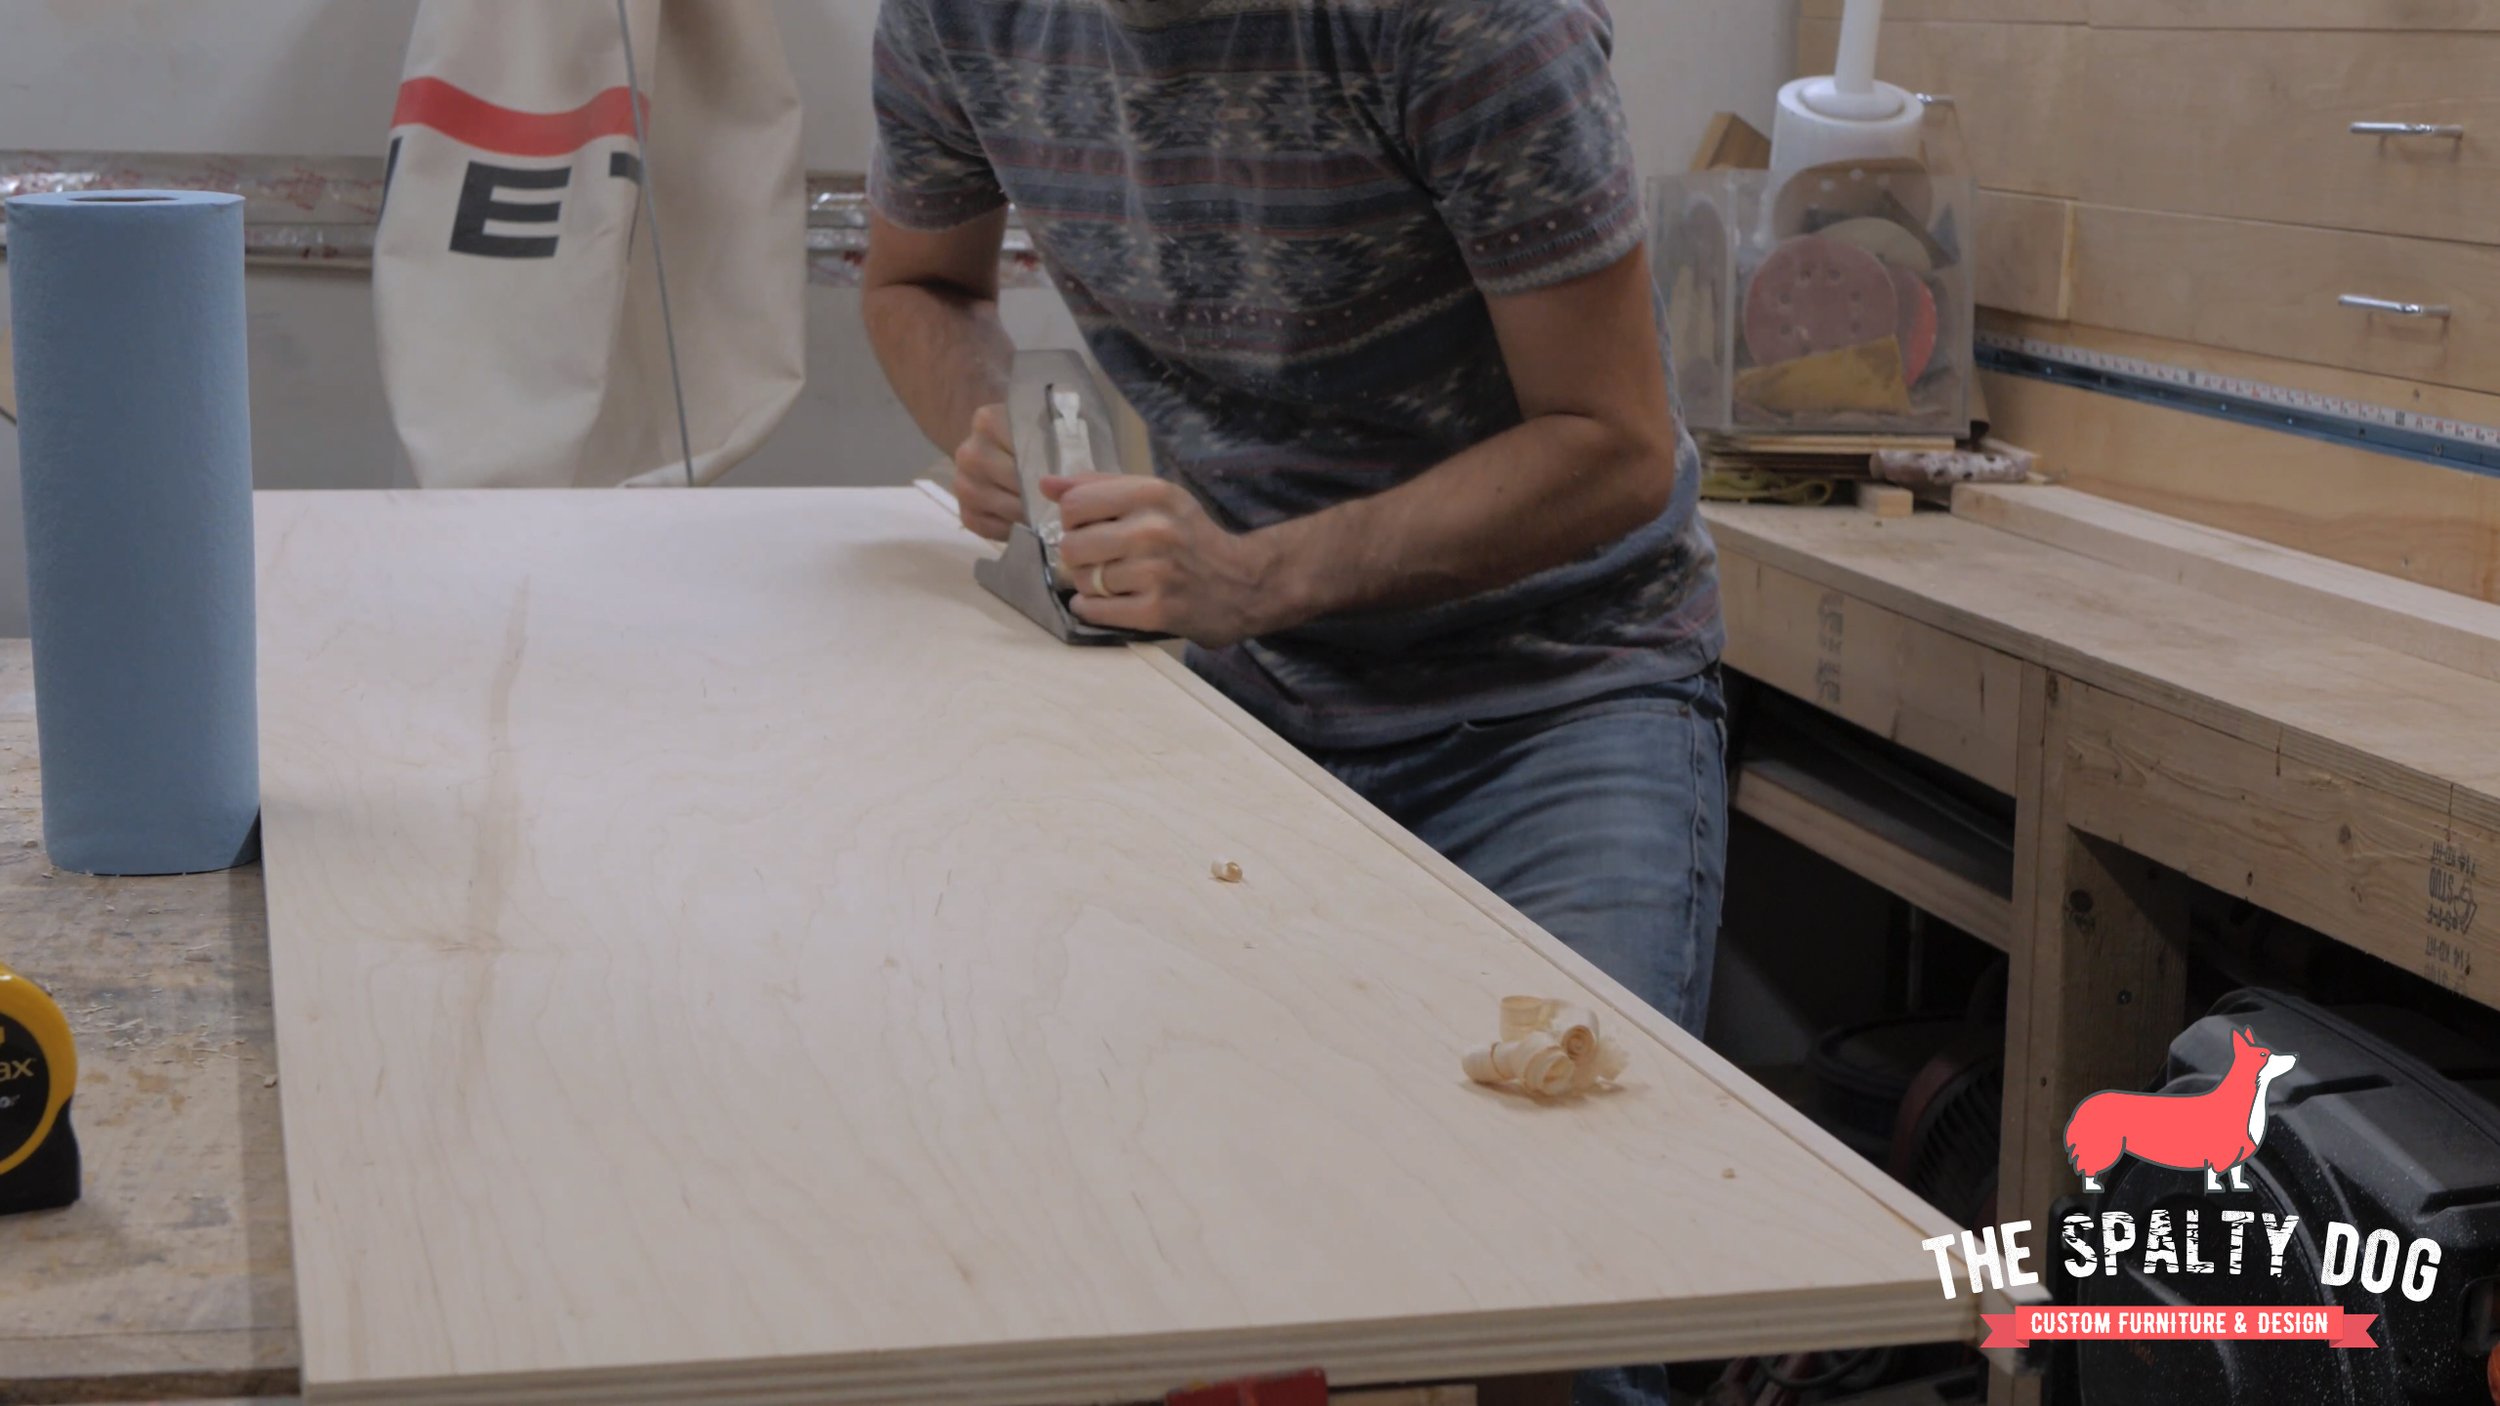
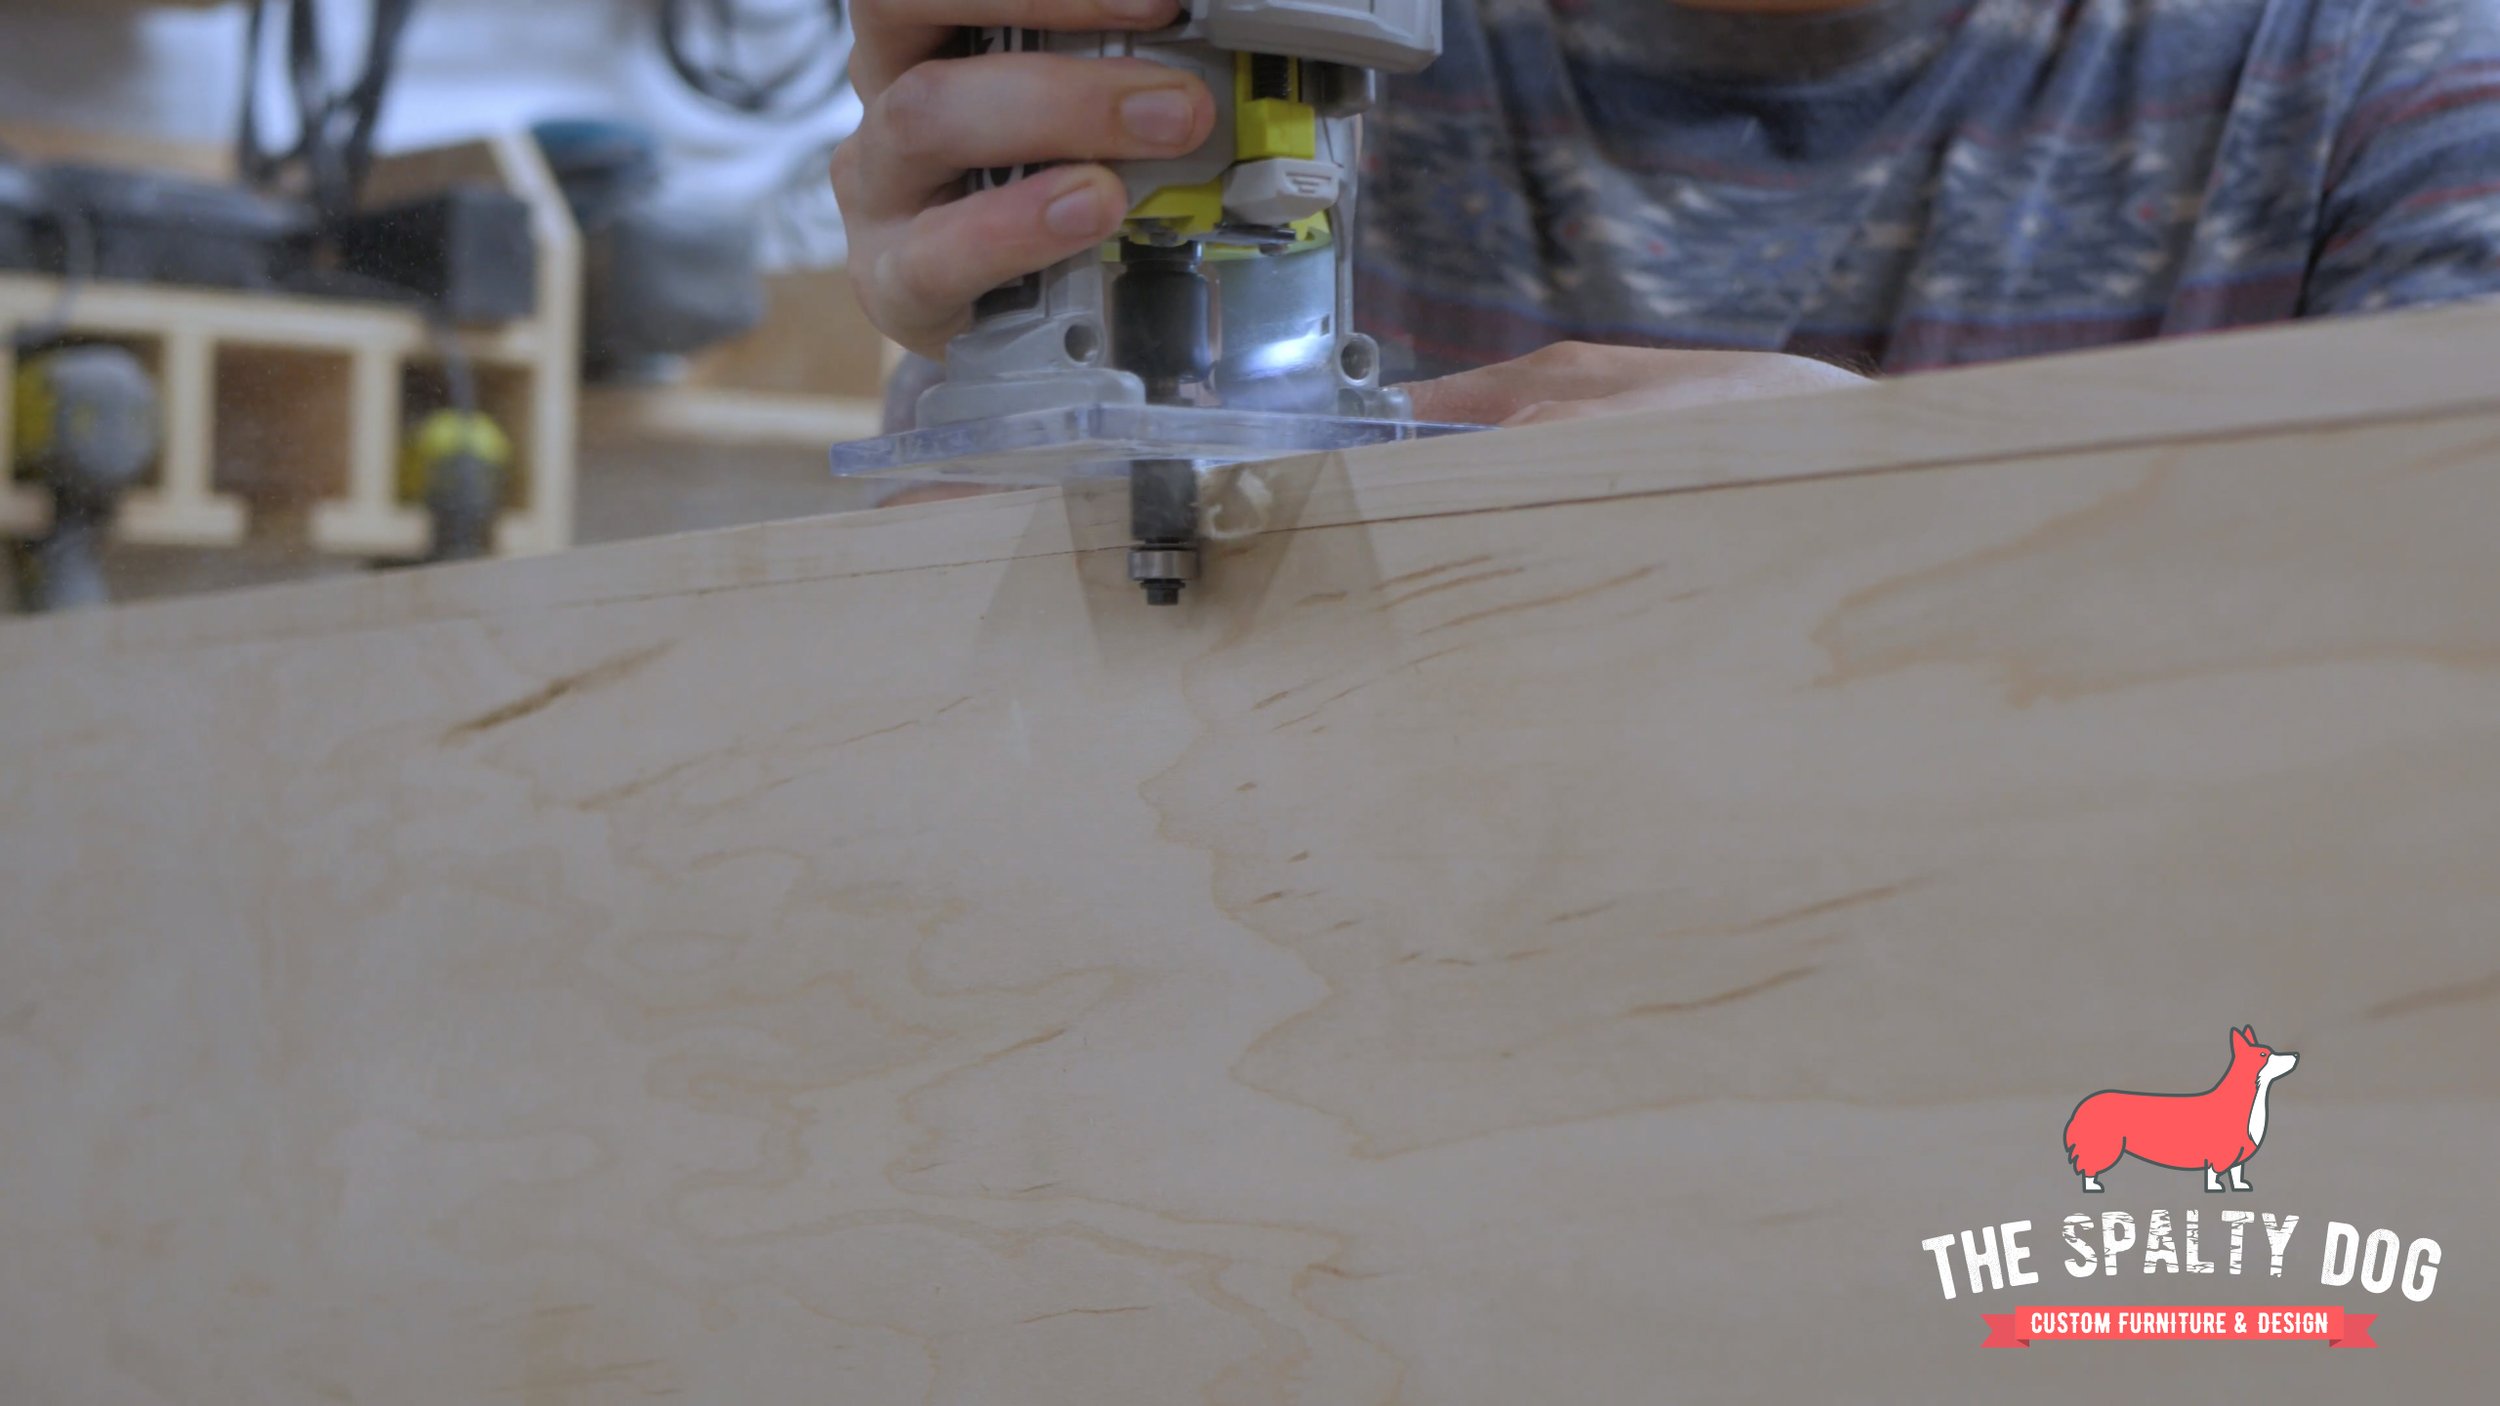
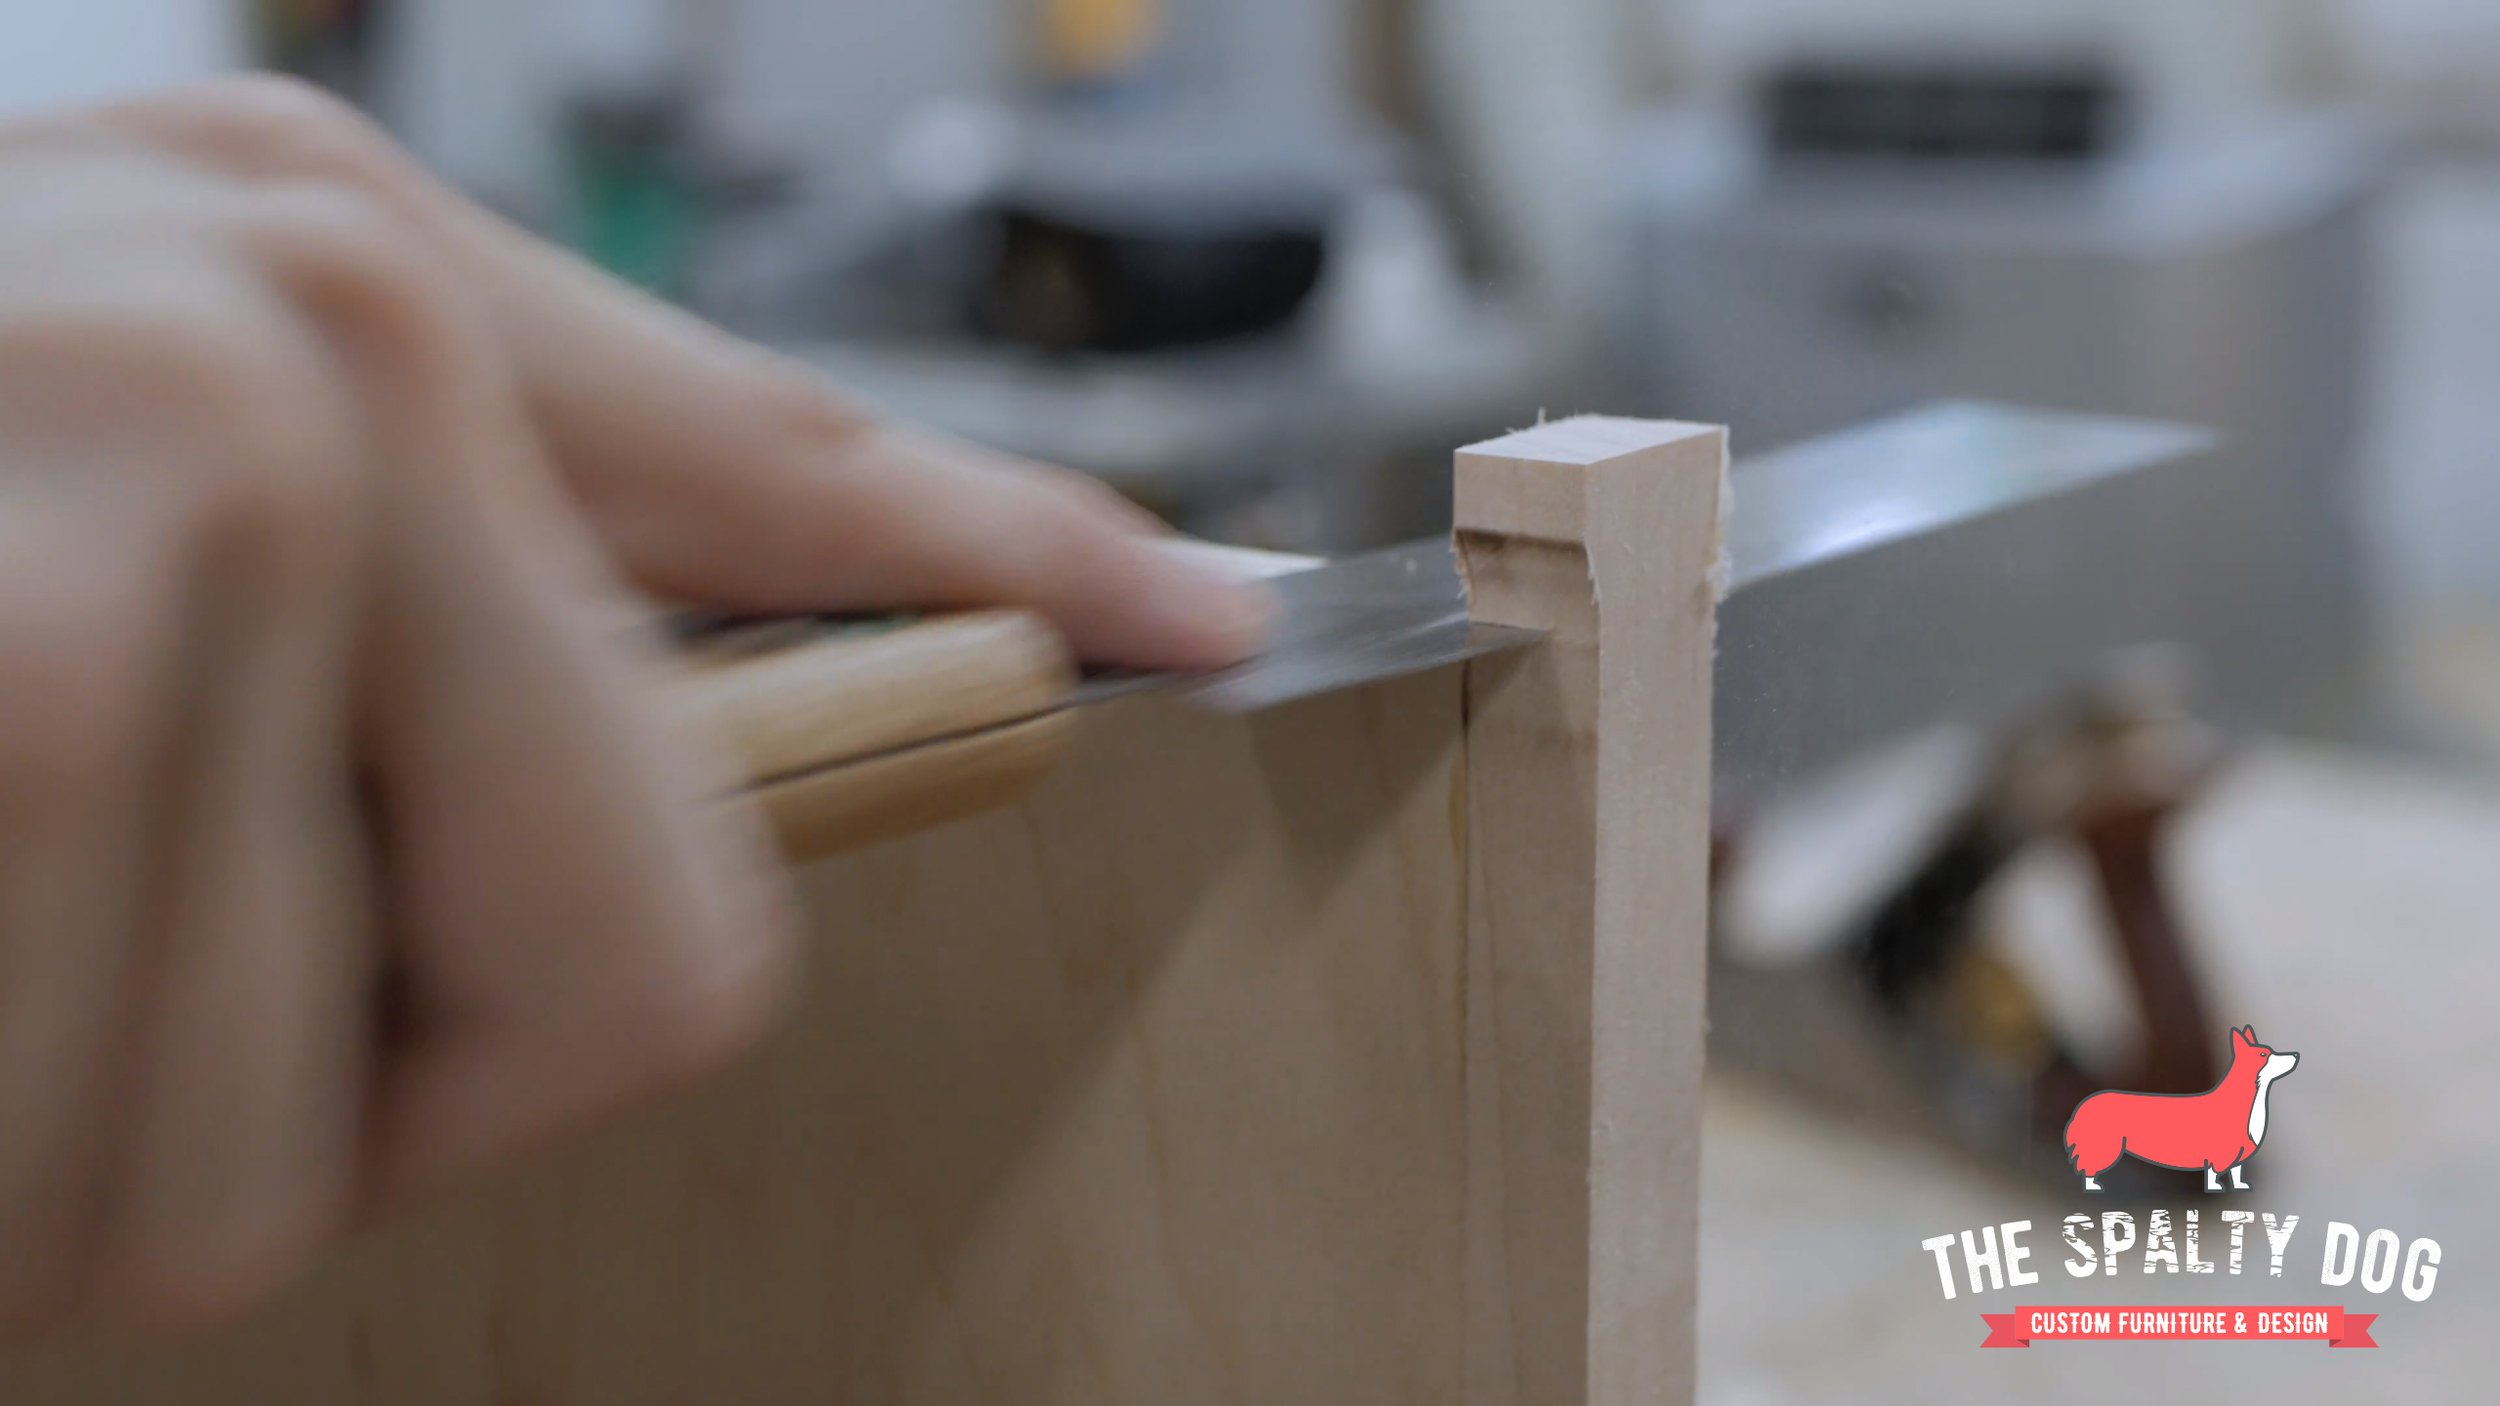
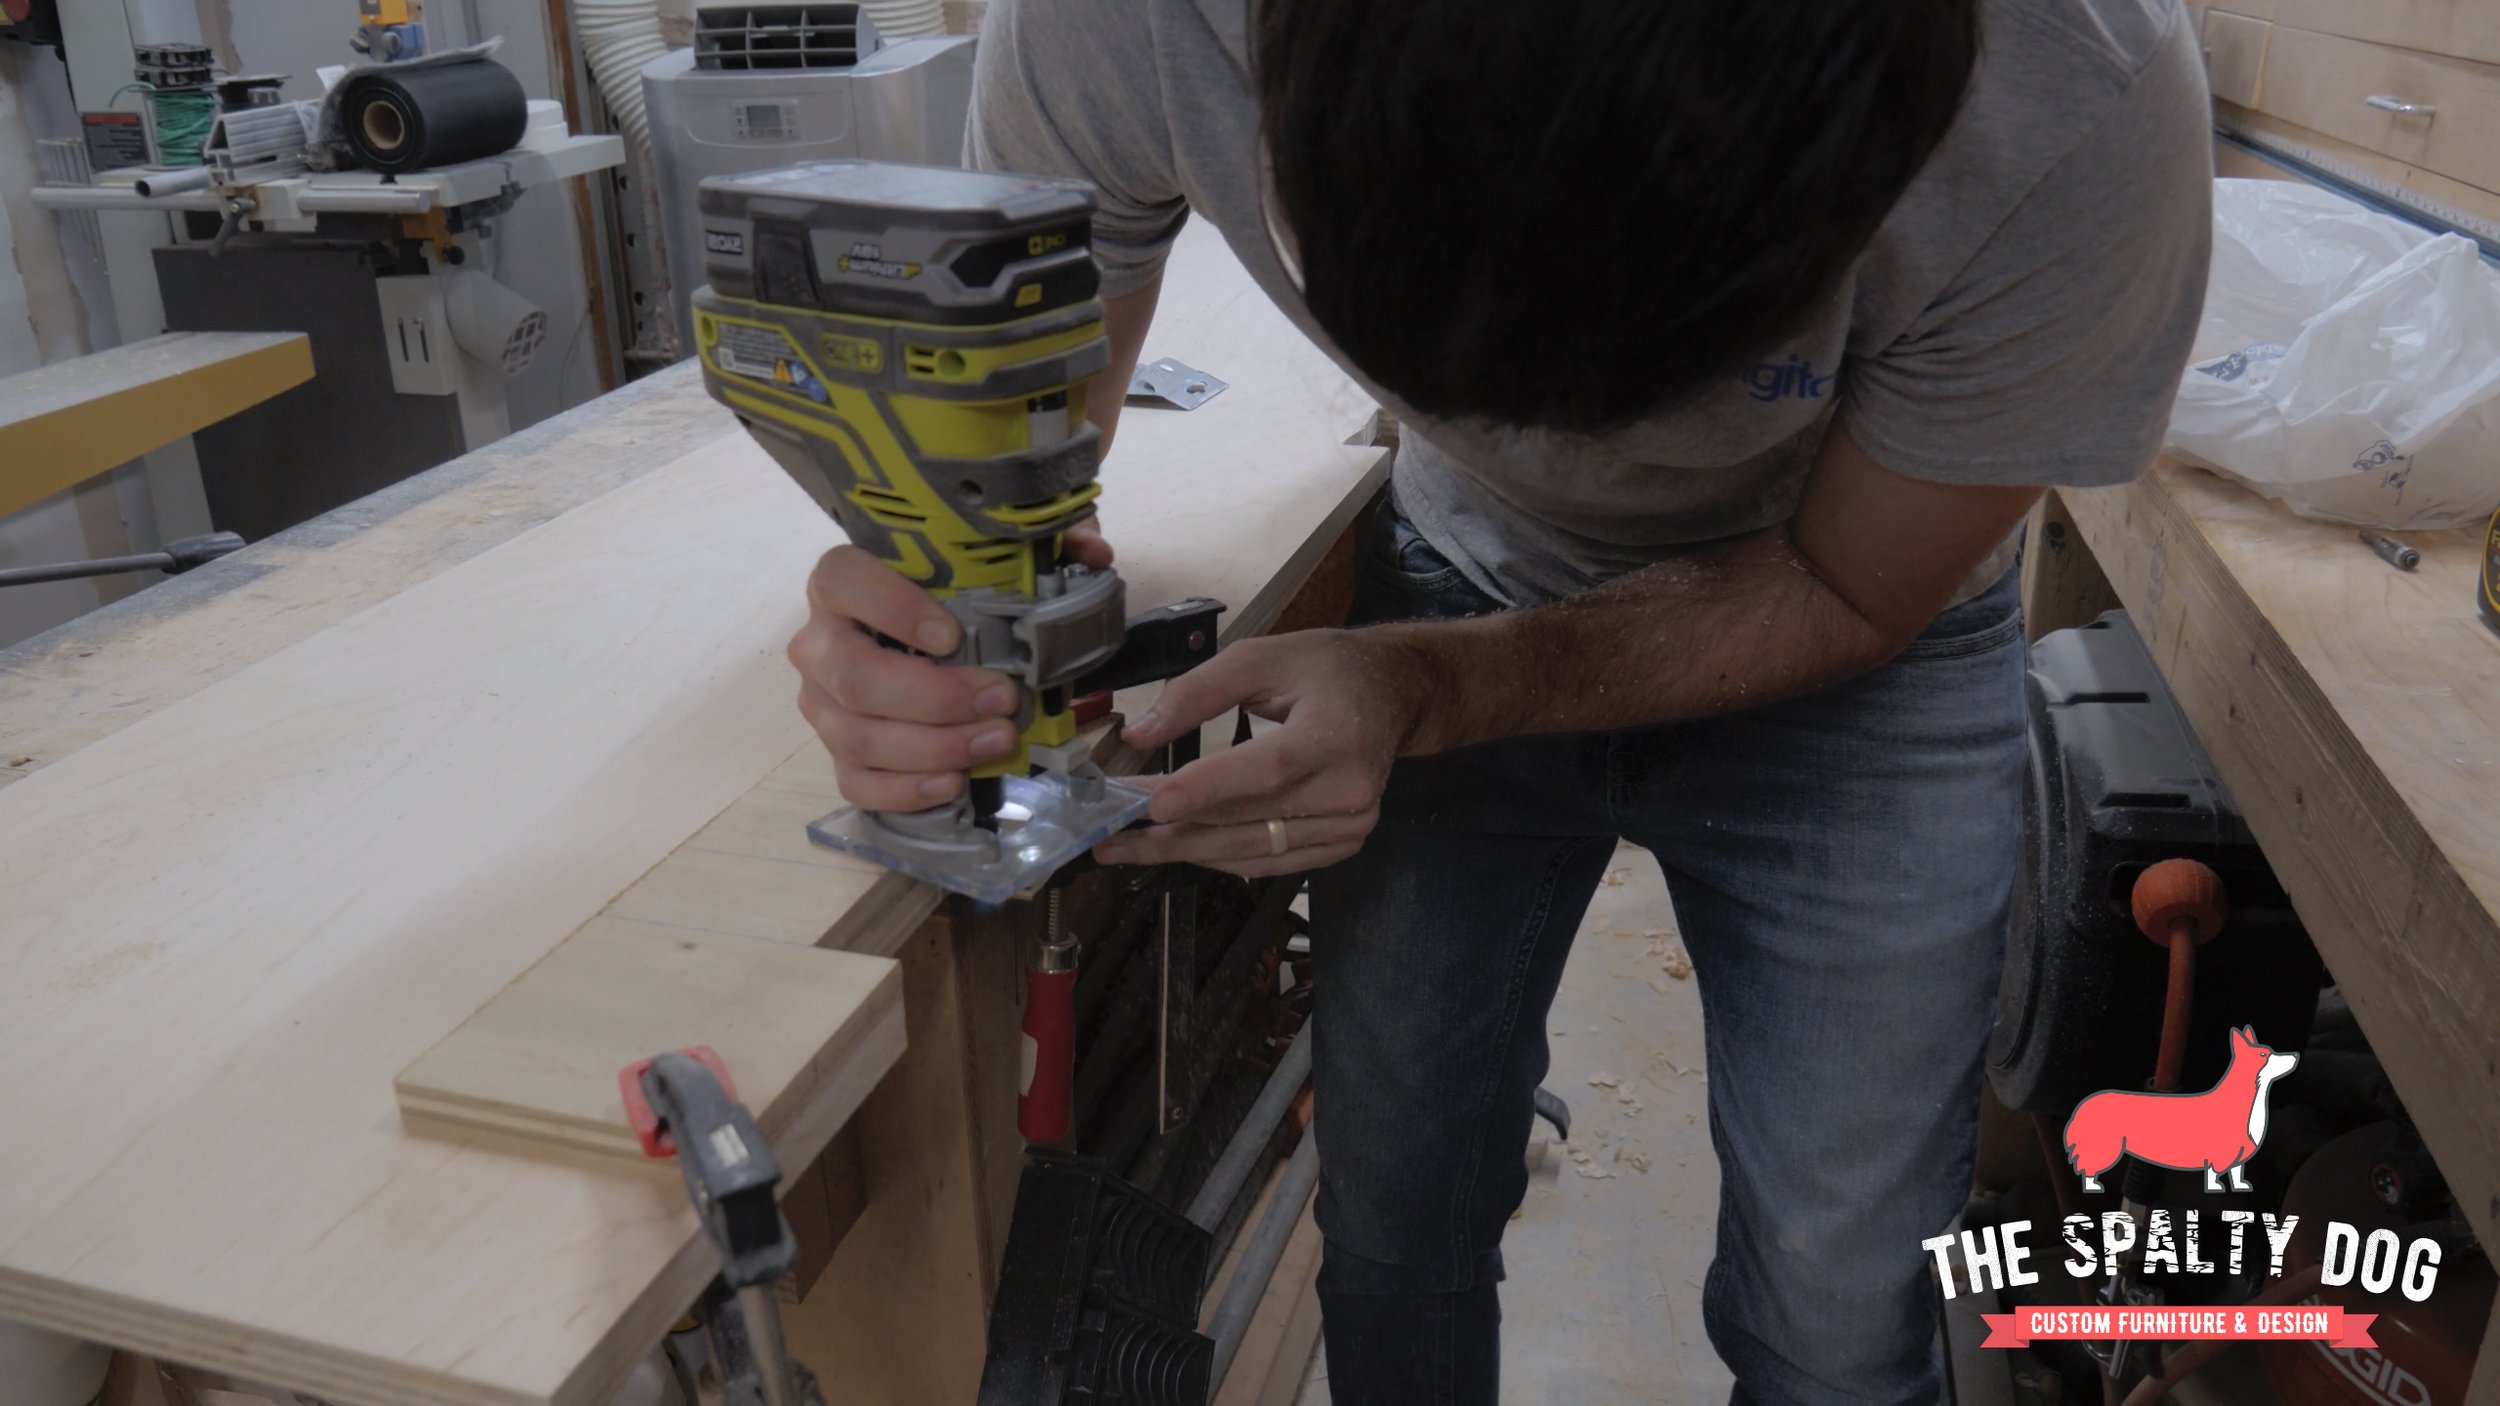
All of the edge banding is slightly oversized so I remove most of the excess with a hand plane. Then I flush everything up using the router. I found this method gives me less tear out compared to just using the router alone.
The ends get trimmed with a flush trim saw and all of the inside faces get sanded up to 180 grit.
Now that the solid edge banding is attached I can cut everything to its final size on the table saw.

For certain edges I chose to use iron on edge banding. I typically do this where I don’t want a visible seam where the banding meets the ply. Like on the end of a panel.

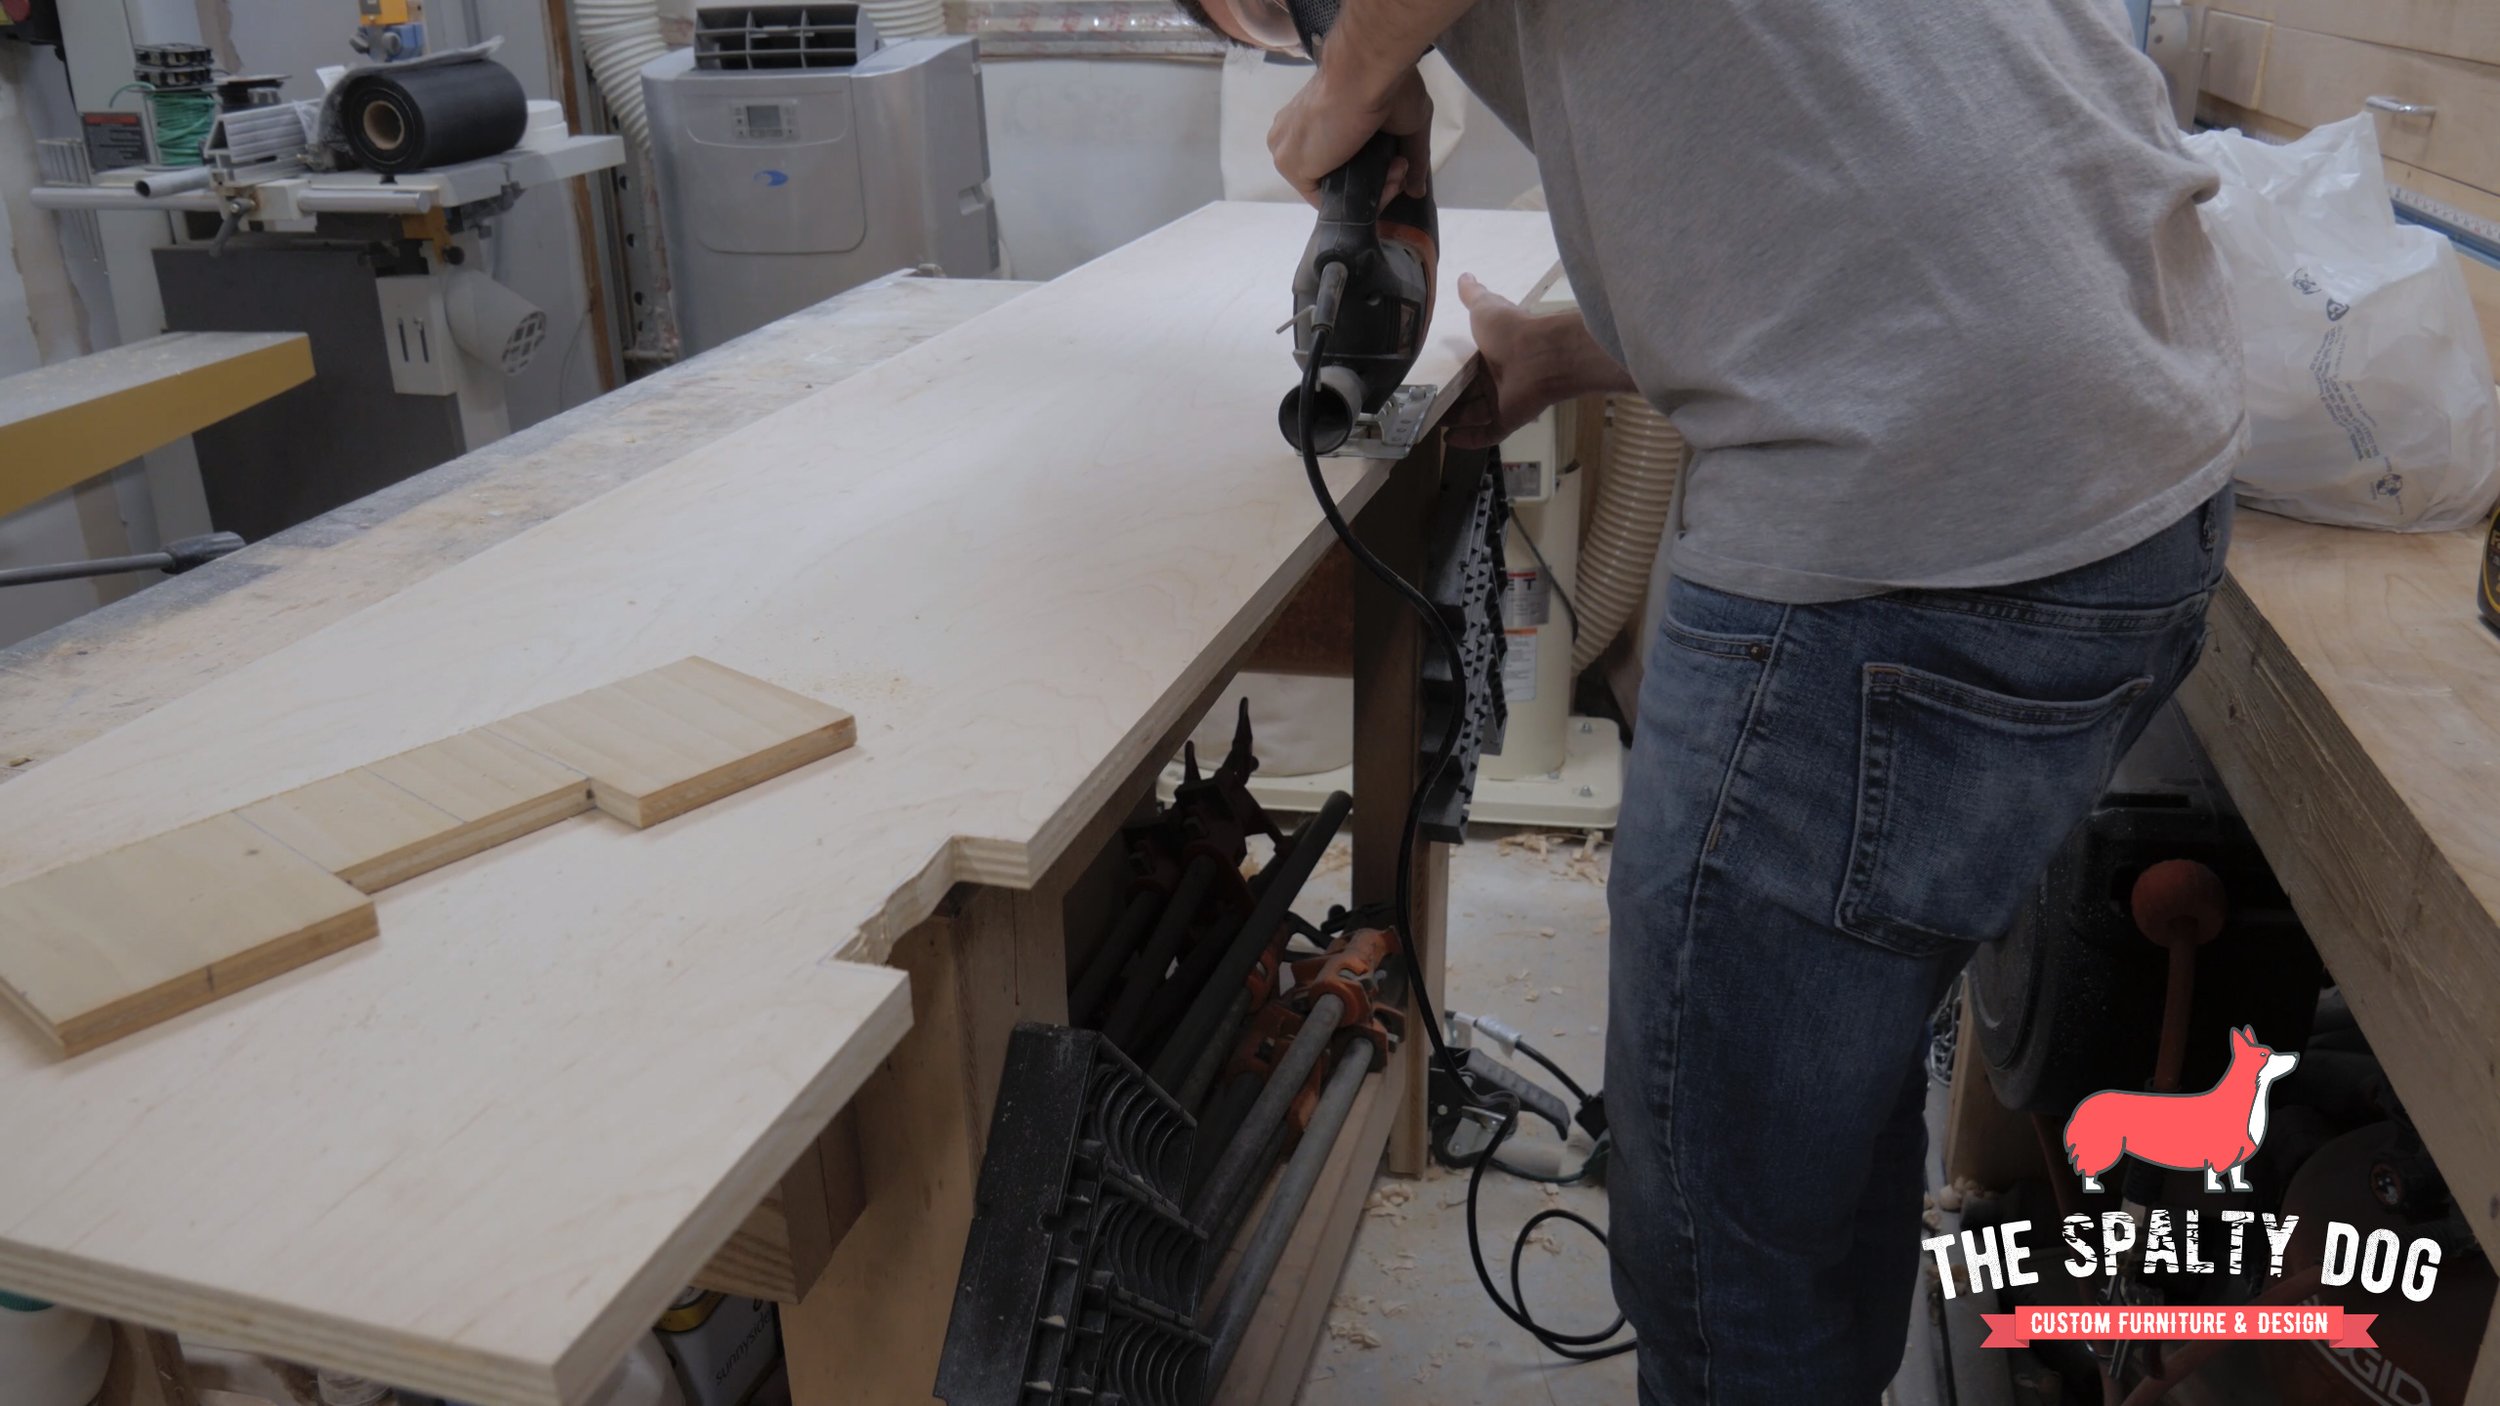
Next I marked and cut out notches on the interior shelf for cable management. I removed most of the waste with a jigsaw then cleaned everything up using a flush trim bit on the router. I picked this trick up from fellow YouTuber Mike Farrington. Here’s a link to his youtube channel. He’s always posting great content.
I cut a 3/4” dado for the back panel by taking two passes with the router. Since I’m using a 1/2” bit, I used a 3/4” piece of plywood along with a 1/4” spacer to properly space and size the dado. On the second pass I reset my edge guide but this time only using the 3/4” plywood.

When cutting the stopped dados I would plunge to full depth on each end then remove the rest with multiple shallow passes.

I then routed the dados for the interior shelf. To set the depth I let the bit drop to the bottom of the dado I previously cut and then using a scrap piece of plywood as a fence I could remove the waste in two passes. On the second pass I simply added a 1/4” spacer between the fence and the router to get a clean 3/4” dado.

Next using a forester bit I cut a hole in the back panel for cable management. The blue painters tape helped in reducing tear out and while it may not look like it, I also have a sacrificial board on the underside to prevent any blow out.

I wanted to make sure I could easily clamp each part during assembly. So I ended up gluing this piece up in multiple phases, starting with the sides and interior shelf.

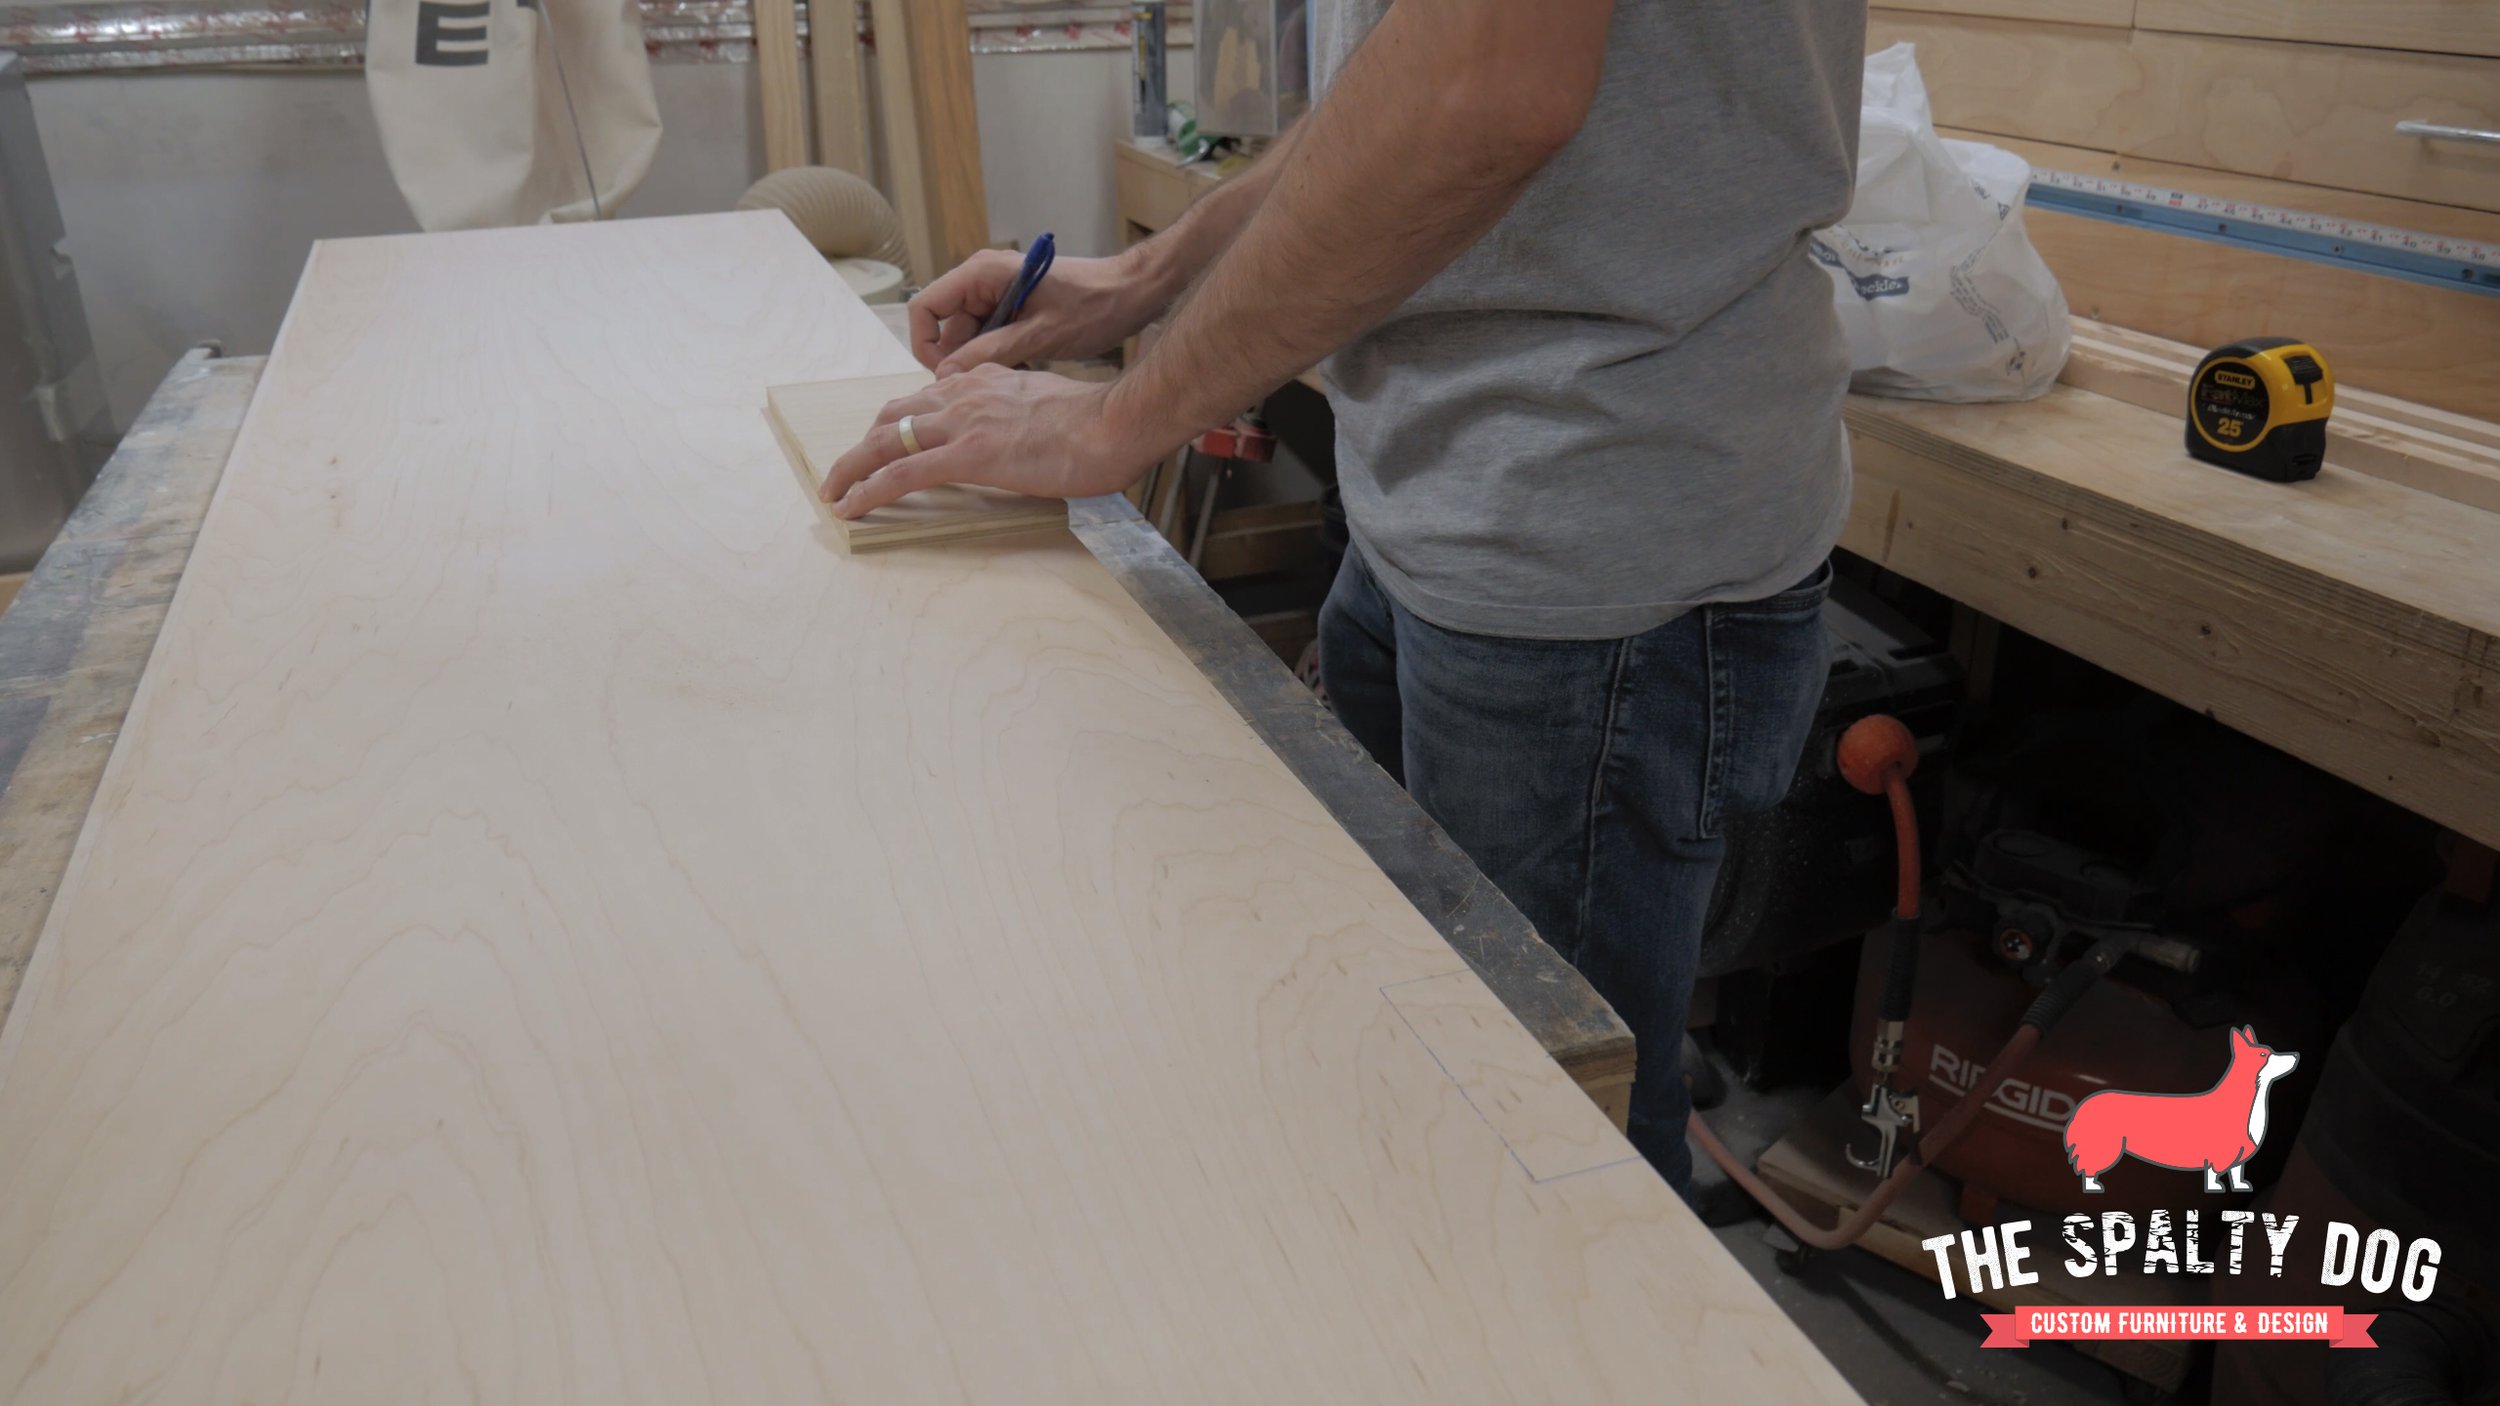
After letting that sit overnight, I began marking and drilling the joinery to attach the top panel. I contemplated just using good ol’ butt joints but decided to step it up with some dowels.

I also glued the two dividers by tapping them into place between the top and the shelf using a mallet and square.

The next day I came back and repeated the same steps for the bottom. However this time, I also made sure to slide the back panel into place.

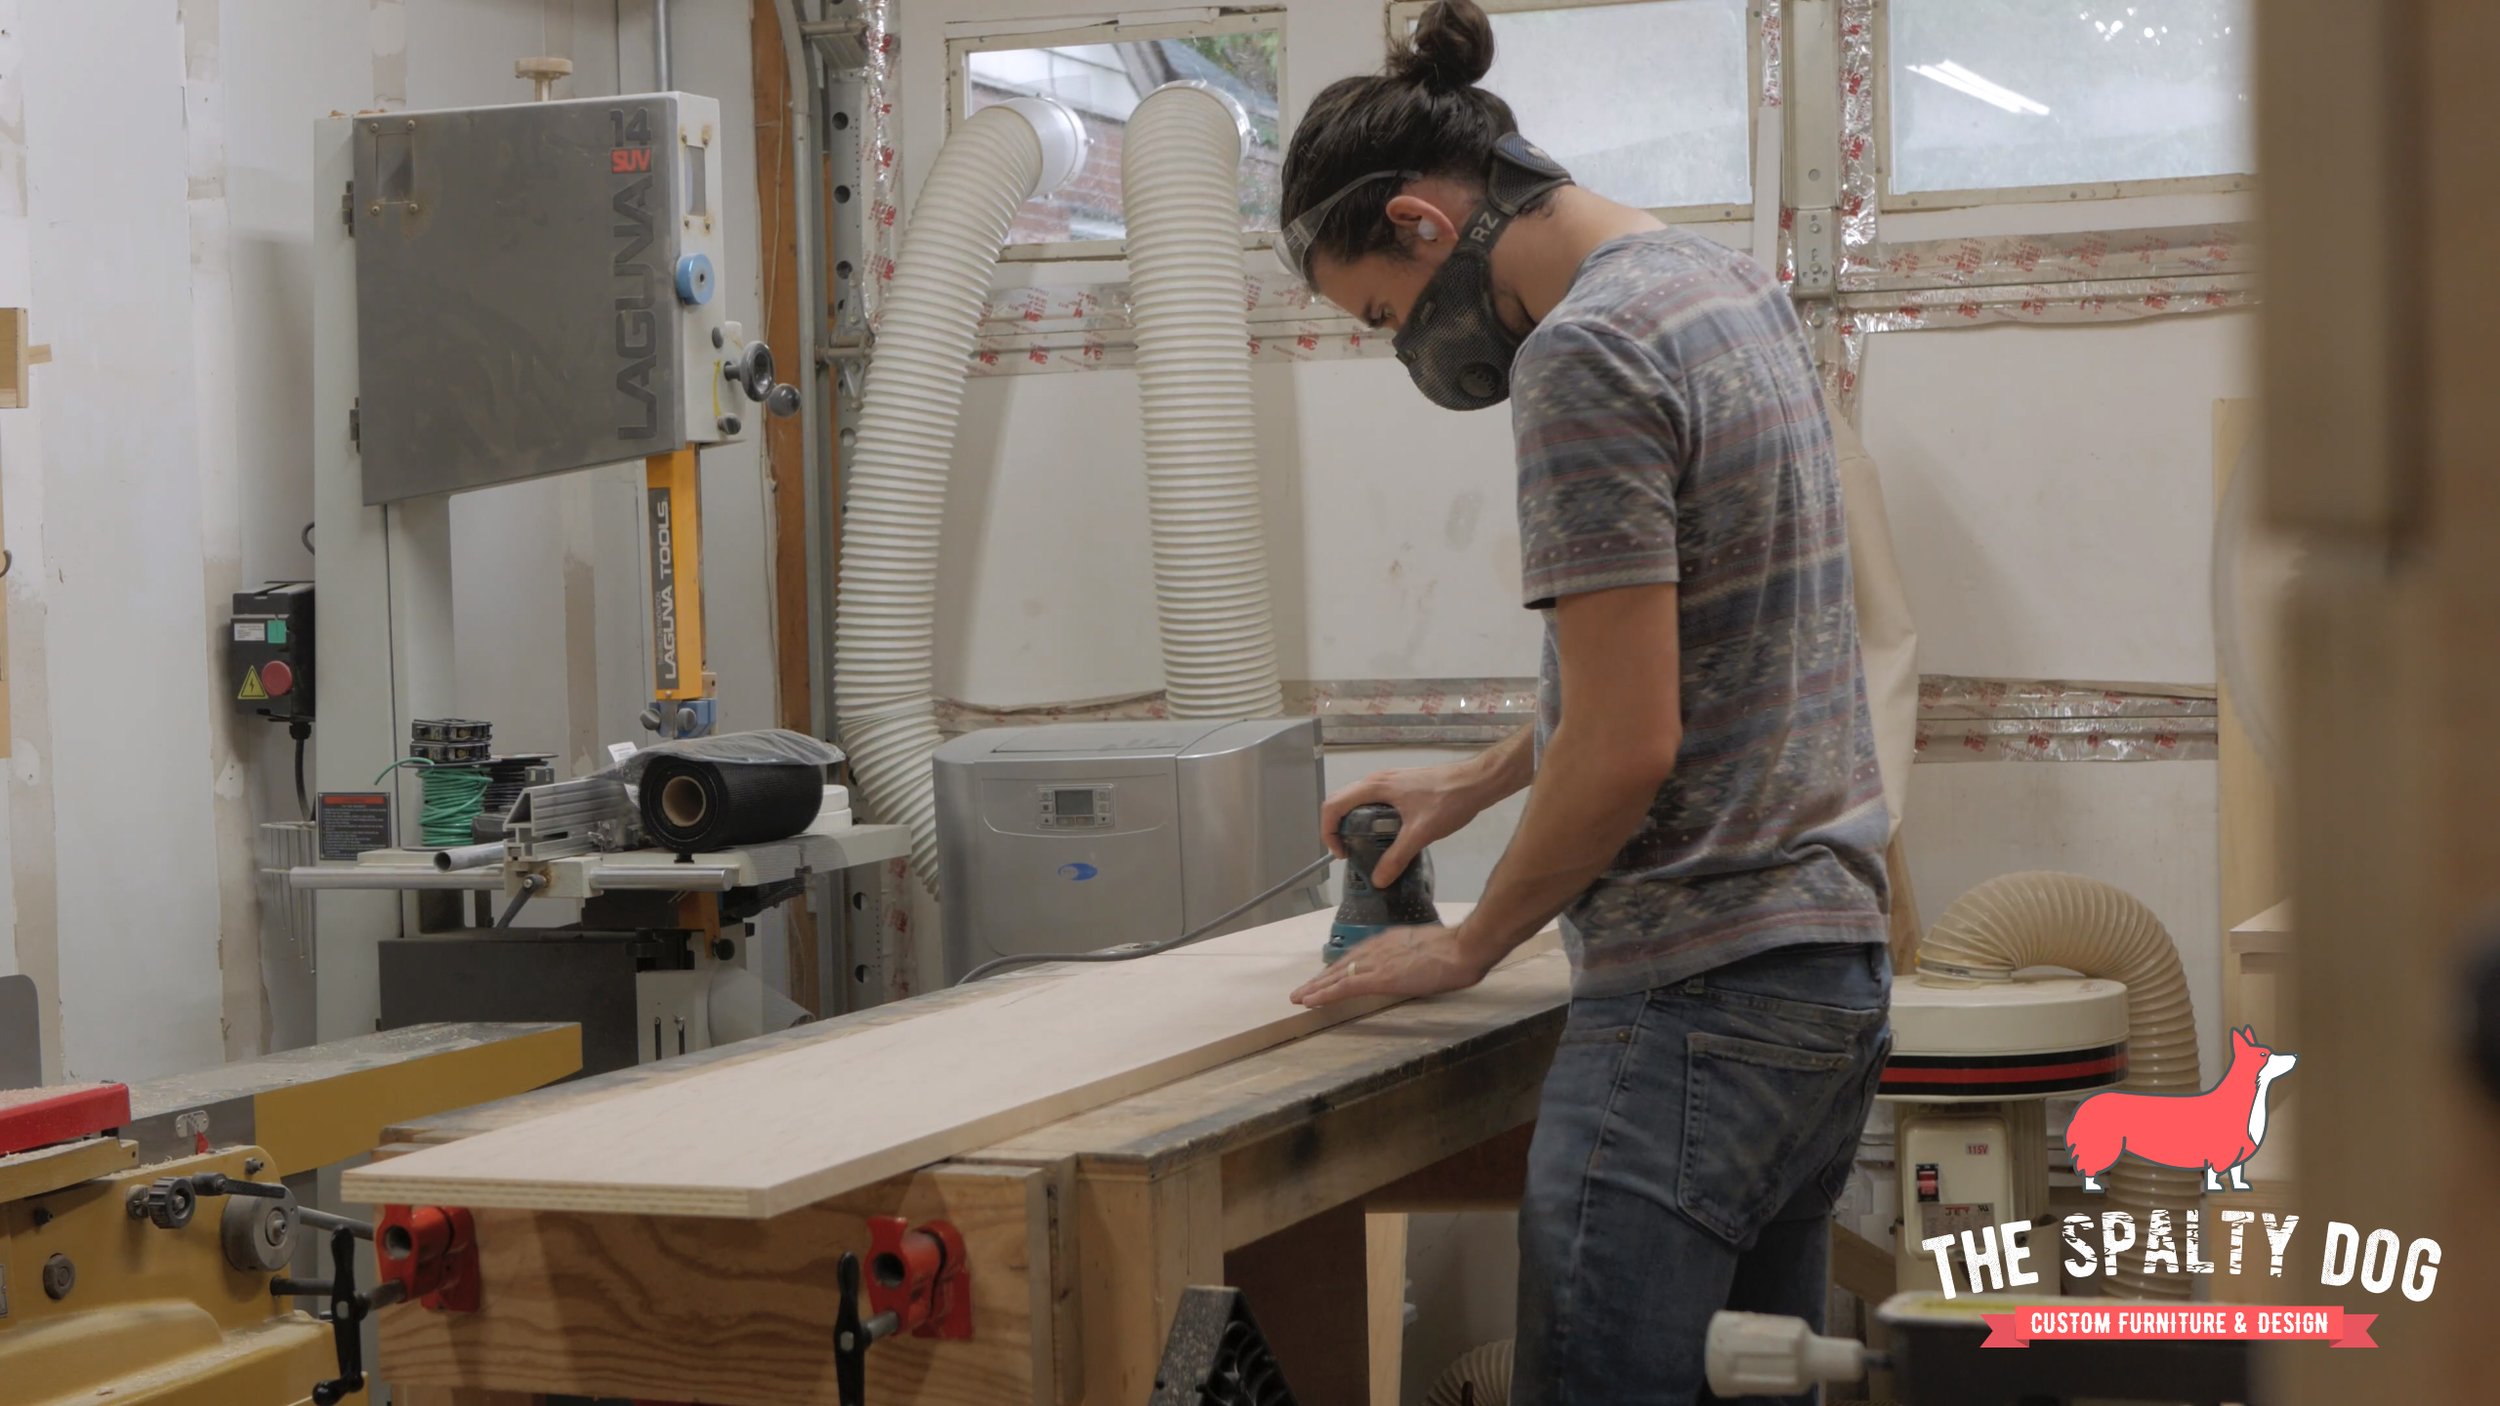
After that I started cleaning up the solid edge banding with the random orbit sander. There was some burning left from the table saw and a couple joints needed smoothed out but because I planned on this step from the beginning by using thicker edge banding it wasn’t an issue at all.

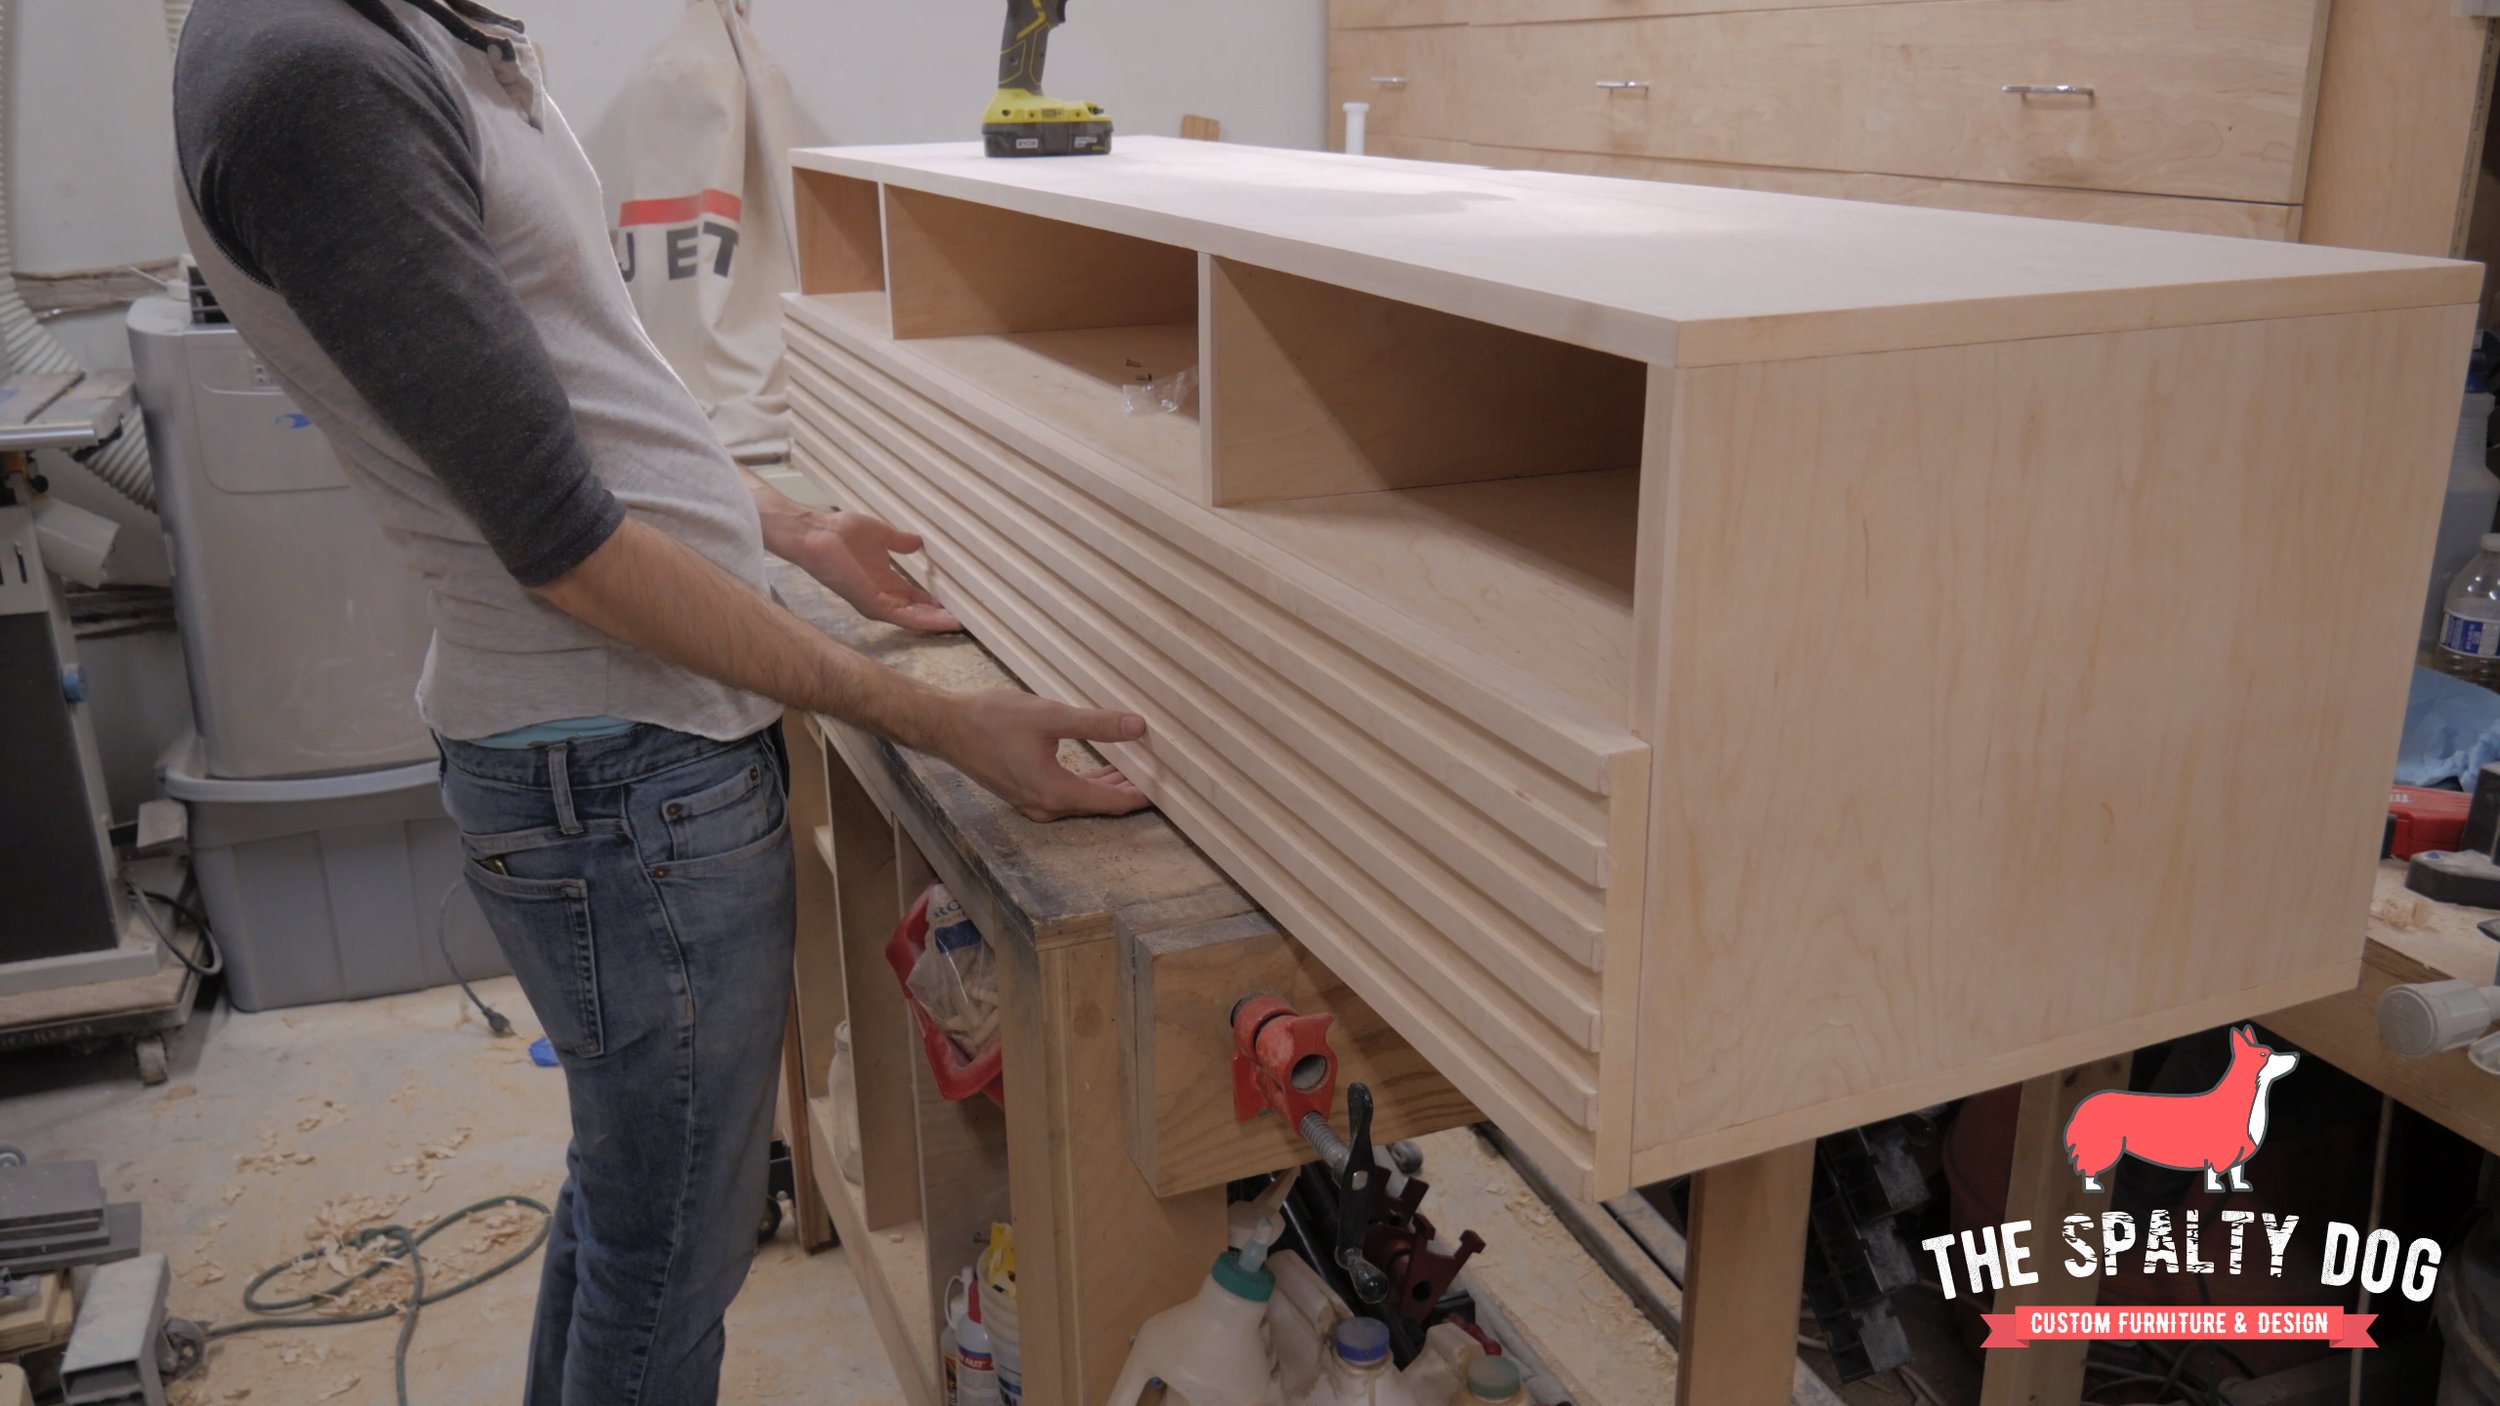
Next I needed to cut some hardwood strips for the door face. I took a few pieces I cut on the table saw earlier and made smaller strips over on the band saw.

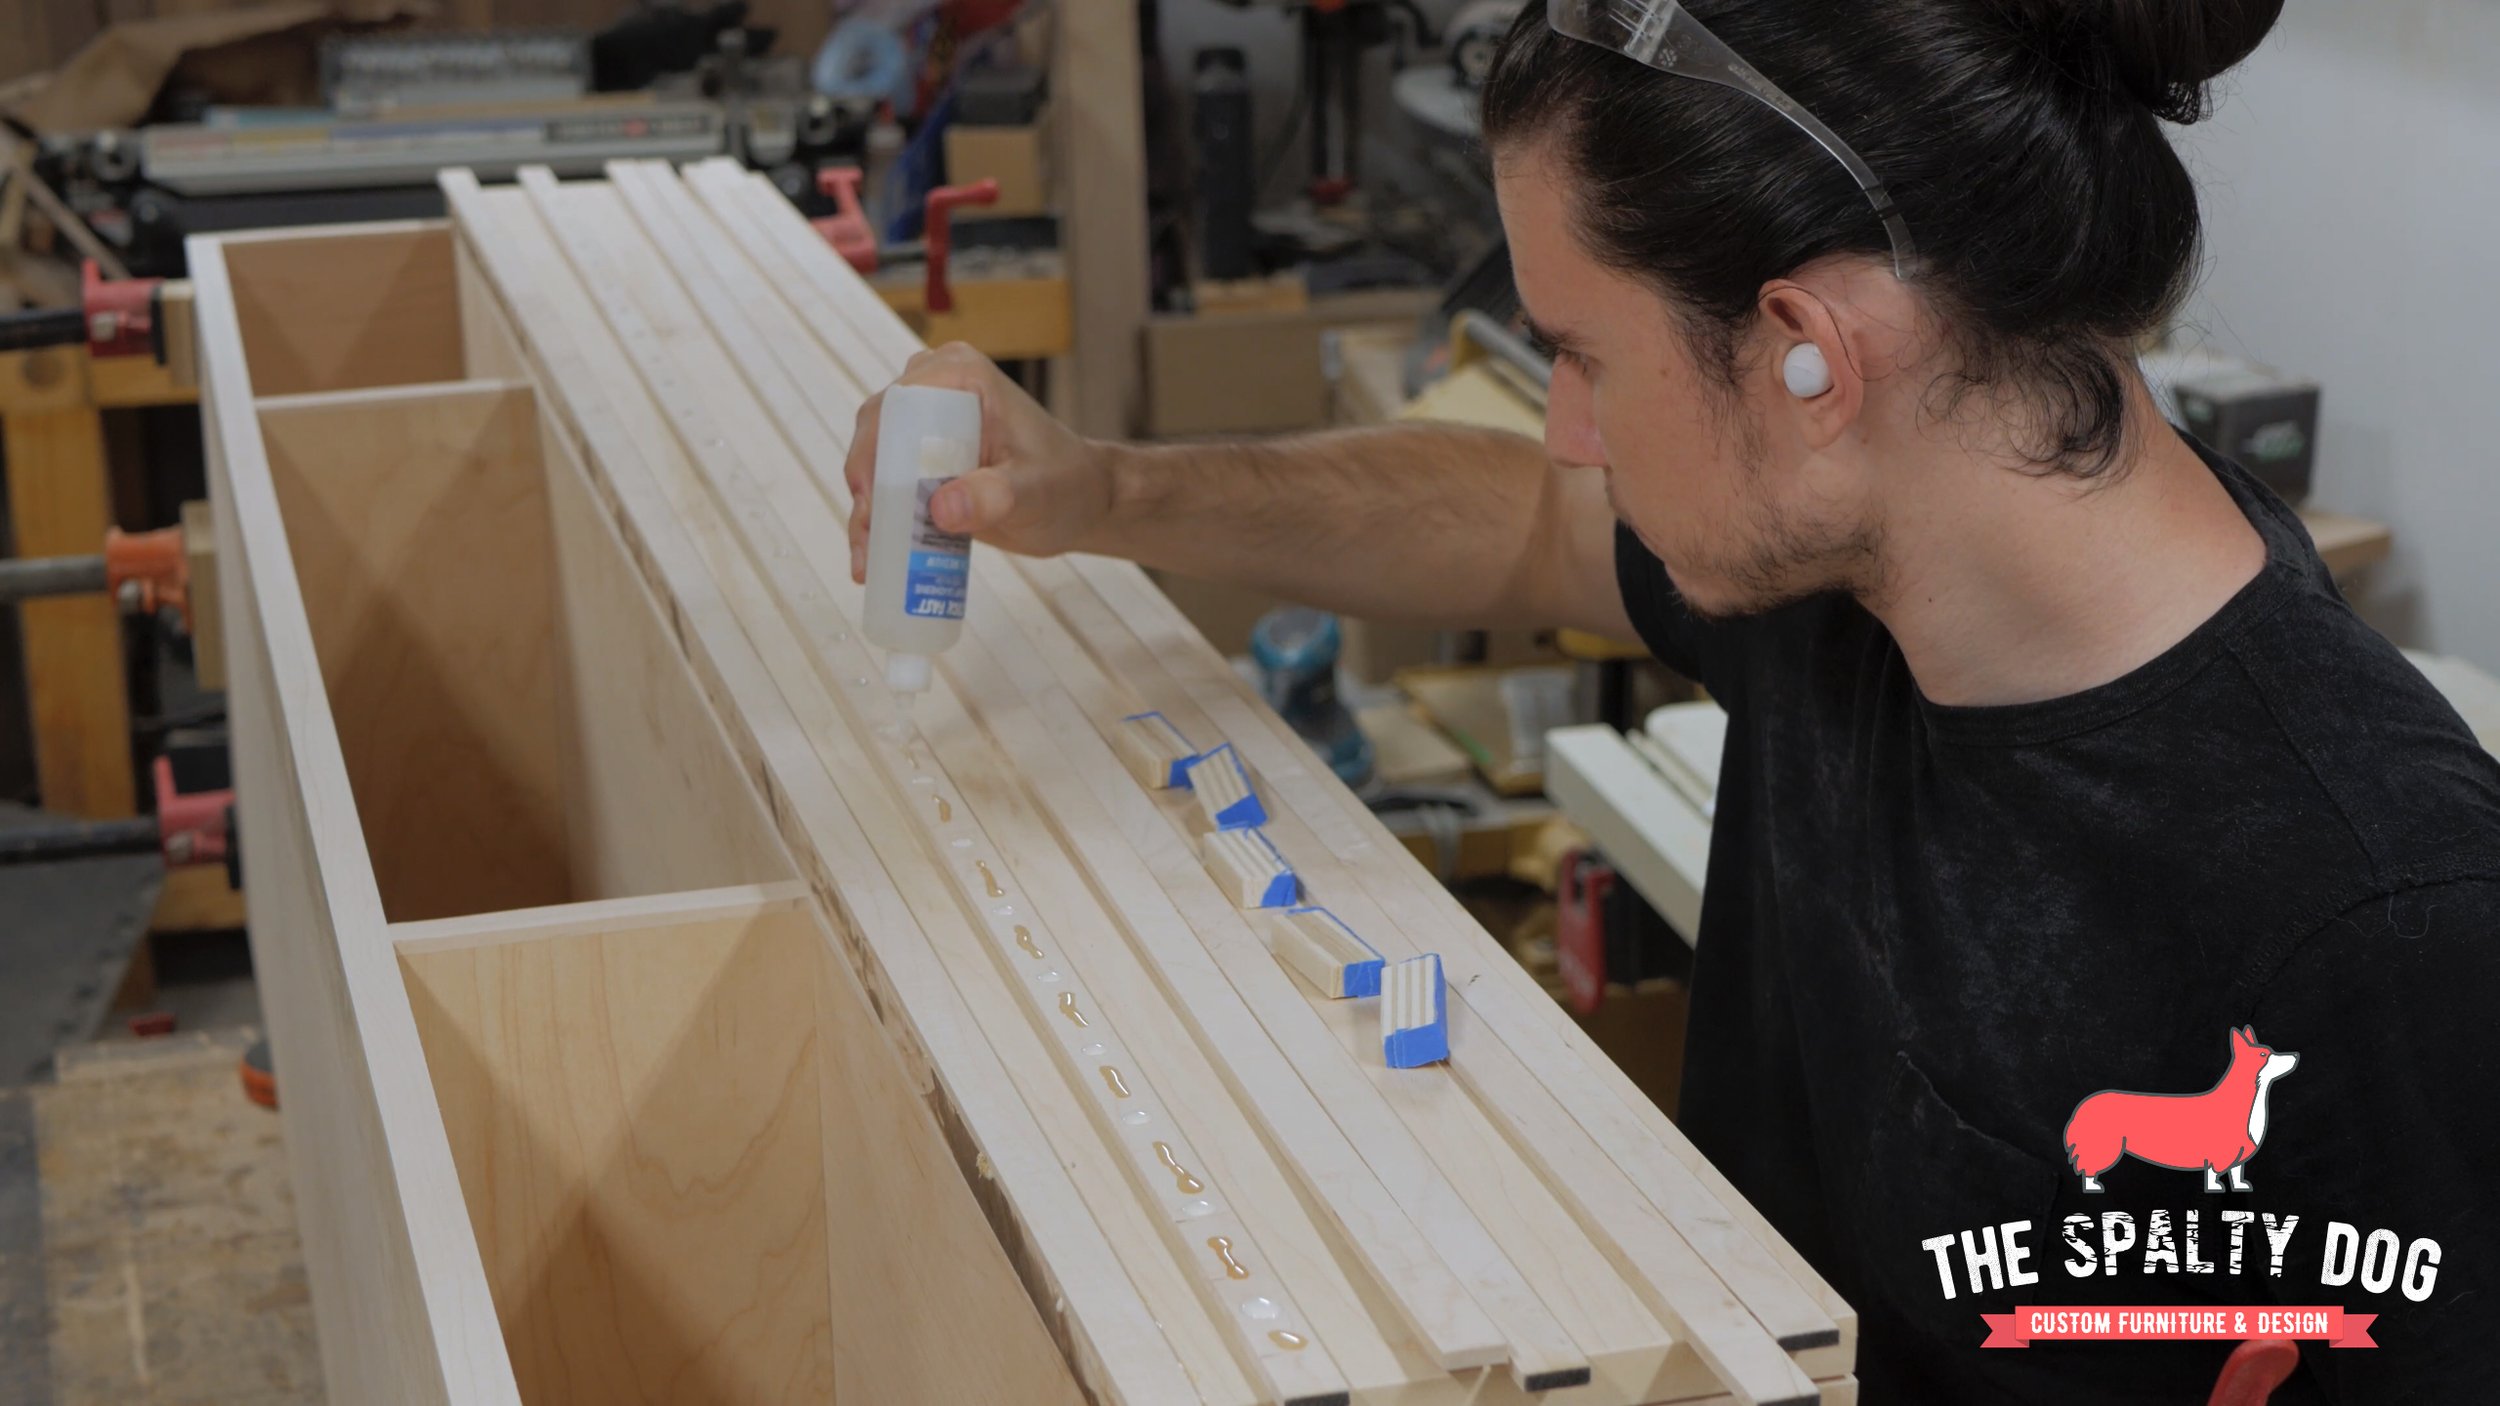
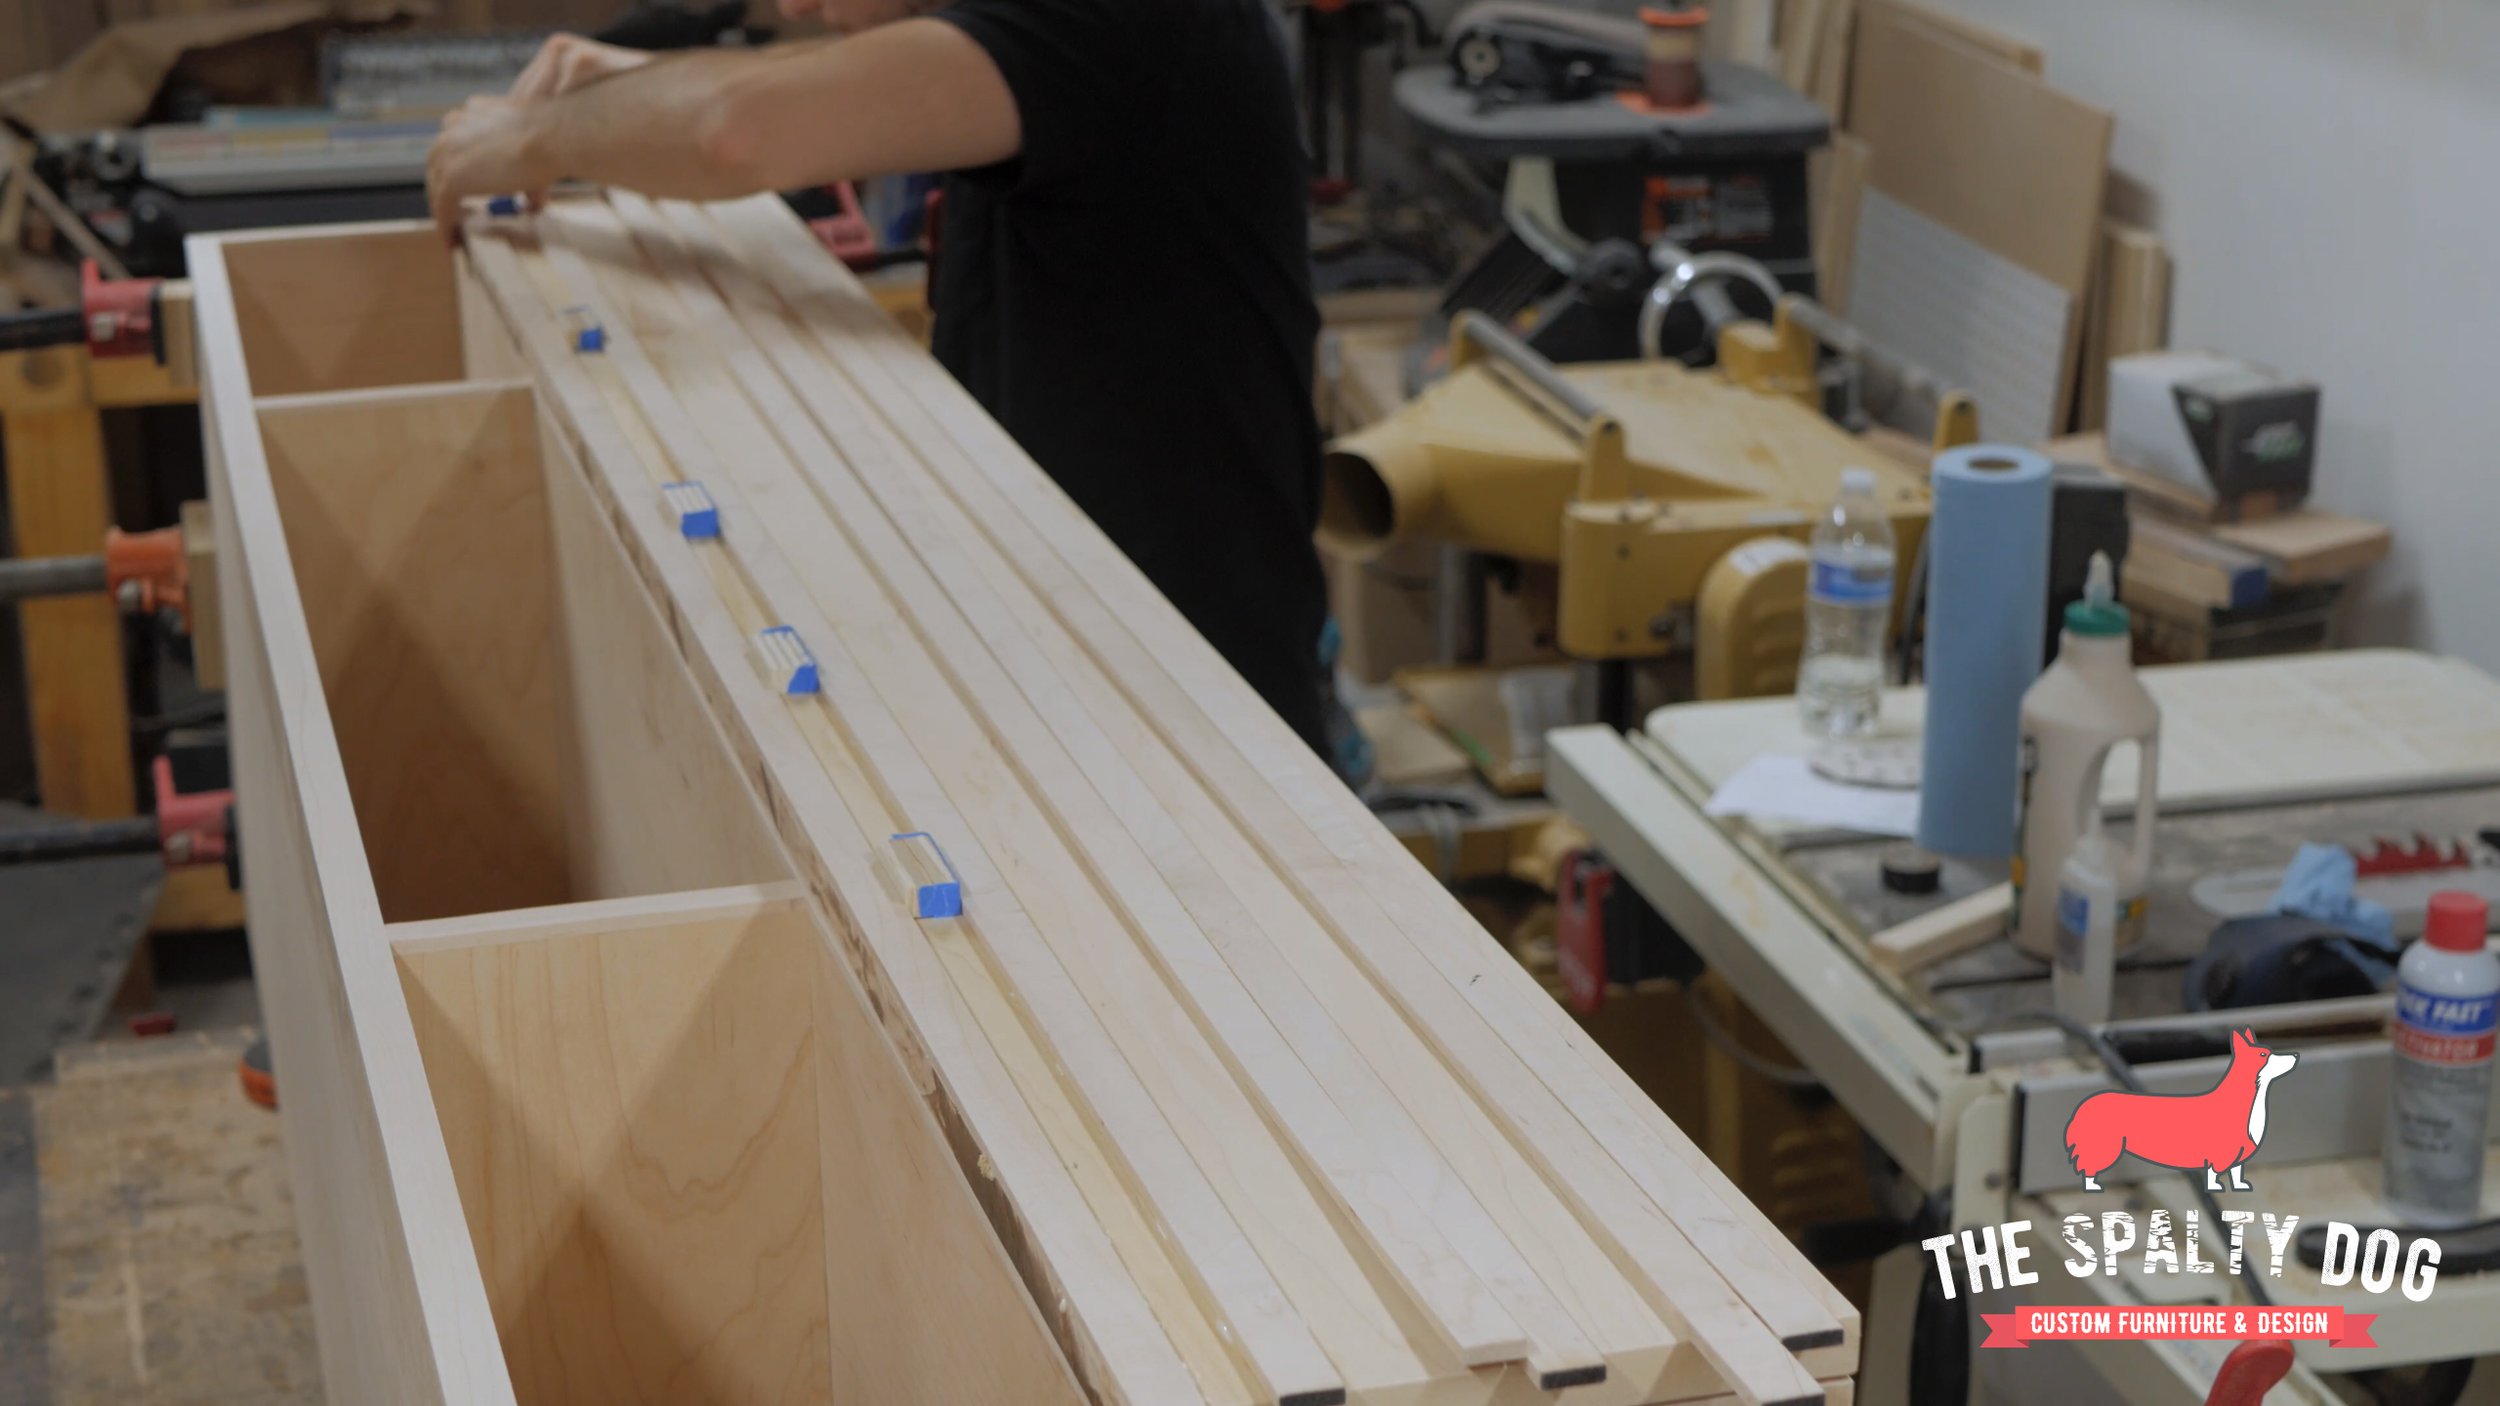
To attach the hardwood strips to the console door, I used a combination of wood glue, ca glue and activator. The ca glue acted as a clamp to hold the piece in place while the wood glue dried. I positioned the strips using some scrap plywood each layered with painters tape to get precise spacing.
After that, each piece was trimmed flush using a flush trim saw.

I then sanded up to 180 grit to clean up the door and remove any imperfections.

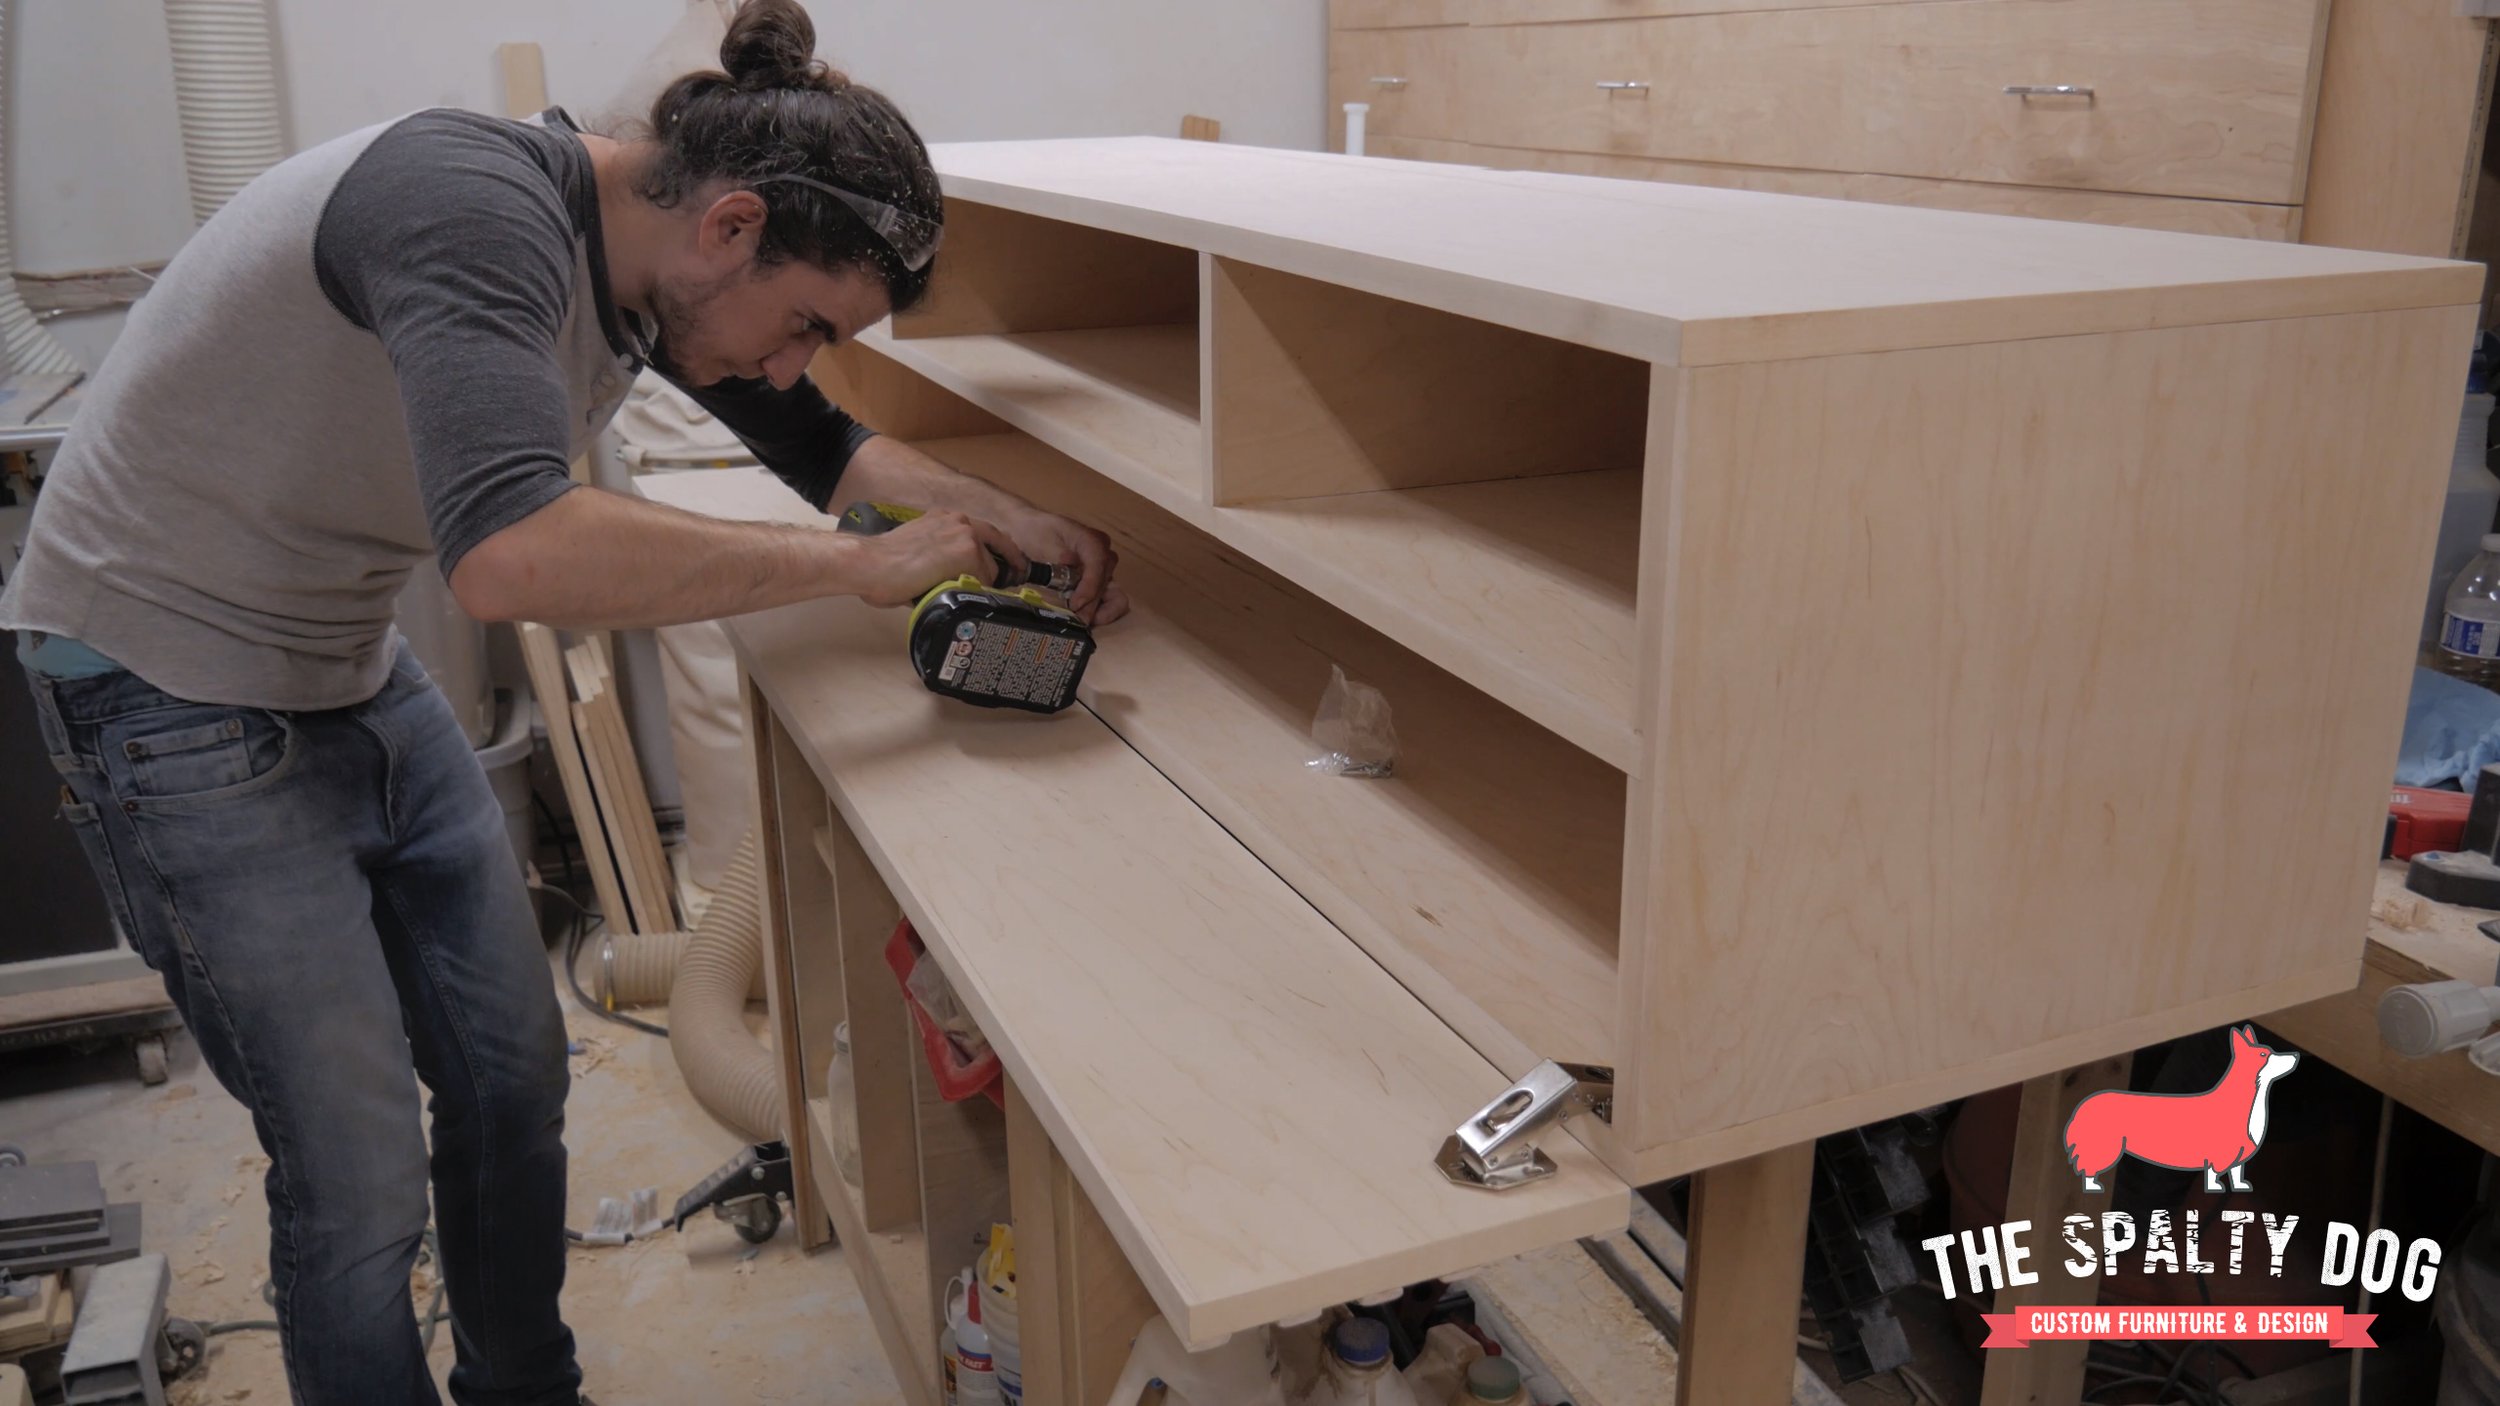
Next it was time to attach the door. To do this I temporarily attached the hinges using CA glue then came back with screws. I could then check the reveal and make any adjustments necessary.
Unfortunately after opening and closing the door a lot the hinges lost some of their strength and wouldn’t keep the door fully shut.

To remedy this, I decided to add a magnet to the front of the shelf and the inside of the door. I cut a mortise for the magnet using my self centering dowelling jig then cleaned everything up with a chisel.

I used the magnet itself to compress any fibers of the mortise by dragging it along the inside. Then attaching it with 5 minute epoxy.

For the door I decided not to recess the magnet as it made a nice reveal along the top. I simply attached it by applying some more 5 minute epoxy to the backside and closing the door on it. Then added a piece of tape to hold the door in place while the epoxy set.

I noticed some bowing happening between the shelf and the bottom panel so I decided to add an additional support between them using pocket holes. I’m not too worried because it’s on the inside and most people would never see them but I decided to plug them up anyways.

I moved over to the table saw to cut the french cleat that will mount the console to the wall. I then cut four pieces to size at the miter saw. Two for the console and two slightly smaller ones for the wall.
I attached the cleat to the back of the console using glue, screws and brad nails. The client requested a way to run cables from above and below the console so a small recess was added off camera.

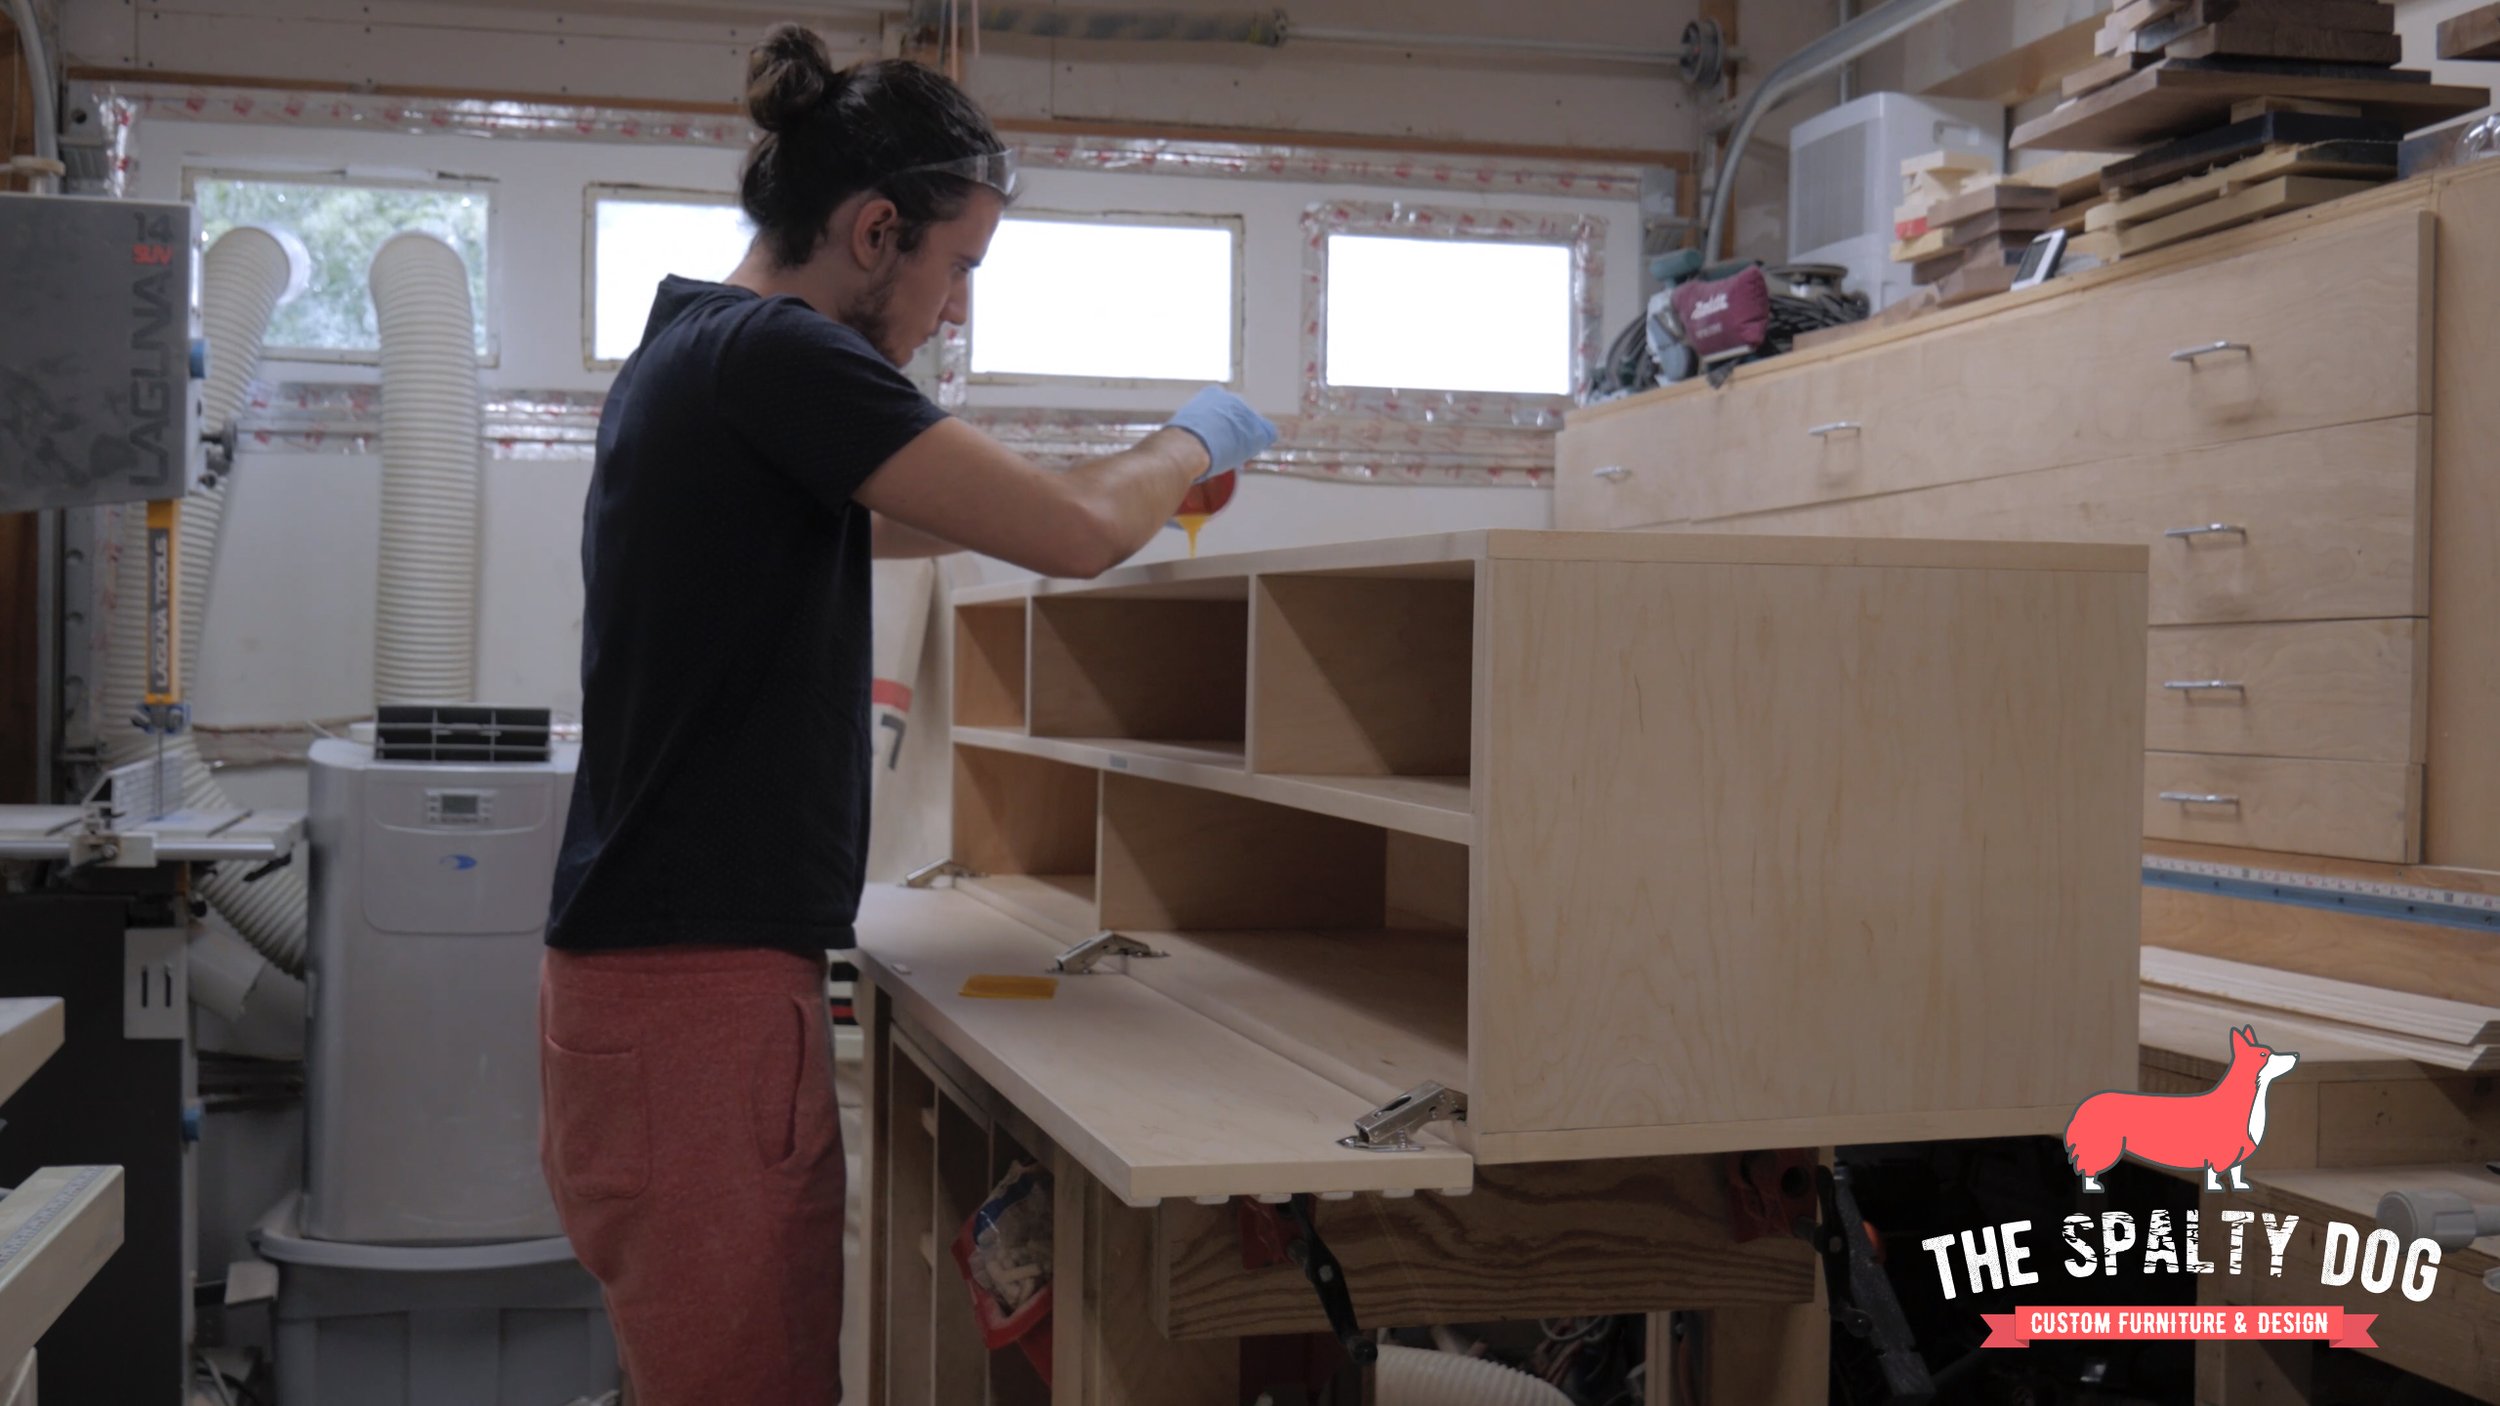
With everything assembled I cleaned the whole thing with mineral spirits and began finishing with my go-to finish, Rubio Monocoat.
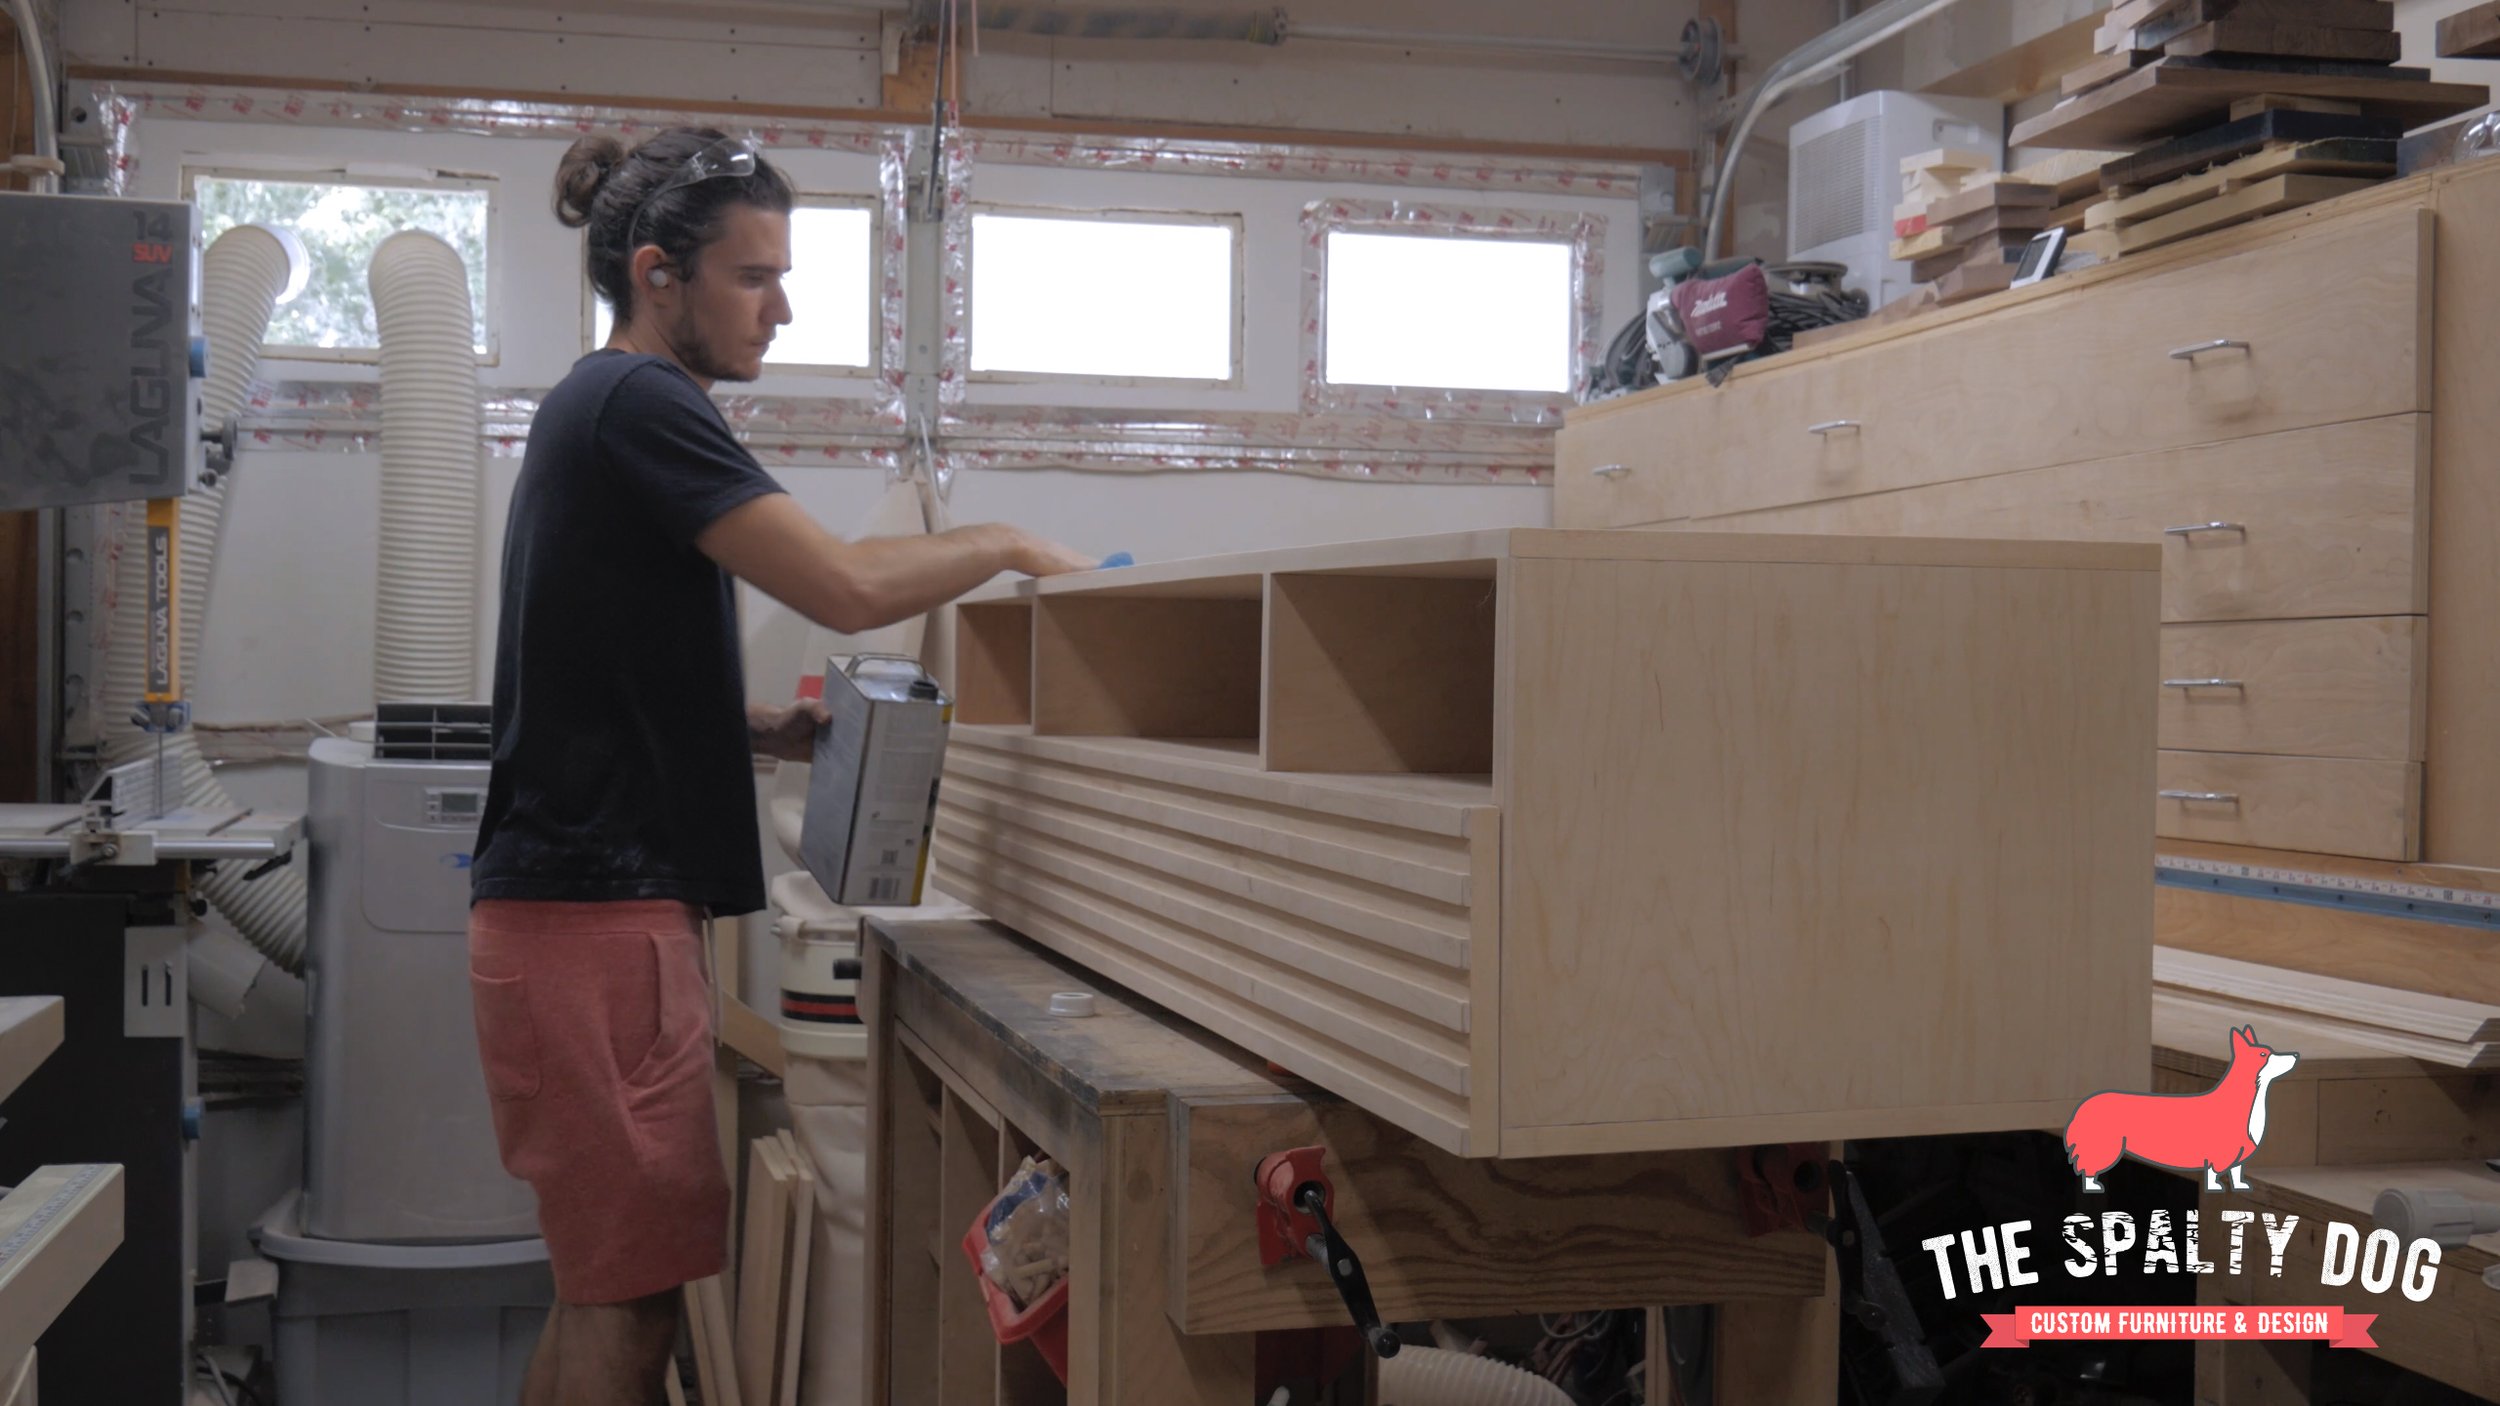
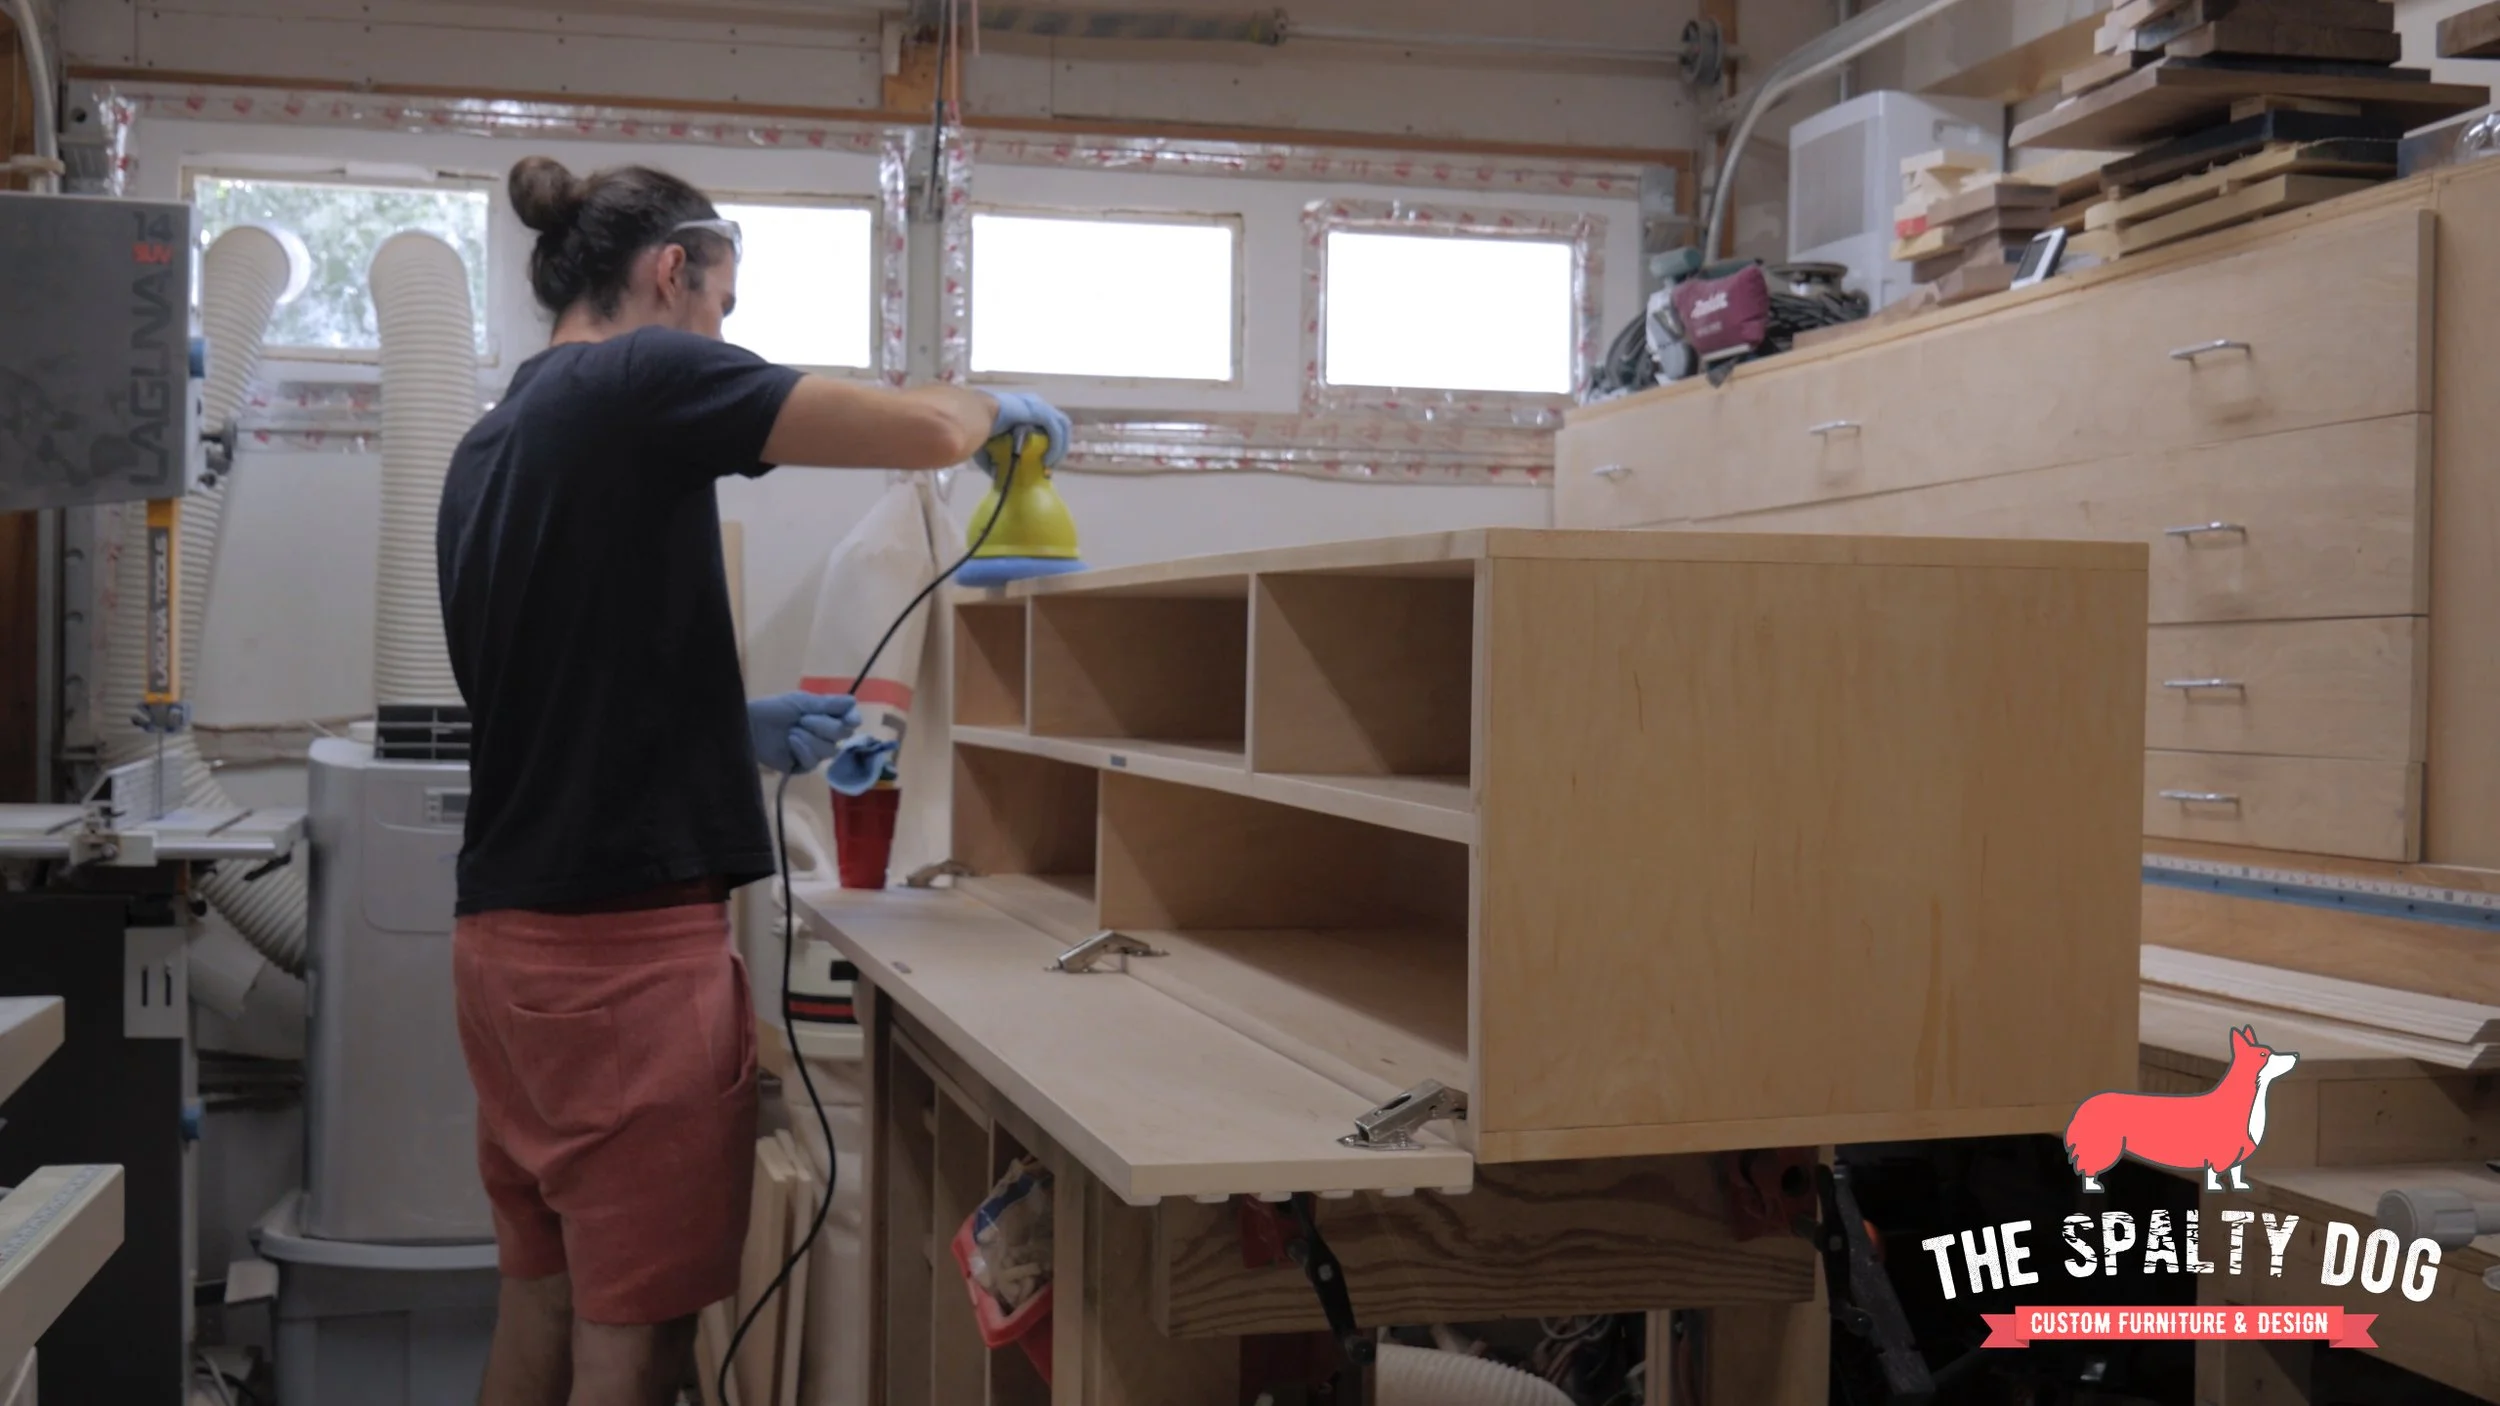
After buffing out the excess and letting this sit overnight we could call this one done.
This piece is by no means perfect, but I’ve come to realize that most things never are. However, looking back on this build I got to try out a few new things while learning along the way. Sometimes you just need to let go and roll with it. At the end of the day the client loved the piece and in my mind that’s what matters most.
Thanks for following me along on this build! If you liked what you saw, feel free to follow me on my social channels and subscribe to my newsletter to receive the latest updates of what’s going on with The Spalty Dog.