
Making a Mid Century Modern Plant Stand
It seems like every time I turn around and find a new plant in our home. When I asked my wife if she wanted me to make her a plant stand she was all for it. I wanted to create something with a mid century design inspiration but something different than the typical cross lapped plant stands that hold a single pot. After fine tuning the design, I decided to try using soft maple for the first time. The lighter color provides great contrast from all the darker woods in our house. While we're using this for plants, I plan on making another to use as a bookshelf for our office.
Materials
5/4 Maple Boards
Mineral Spirits
Sandpaper
Minwax Polycrylic
3/8” Dowels
Titebond 3 Wood Glue
Tools
Jet Proshop Table Saw
Powermatic 8” HH Jointer
Wen 12.5” Planer
Makita Random Orbit Sander
Rockler Tapering Jig
Incra Miter Gauge
Rockler Centering Doweling Jig
Drill
Brass Spacer Bars
Mill the lumber
I start by milling some rough maple for the plant stand to rough dimension using the miter saw, jointer, planer and table saw.
First I cut the boards to rough length at the miter saw.

Next I flatten one face on the jointer.

Then I flatten the opposite face on the planer. After that I can take the boards back to the jointer and square up one edge.

Finally I head to the table saw to square up the final edge.

Glue up the shelves
I lay out the boards for the shelves. To make sure there are no gaps in the glue seam, I use the “In Out” method by marking each board and taking a shallow pass on the jointer. This method will account for any error in my jointer fence and create a perfect glue seam.

Then I glue up each shelf using a few clamps and set them aside to dry.

Cut the legs
Next I cut the legs to final length with a 5 degree angle at the miter saw.

I cut out each leg on the table saw using the Rockler Tapering Jig. Then I added a smaller taper to the top of each leg using my miter gauge.

Cut the stretchers
After that, I ripped the stretchers for the legs to final width.

With my miter gauge set to 5 degrees, I reference the miter bar against the edge of my workbench to position the first leg then clamp it in place.

I repeated this process for the second leg after roughly measuring the distance between each leg.

Next I attach a couple plywood scraps directly to my workbench on the outside of each leg to act as a fence.

To get the exact spacing, I can slide the legs up and down the plywood fences attached to my workbench. With everything in place, I attach another plywood scrap as a positive stop. To make sure my legs are on the same level plane, I checked that the bottom of each leg was fully seated on the stop.

Now I can start marking and cutting the stretchers over at the miter saw. Since the angle from the tapering jig is random, I sneak up on it by tapping the miter saw over a little at a time.

To cut the stretchers to final length, I need to mark and transfer the lines to the opposite face. It’s important to check the angle on your miter saw before cutting each stretcher to ensure the best fit.

Next I do a quick test fit to make sure the stretchers will line up on each pair of legs. Then mark their location.

Build the base
I decided to use dowel joinery for the stretchers so I made easy work of it with this self centering dowelling jig. Now some of you might say, “But Logan, I don’t have a doweling jig” and that’s okay. A domino joiner would would work great as well.

To transfer the dowel locations to the legs, I used dowel centers which leave small indentations in the wood.

When drilling the dowel holes on the legs, I made them slightly larger for an easier assembly.

I ended up only using one dowel on each end as I found it was much easier to align everything.

Next, I smooth all the edges using the belt sander since it will be more difficult to sand after assembly.

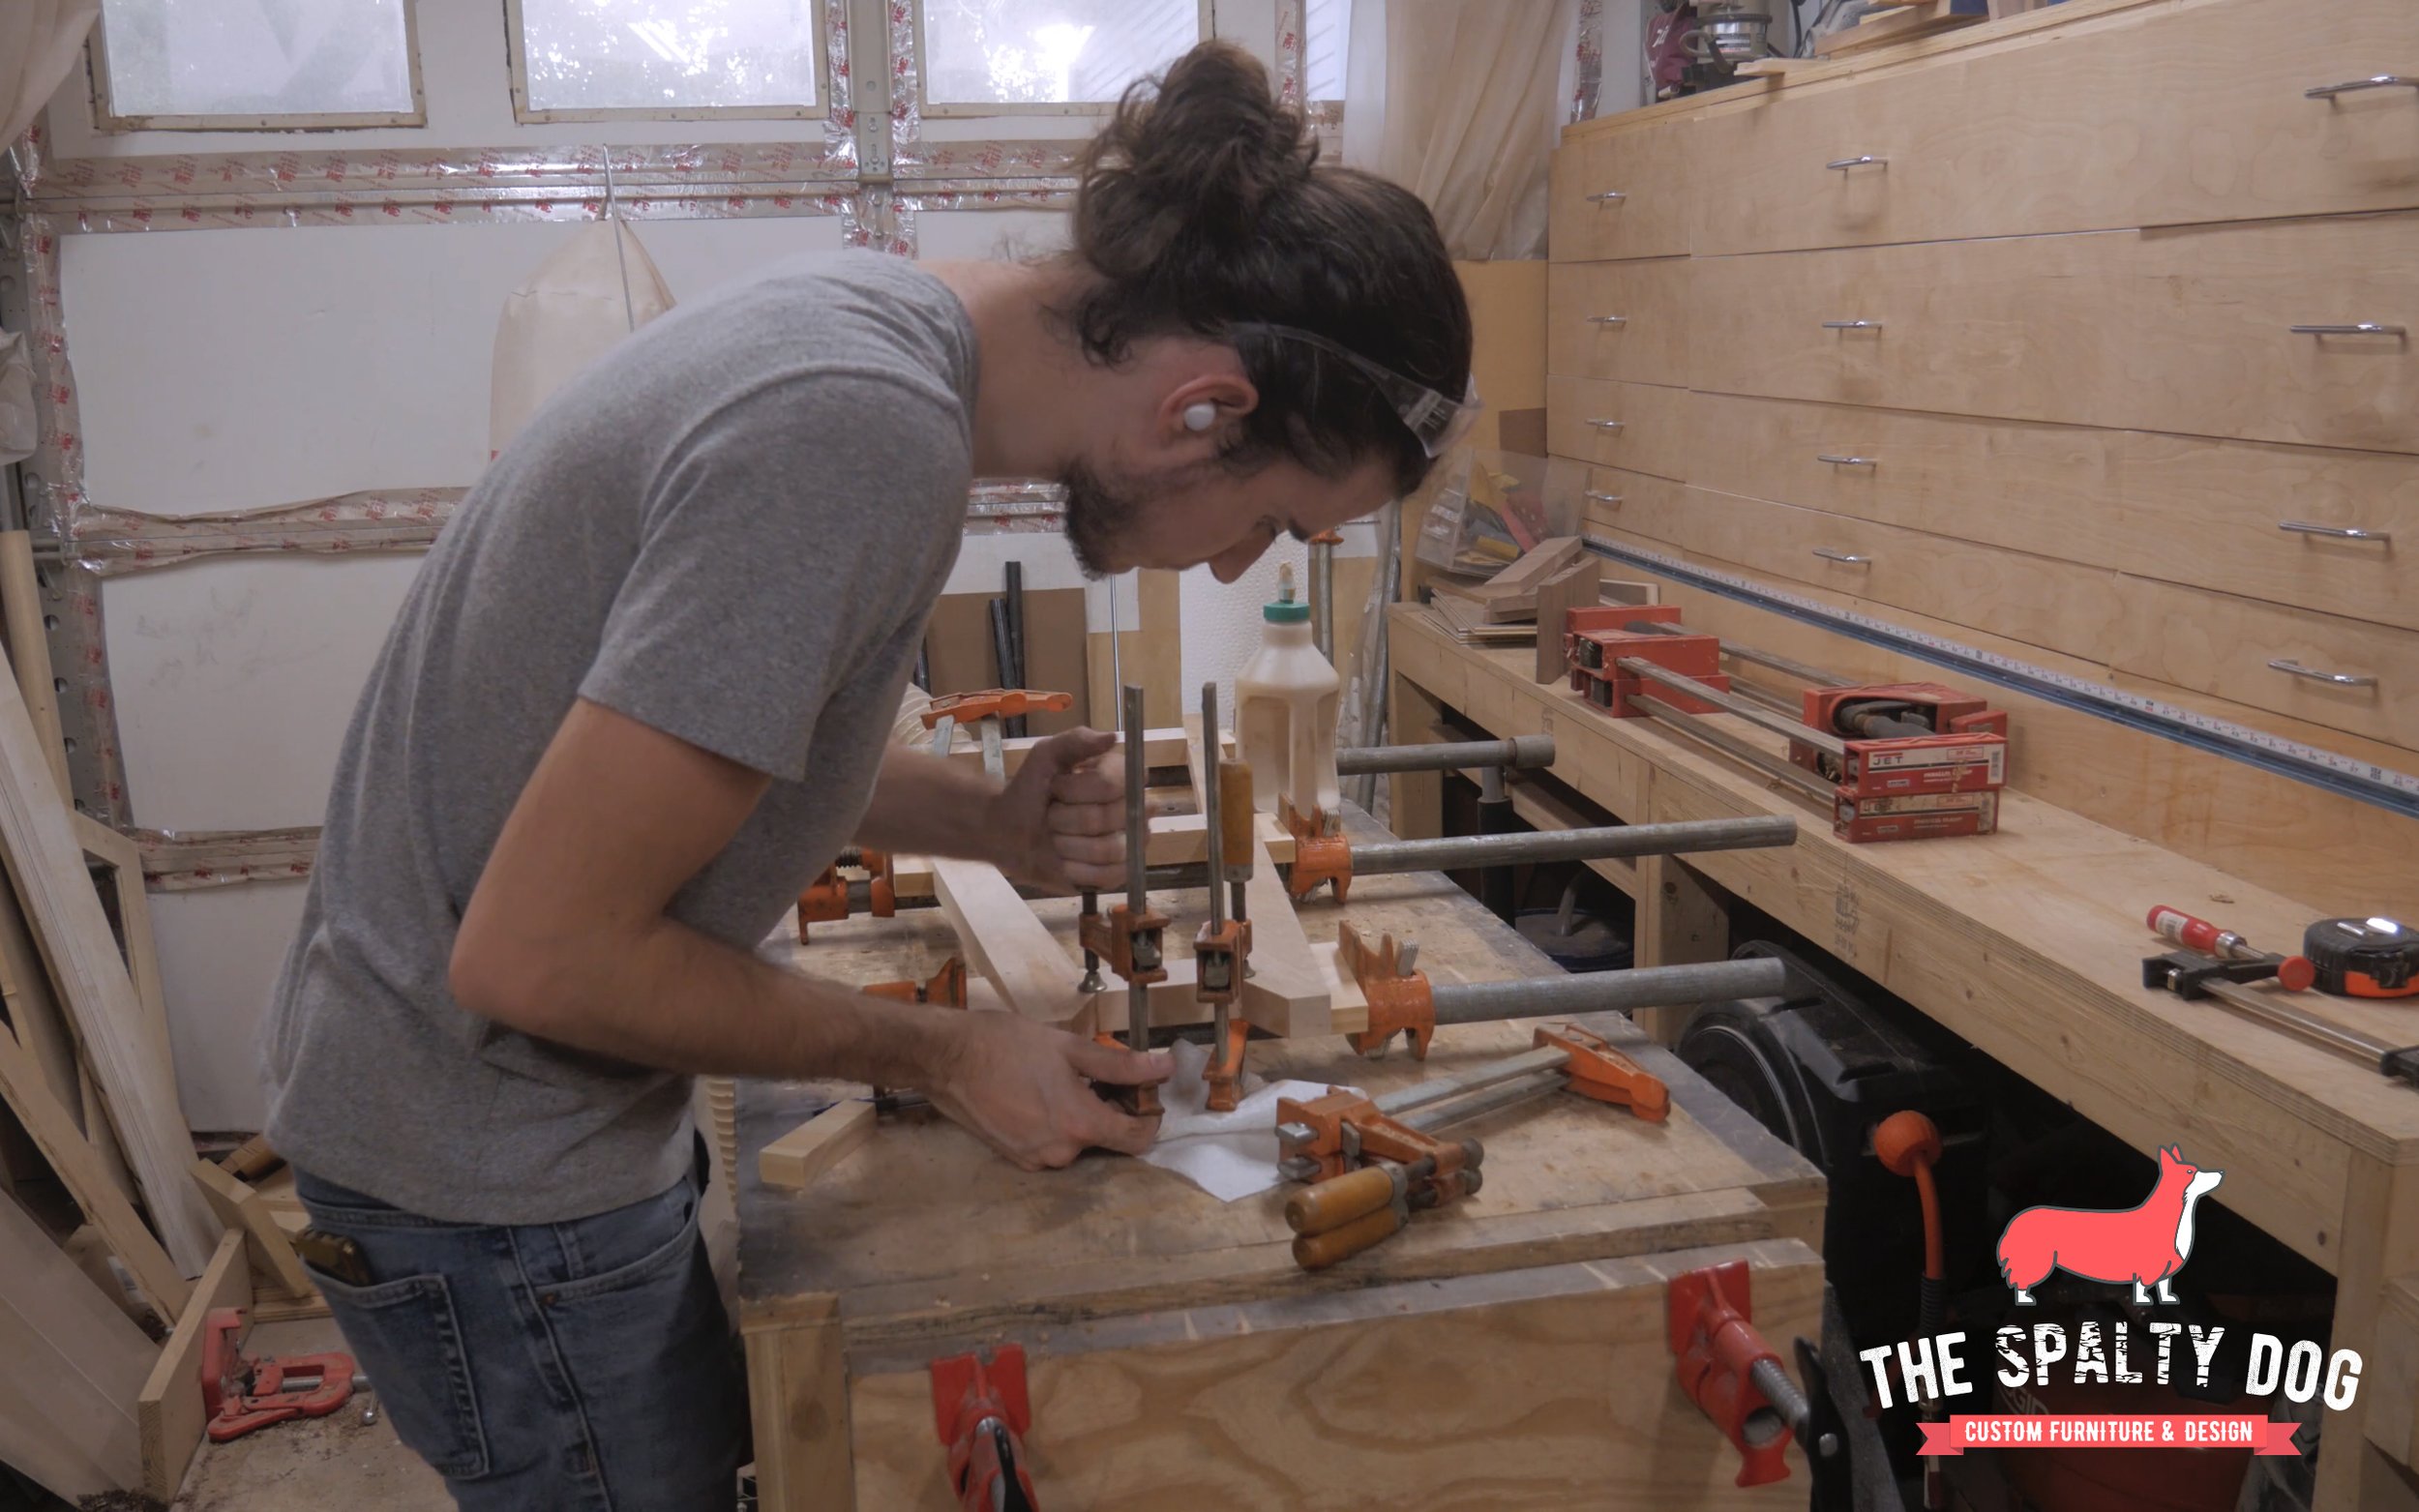
The glue up for this was pretty straight forward. I made some 5 degree clamping cauls and they made it extremely easy to apply pressure on the angled legs. I also added f clamps at each of the joints to keep everything as flat as possible.
Cut and position the shelves
I came back the next day and milled the shelves down to their final thickness at the planer and sanded everything up to 180 grit.

Then I lay out the shelves using a brass spacer bar and mark their locations on each set of legs.

Next I add a 5 degree bevel on the front edge of each shelf over at the table saw.

After that, I measure and mark how far I want to inset the shelves. Then I can measure the depth and cut each down to size with the same 5 degree bevel.

When attaching the shelves I repeat the same process as earlier with the doweling jig and dowel centers.

Next I round over all the edges with my trim router.

Get to sanding
I’ll be using a water based finish for this piece so I raised the grain then sanded everything with 220 to help with a smoother finish.

I had some burning from the router so I cleaned that up as well.

Final glue up and sand
The final glue up took a little more persuasion than the first, but after getting all the dowels lined up and everything close, I could let the clamps do the most of the work to pull everything together.

The mallet left a few marks on the stand so I had to come back and do a little more sanding.

I also put a light chamfer on the feet to prevent them from chipping out.

Apply finish
After that, I cleaned the base with mineral spirits and started spraying the finish. I decided to try minwax polycrylic for this piece because I wanted something that wouldn’t yellow the wood over time. I applied multiple thin coats while wet sanding in between with 600 grit.
All that’s left is to get some plants on this guy and we can call this one finished.

Photosynthesis
Our house is slowly being overrun by my wife plants. So when I asked her if I could make a plant stand for her she was all for it. We’re both really happy with how this turned out and the maple is a great break from all the darker wood in the house.


Thanks for sticking around so far and if you liked the video consider liking and subscribing to stay up to date on future projects. I hope to catch you on the next one.