
Making a Mid Century Modern Table Lamp
As part of the upcoming furniture collection I’ve been working on I wanted to include some form of lighting. I decided on first creating a smaller version as a prototype to work out any kinks in the process and design. Overall I’m really pleased with how this turned out and am excited to start offering these to you. Keep an eye out on our store for when these become available!
Materials
5/4 Walnut Boards
Mineral Spirits
Sandpaper
Rubio Monocoat (Pure)
Titebond 3 Wood Glue
Rubber Bands
Painters Tape
Solder
Tools
Jet Proshop Table Saw
Powermatic 8” HH Jointer
Powermatic 15” HH Planer
Makita Random Orbit Sander
WEN Oscillating Belt Sander
Drill/Drill Press
Router
Laguna 14” SUV Bandsaw
Soldering Iron
Needle Nose Pliers
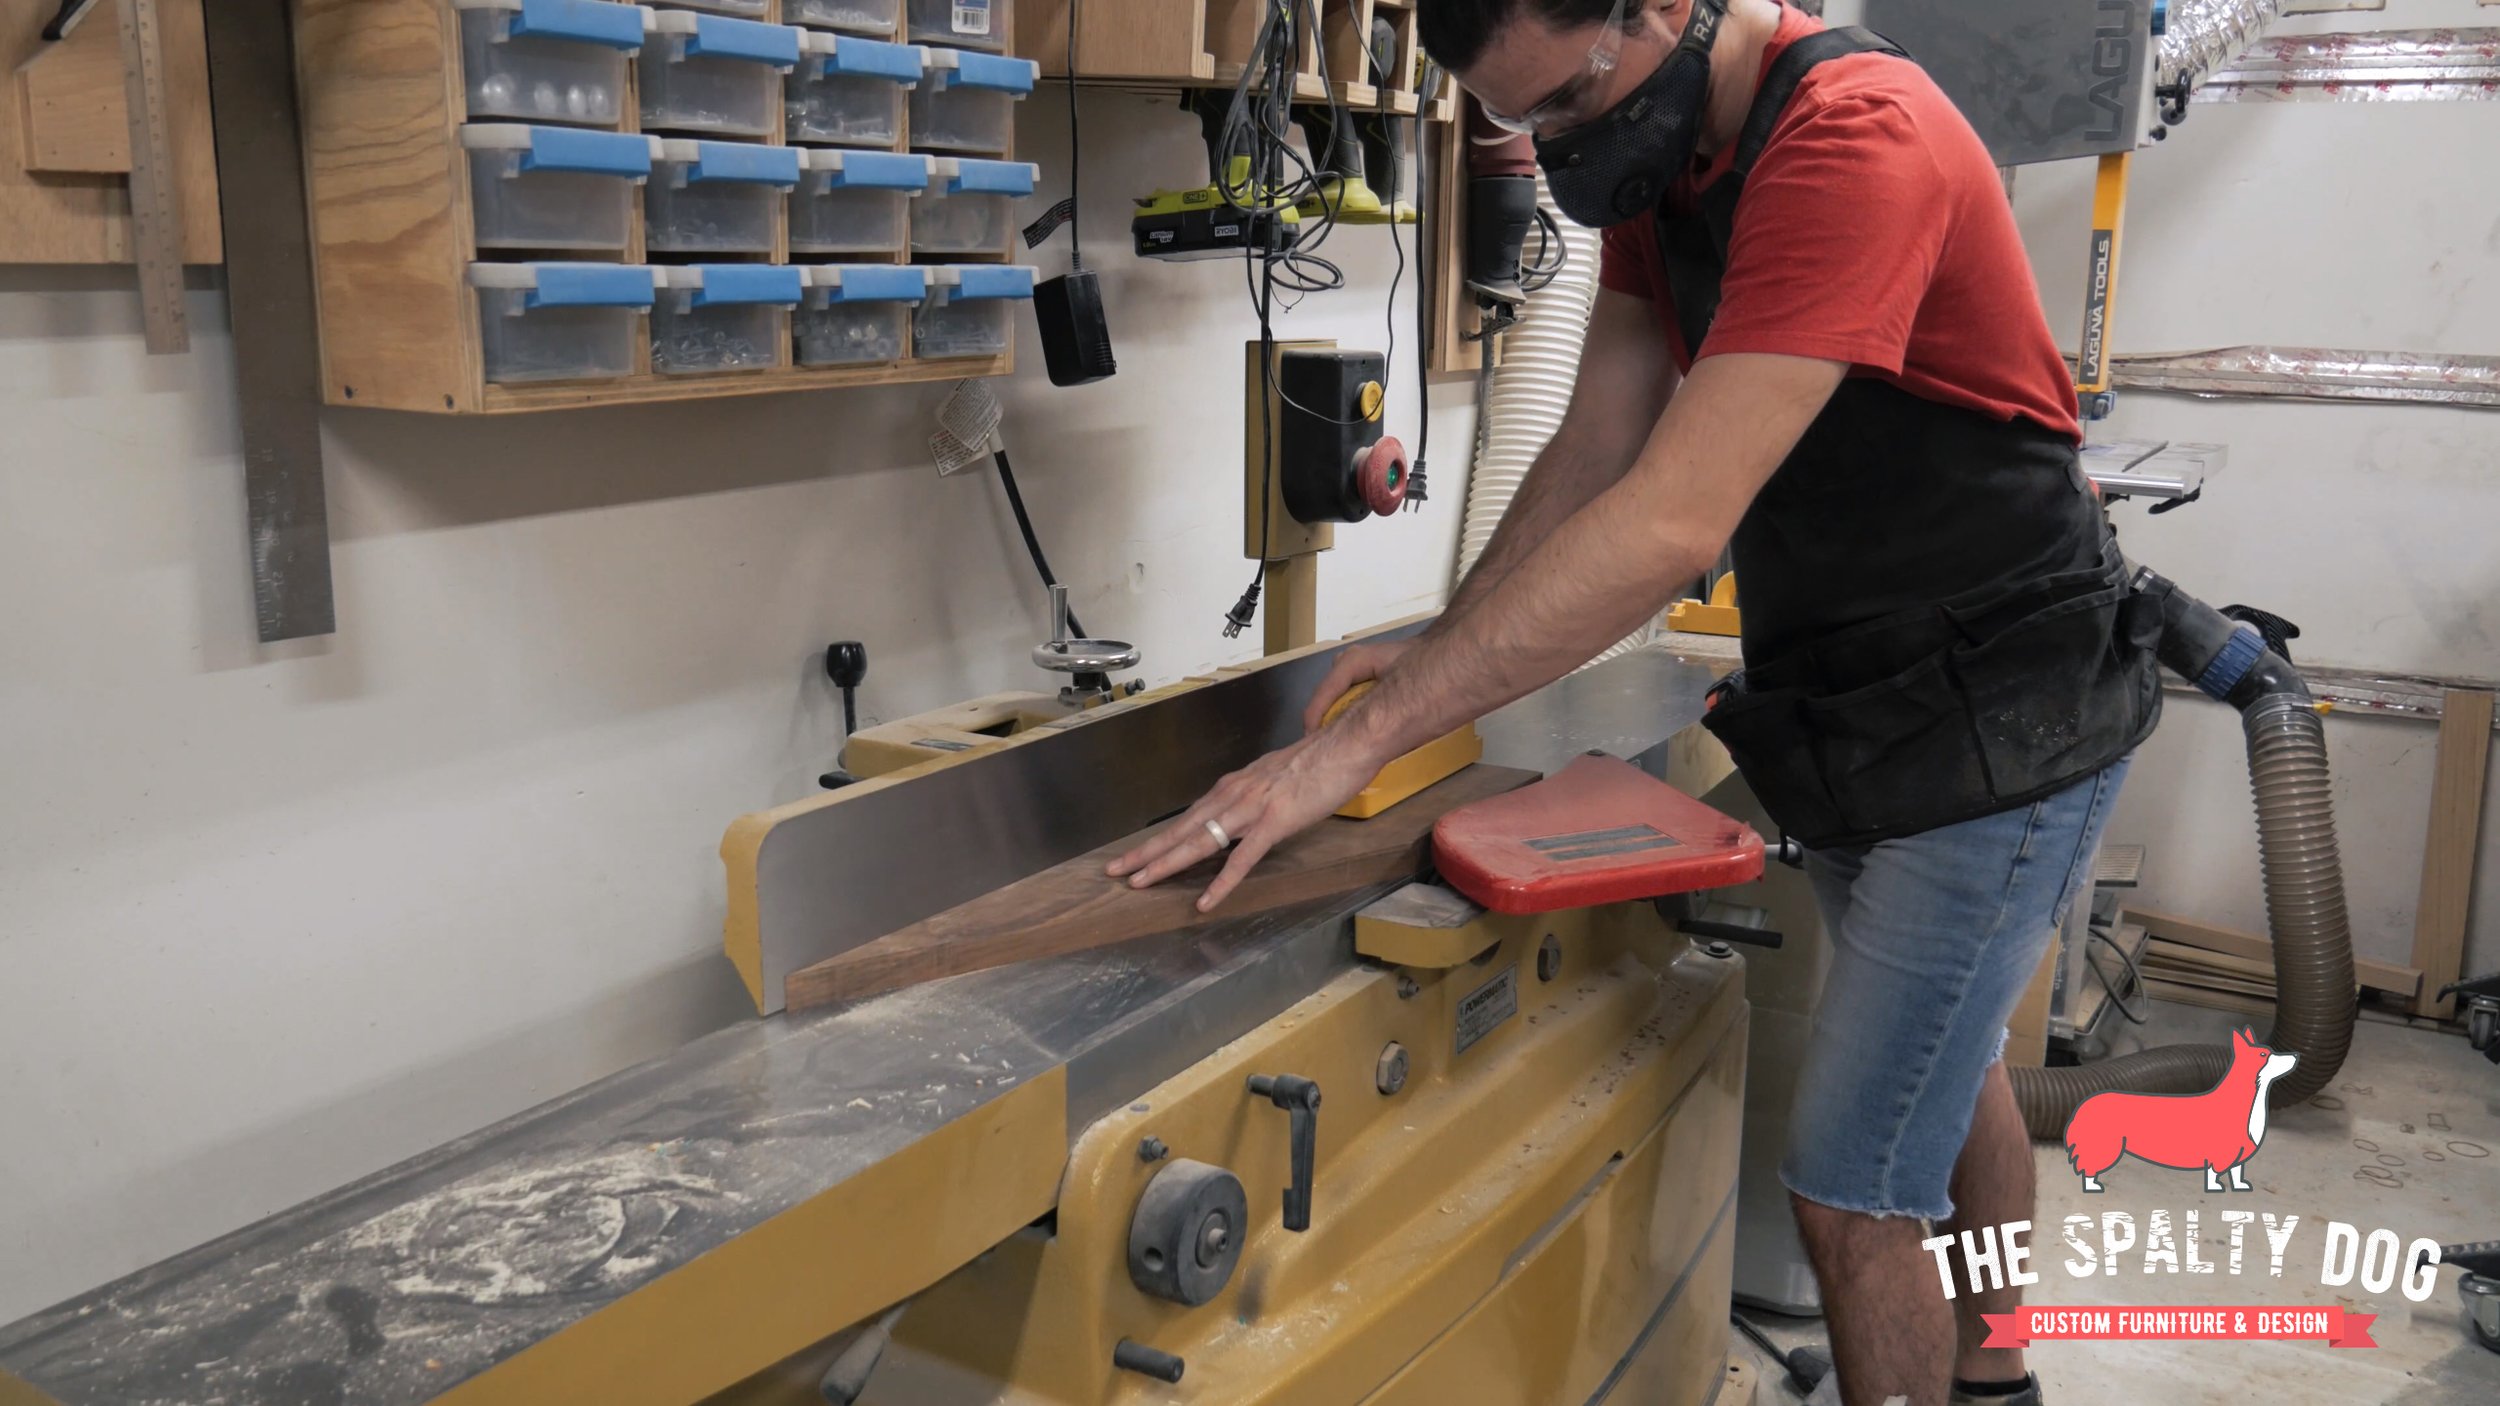
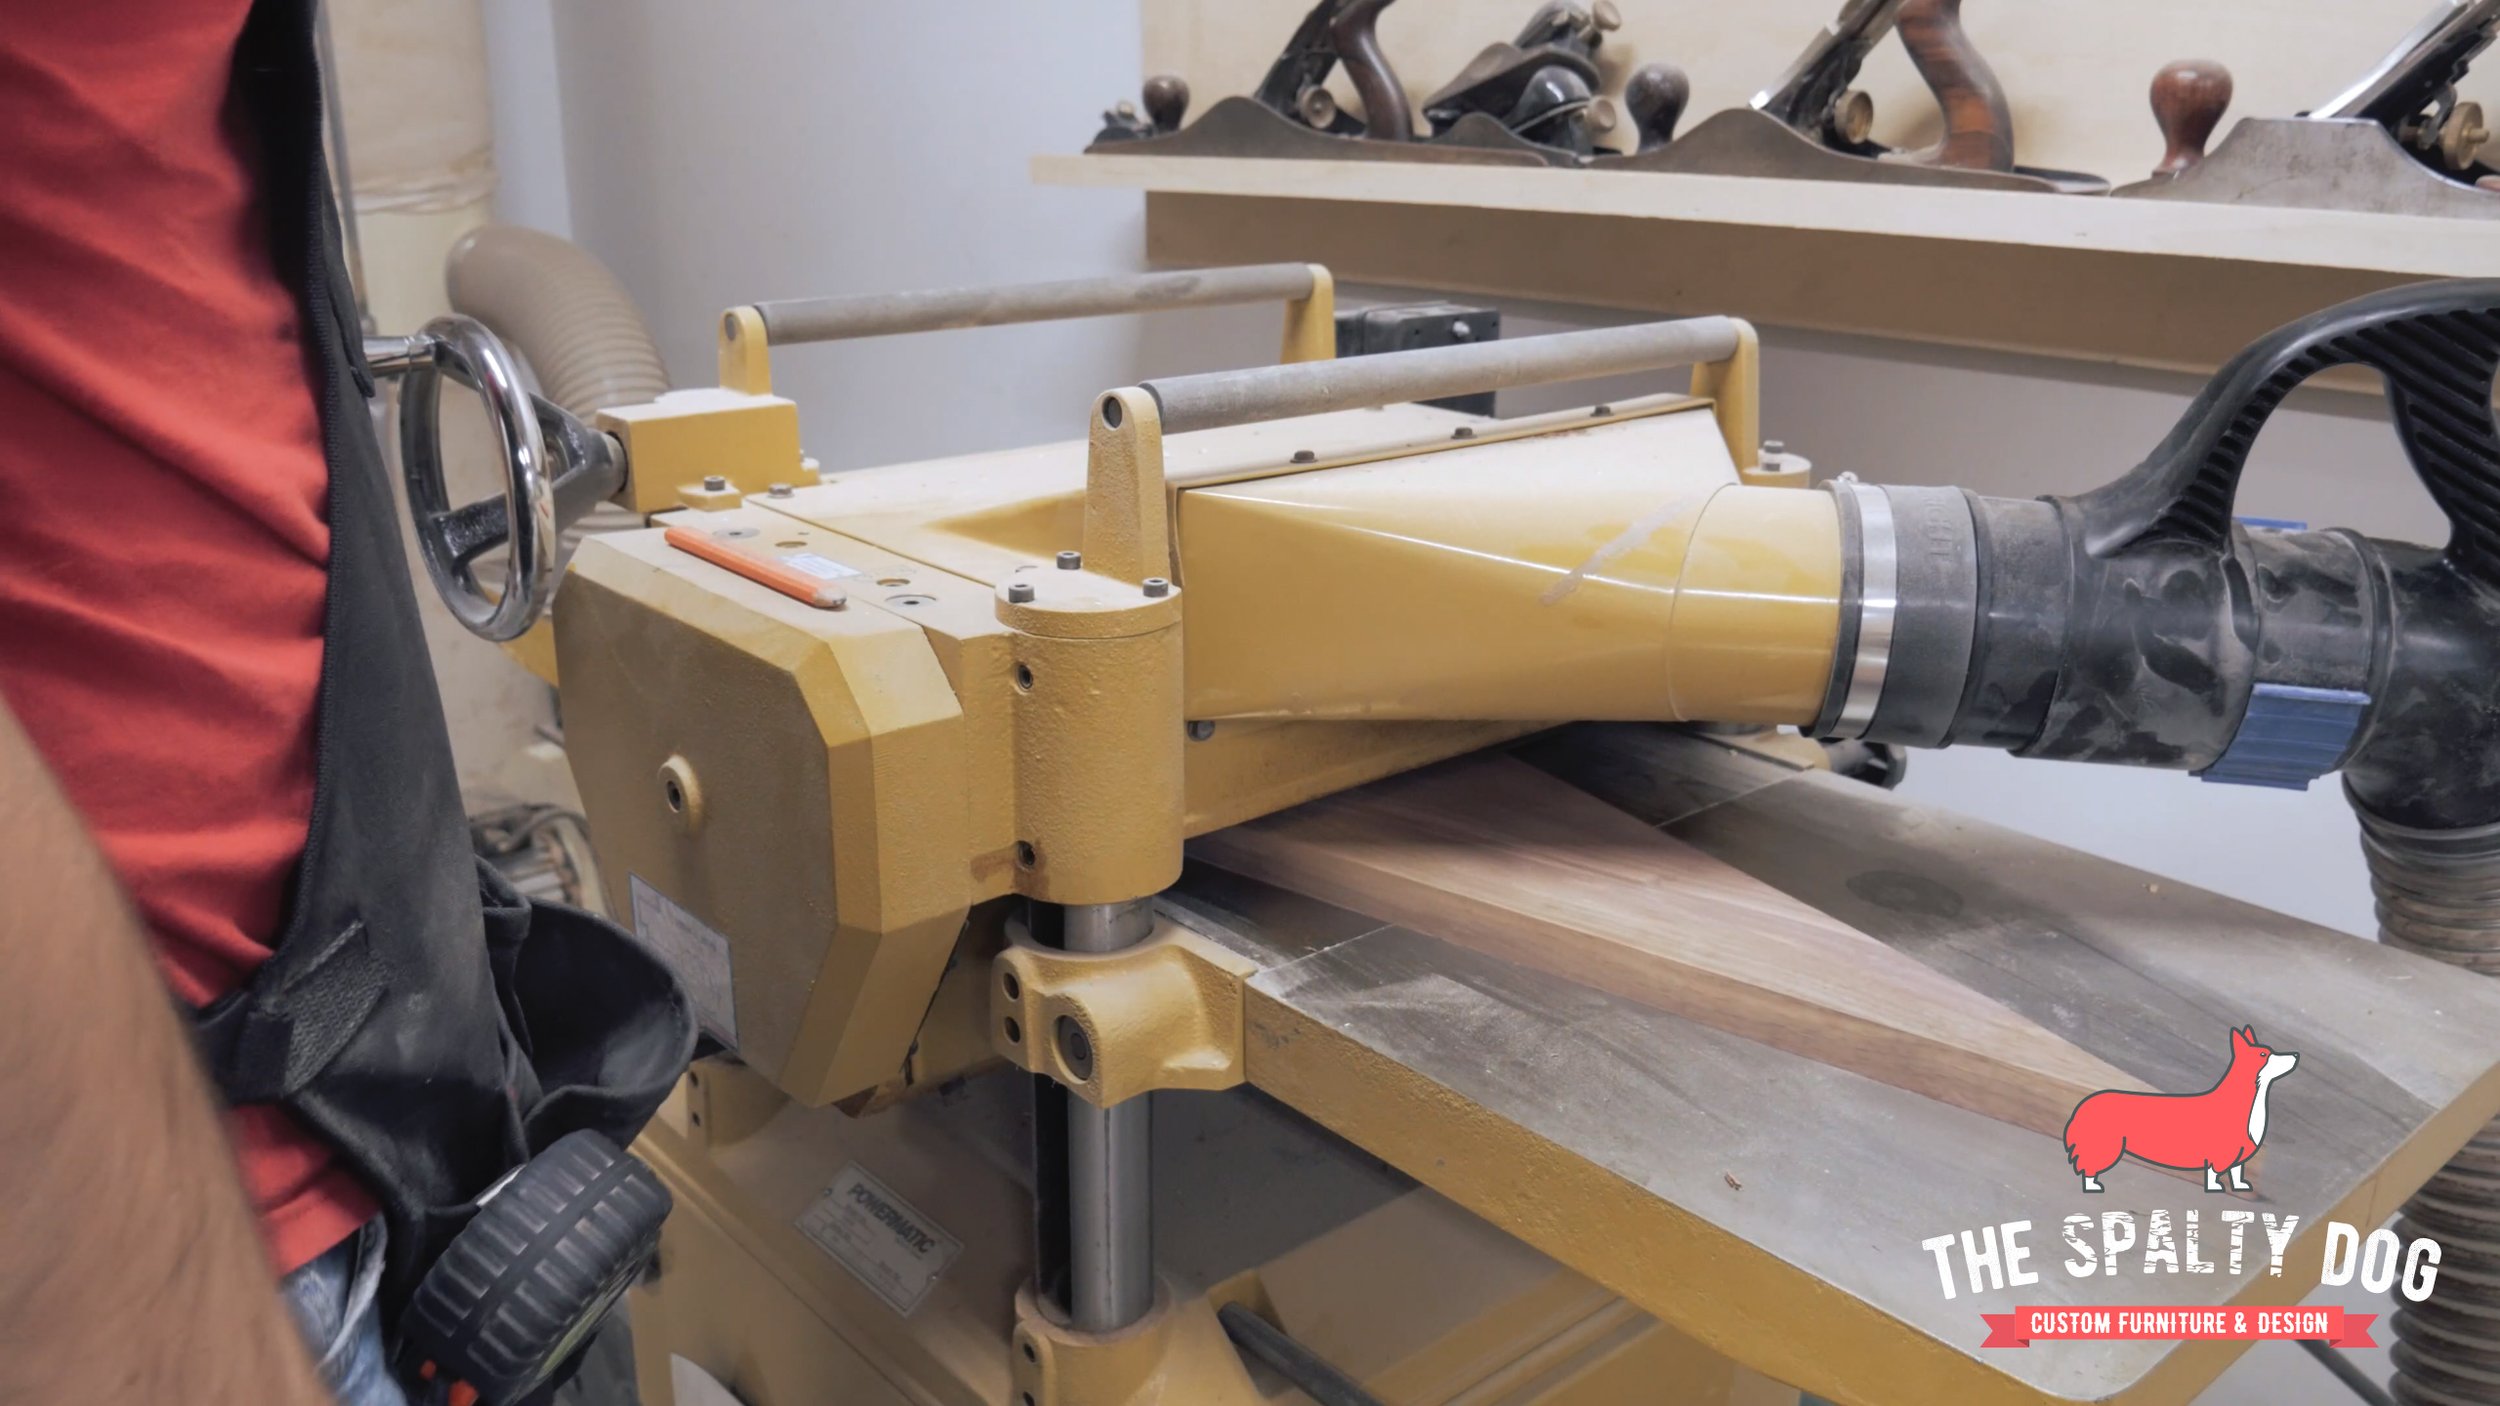
I searched through my scrap bin and found this walnut cut off that I’ve had for about 3 years now. I start by flattening one face over on the jointer then move to the planer to get the board to final thickness.
Off camera I made a leg template out of 1/2 inch plywood. I traced this template onto my board to get a total of three legs.

Next I roughly cut out each leg over on the bandsaw staying just outside of my lines.

To get the legs to final shape, I attached the template using double sided tape and then flushed everything up at the router table.

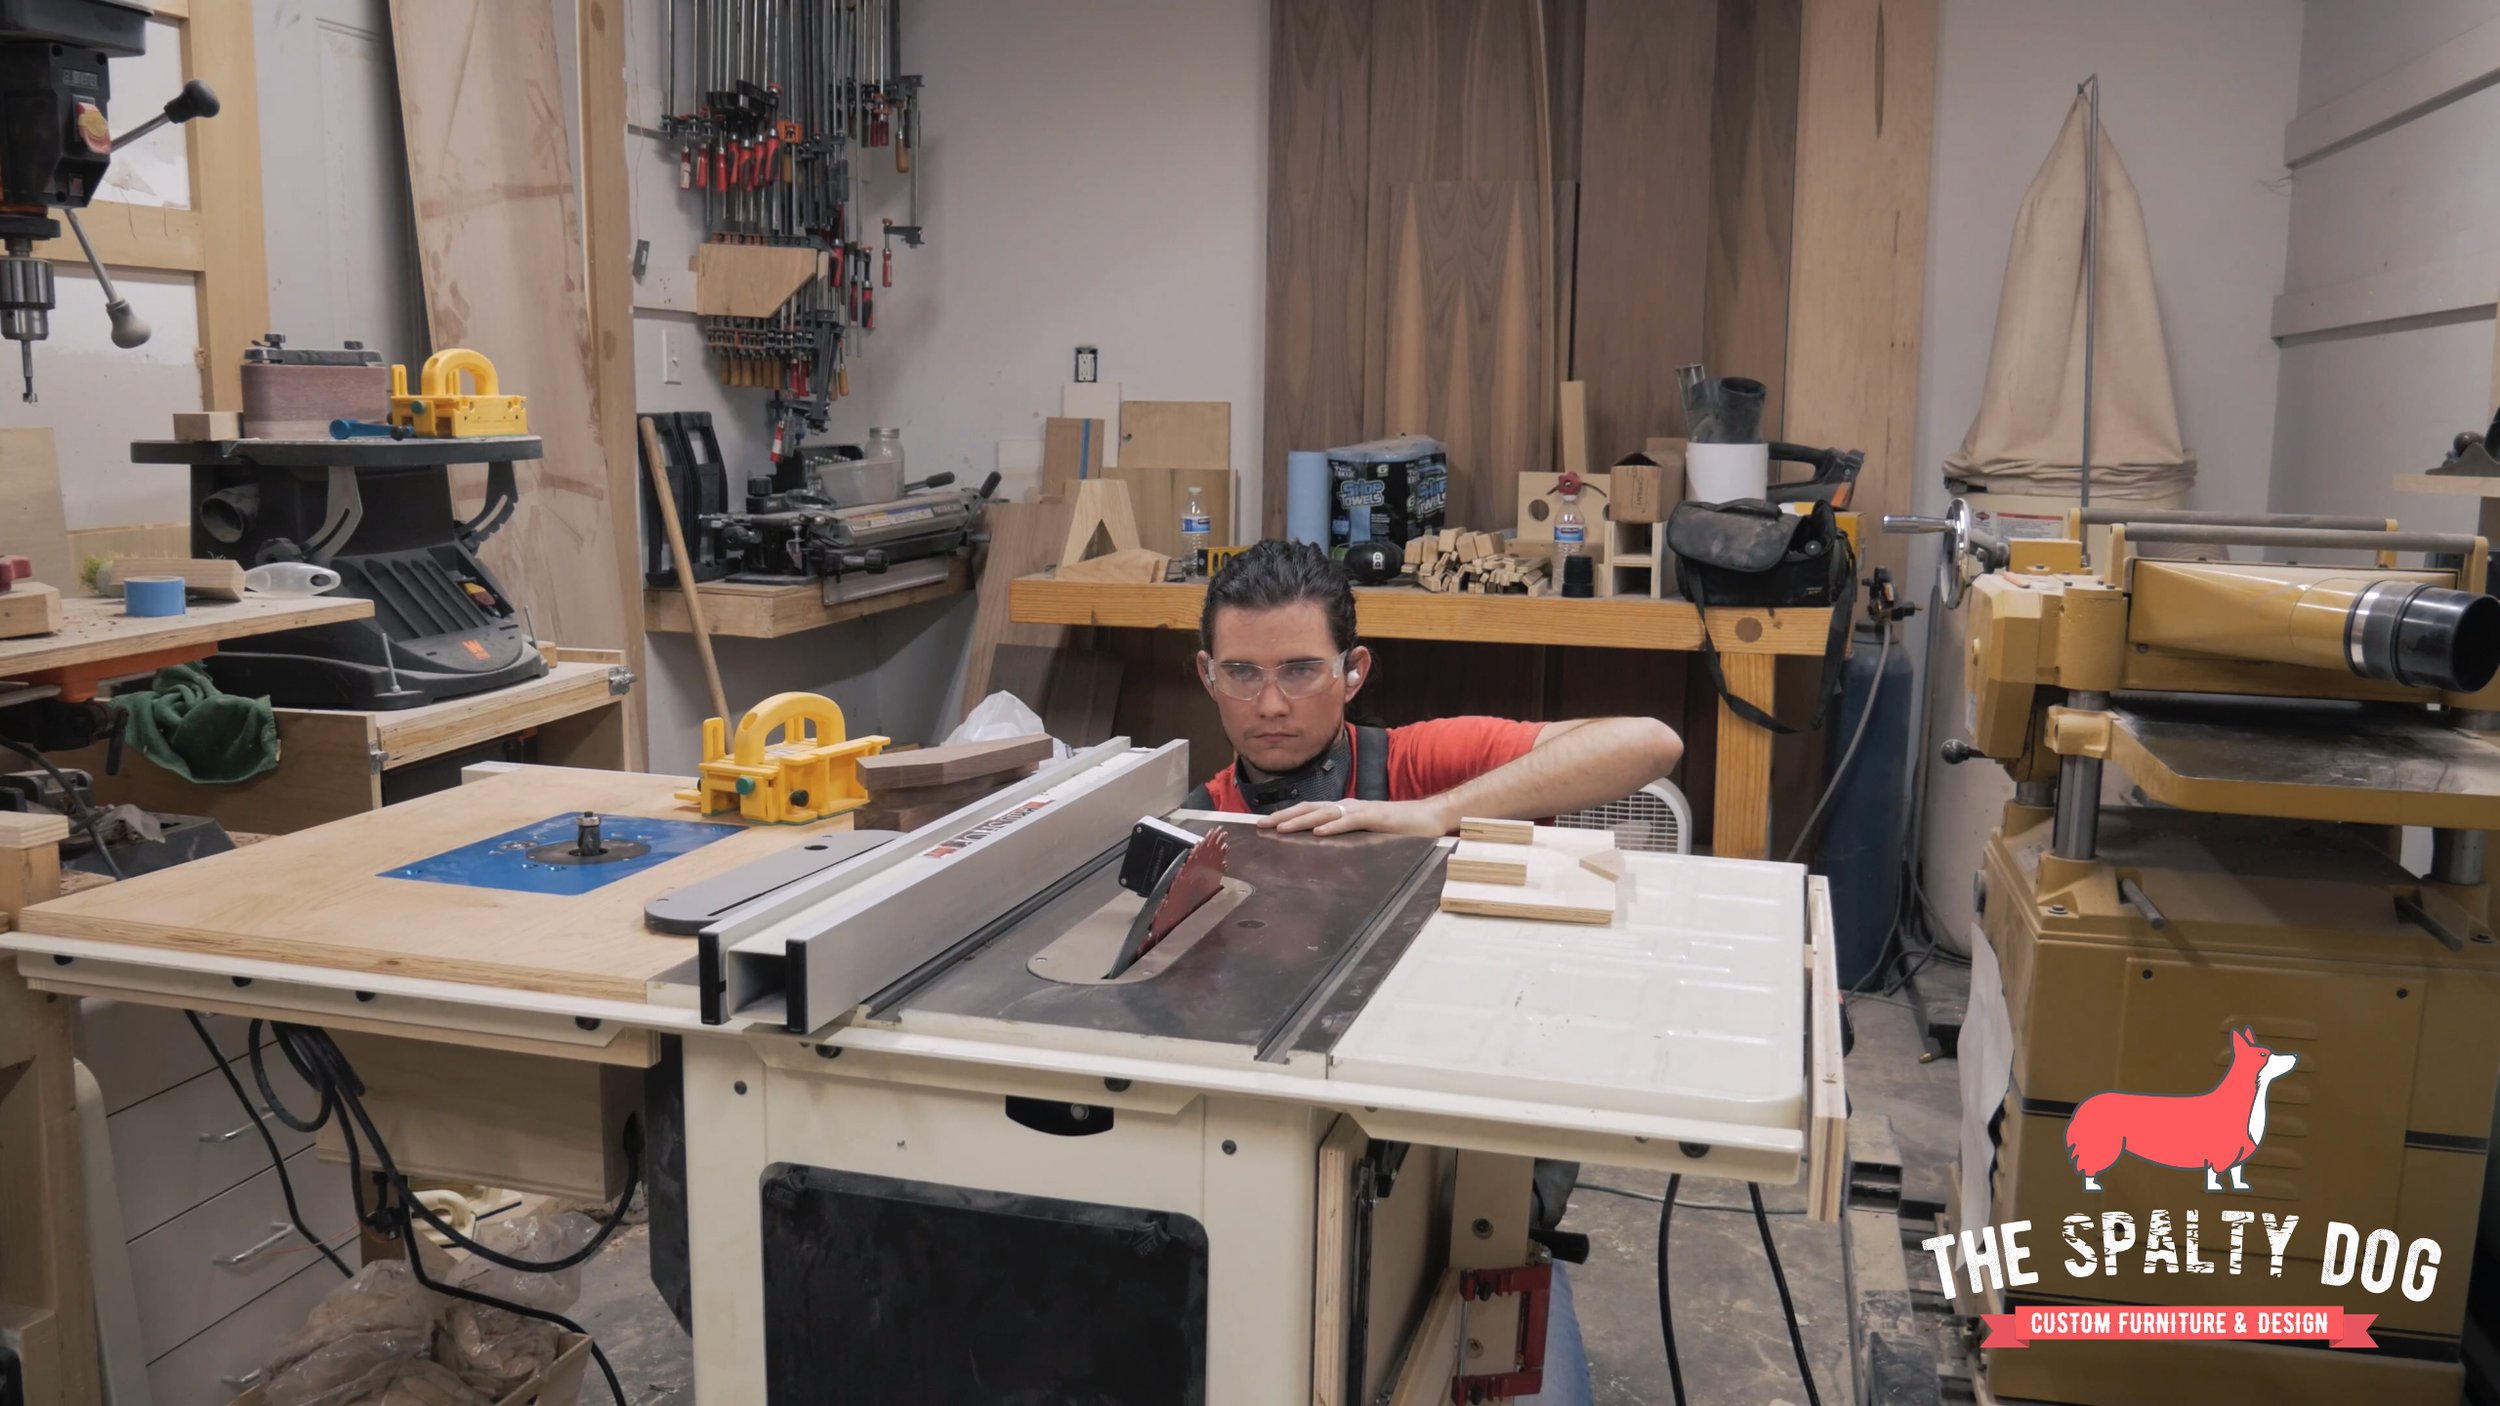
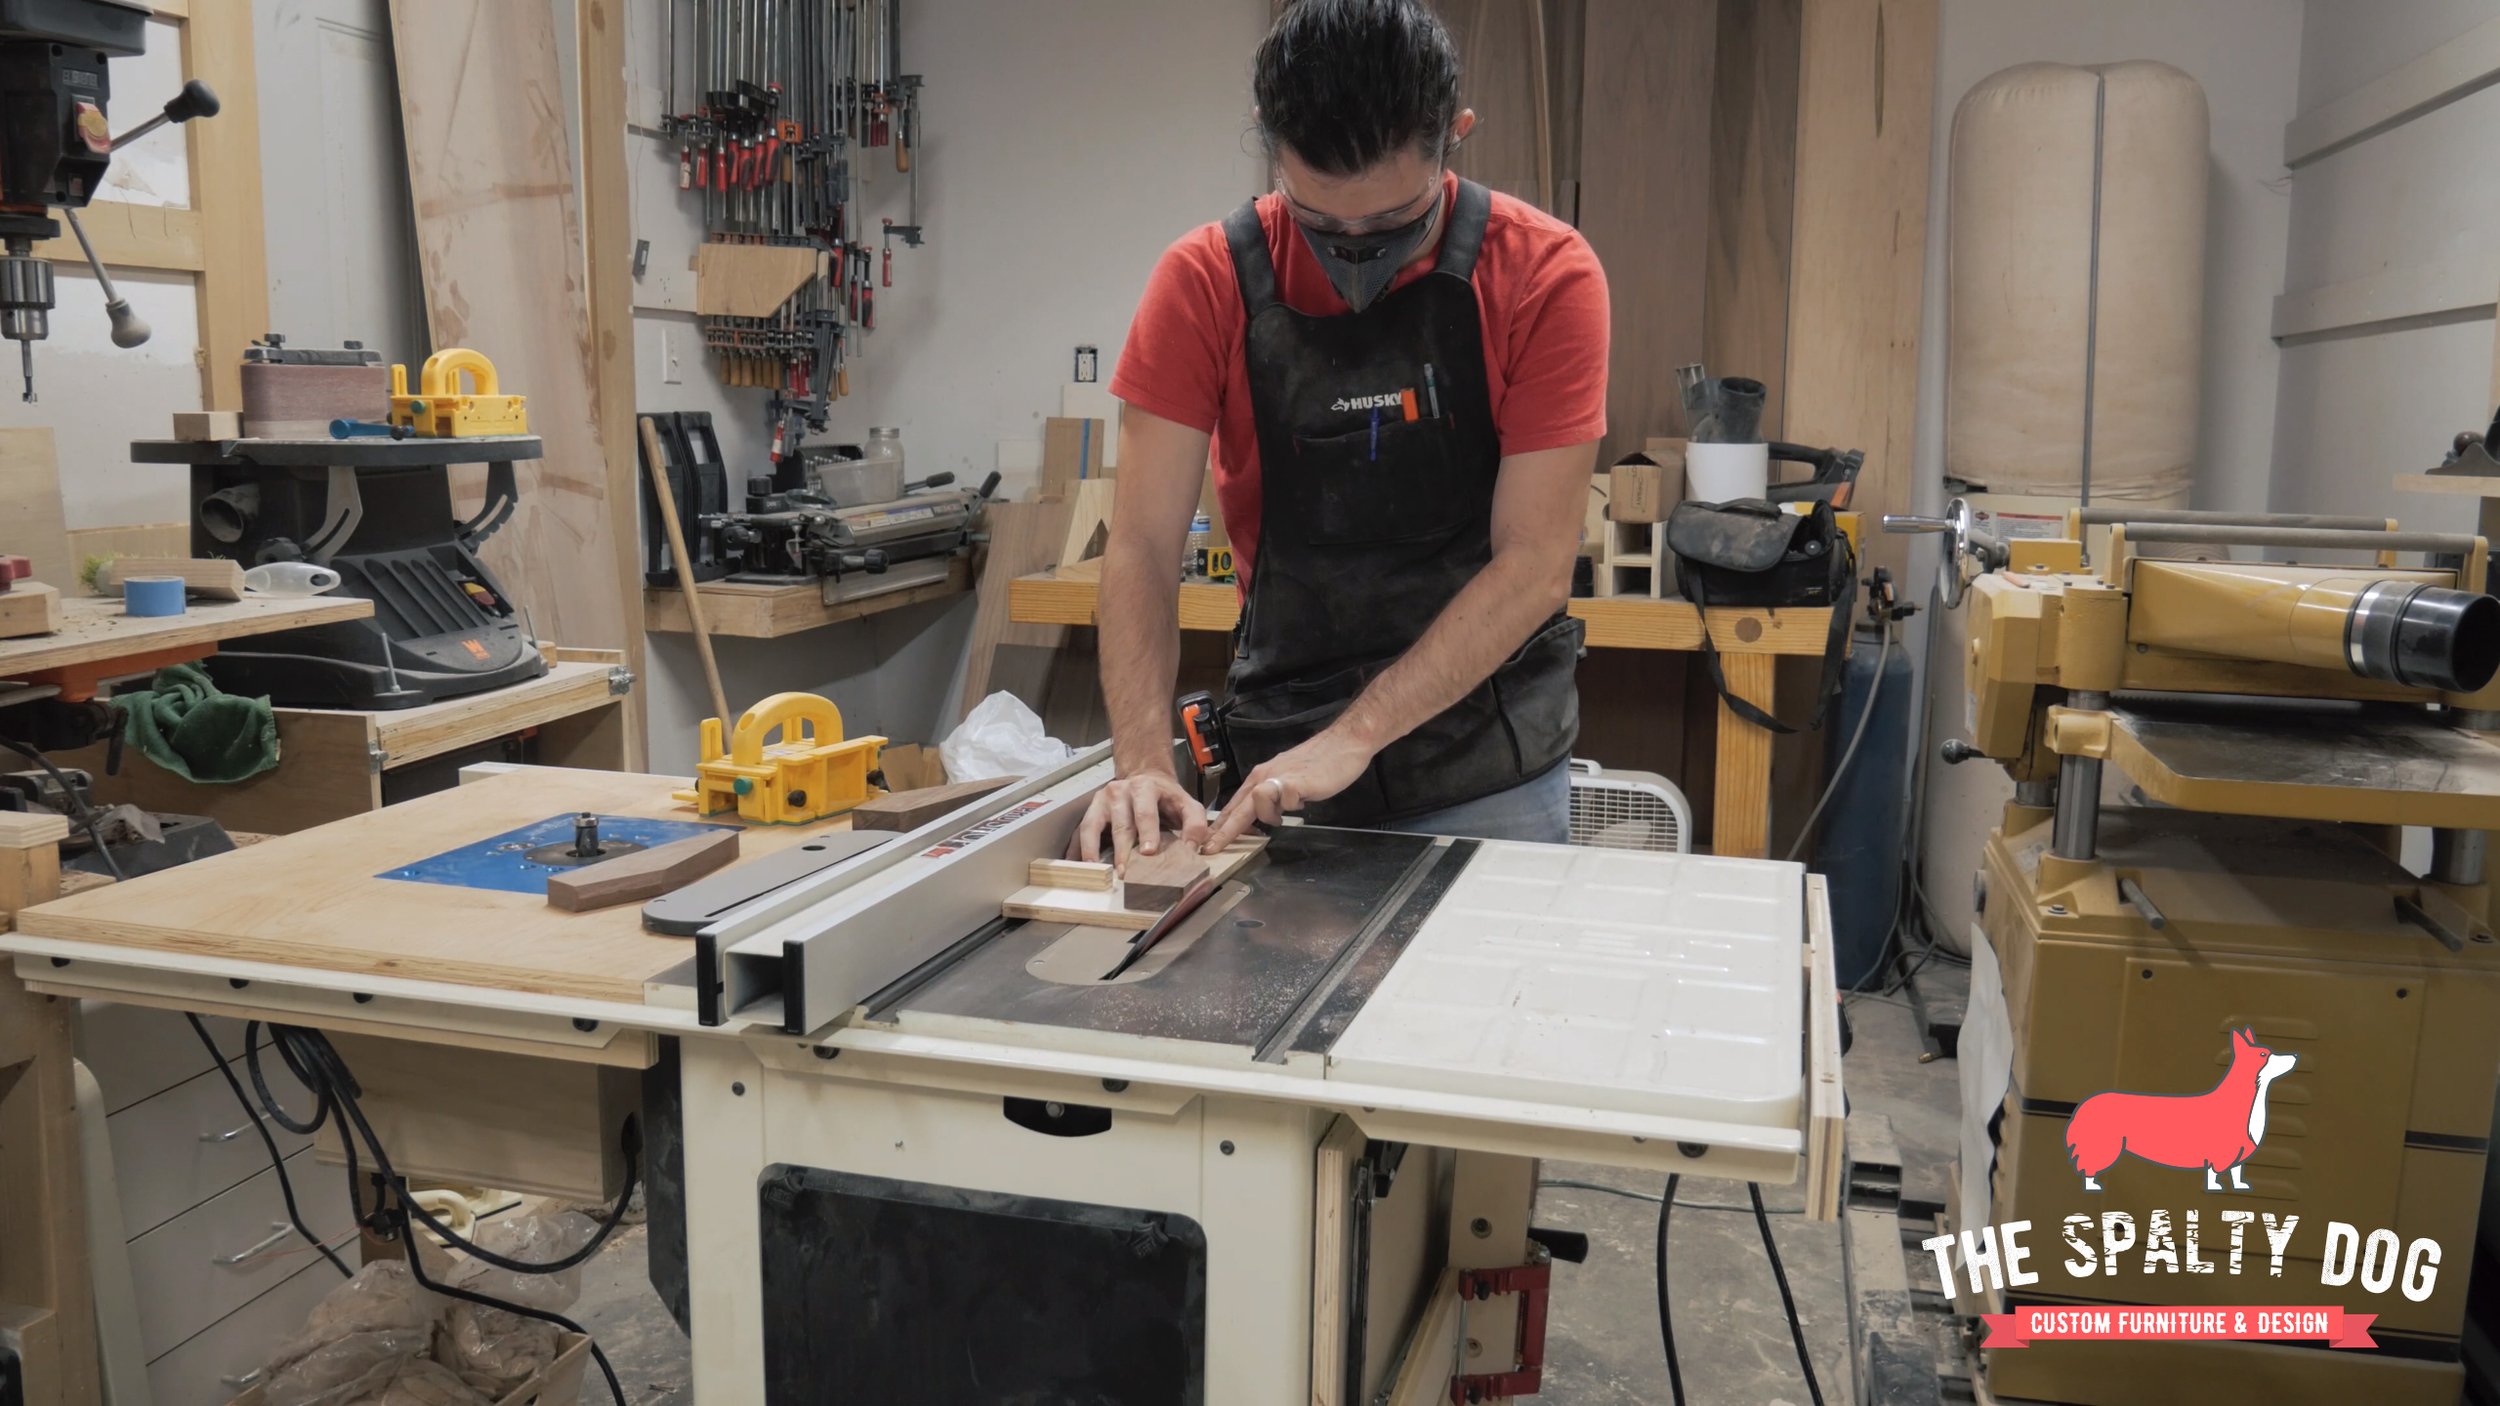
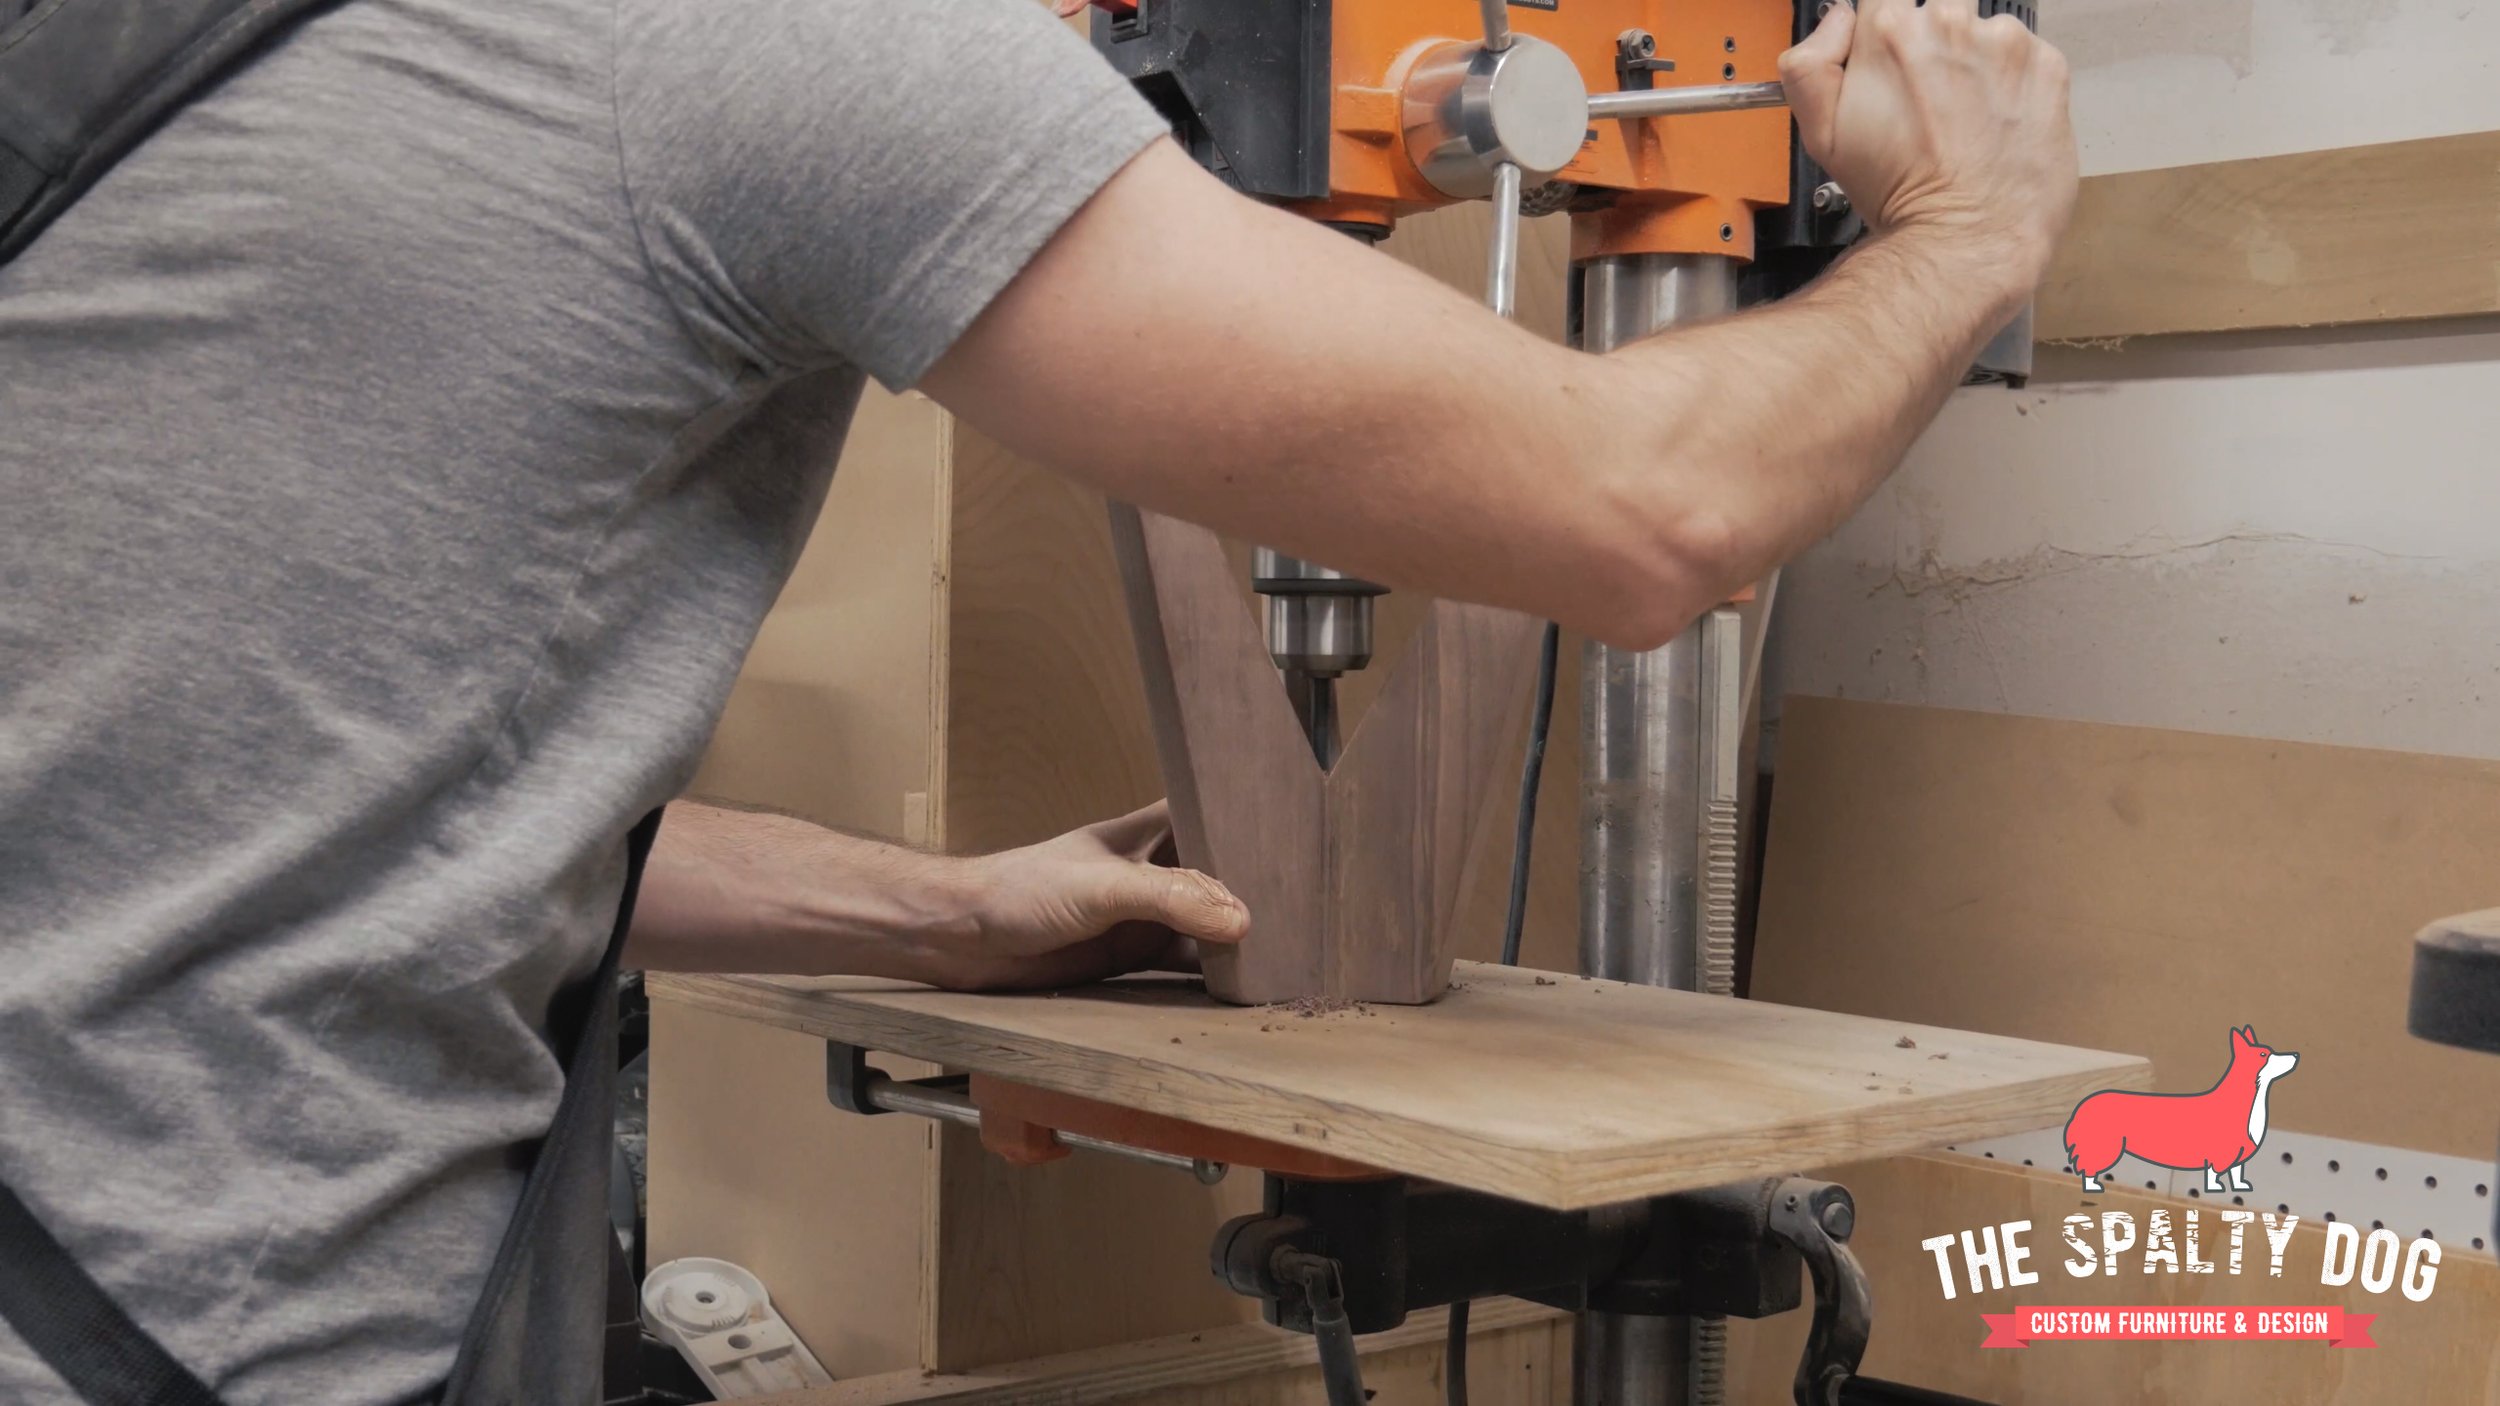
I set the blade on my table saw to 30 degrees then using a temporary sled I cut the joinery in two passes.
Afterwards all three legs should come together something like this.

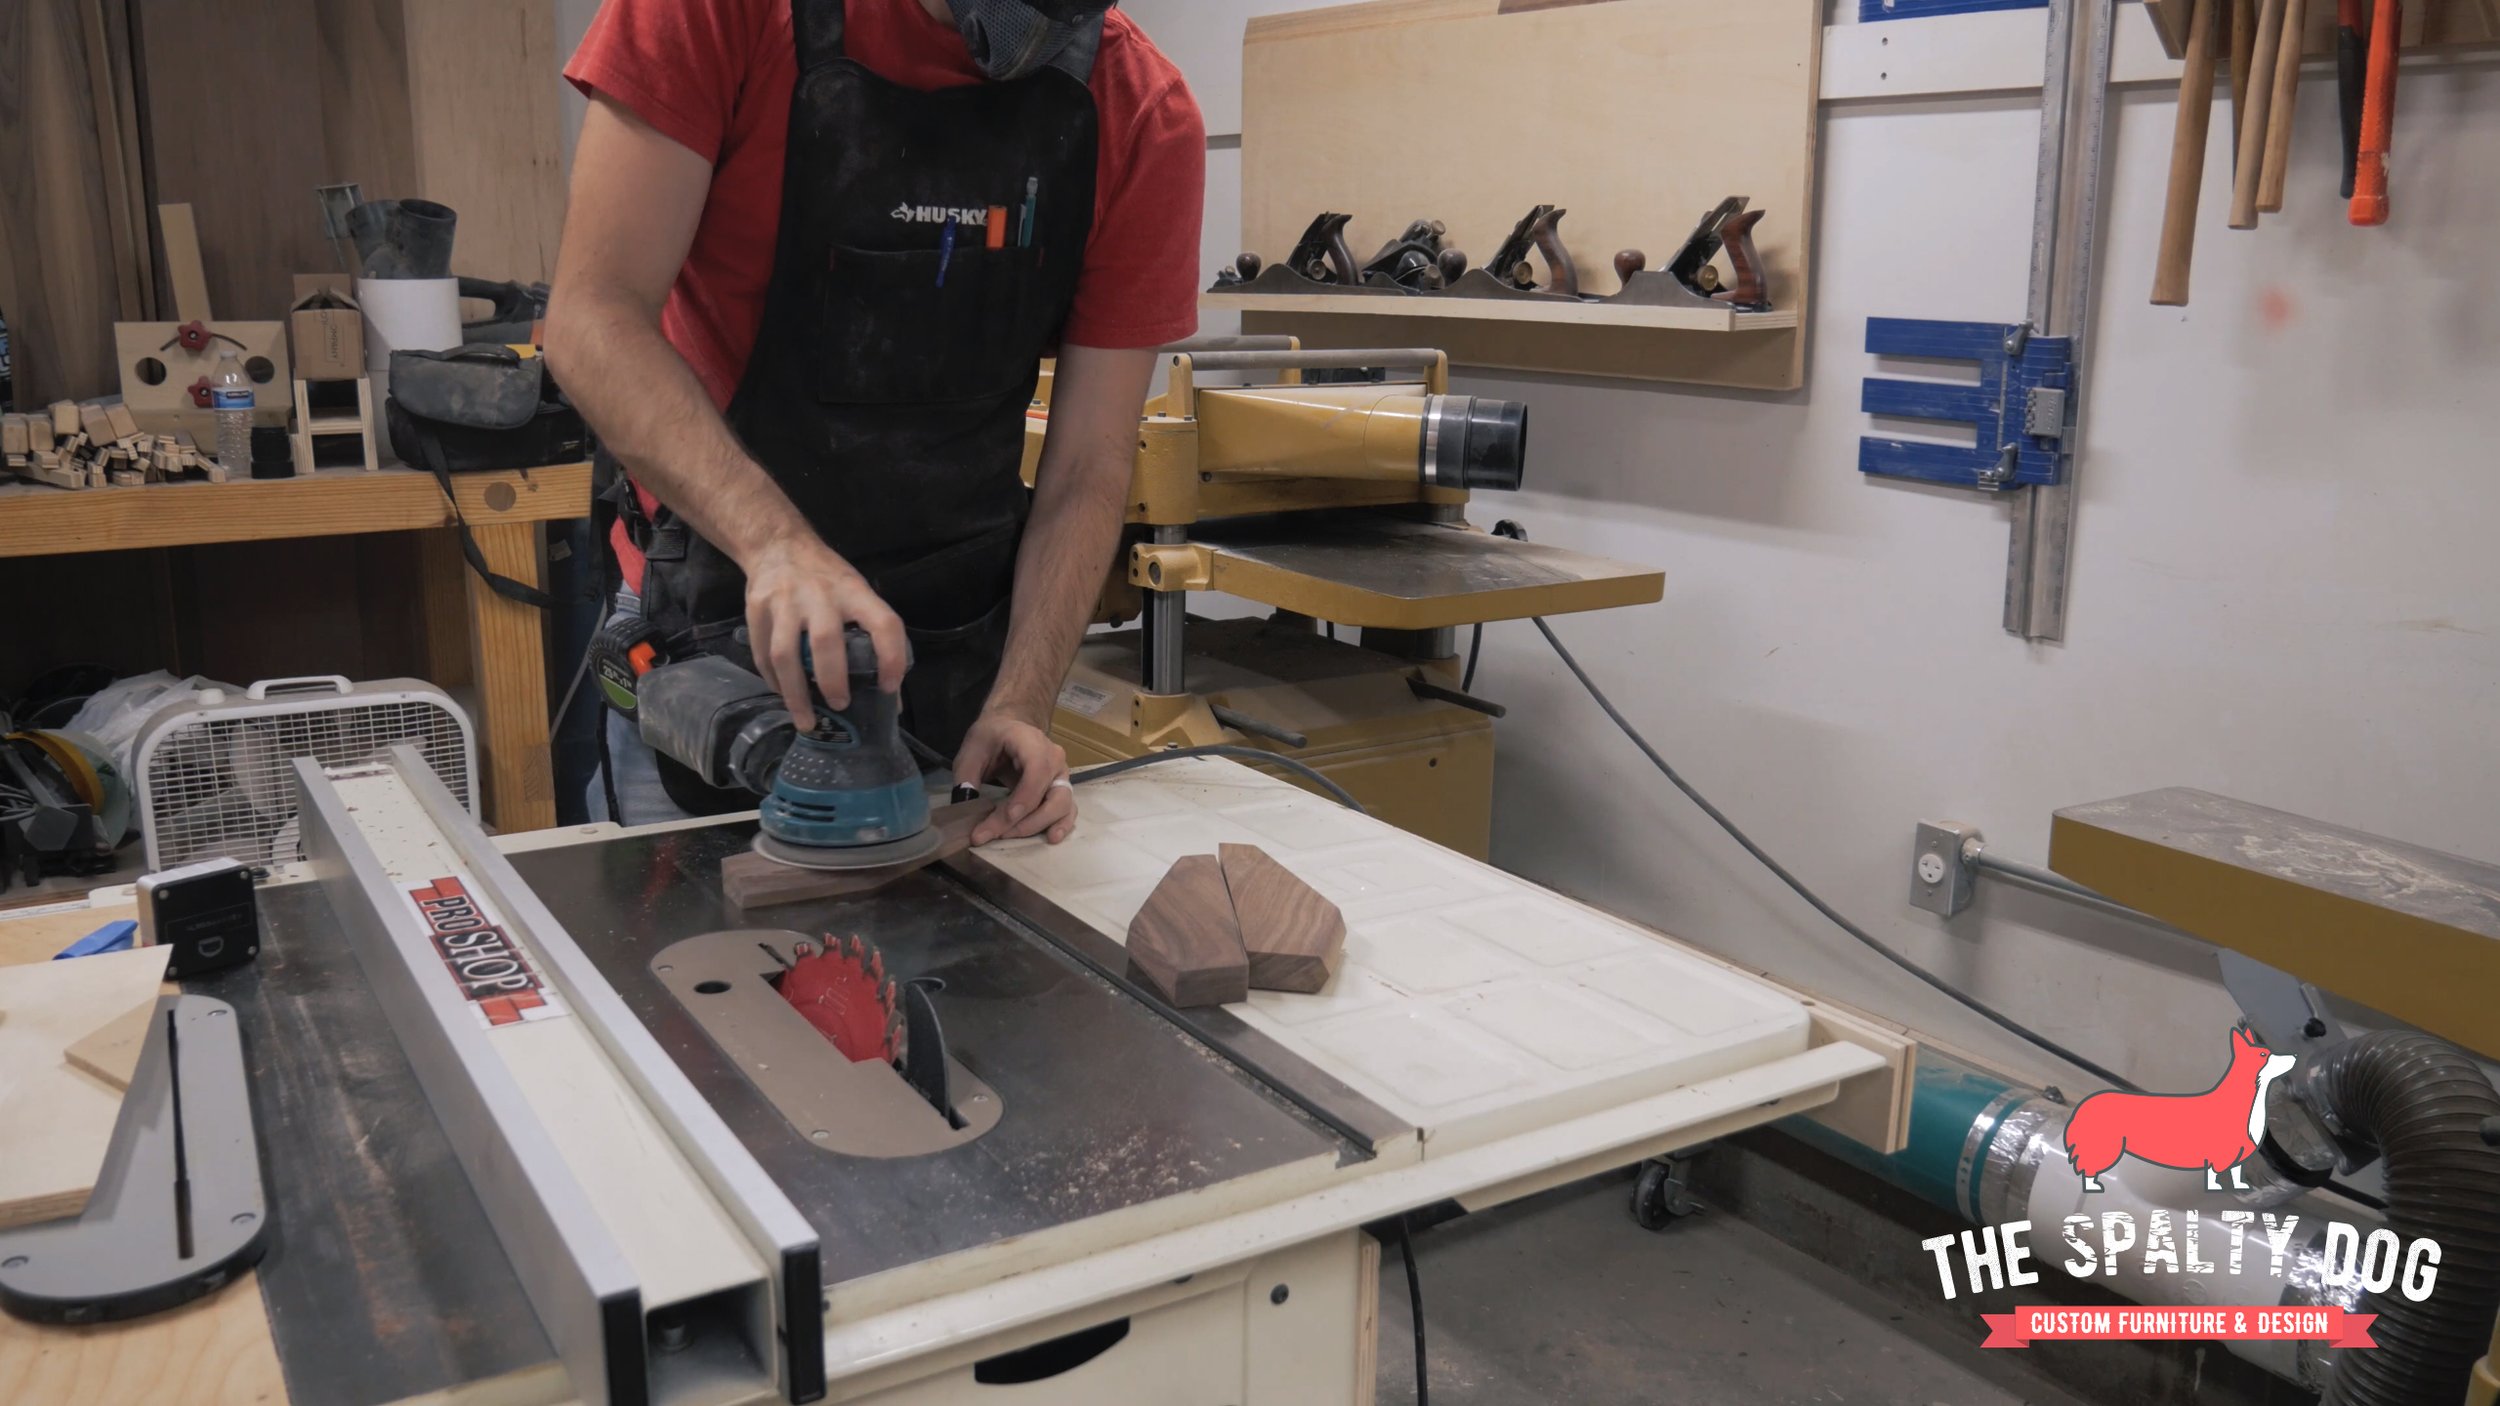
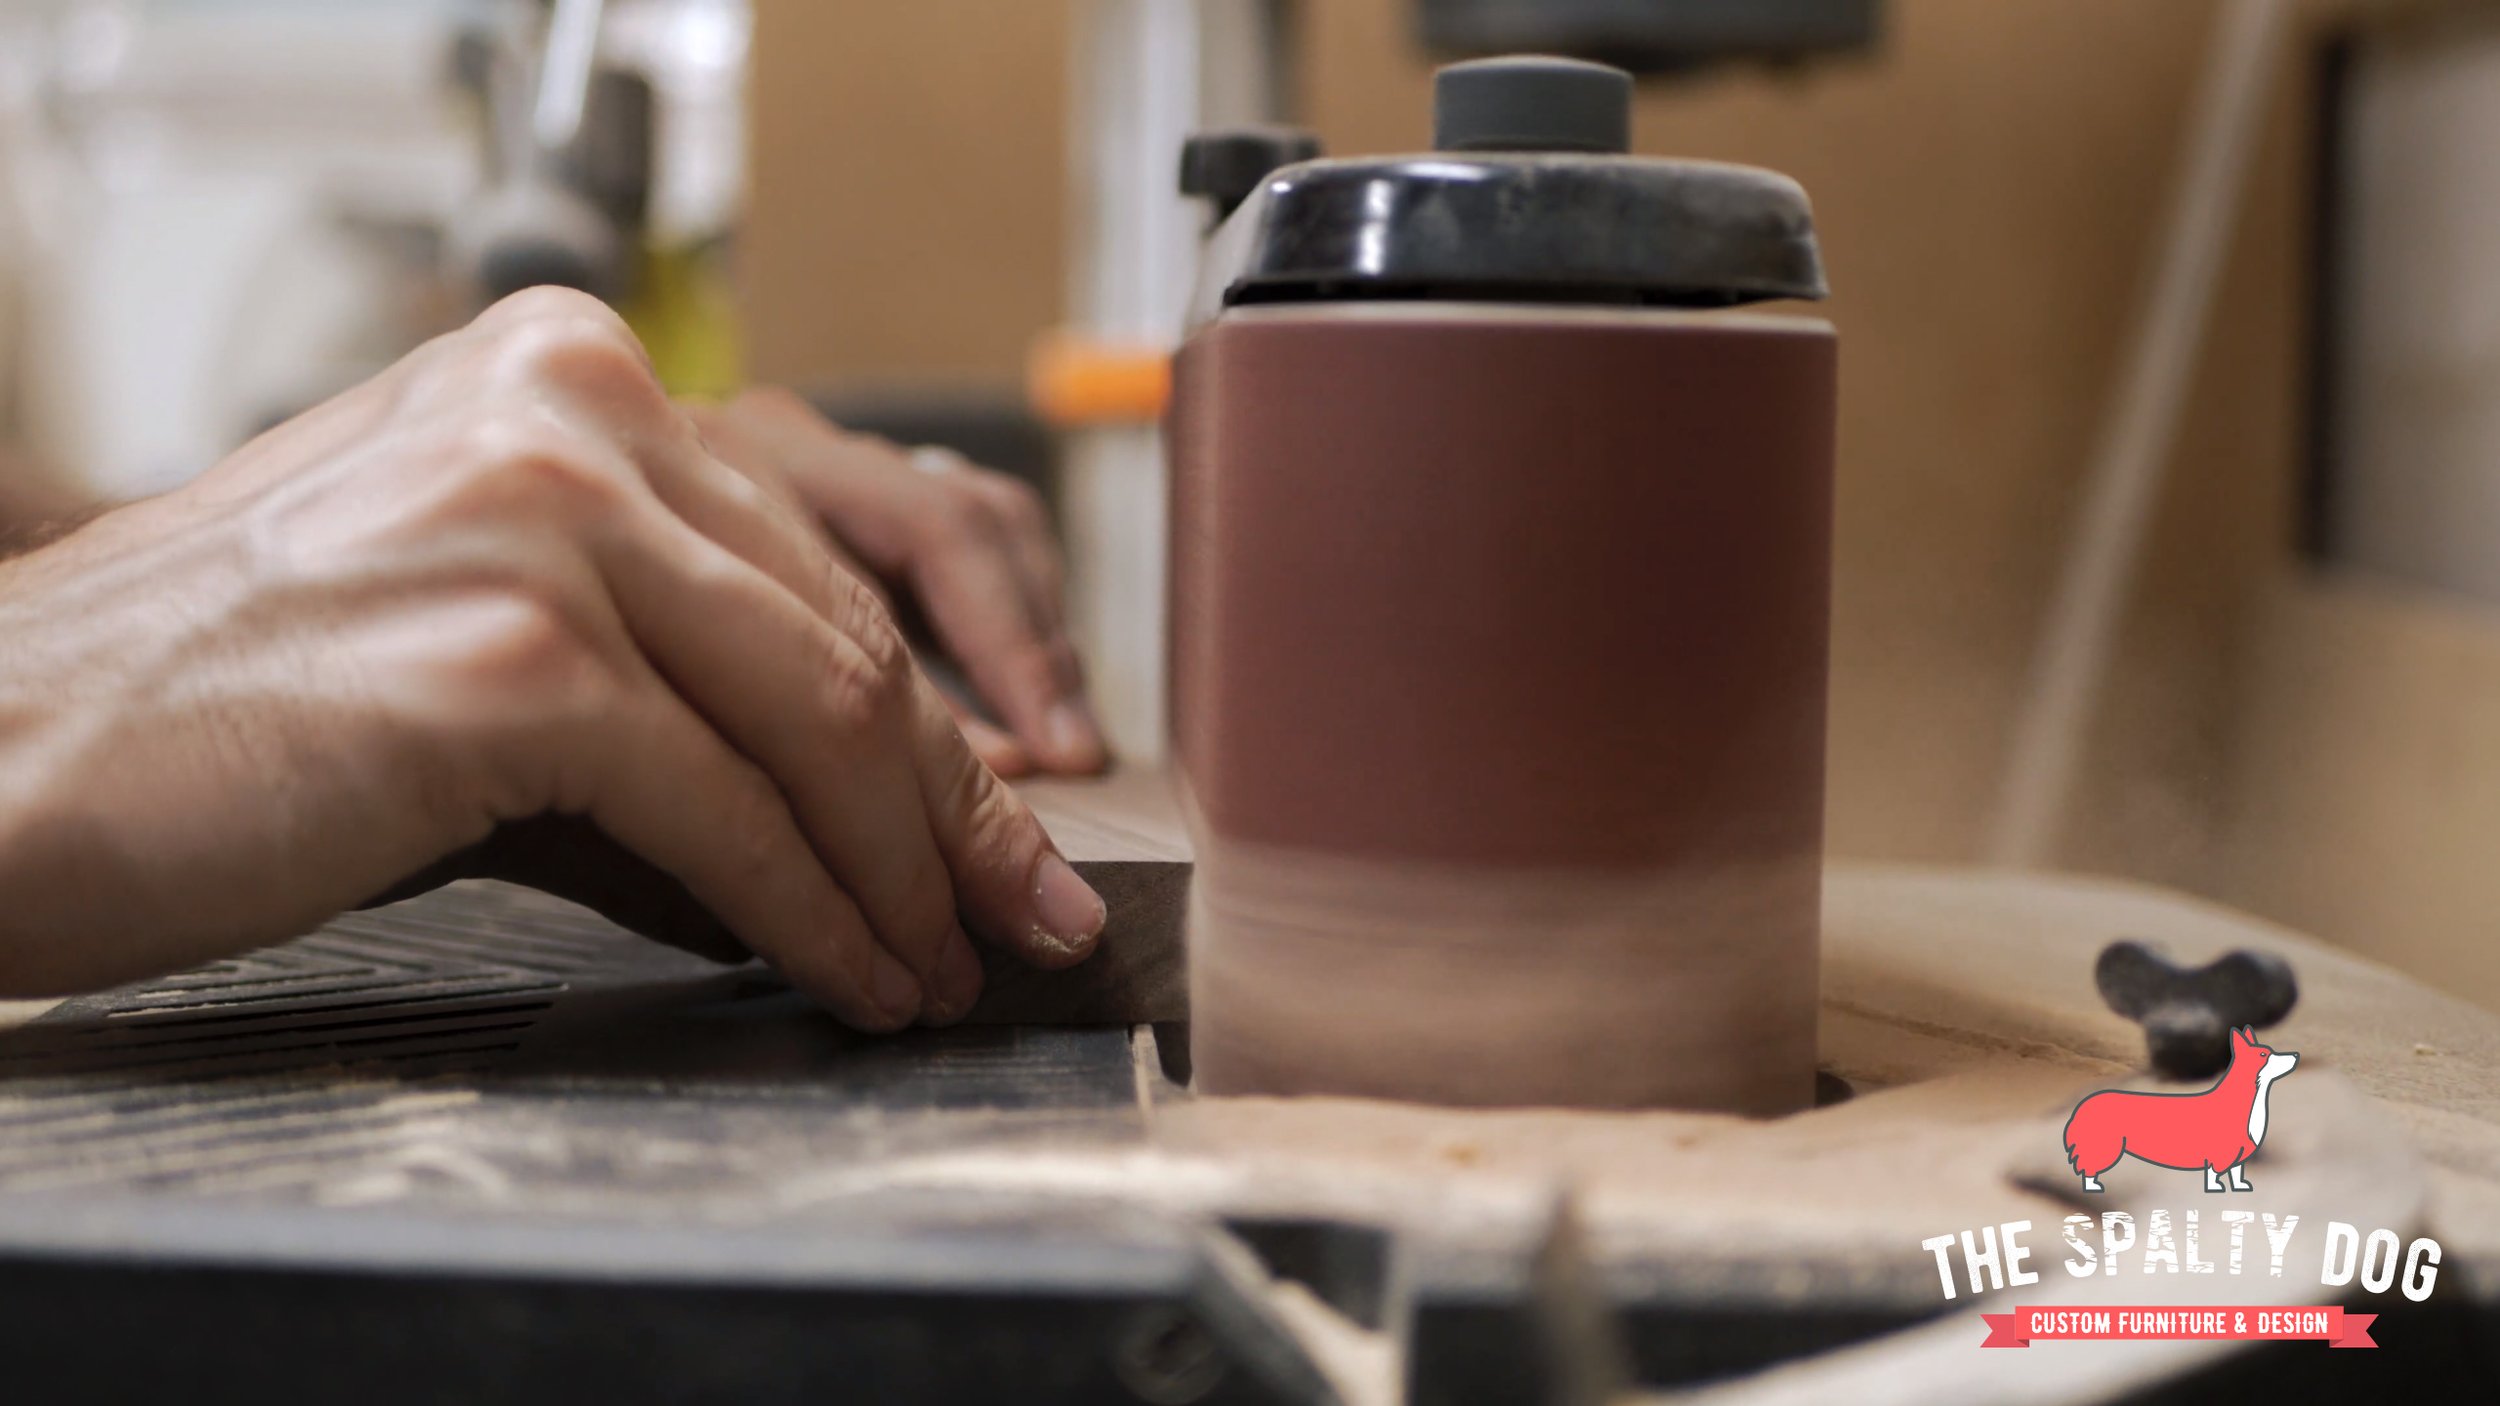
I sand everything up to 180 grit using the random orbit sander and the oscillating belt sander.
I also soften all the edges using a 1/16th inch roundover bit on the trim router.

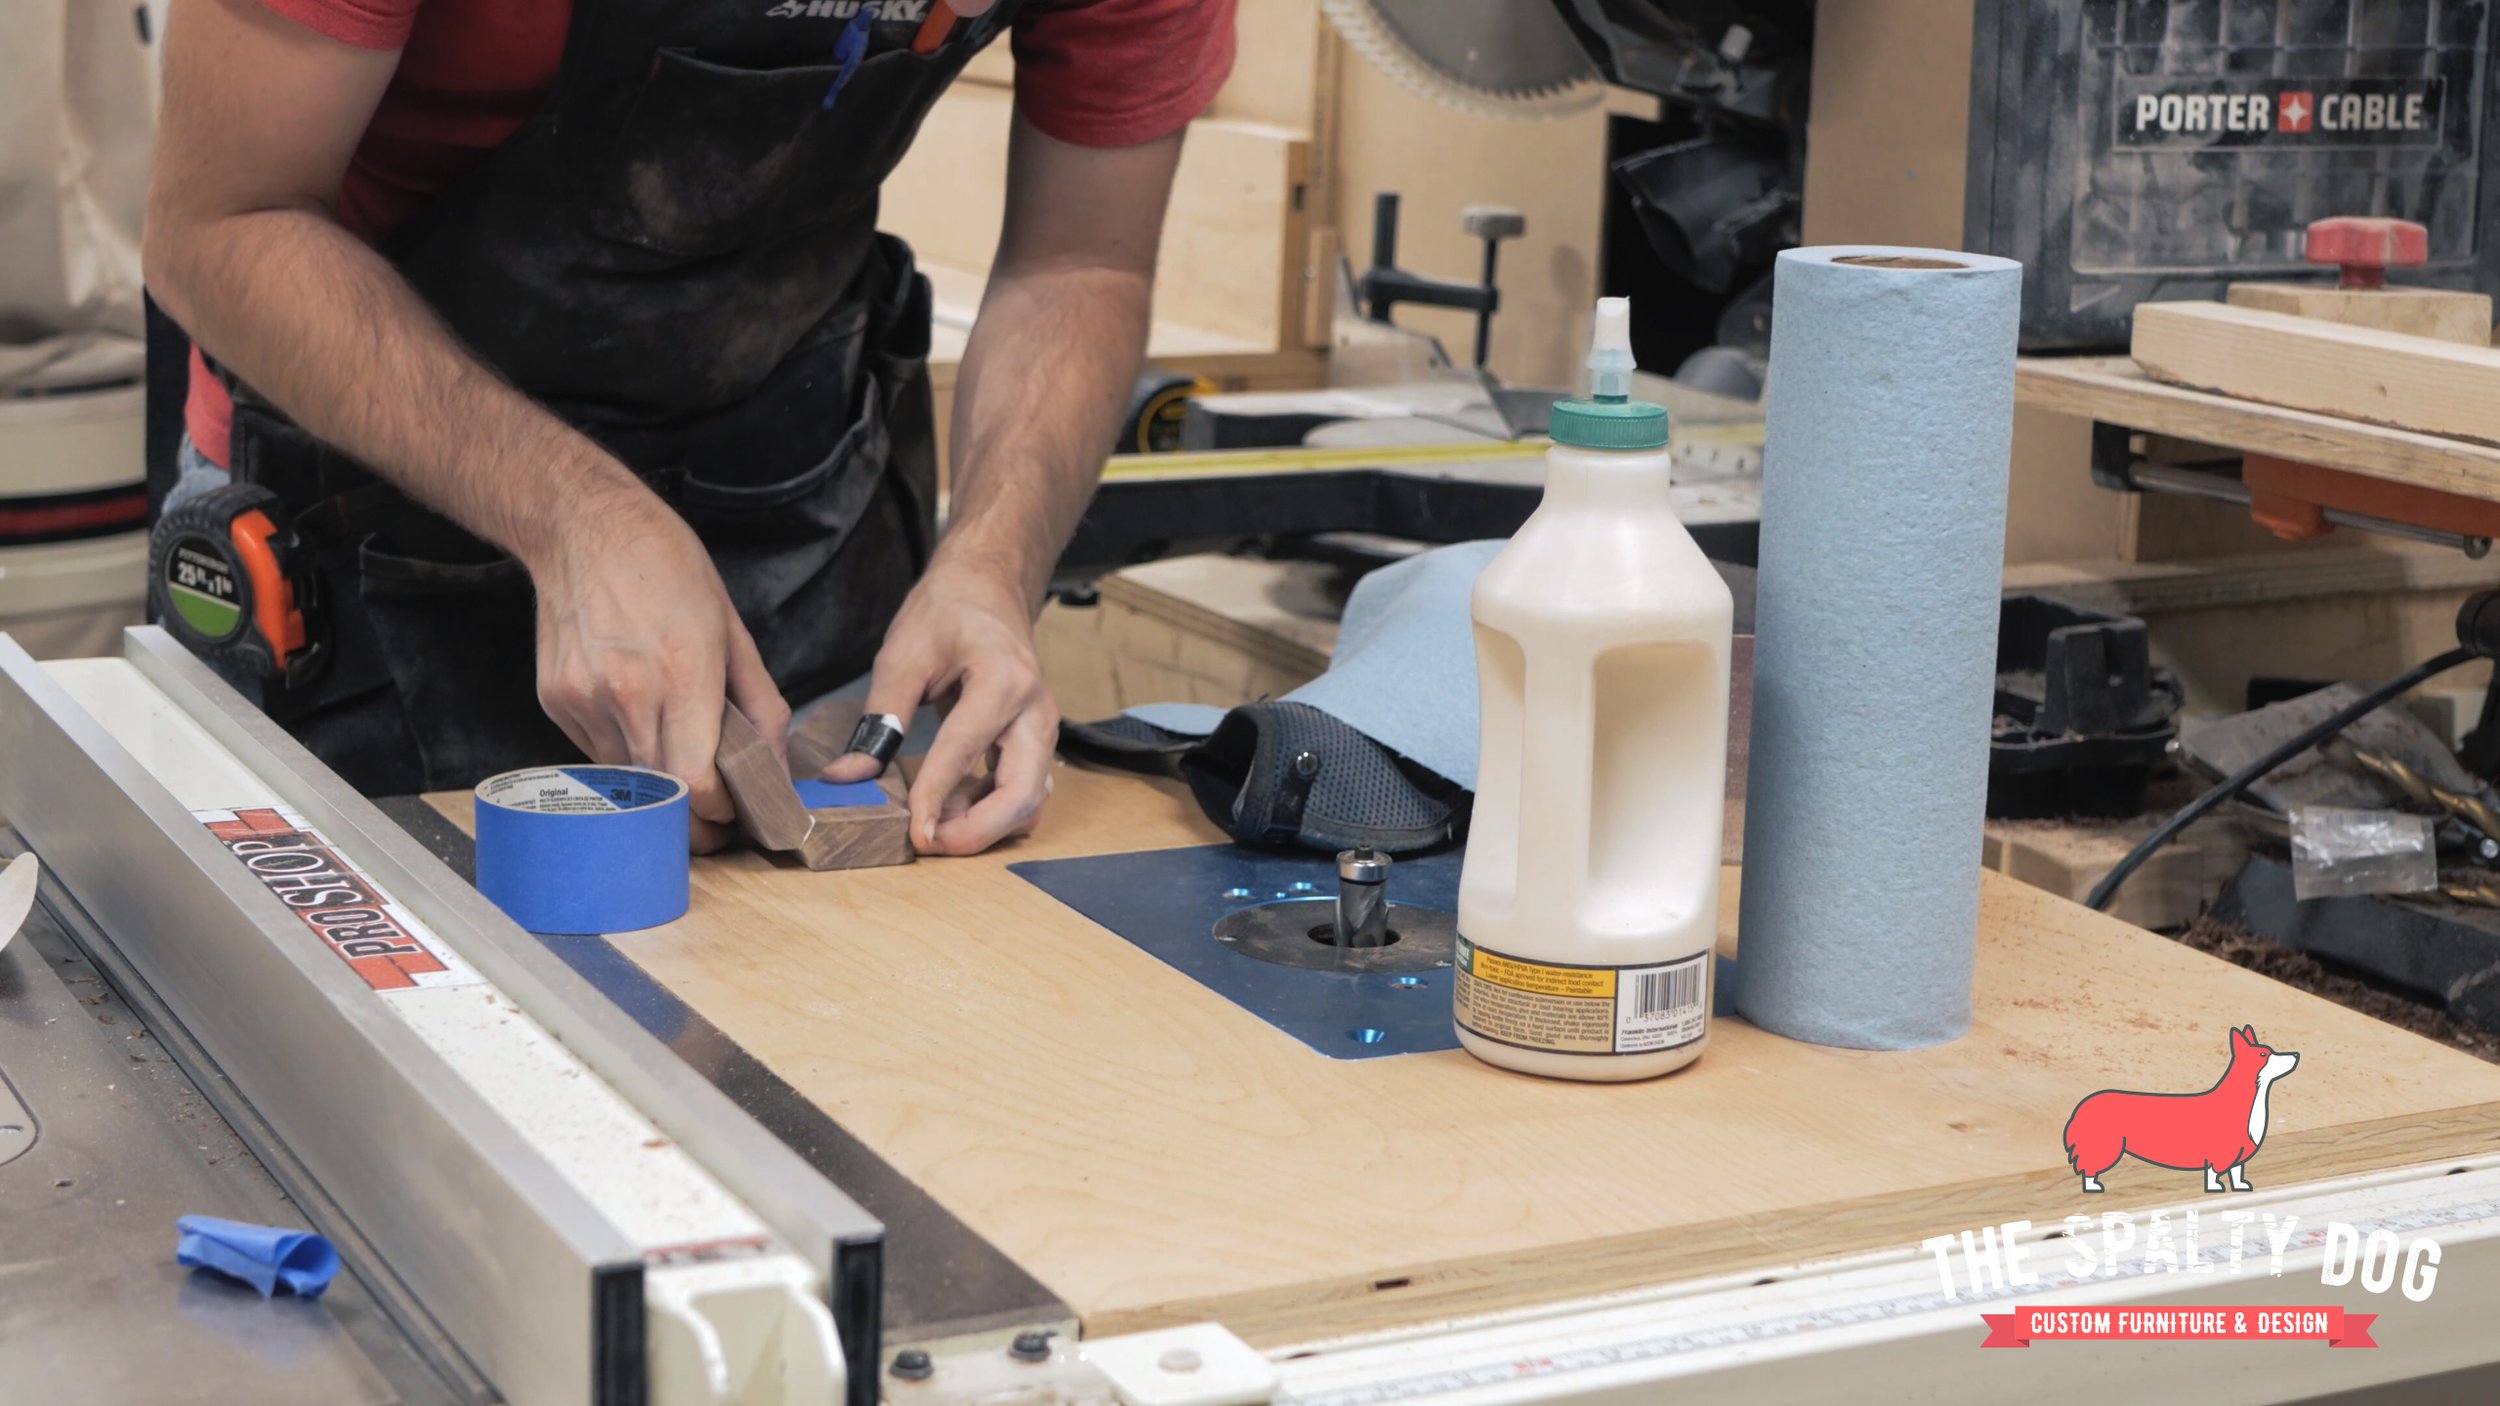
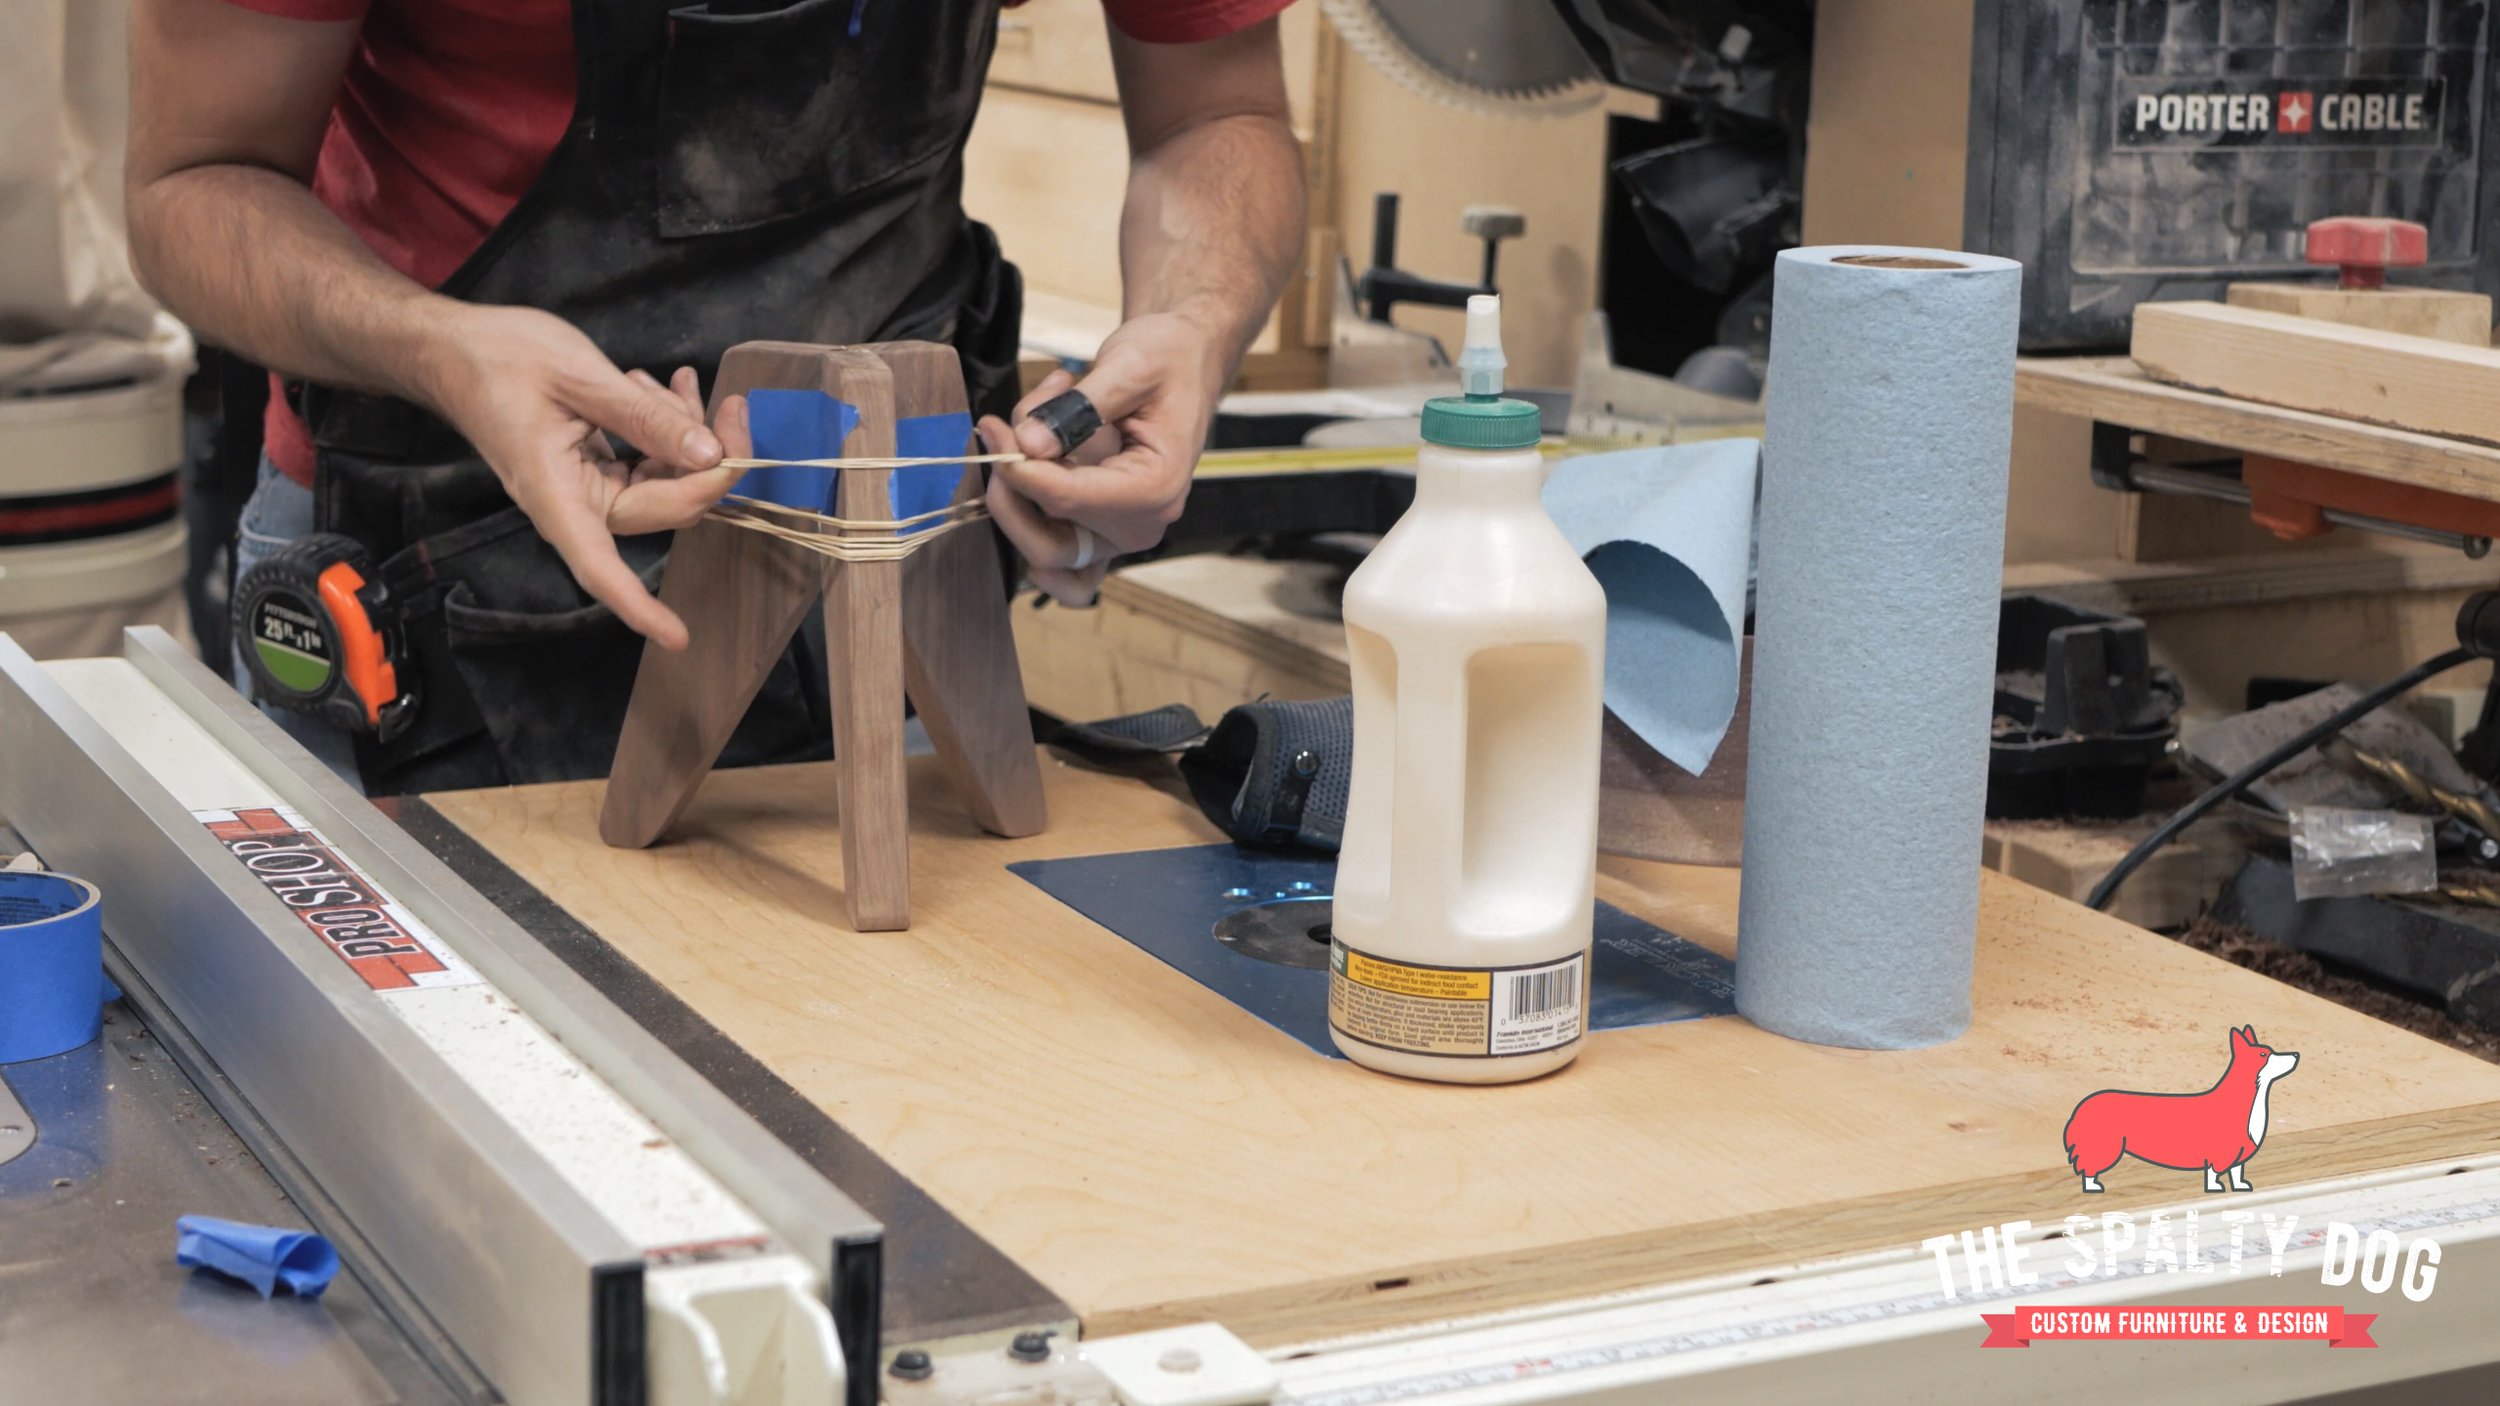
At this point we’re ready to glue everything up. I use blue tape to temporarily hold the legs together then add rubber bands to give a bit more clamping power.
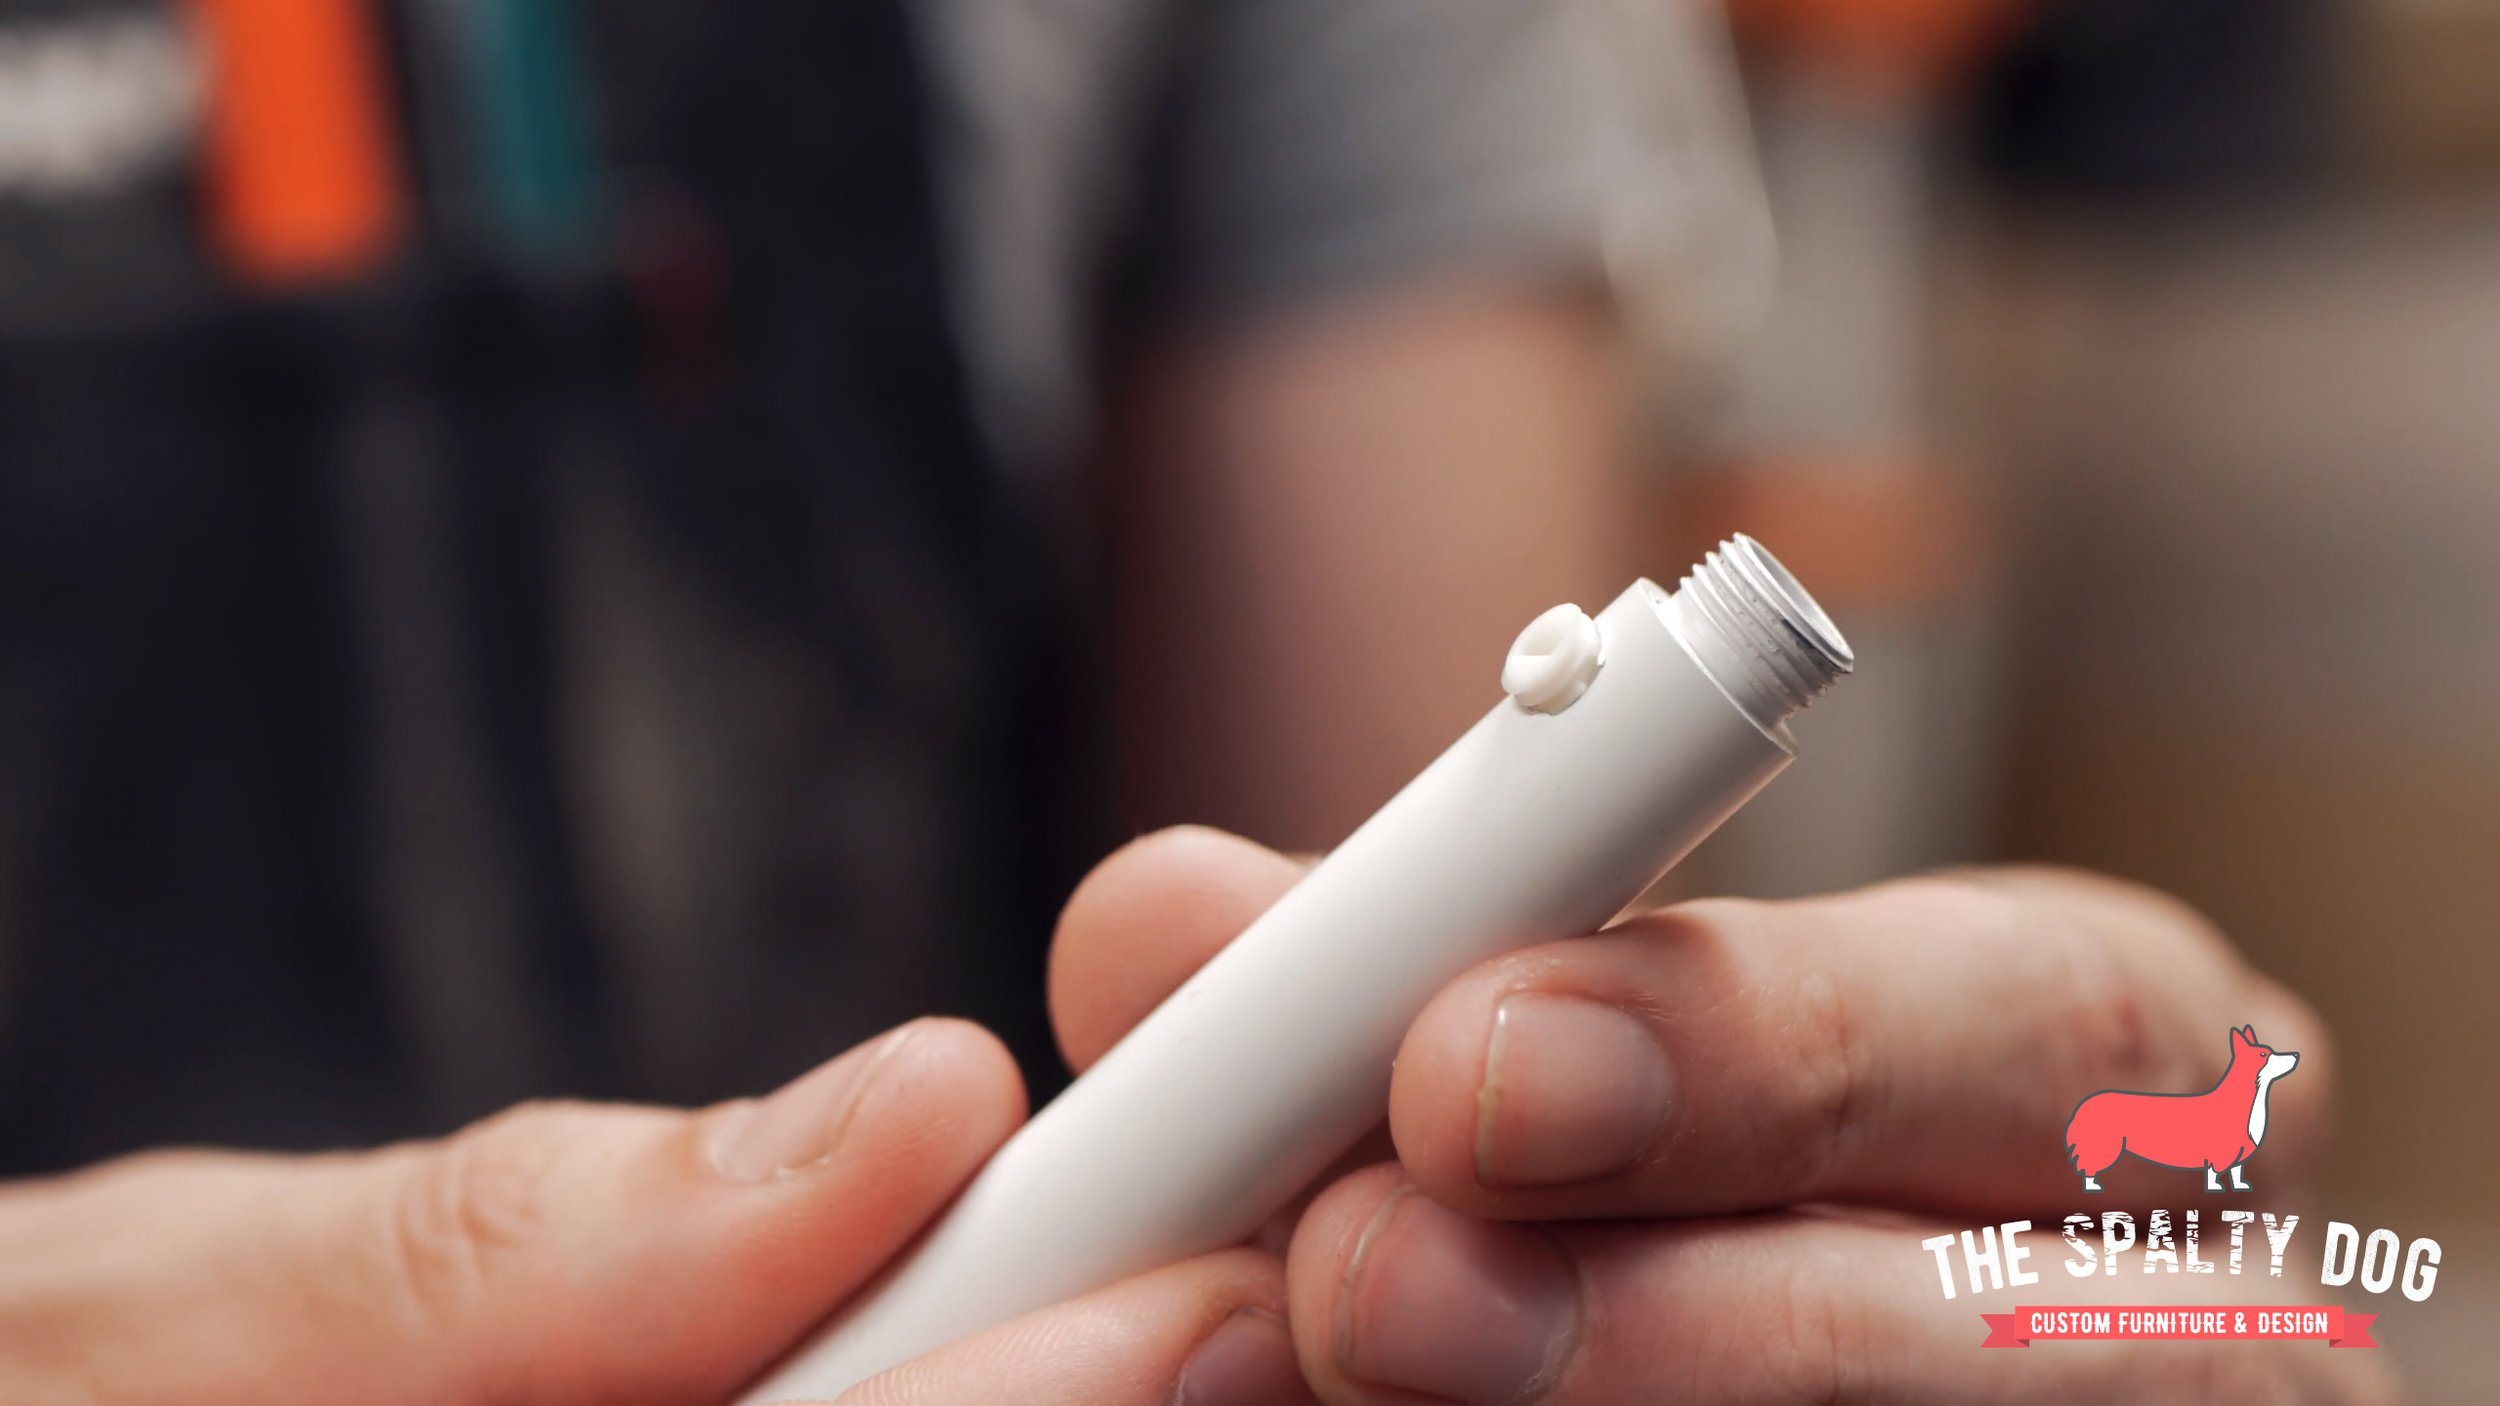
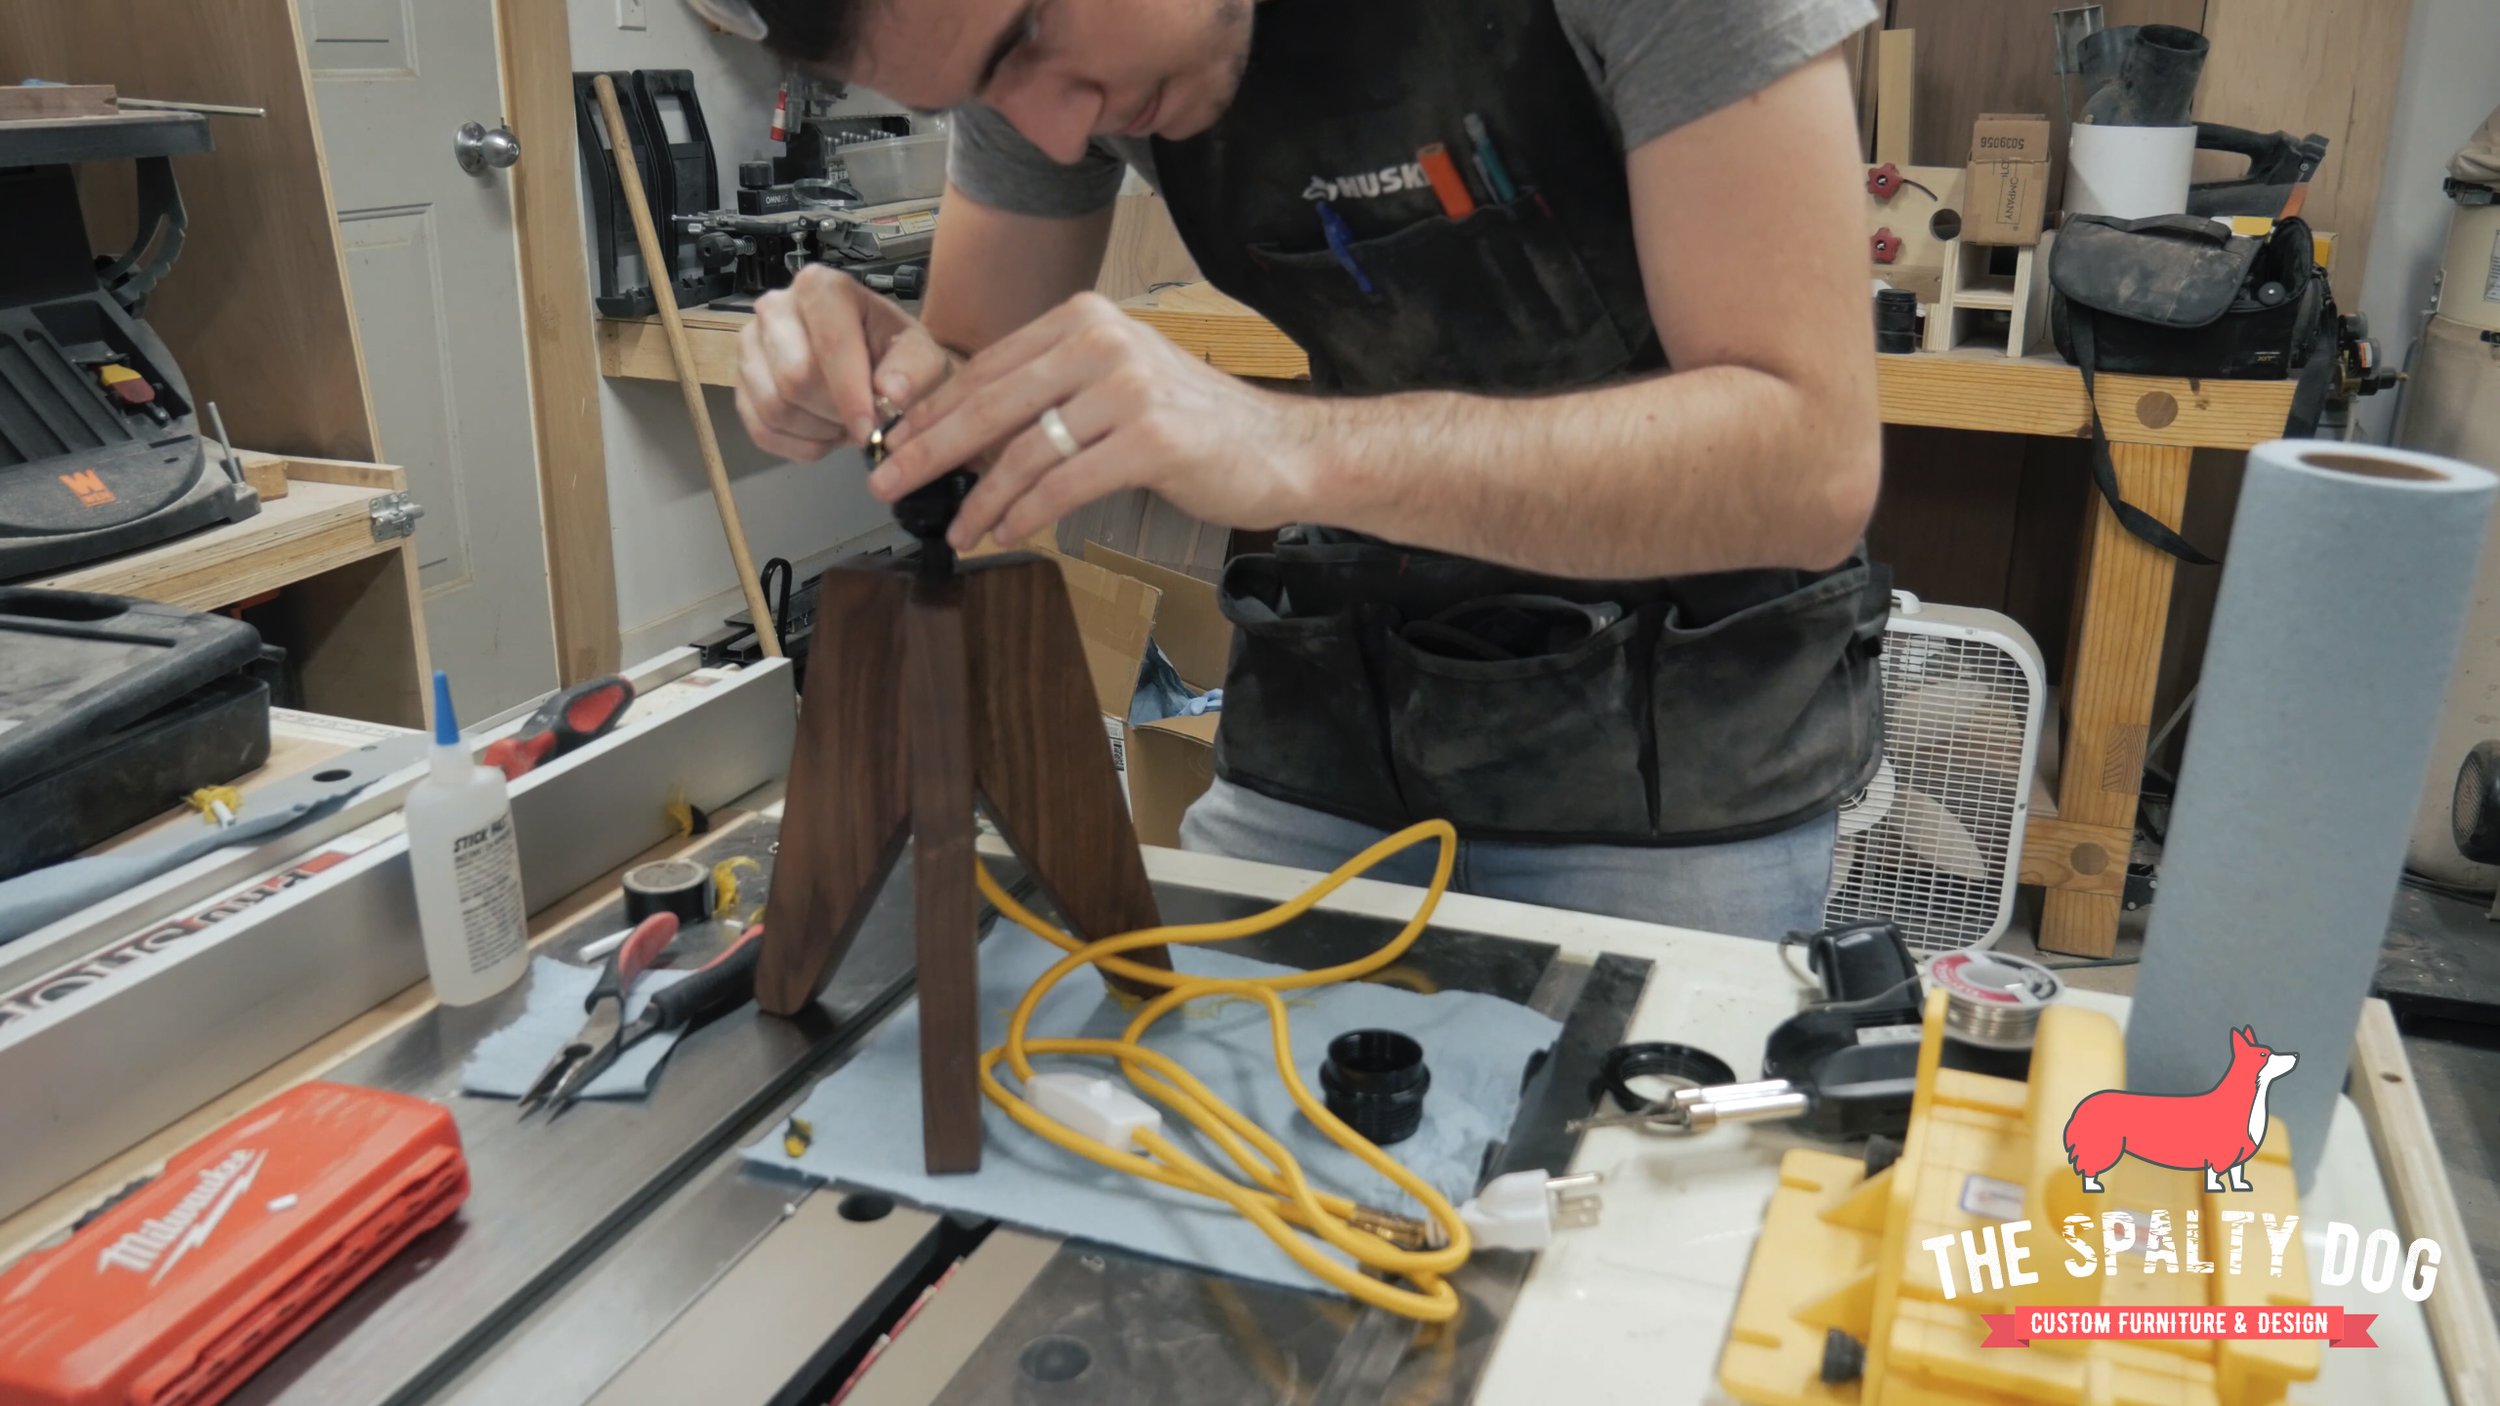
I’ll be using this 3 inch stem cord grip to feed the power cable through to the light socket. So I drill a 1/2 inch hole down the center of the lamp base then flip the base upside down and drill a slightly smaller hole to feed the cable through.

After that I cleaned everything with mineral spirits and applied my go to finish Rubio Monocoat.

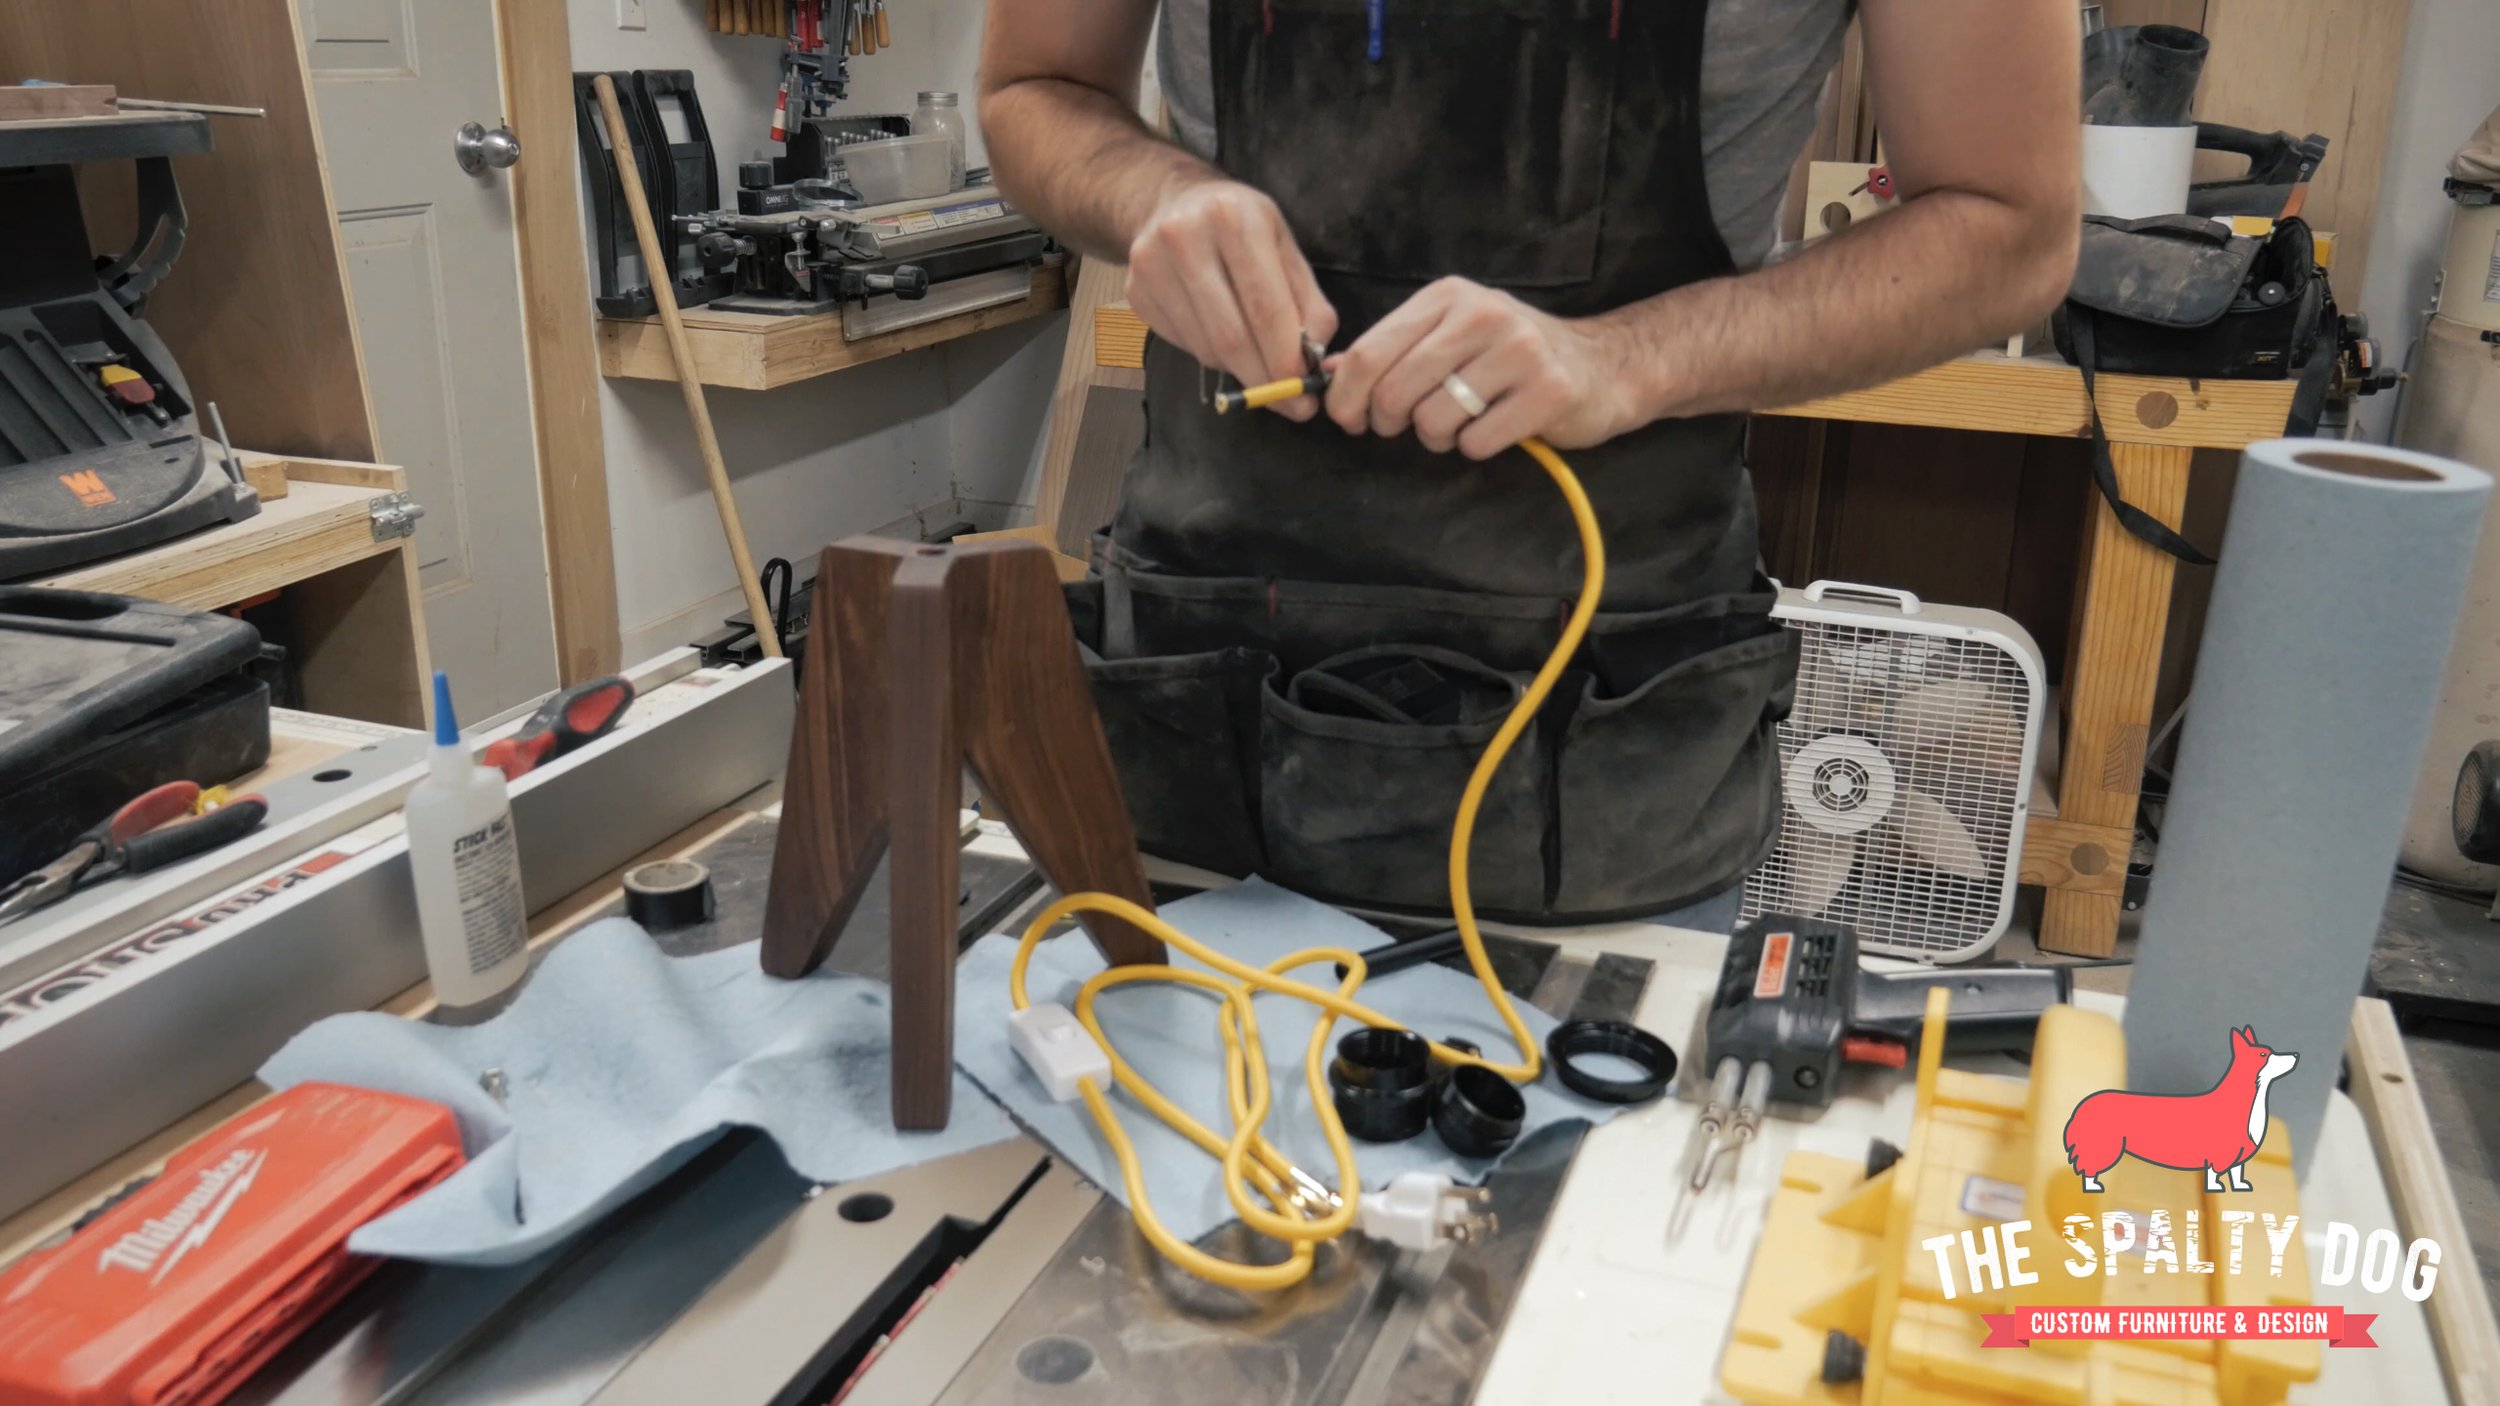
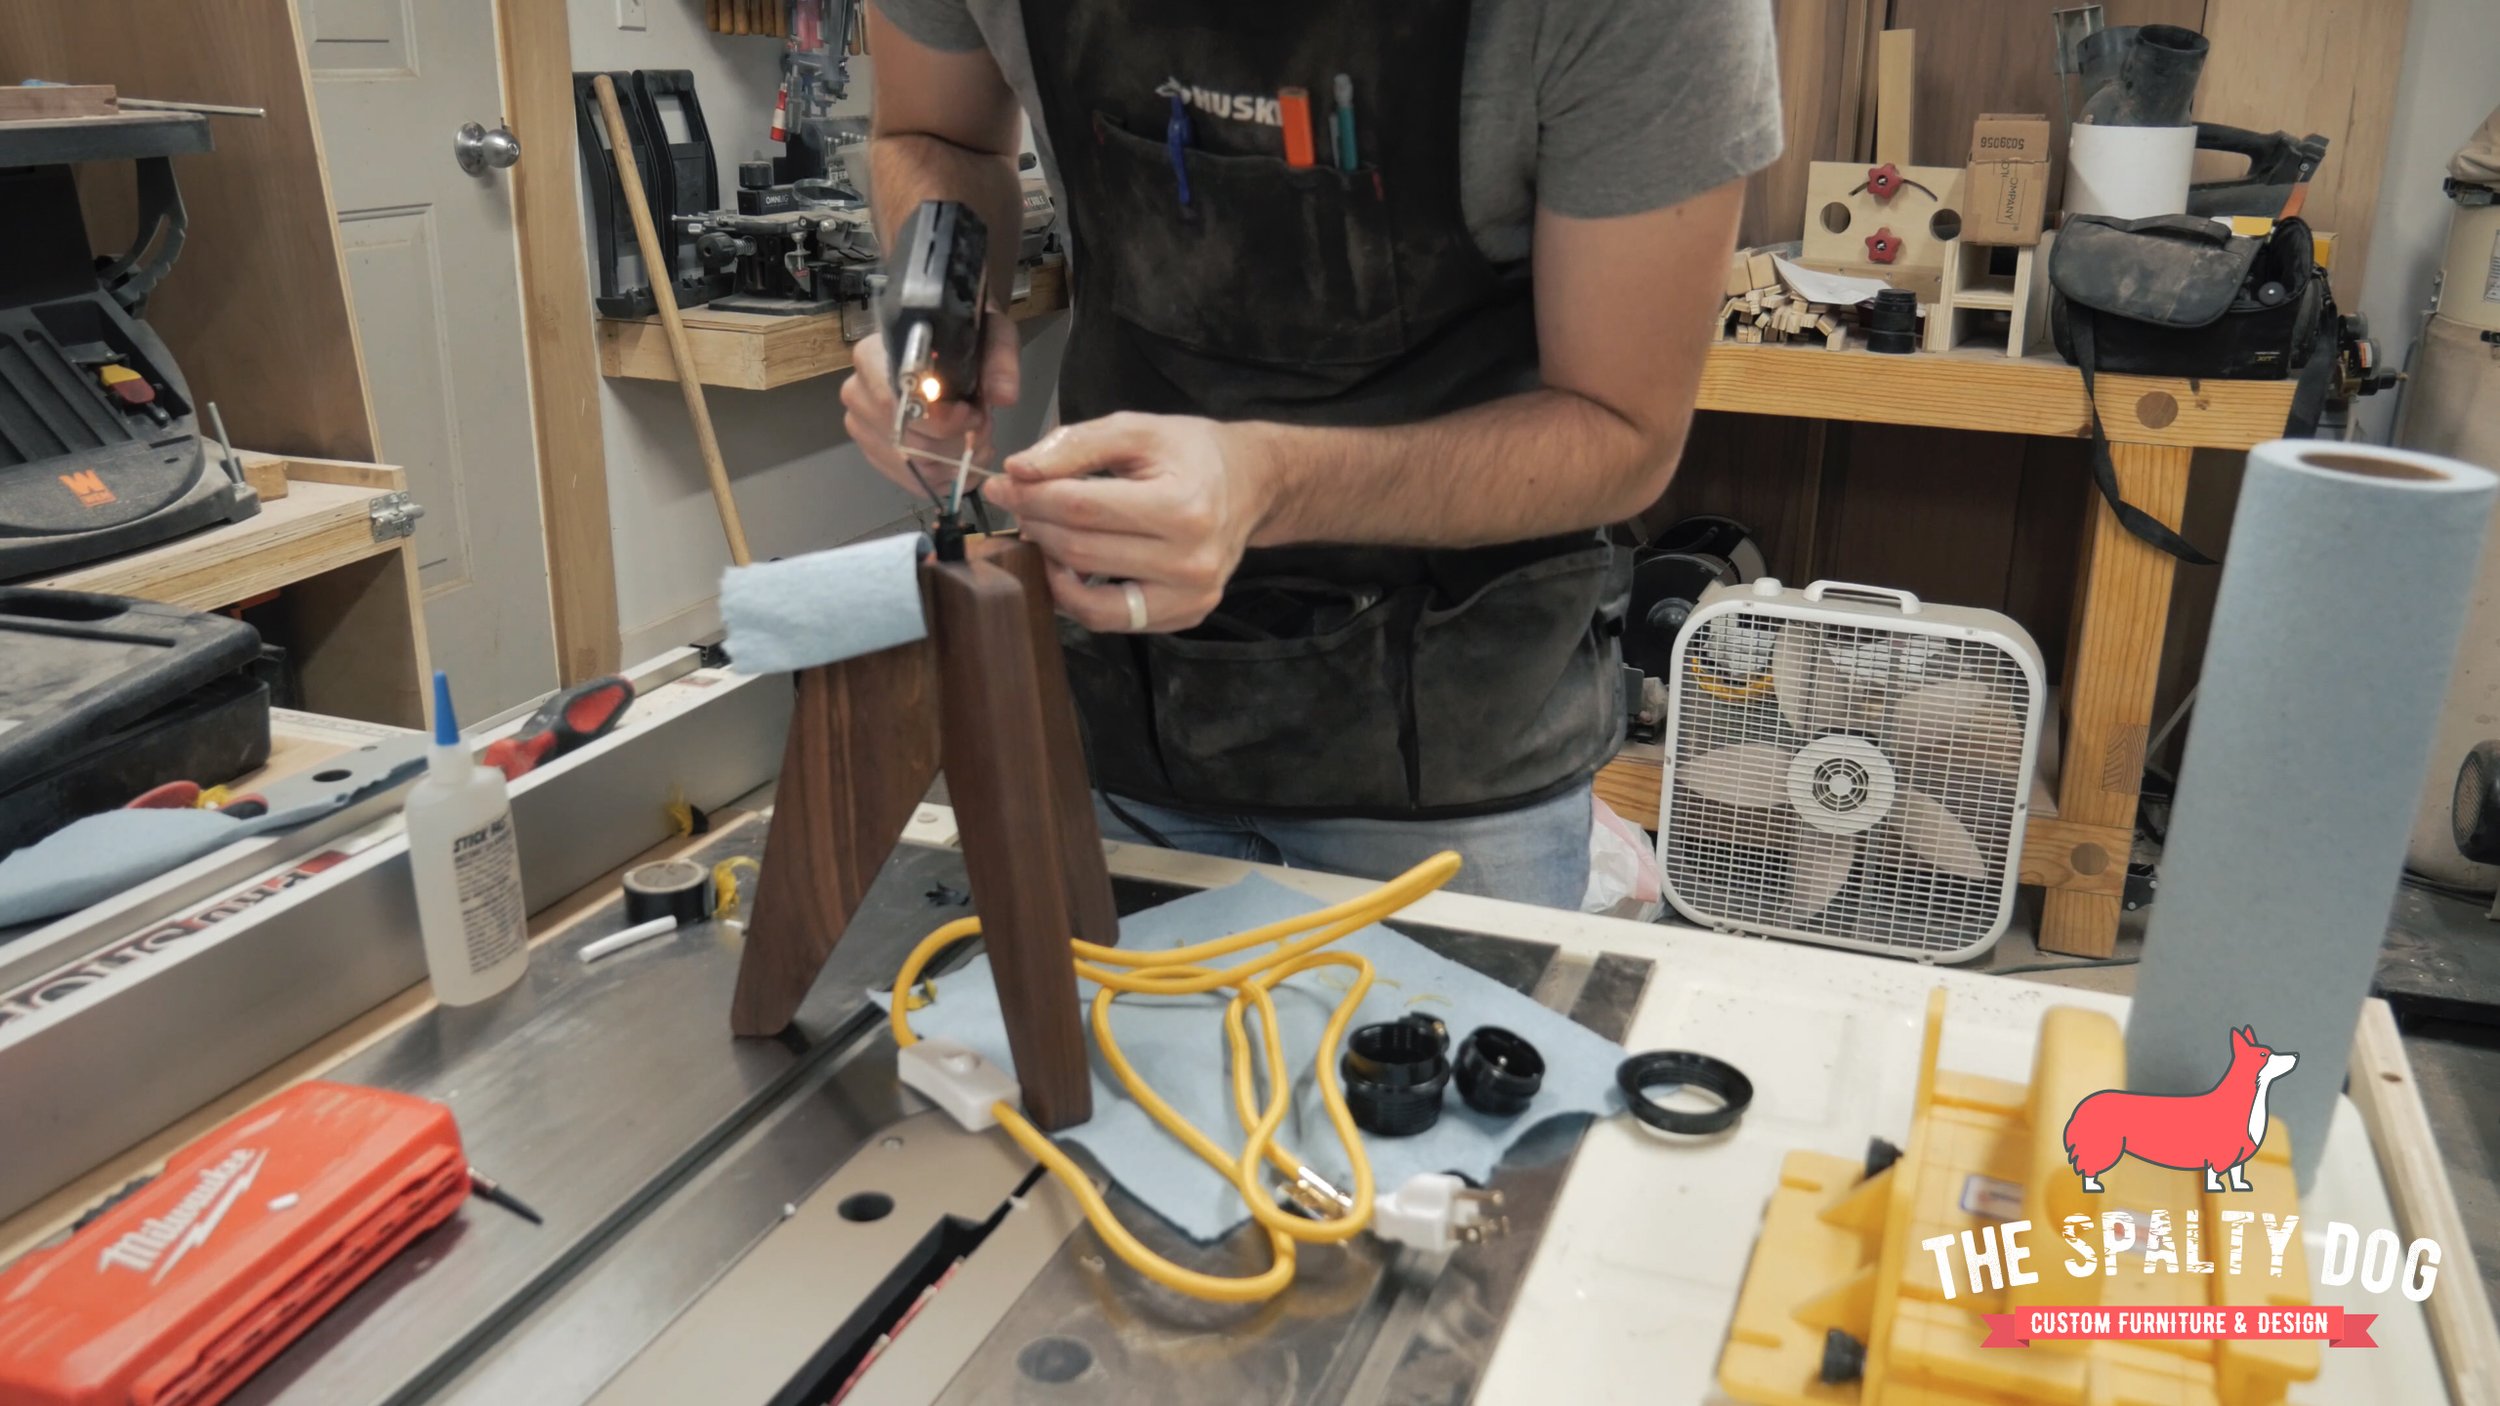
From here on out it’s all electrical work which can be pretty dangerous. I’m an amateur at best so instead of going into all the fine details I’ll link to the a video (Basic Socket Wiring Tutorial) that helped me out.
Basically I just trim the cord end to expose the inner wires, trim and solder each of those ends, feed the wire through the cord stem, attach each wire to the appropriate terminal and screw on the socket housing.
After wiring everything up it’s time to grab an old dirty bulb and test it out.

Now that I know it works, I want to make sure the stem is held in place by adding a few dabs of ca glue to the bottom.

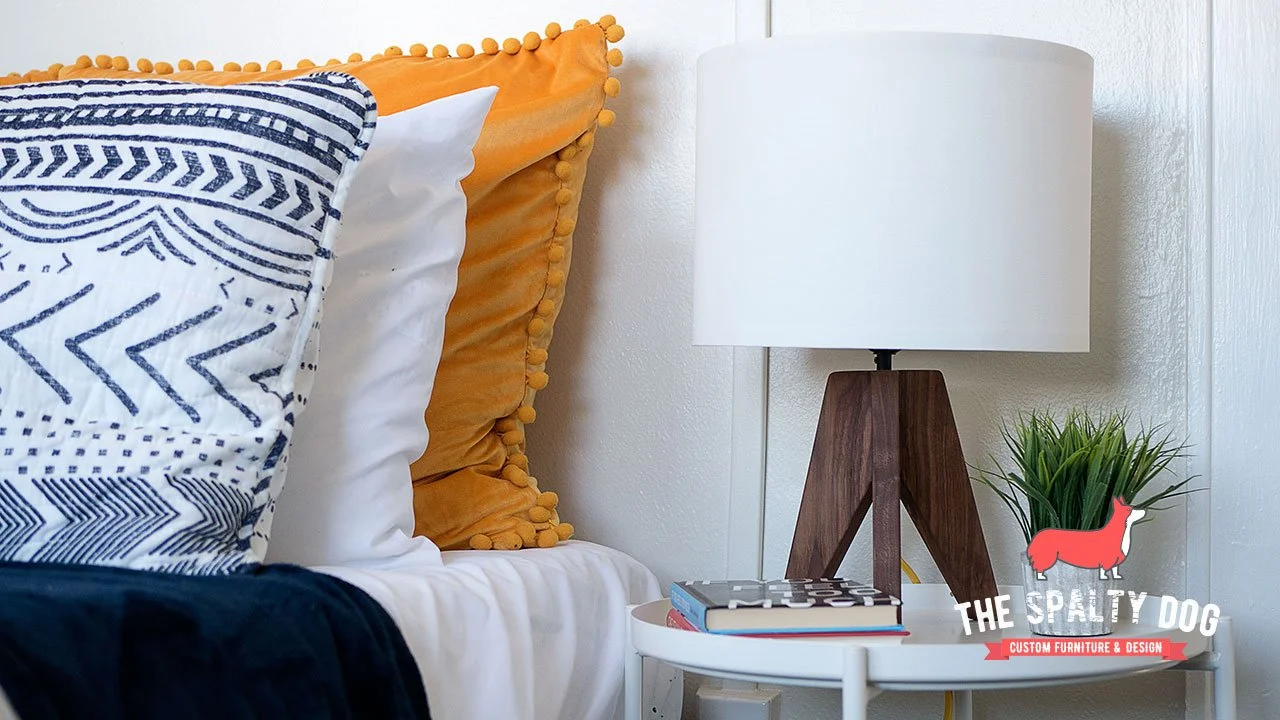
At this point all we need is a shade and we can call this one done.

I’ve found that when it comes to smaller pieces like this I often struggle in coming up with ideas. I'll hold onto cut offs for years telling myself it can be used for “something". But unfortunately, I’m just not good at figuring out what that something is. Which is why I typically stick to larger furniture. Even this piece was designed as a floor lamp that I scaled down to prototype. However I’m really happy with how this came together and will definitely be making more of these in the future.
Thanks for following me along on this build! If you liked what you saw, feel free to follow me on my social channels and subscribe to my newsletter to receive the latest updates of what’s going on with The Spalty Dog.