
Making a Modern Industrial Desk
I’ve been working from home since the very beginning of COVID with my current office setup in our basement. After being down in the dark for the better part of the year, I wanted to get a change of scenery. So I decided to put another desk up in our guest bedroom where there’s a bit more light. This will also give me a dedicated space to editing videos.
The guys over at the Modern Maker Podcast currently have a competition running along with Rockler, which is specifically focused on making a desk. So I figured what better time than the present?
To see other submissions along with mine check out #rocklerdeskchallenge on Instagram!
Materials
6/4 Ambrosia Maple Boards
Mineral Spirits
Sandpaper
Rubio Monocoat (Pure)
Titebond 3 Wood Glue
Painters Tape
Clear Satin Enamel
60 Grit Flap Disc
Cut off Disc
Tools
Jet Proshop Table Saw
Powermatic 8” HH Jointer
Powermatic 15” HH Planer
Ryobi 10” Sliding Miter Saw
Makita Random Orbit Sander
Ryobi Hand Buffer
WEN Oscillating Belt Sander
Drill/Drill Press
Router
Laguna 14” SUV Bandsaw
Hobart Handler 140 Mig Welder
Evolution R355CPS Chop Saw
Milwaukee Angle Grinder
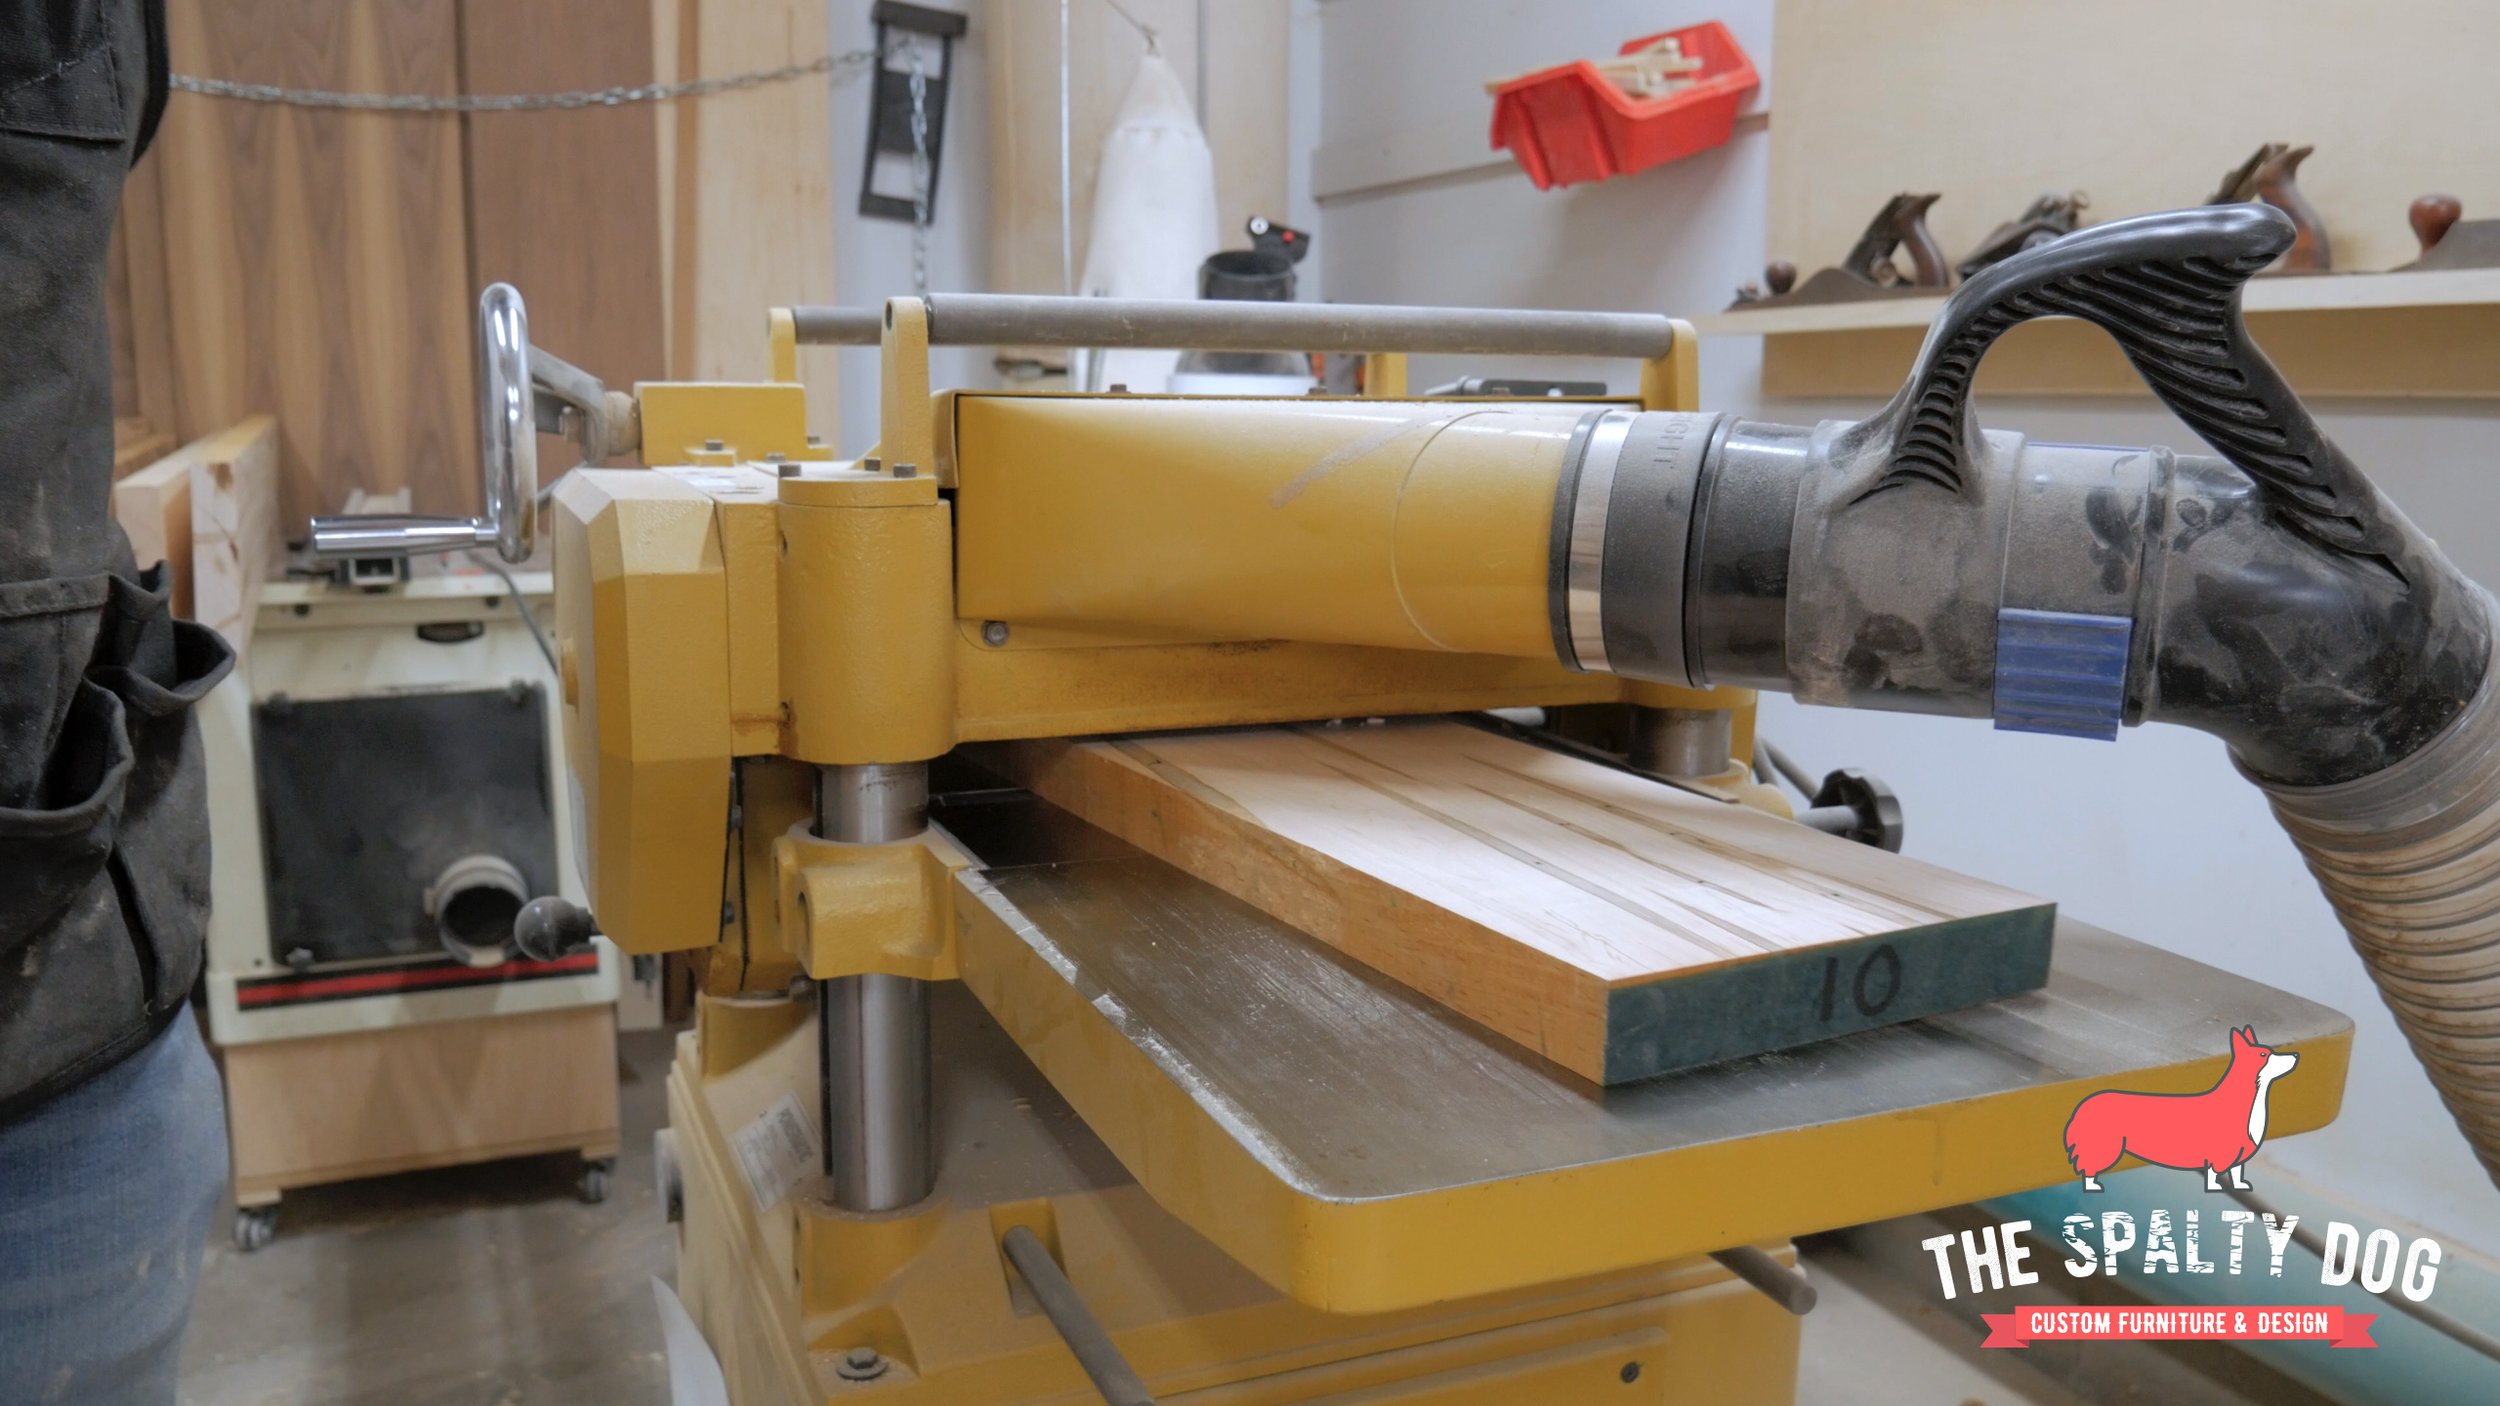
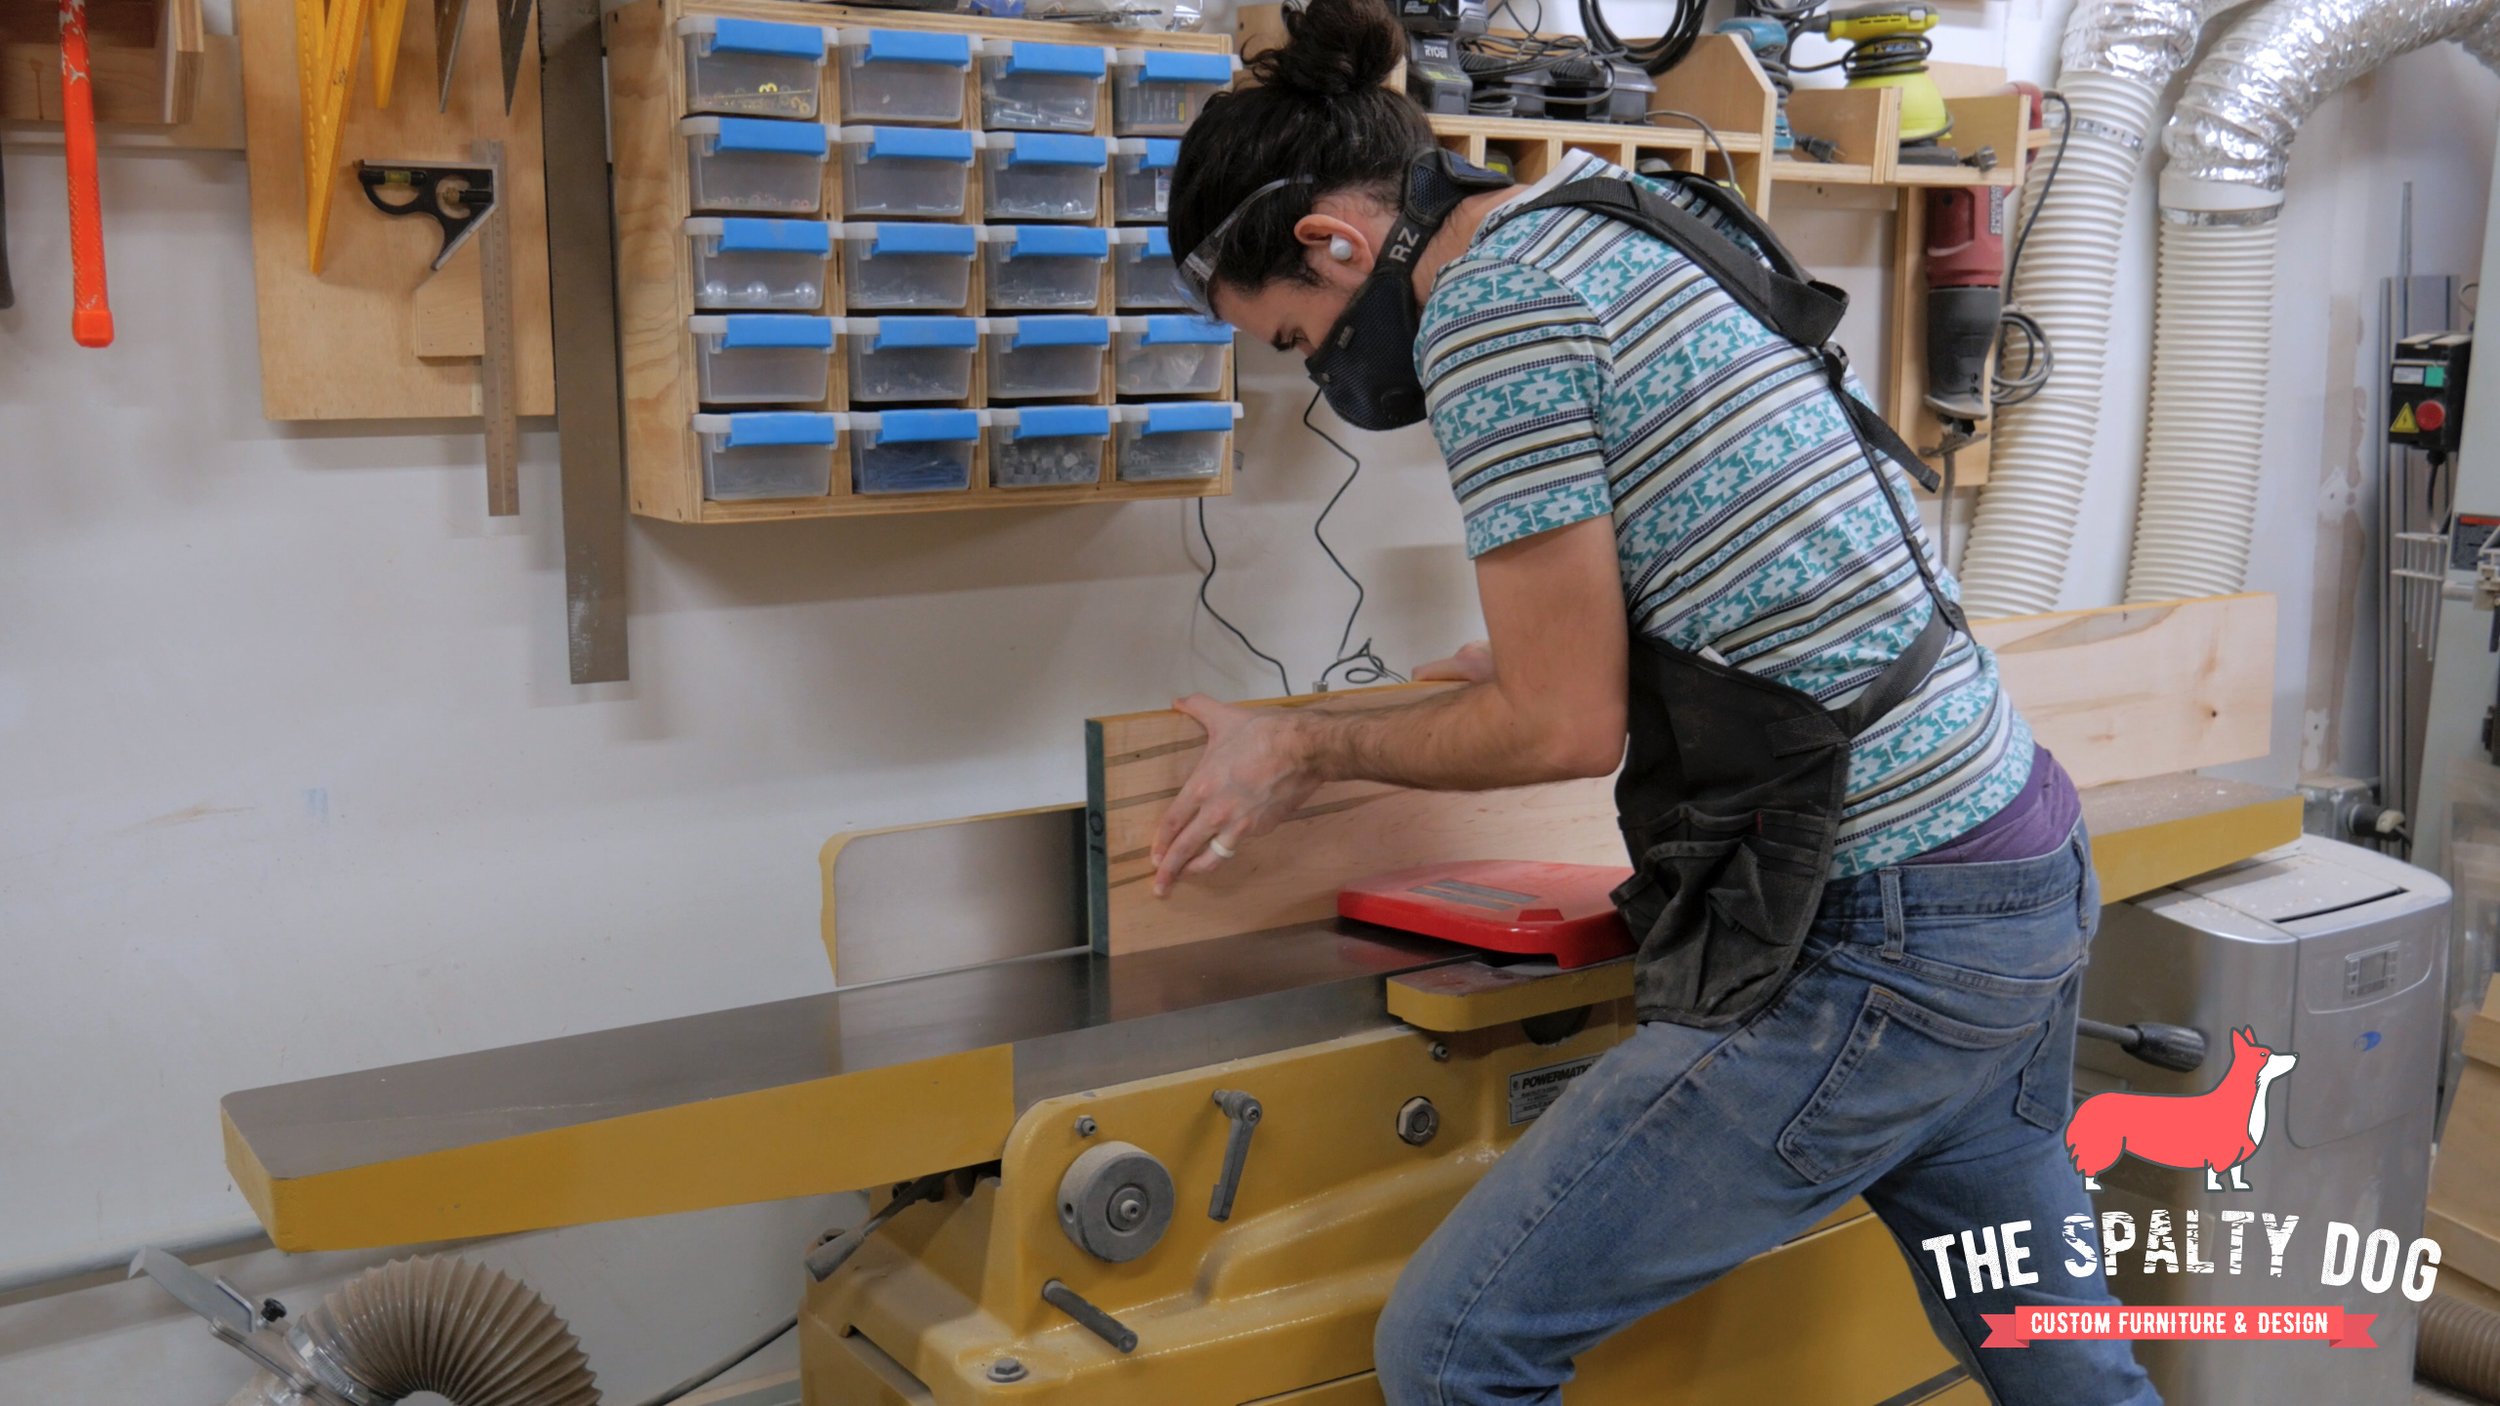
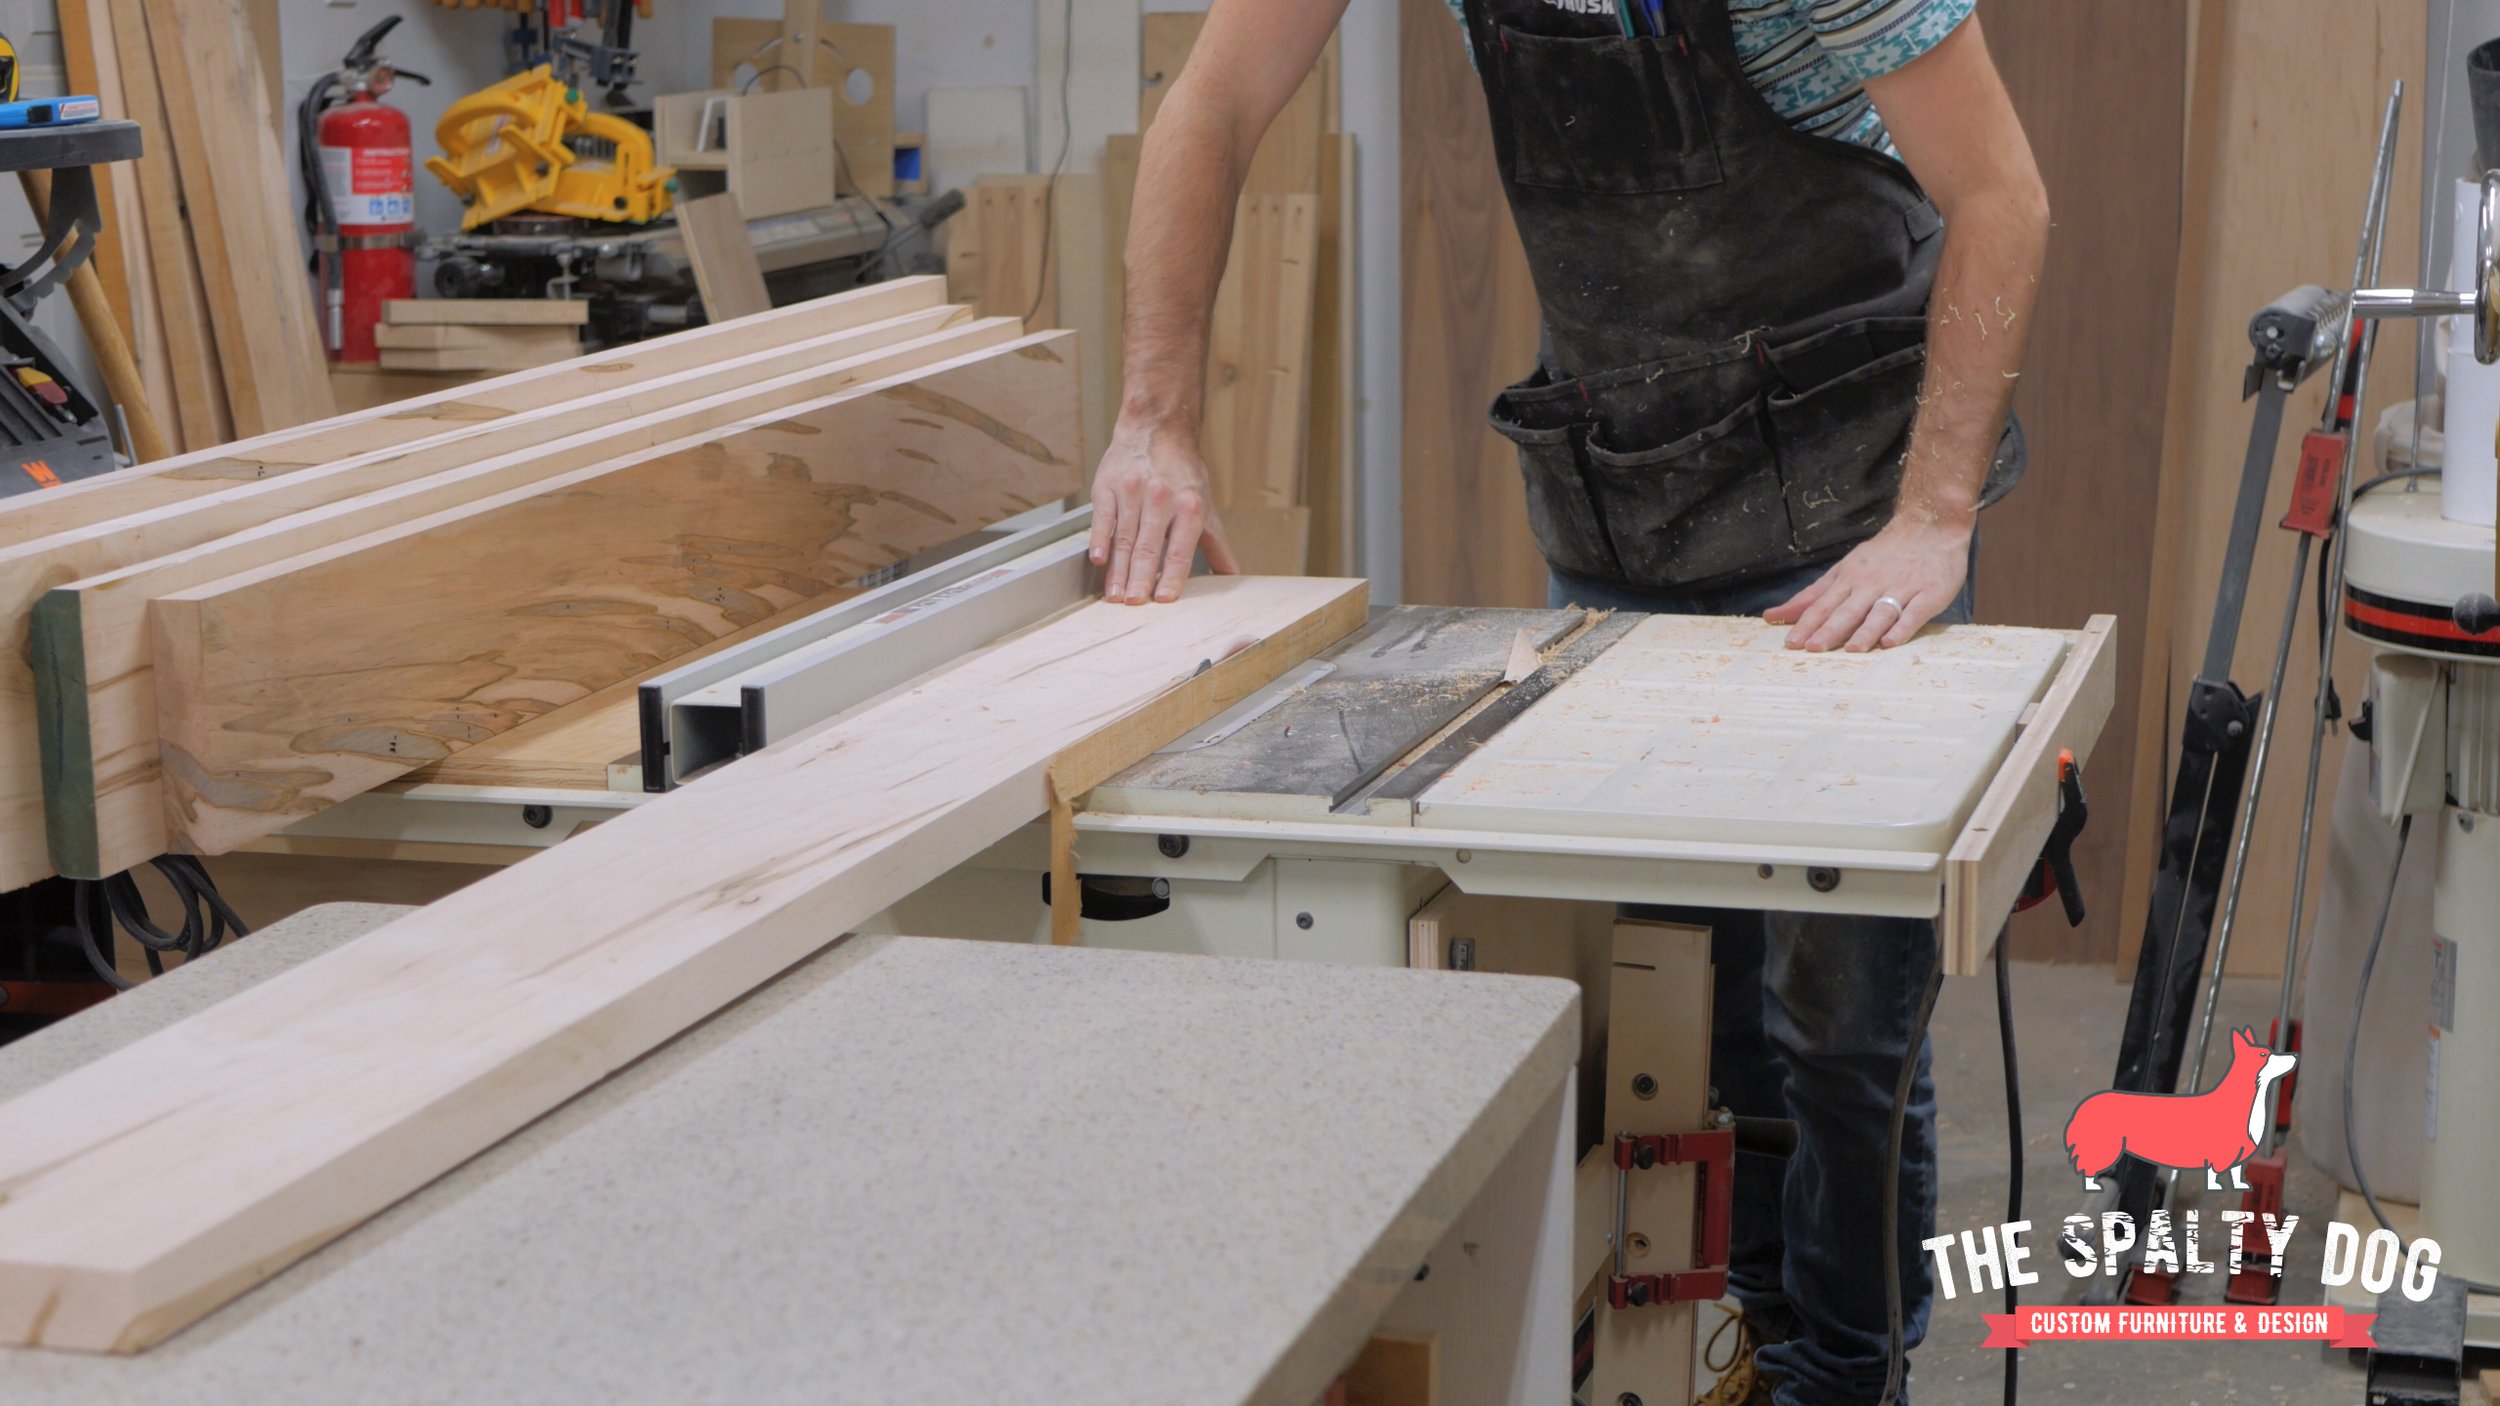
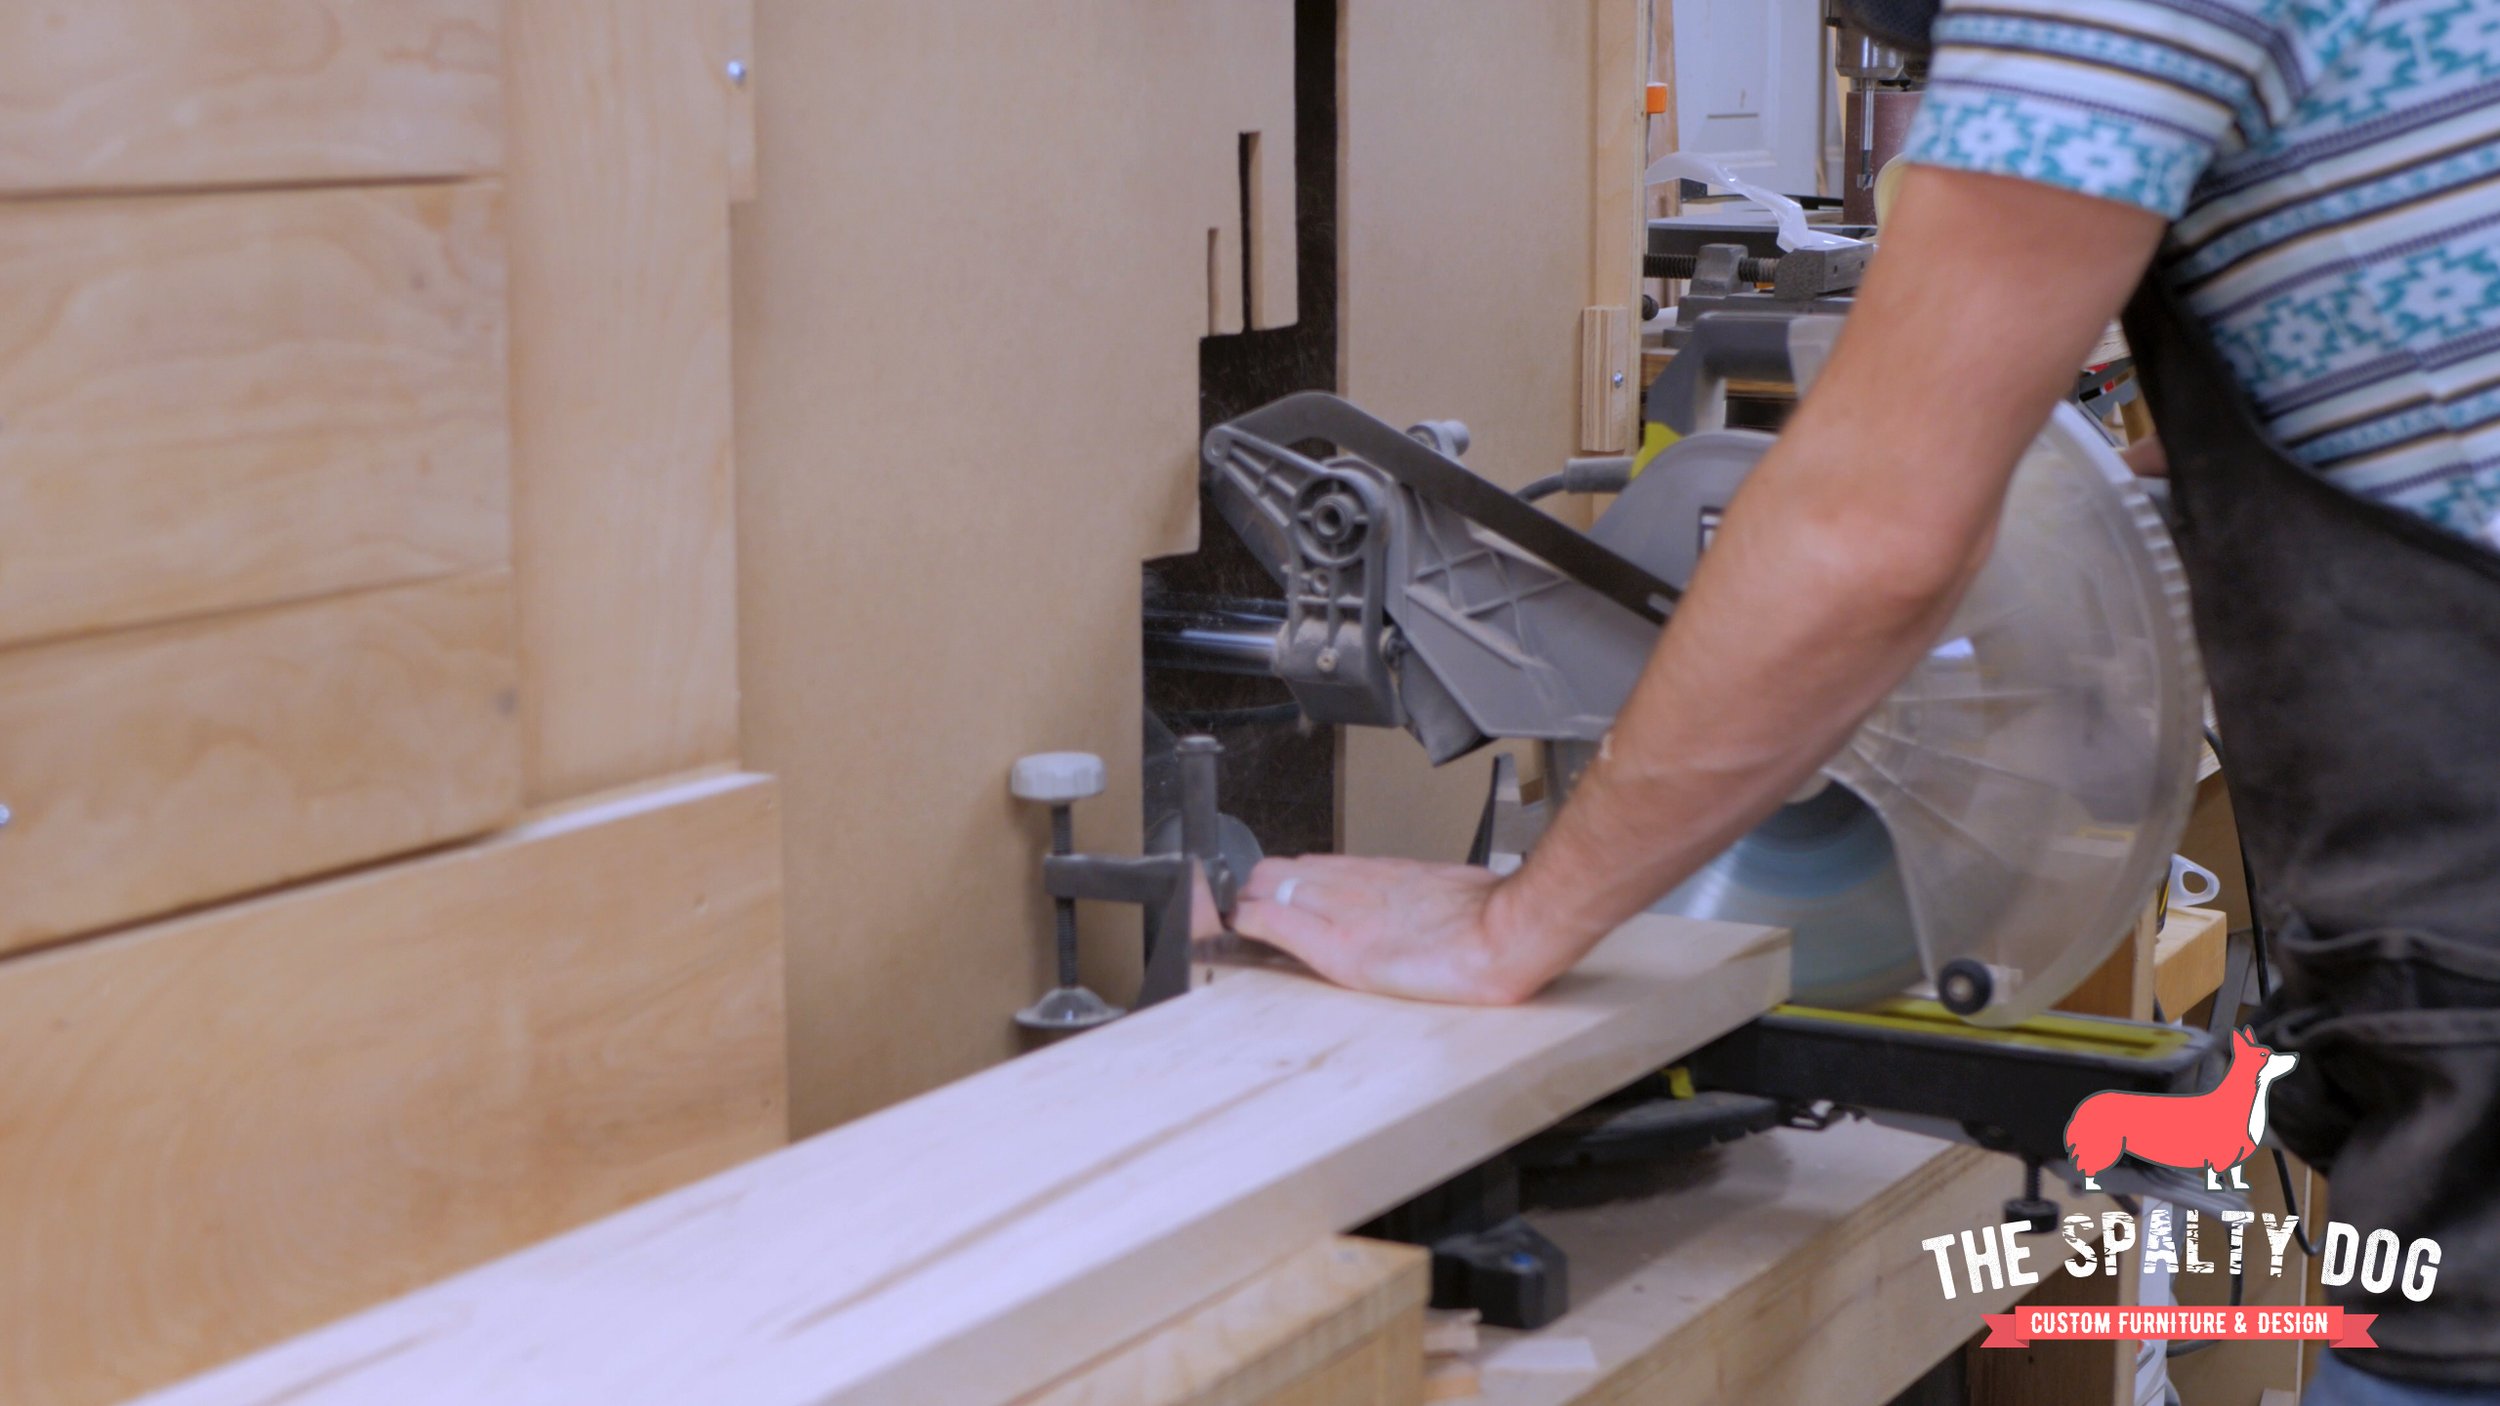
I start off by milling some ambrosia maple for the top. Per usual, I’m jumping back and forth between the jointer, planer, table saw and miter saw to get everything squared up and to final dimension.
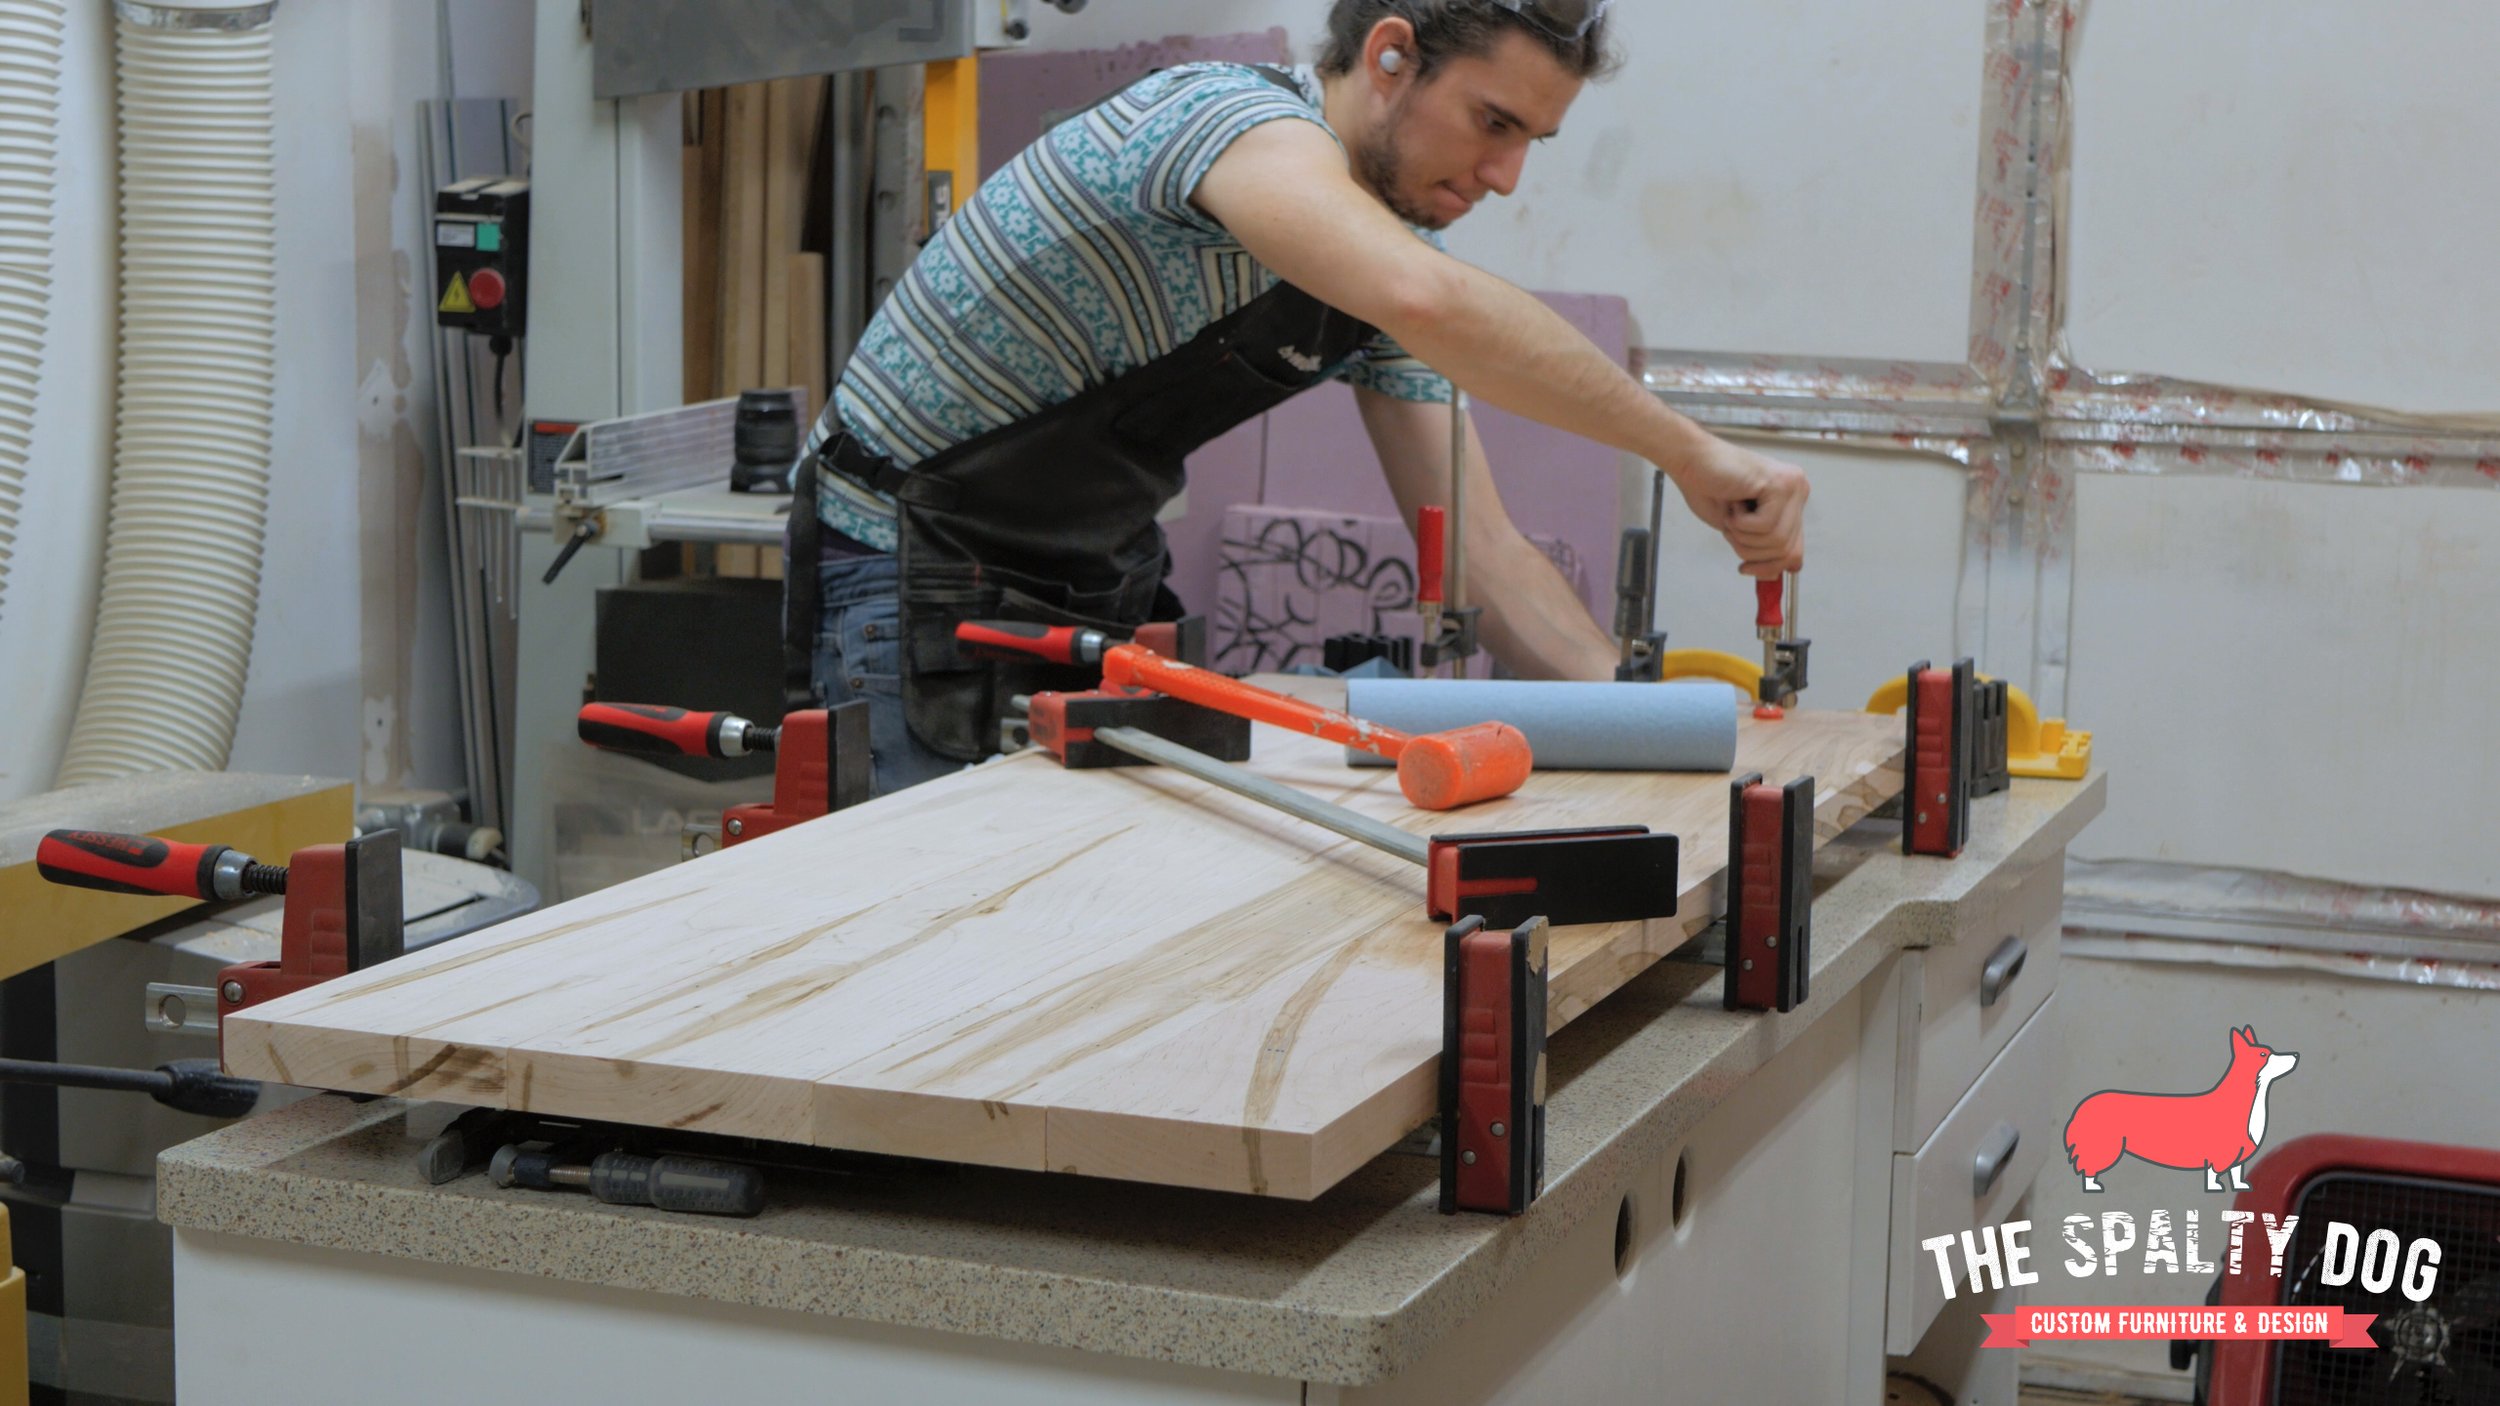
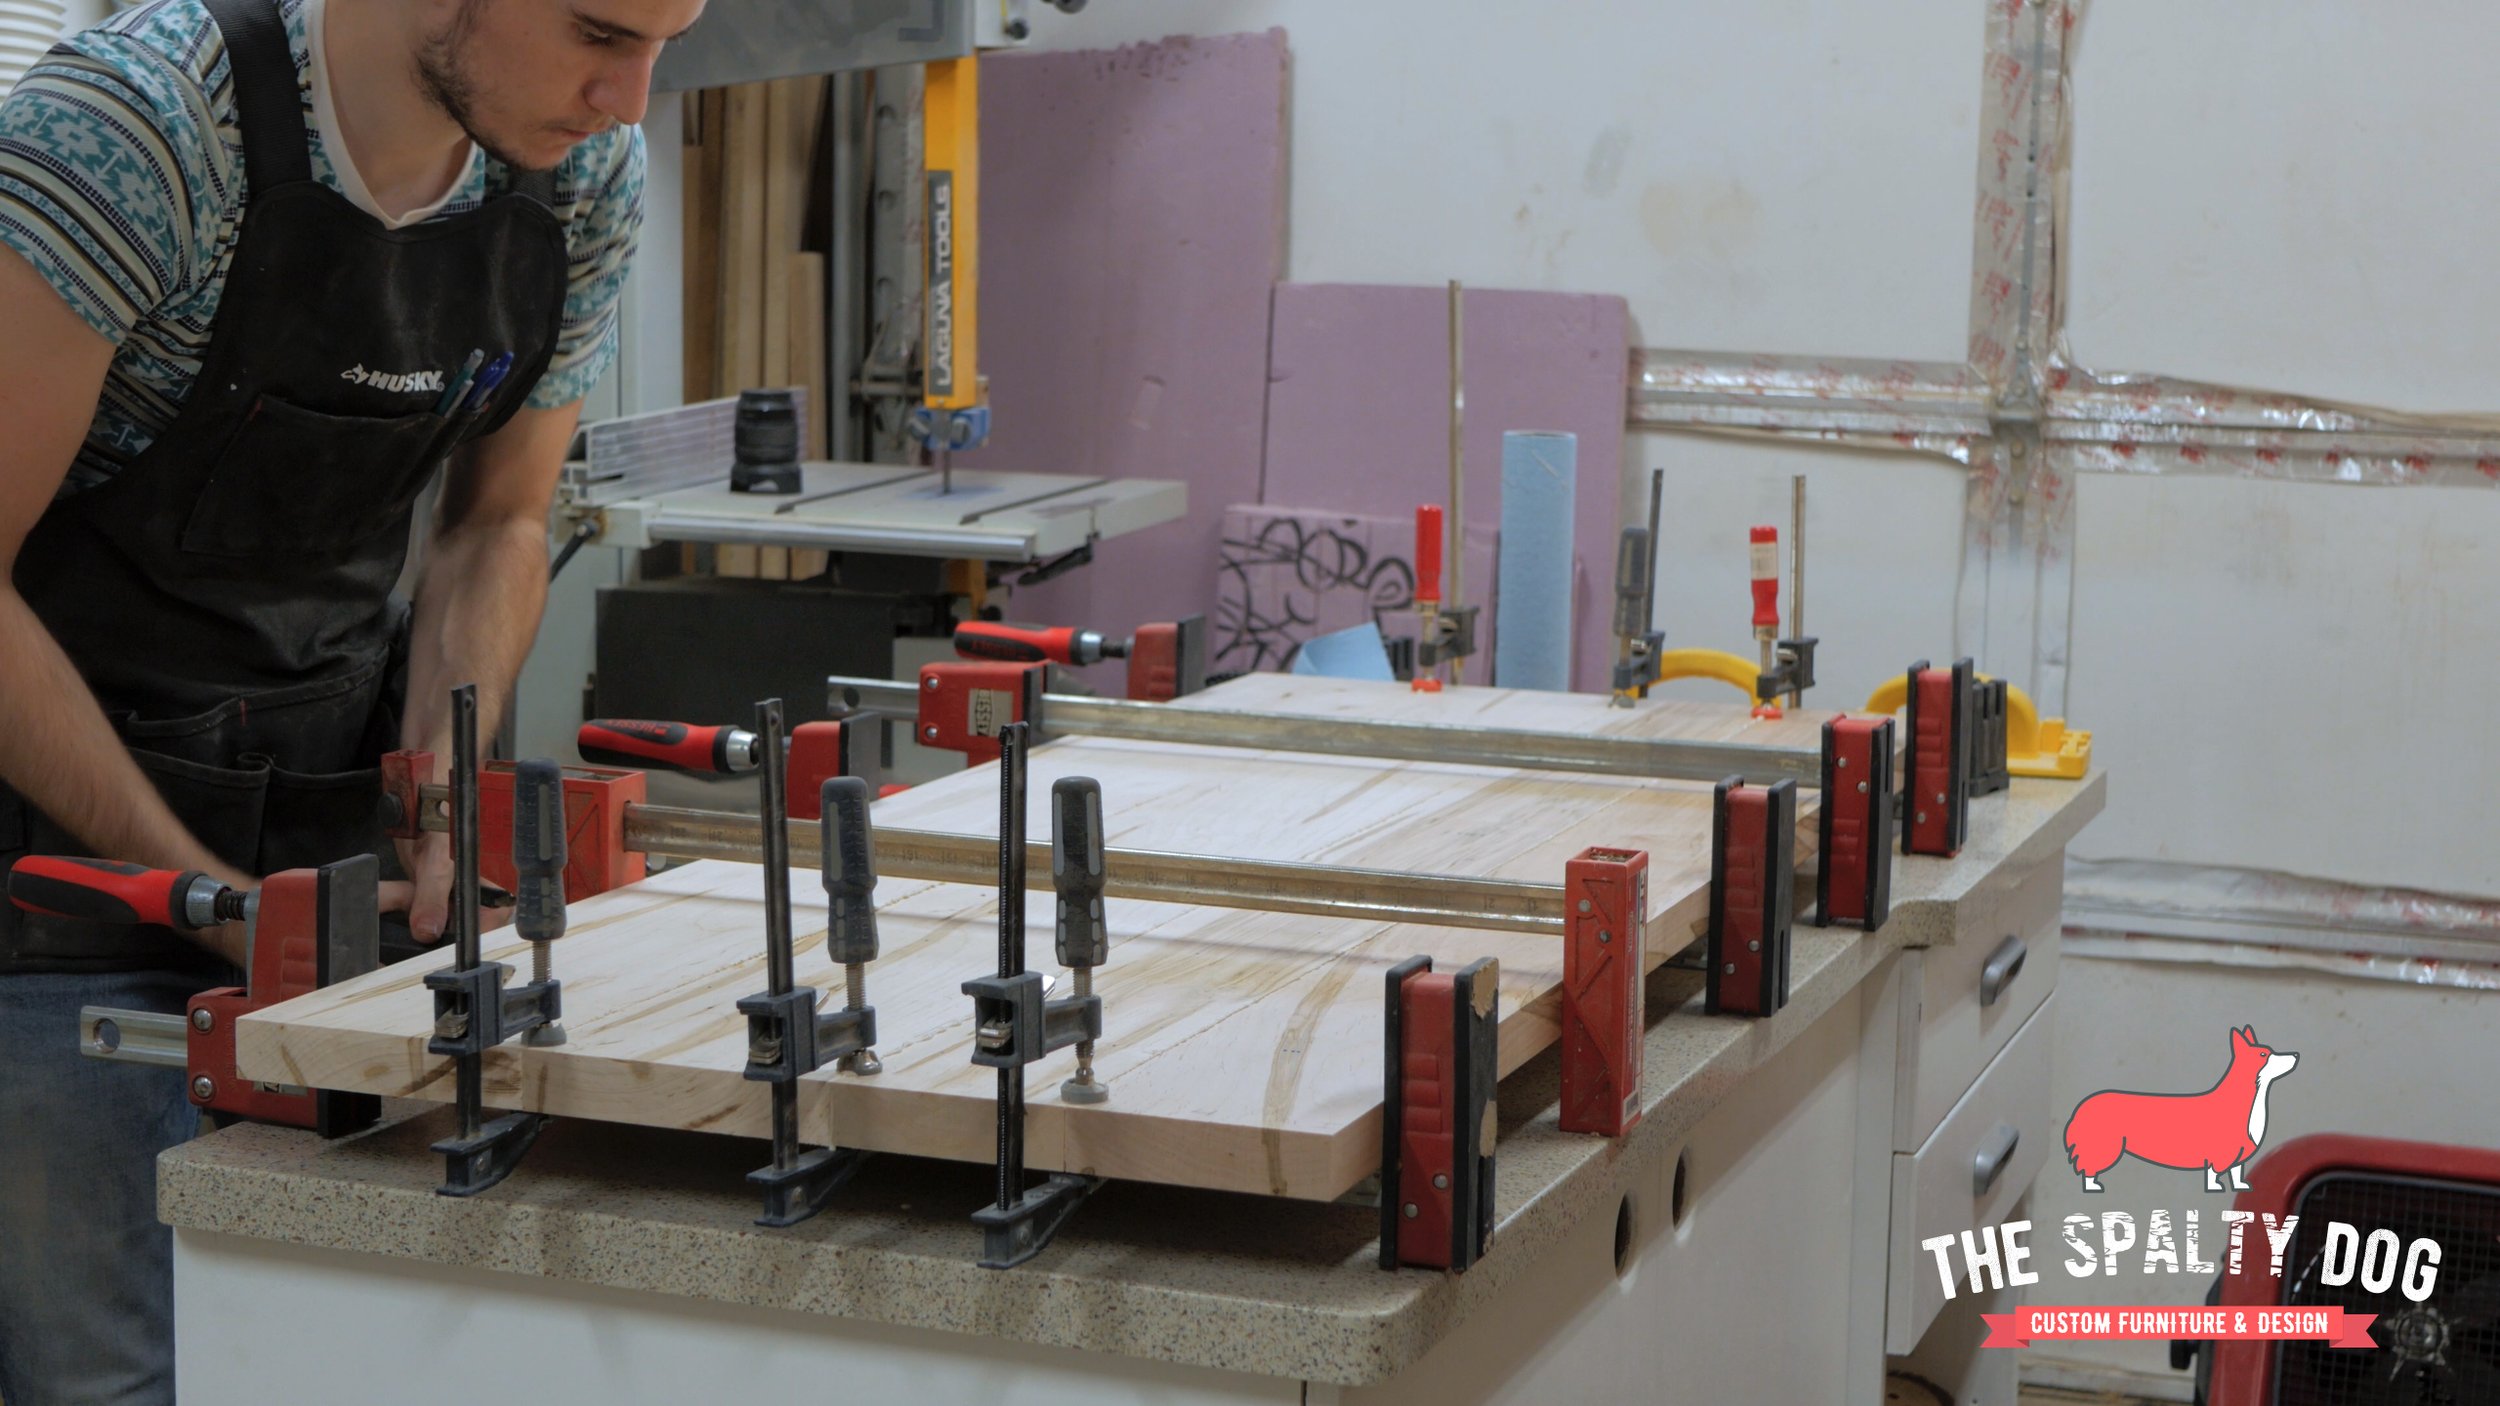
After that I can apply some glue to the boards and get everything into clamps. The f clamps on each end of the panel help keep the boards from shifting while the parallel clamps do their thing.

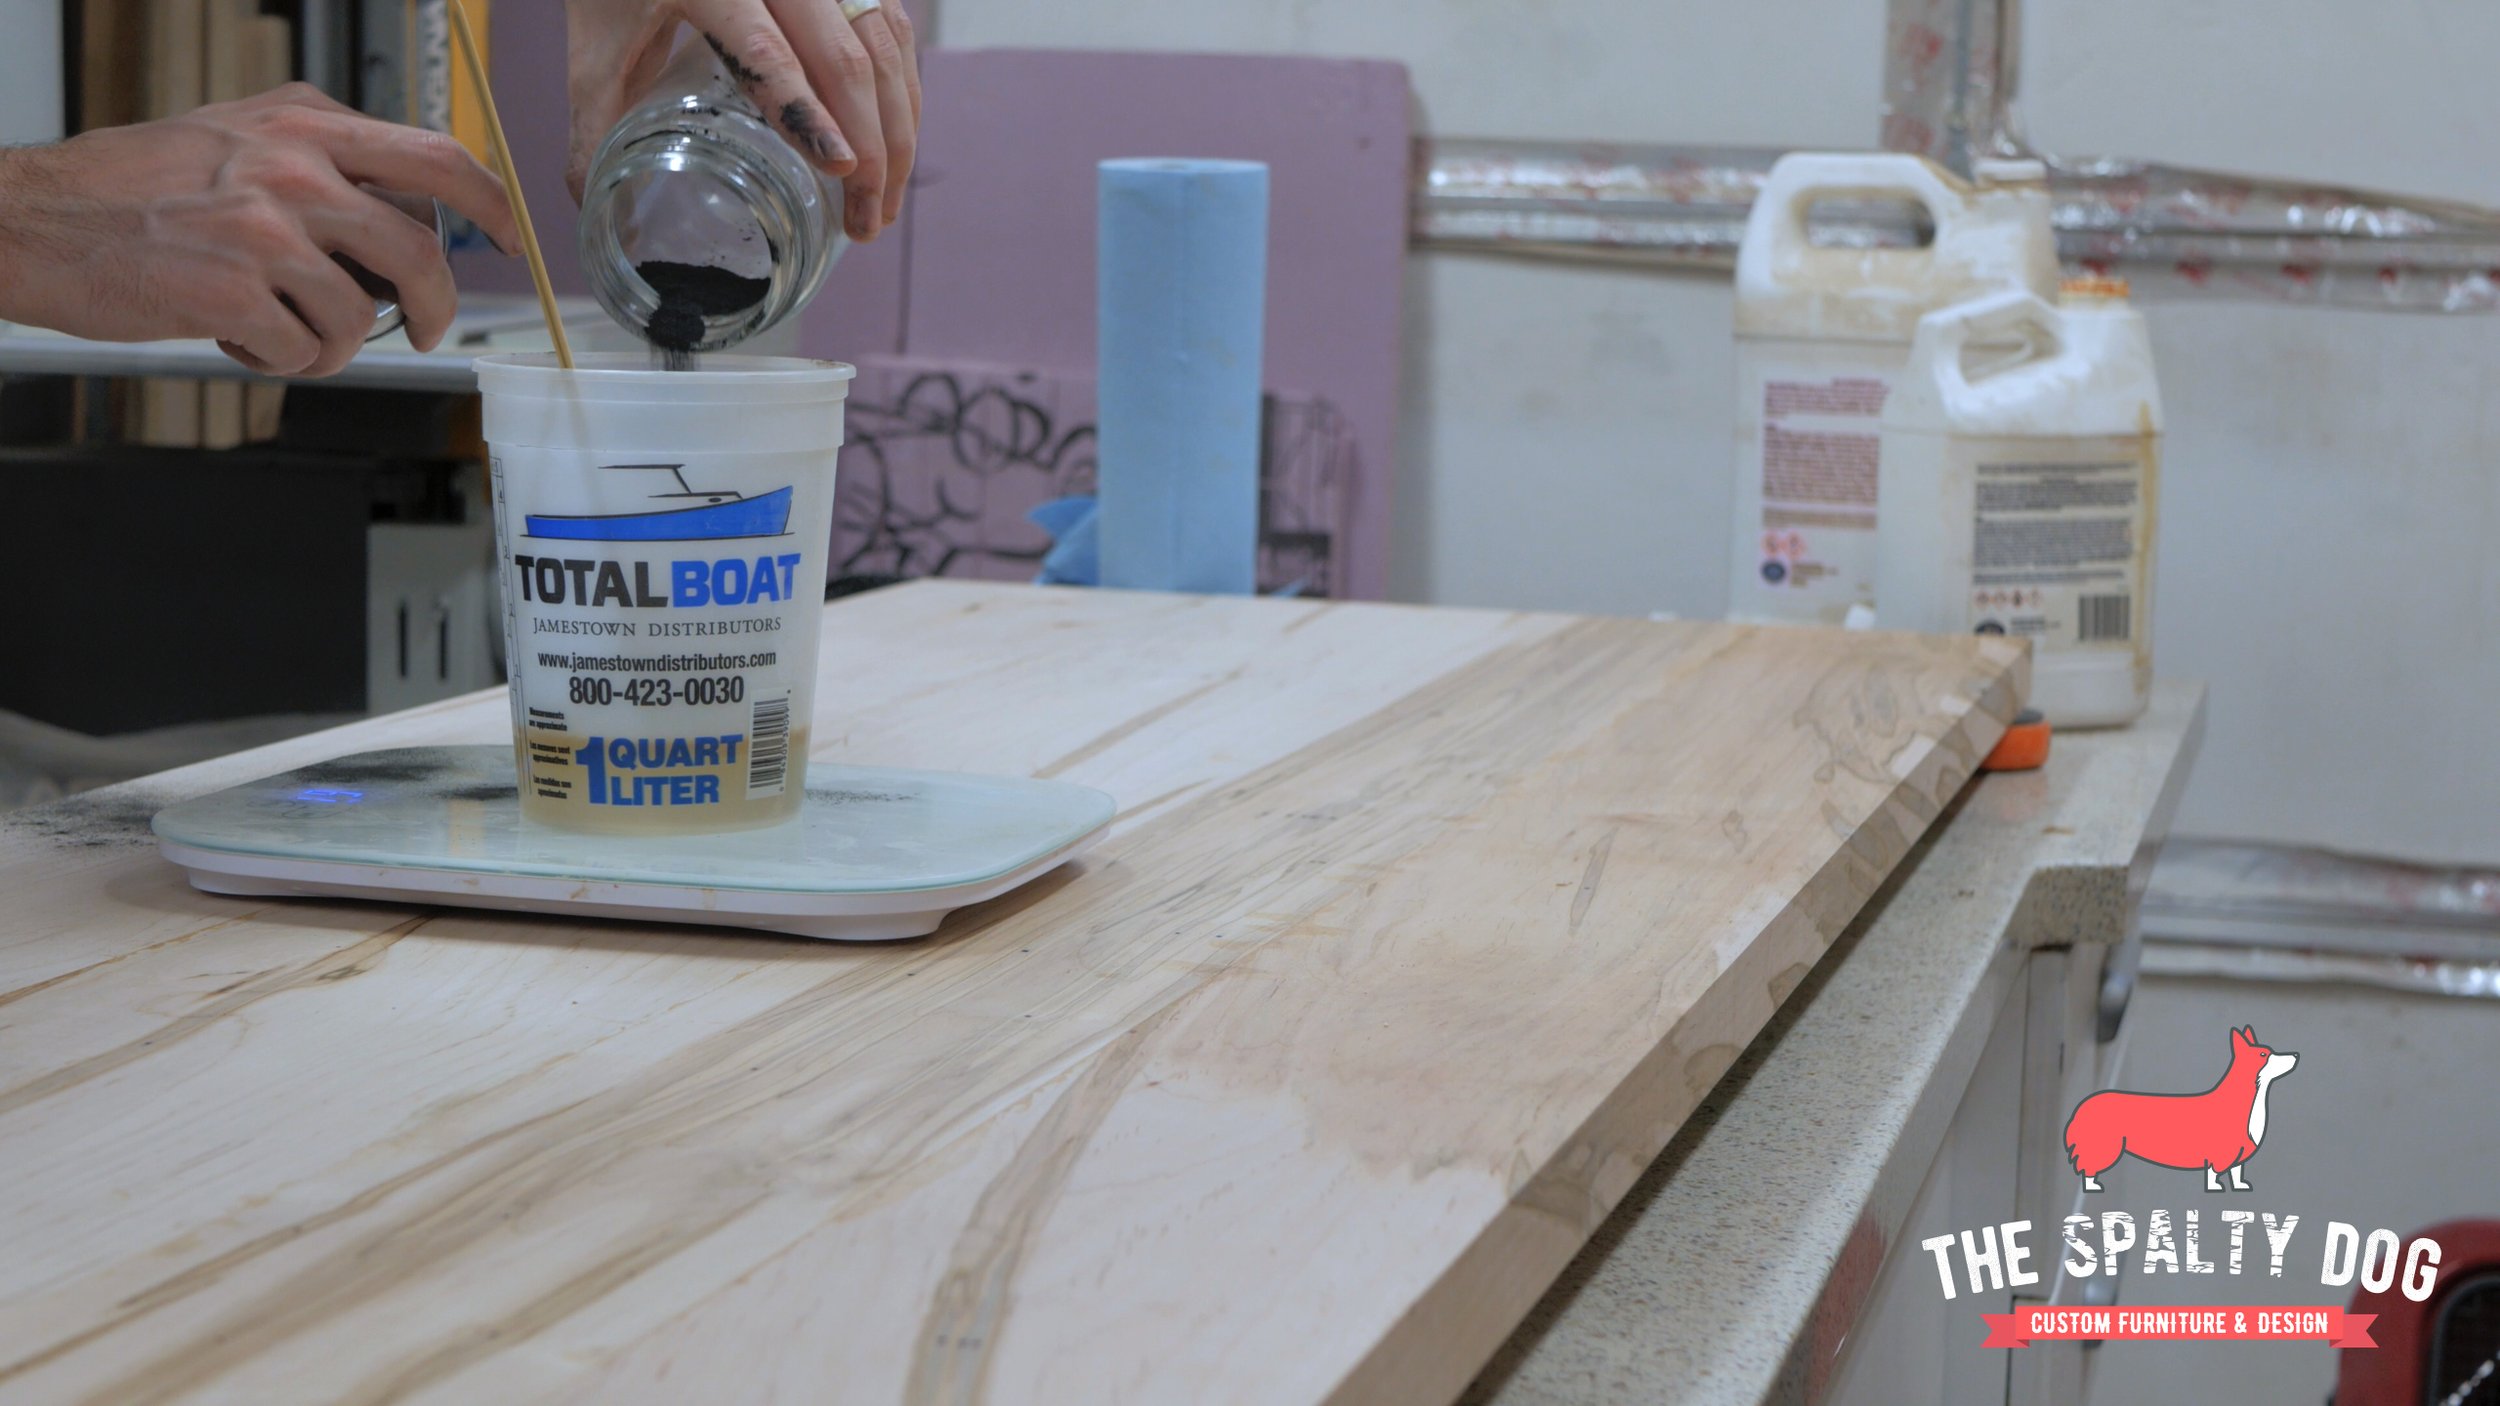
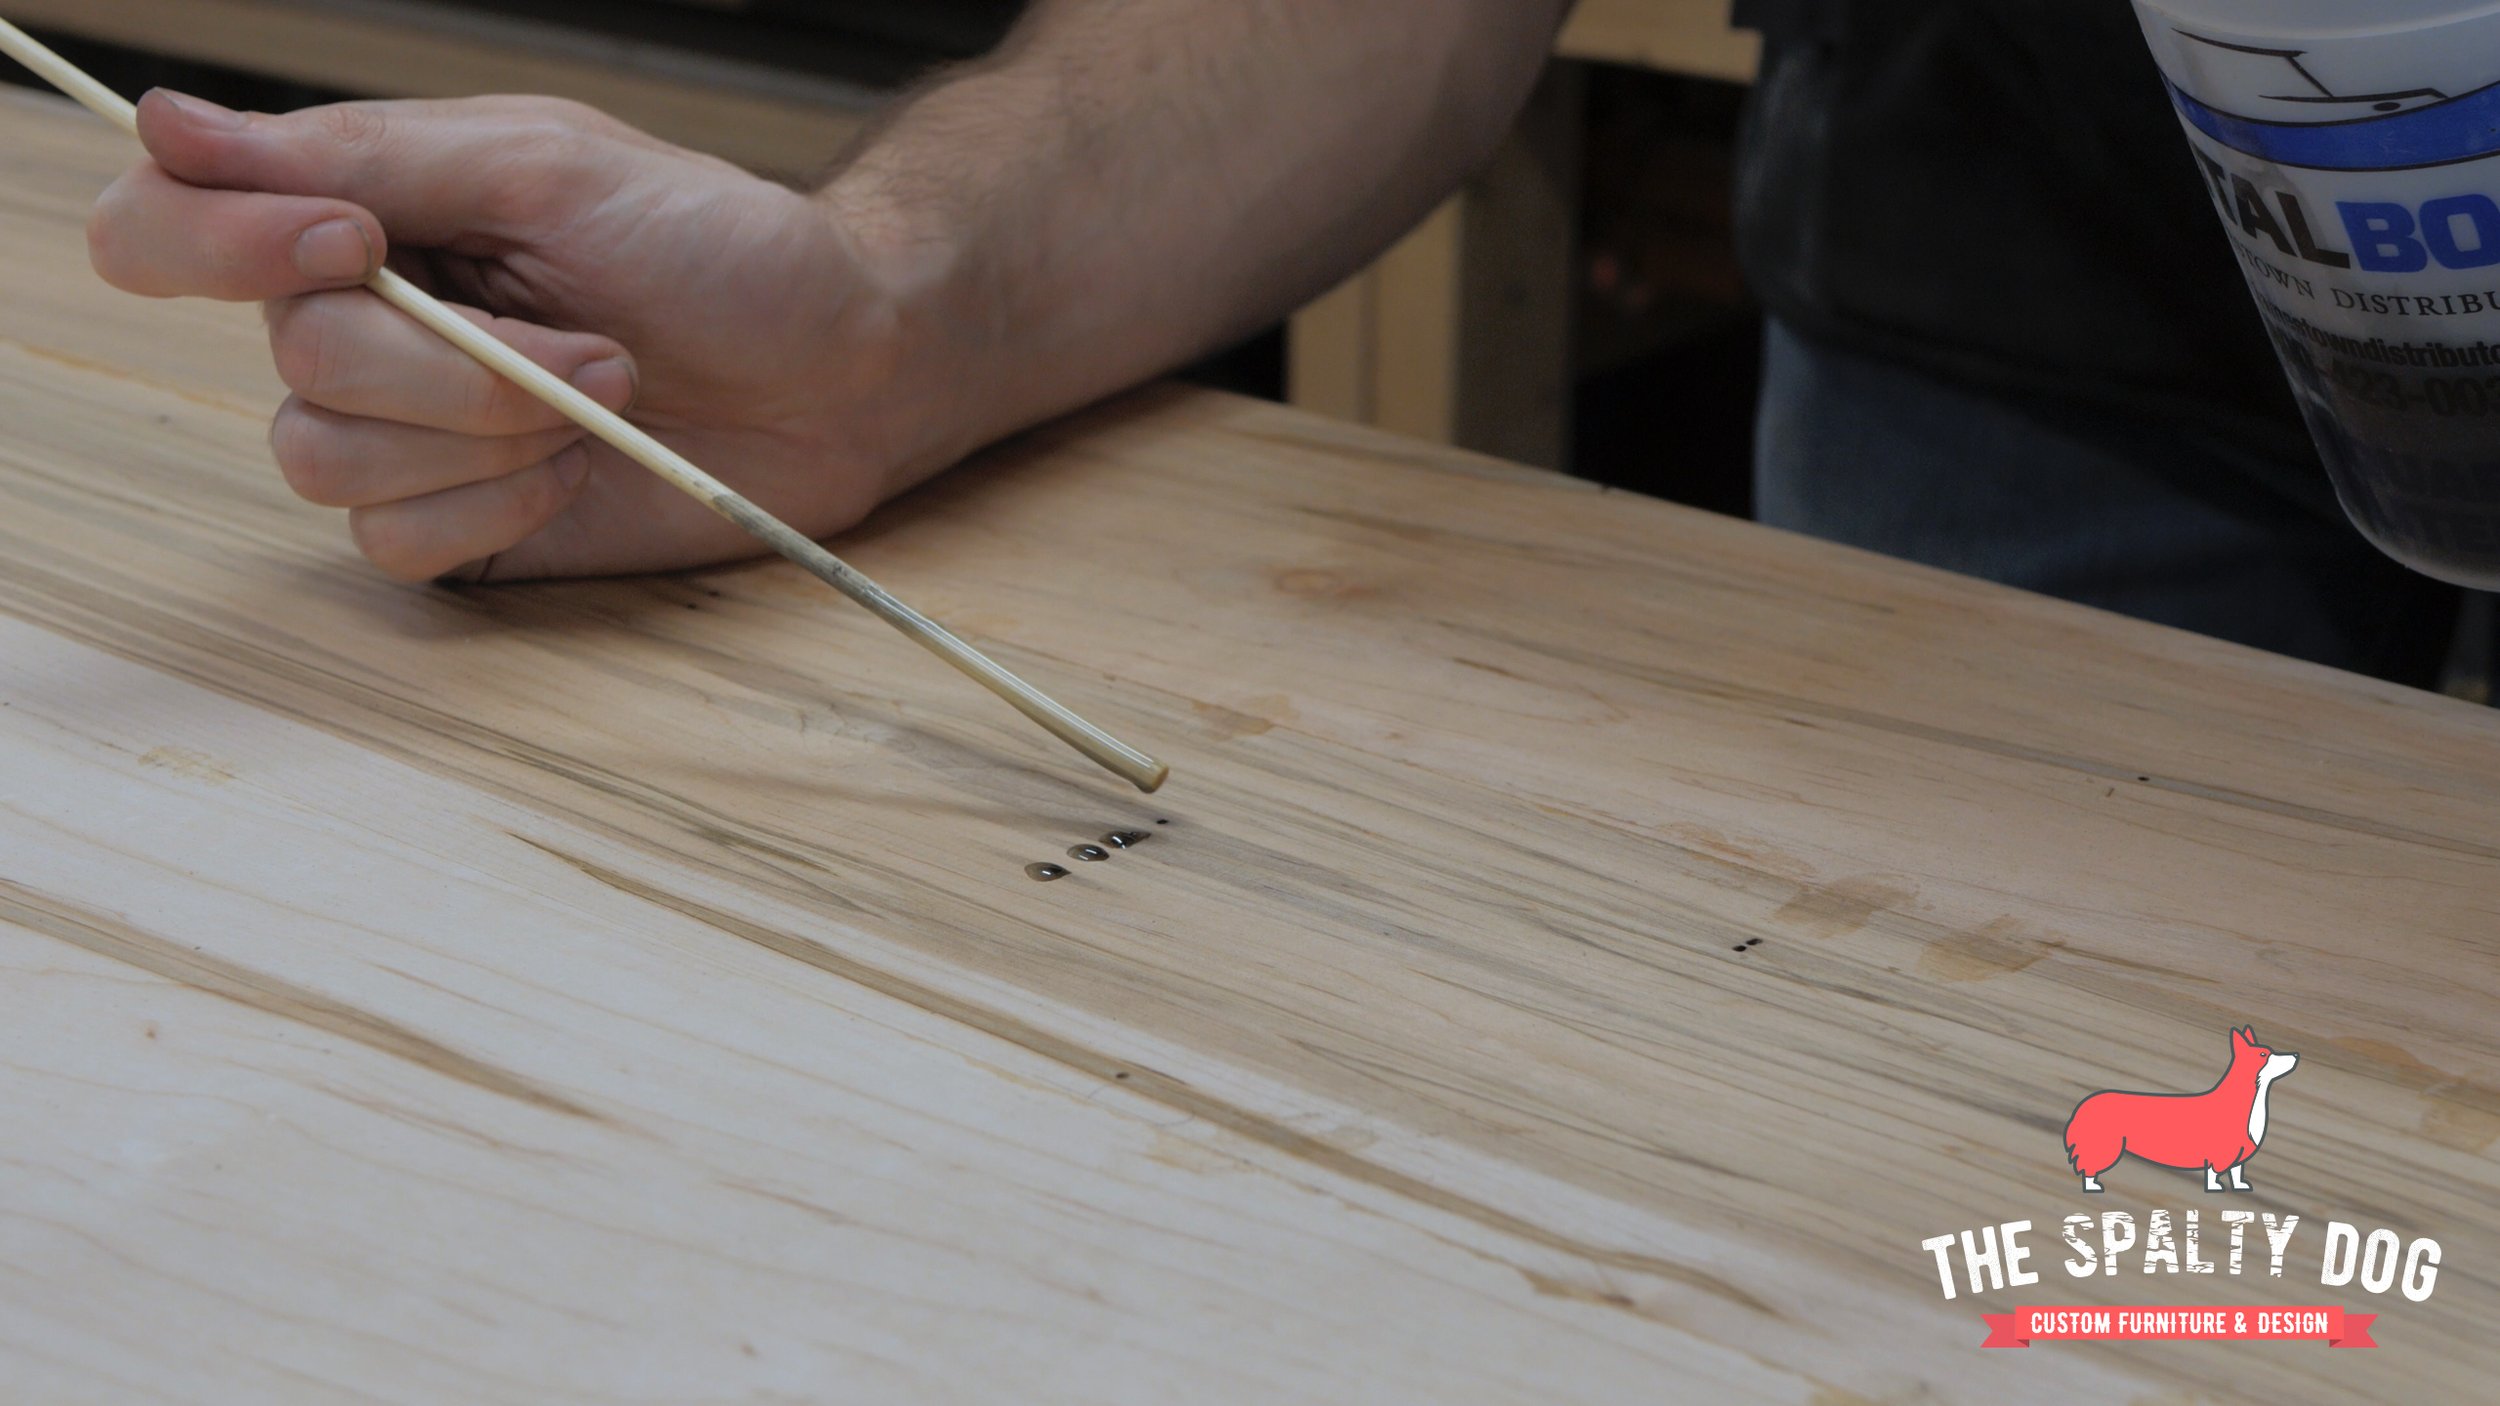
Ambrosia maple usually has bug holes throughout the wood. So after taping the underside, I filled them using total boat high performance epoxy that I tinted black with charcoal powder. I then went over the epoxy with a heat gun to remove any air bubbles and left it to cure.

I set the top aside and start working on the base by cutting the steel to length on the chop saw. Also since the front legs are angled, they needed to be cut at 15 degrees. I’ve been telling myself for awhile to get one of these saws and let me tell you, this thing is a beast. Not only did it cut fast, clean and accurately the steel never once heated up

To prep for the steel for welding, I grind a bevel on the ends over at the belt sander.

Using a wire cup attachment on the drill I remove any surface rust and clean all the pieces with acetone.
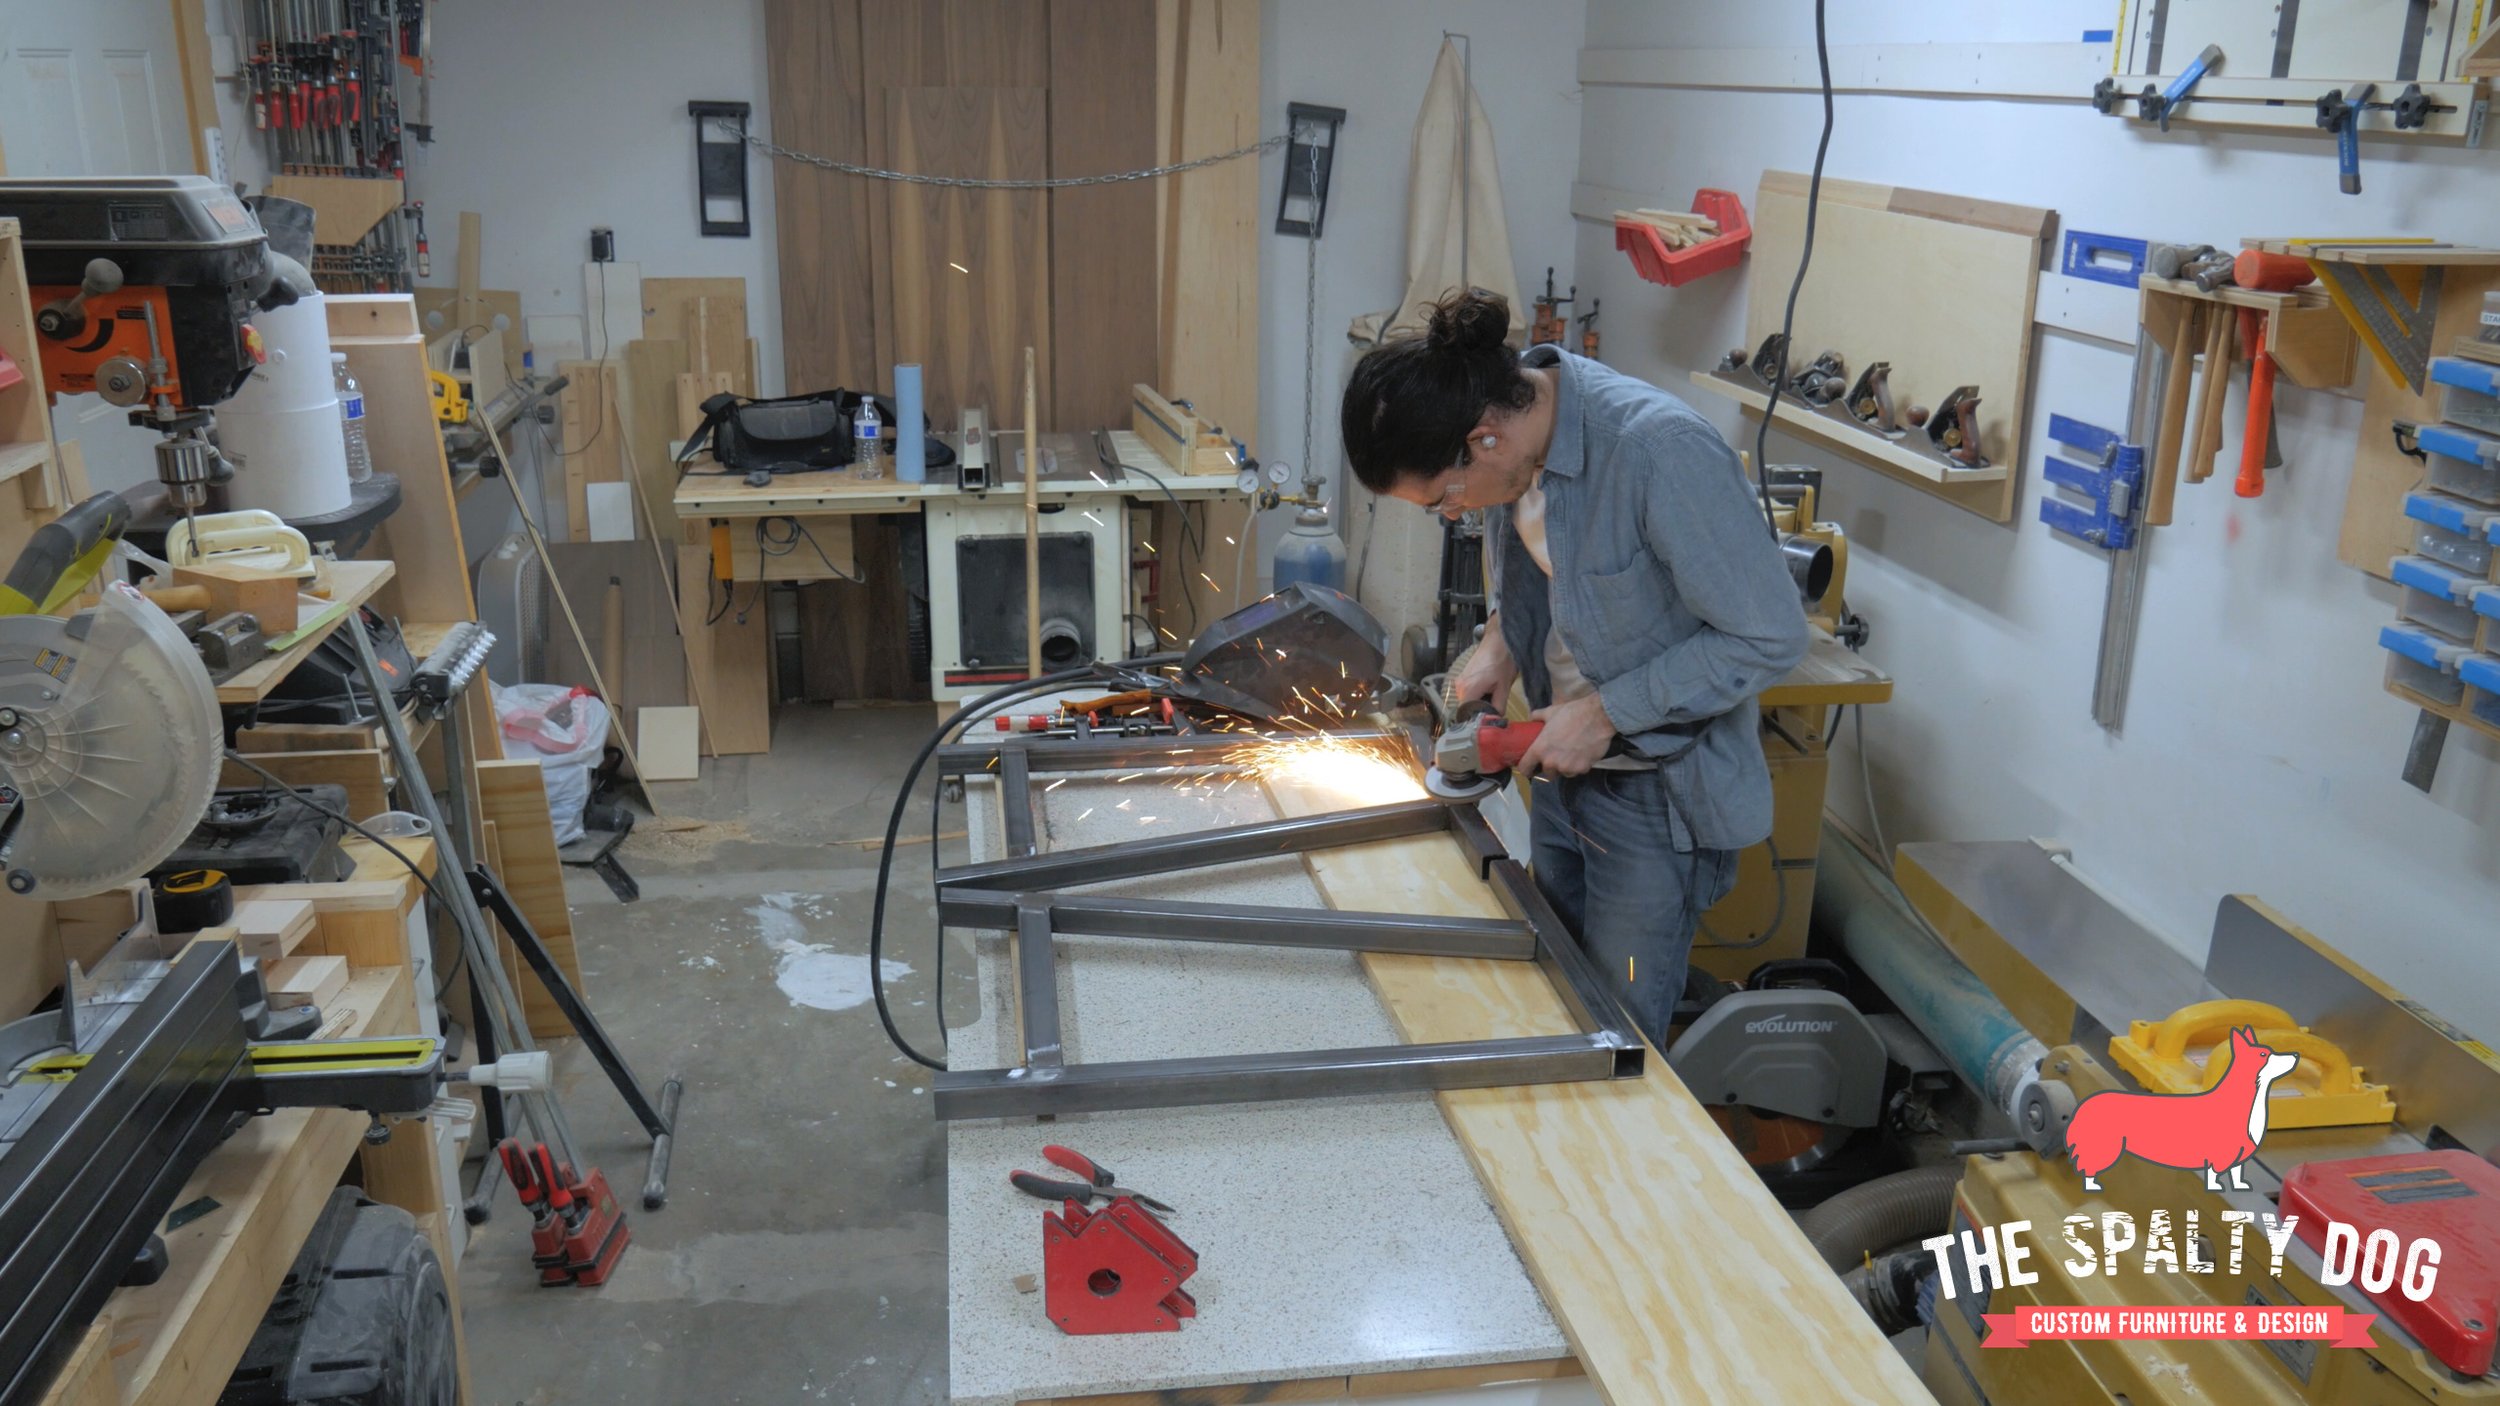
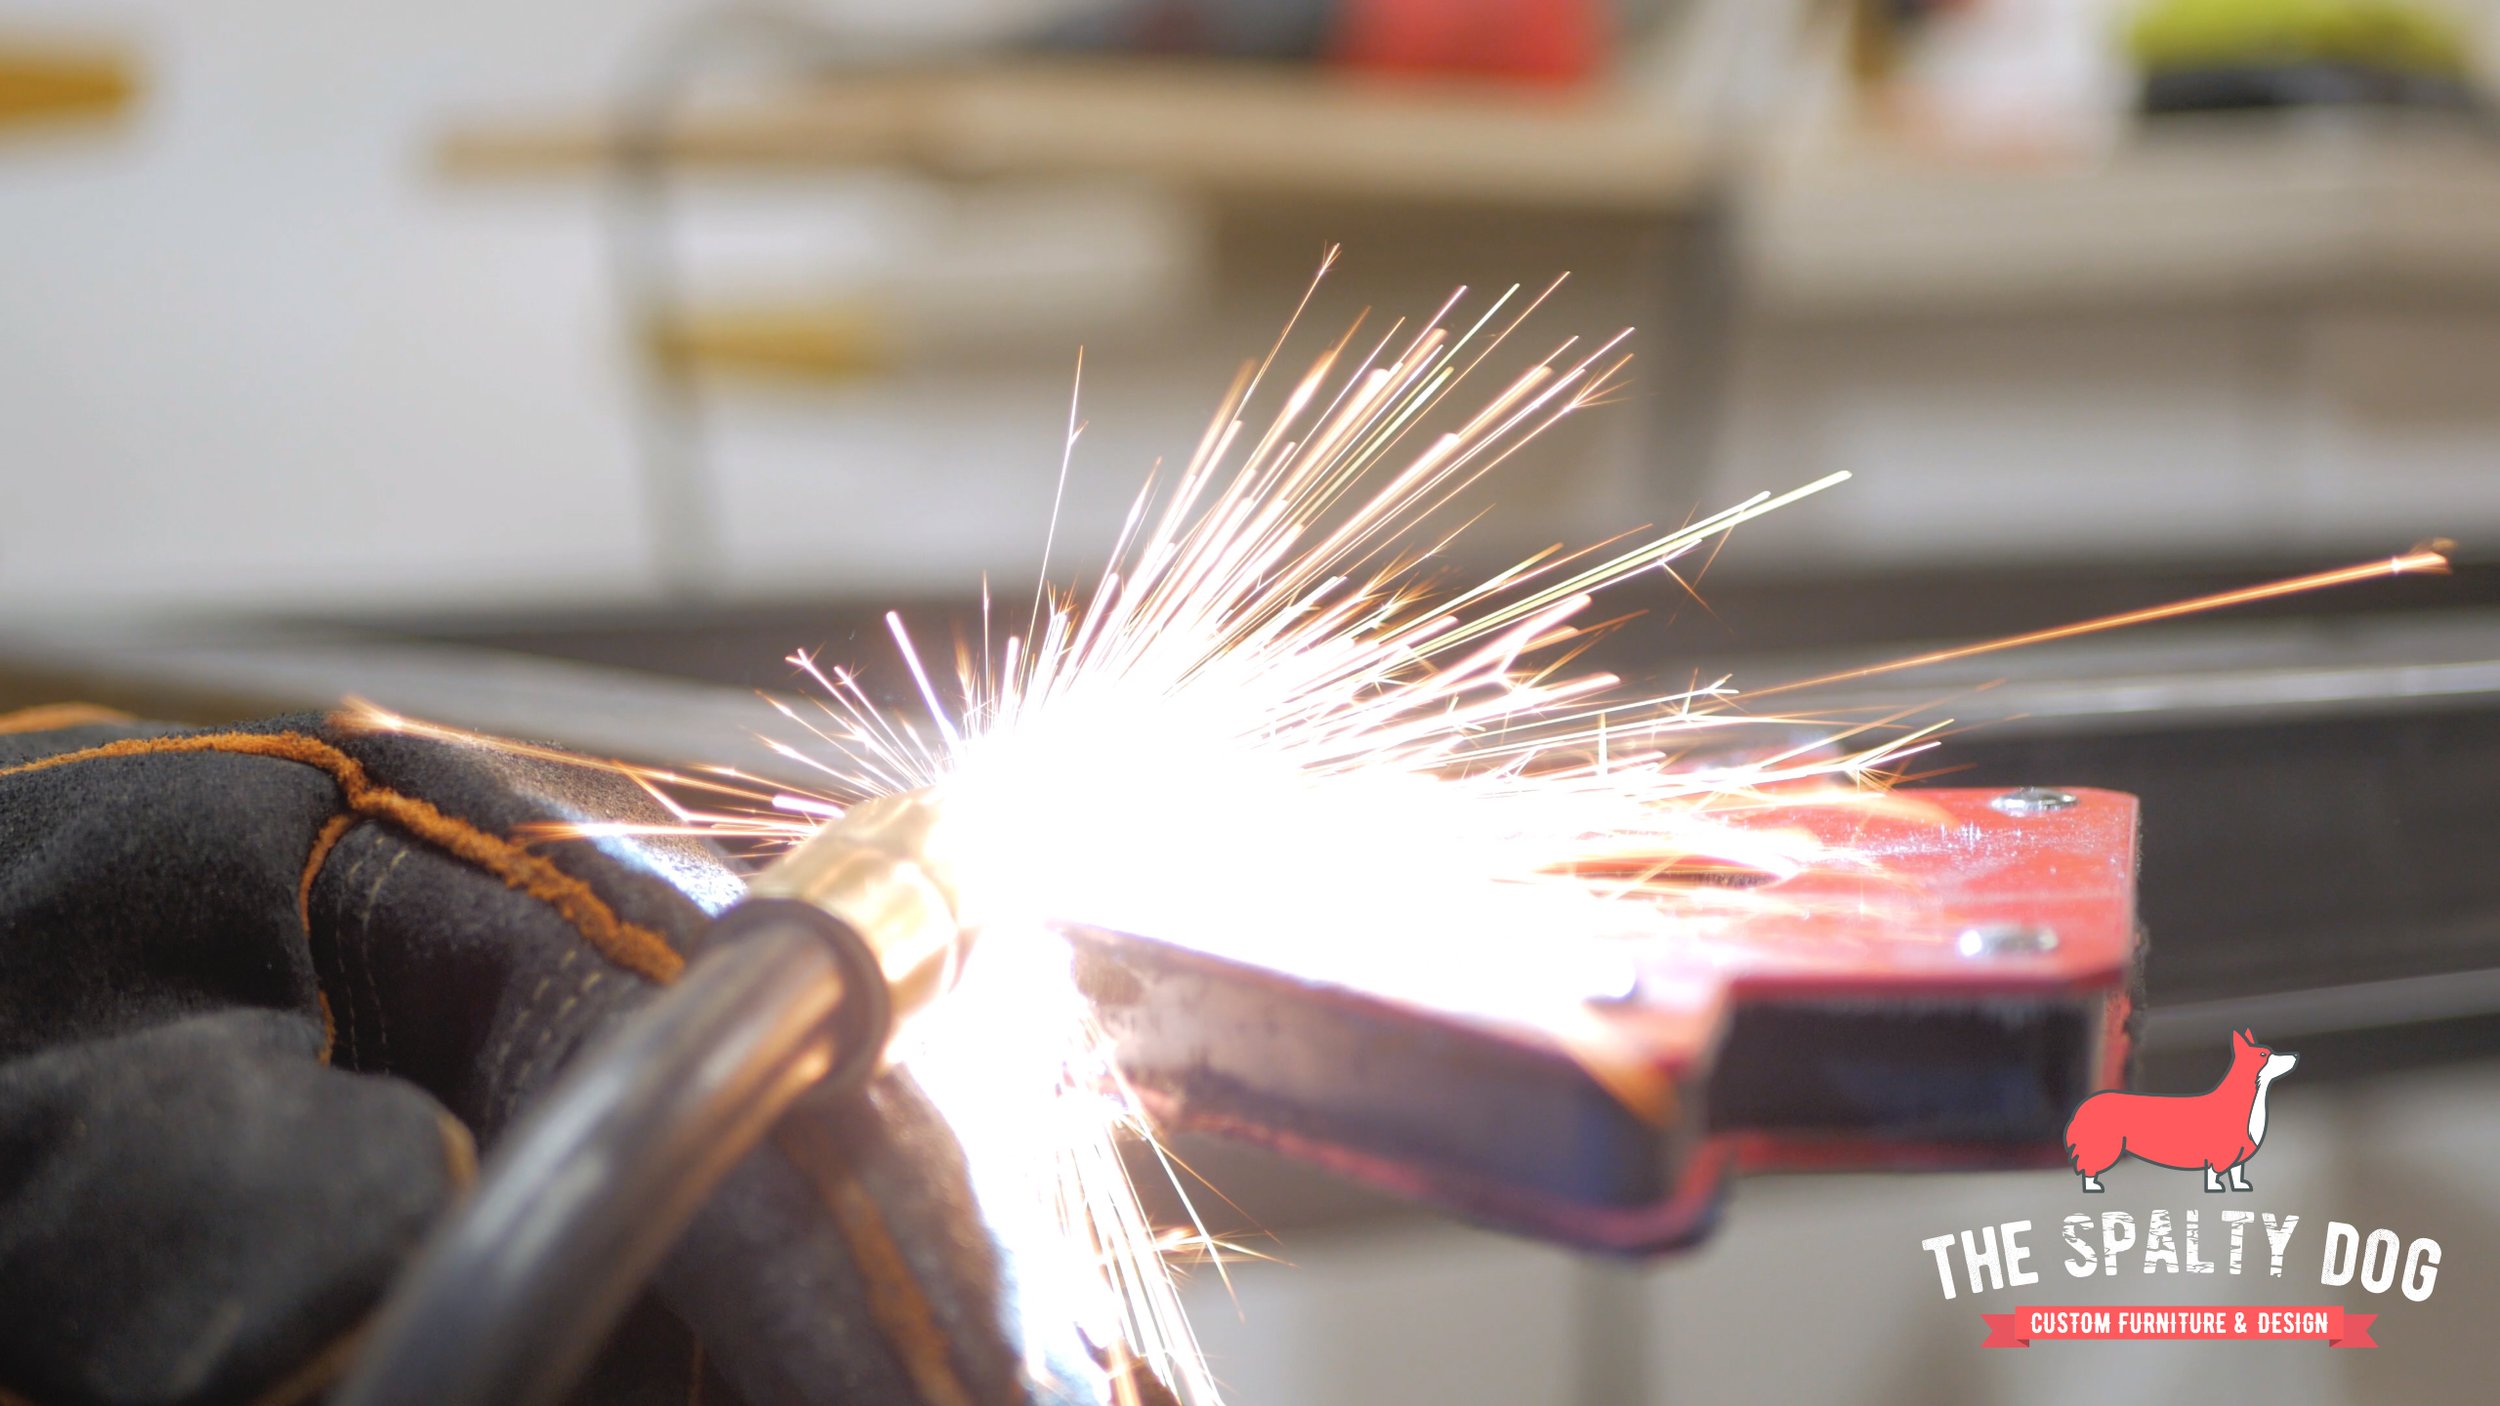
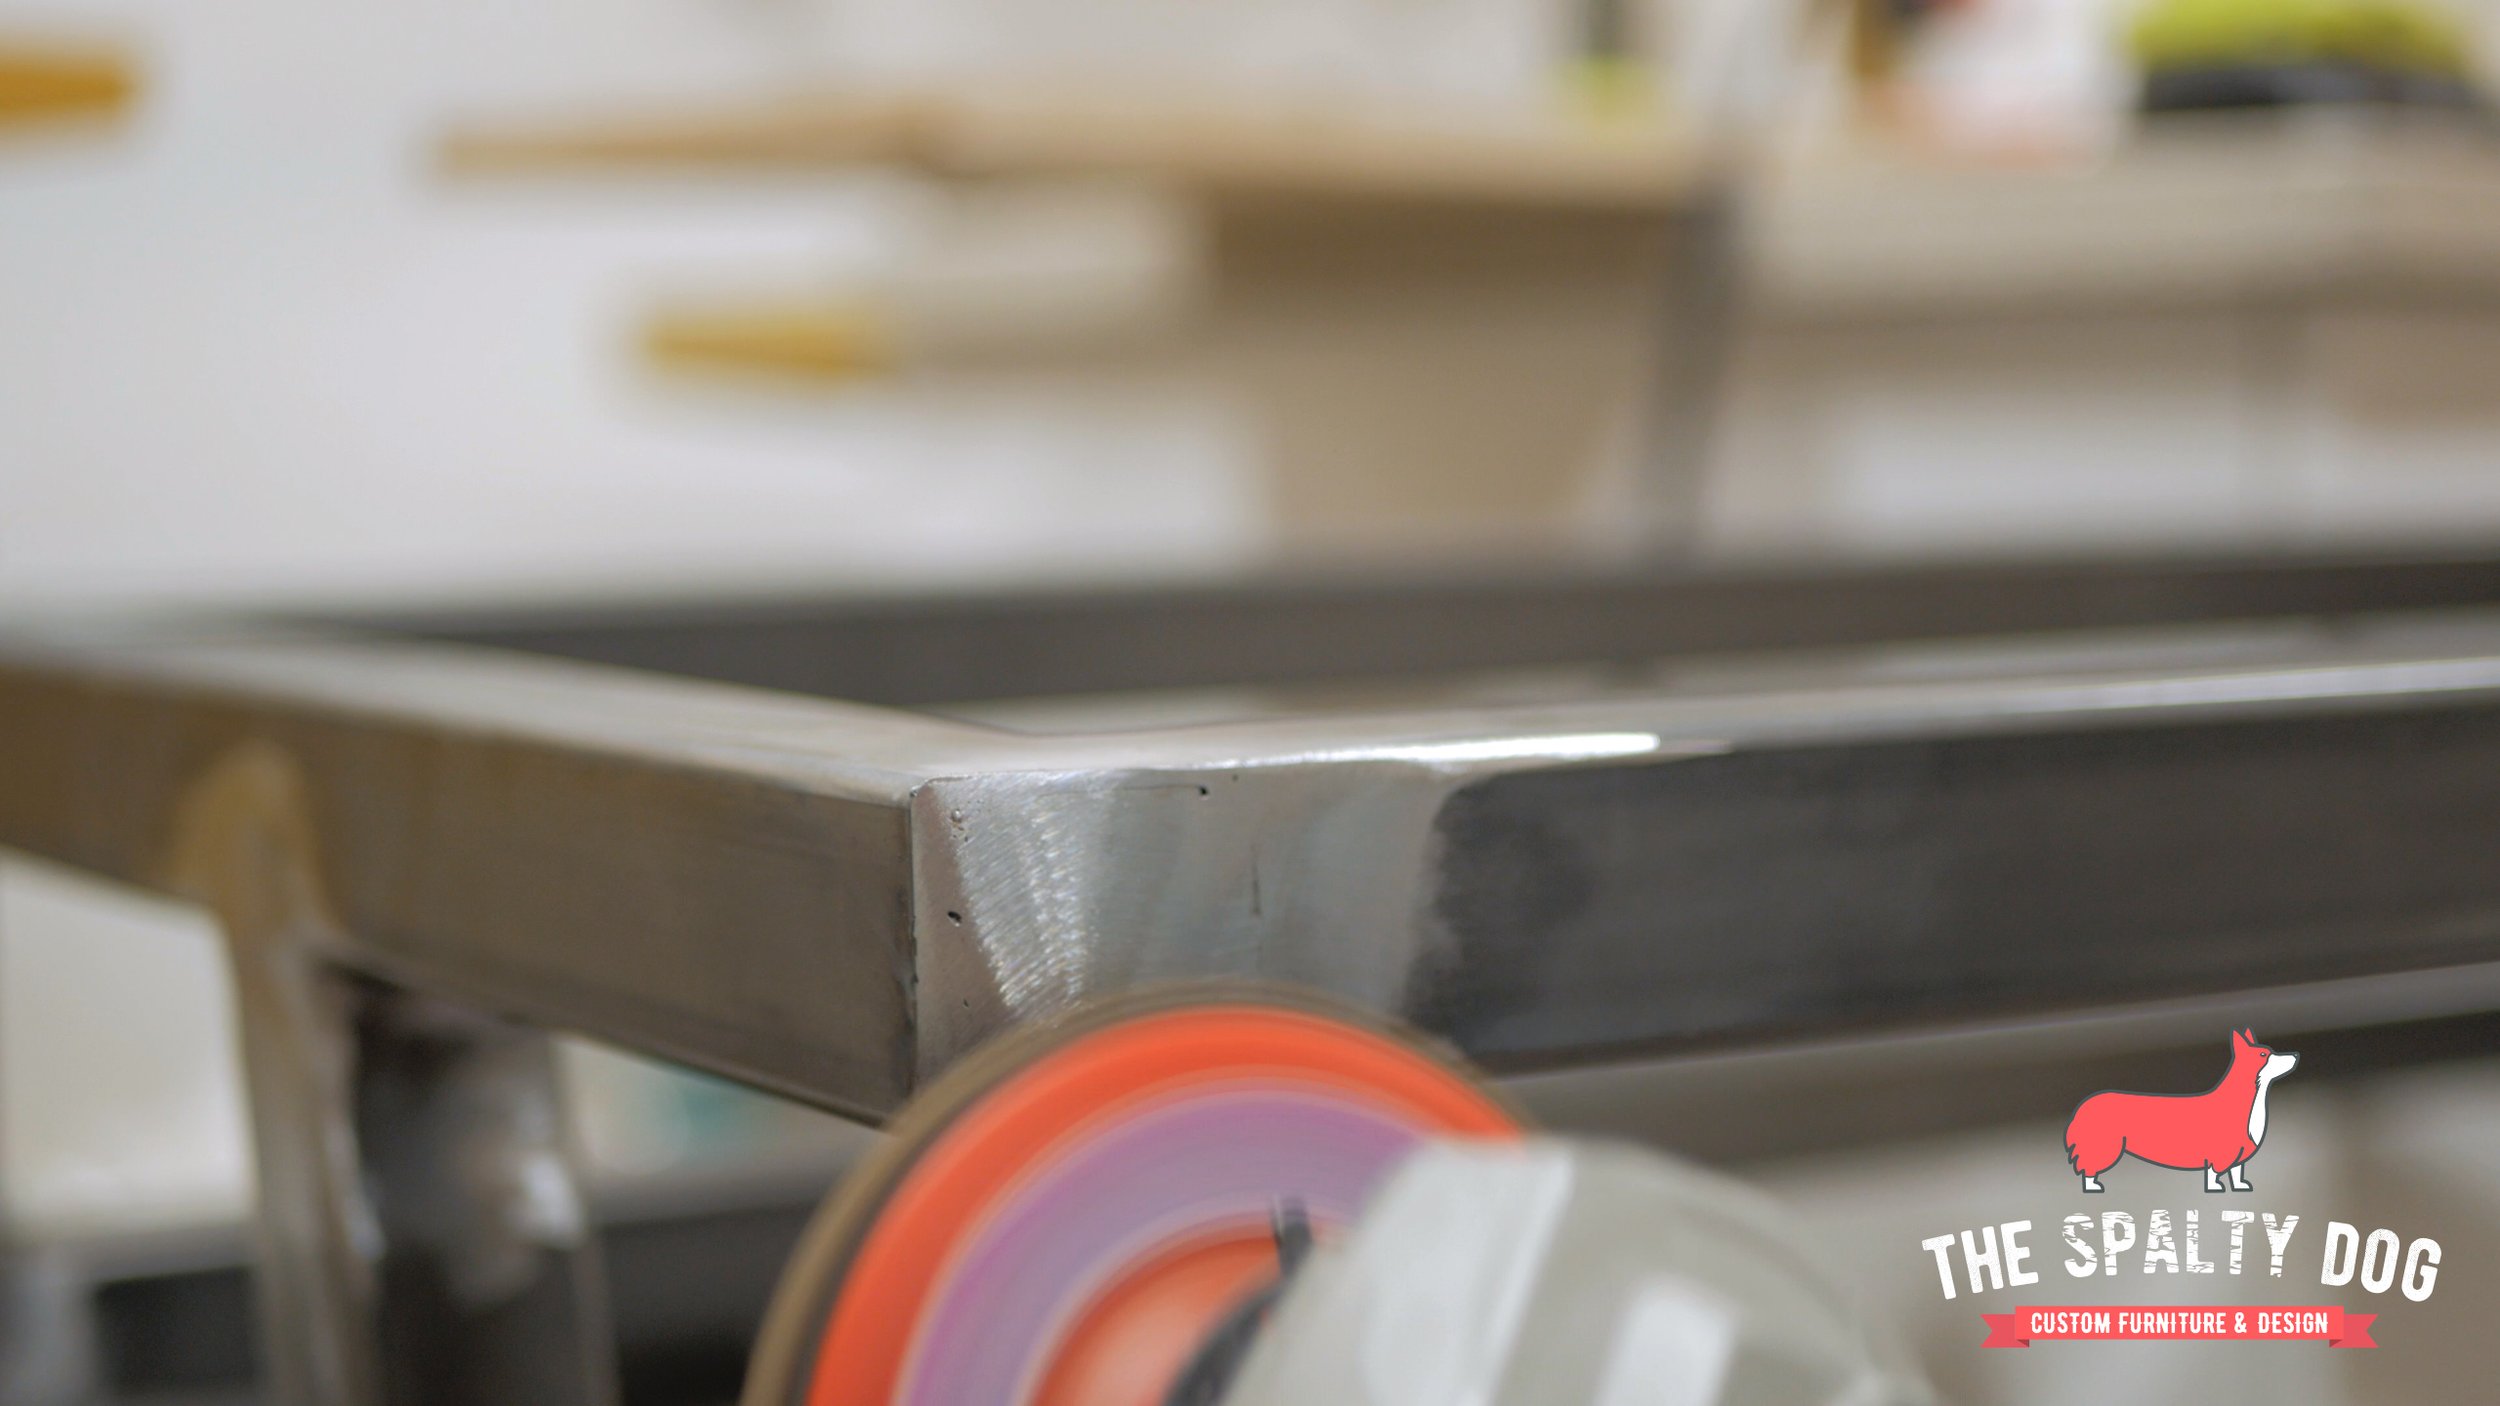
I hold the leg assemblies together using a couple squares, tack weld all the joints, then come back to run full beads making sure not to overheat the steel. After that I grind down all the welds with an angle grinder and flap disc.
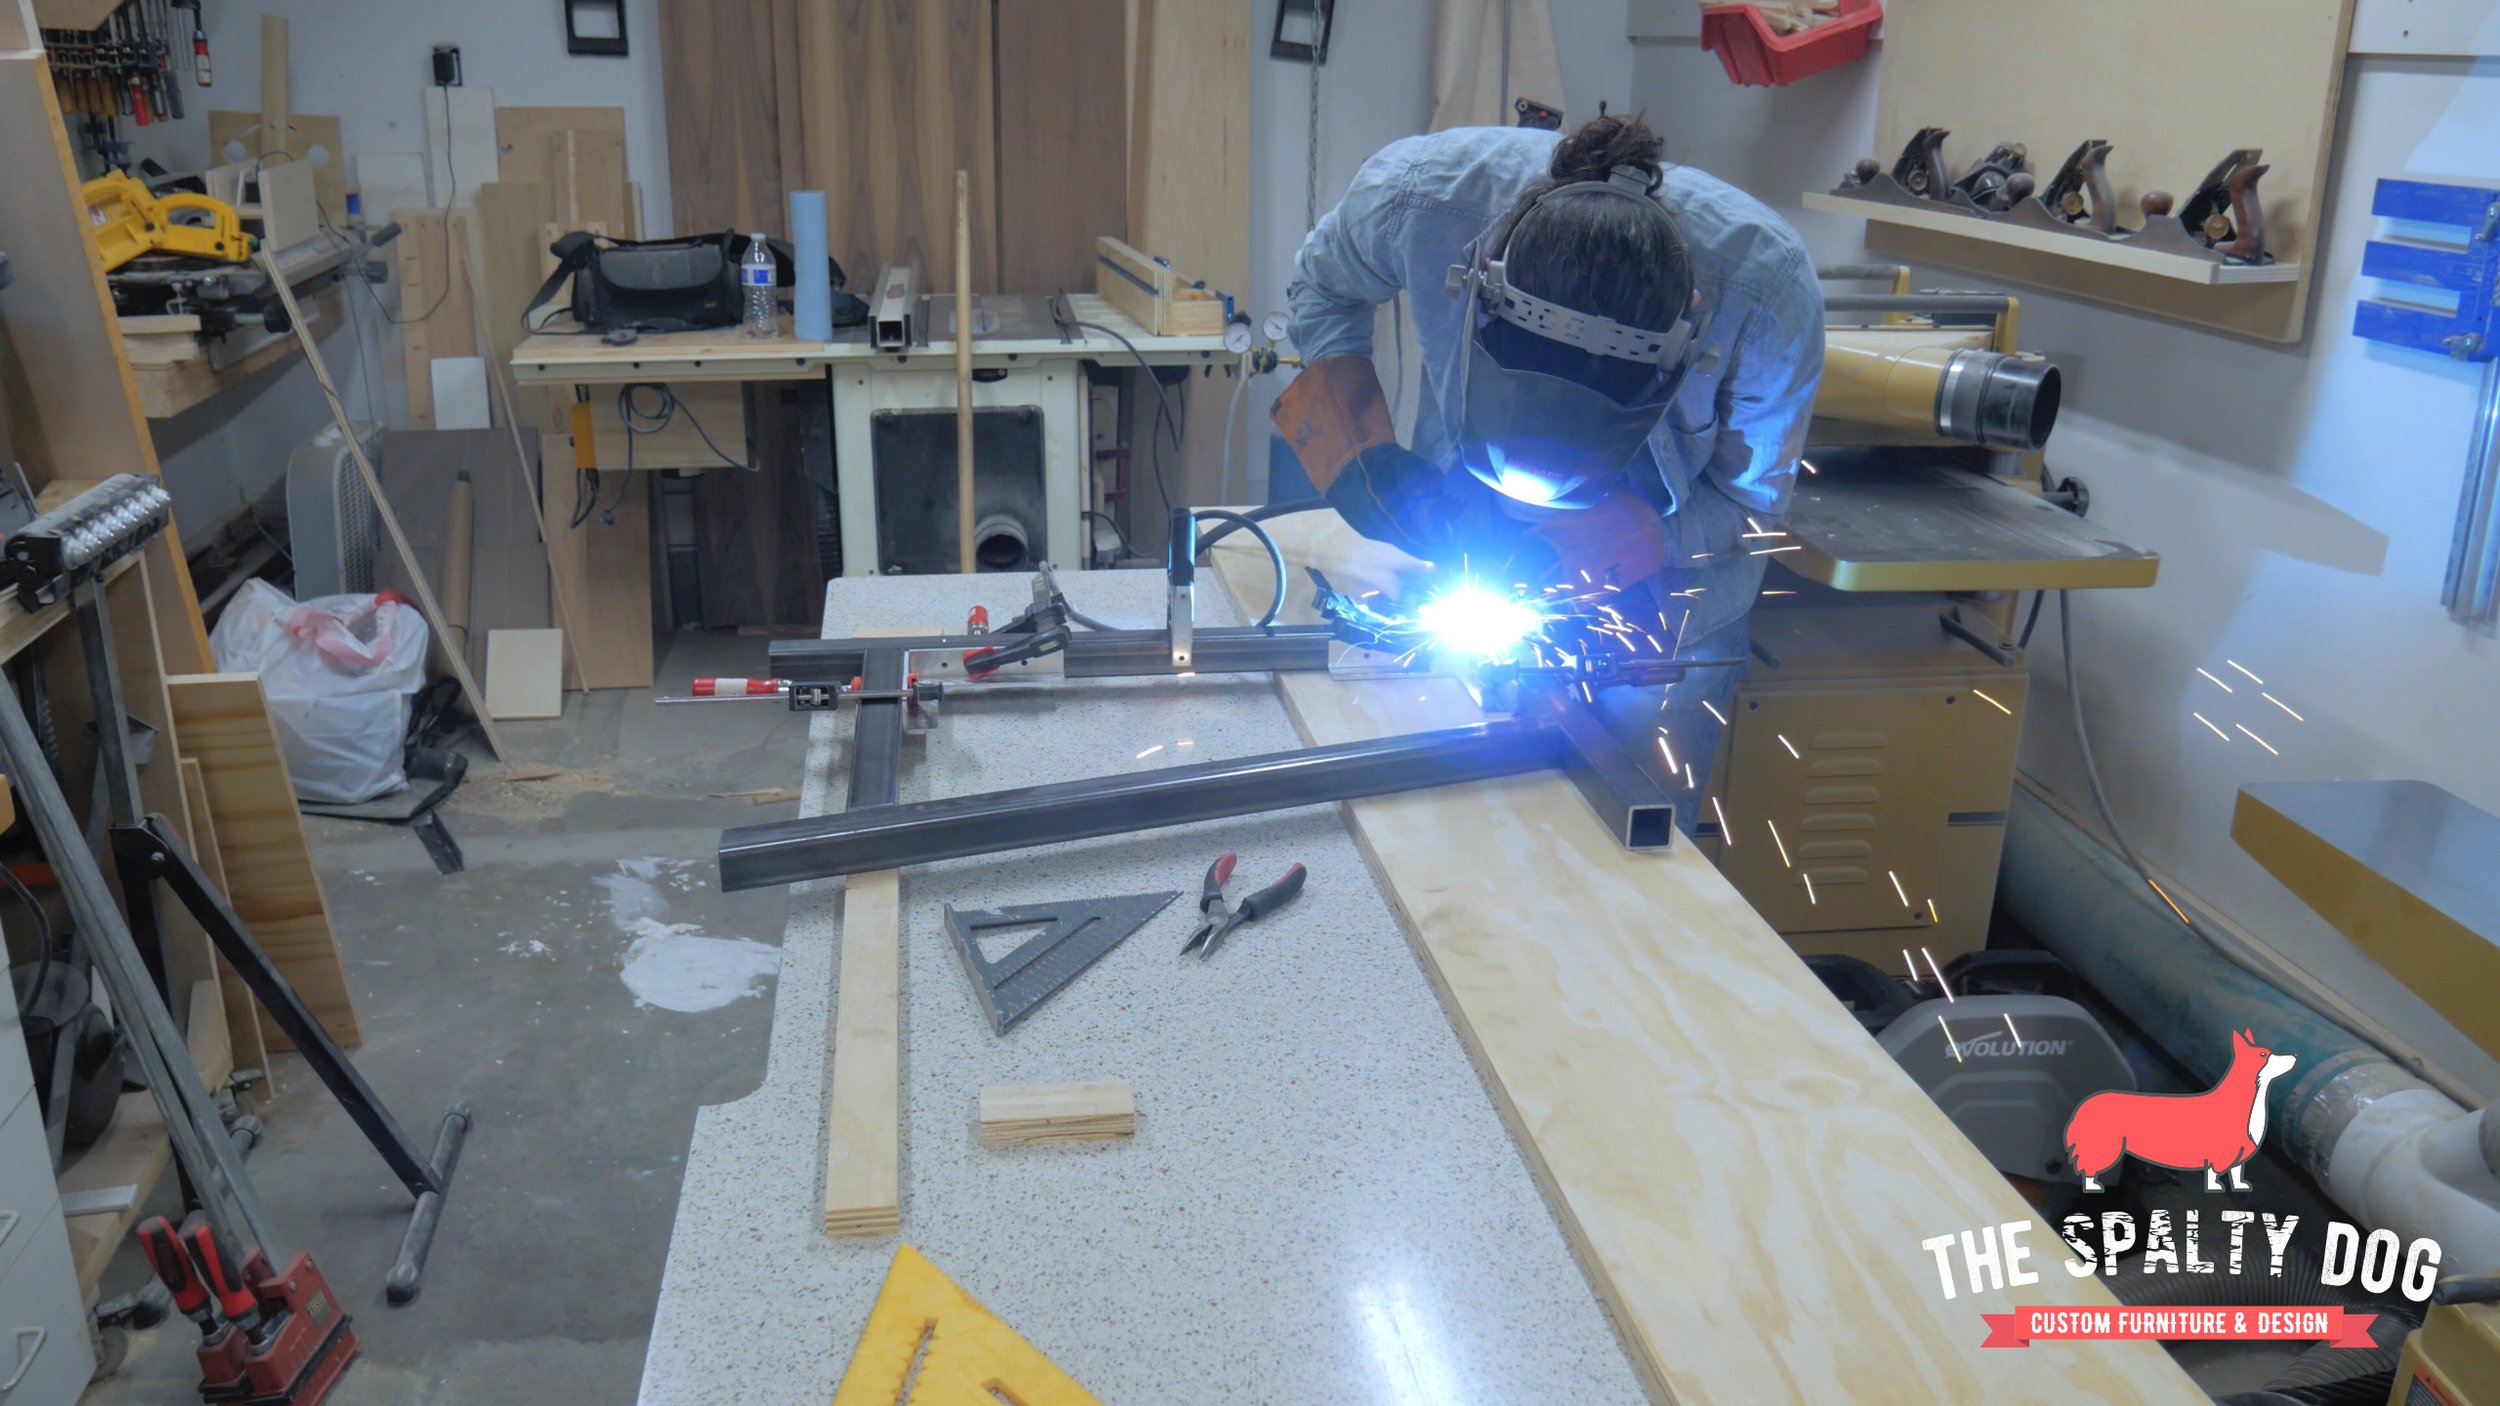
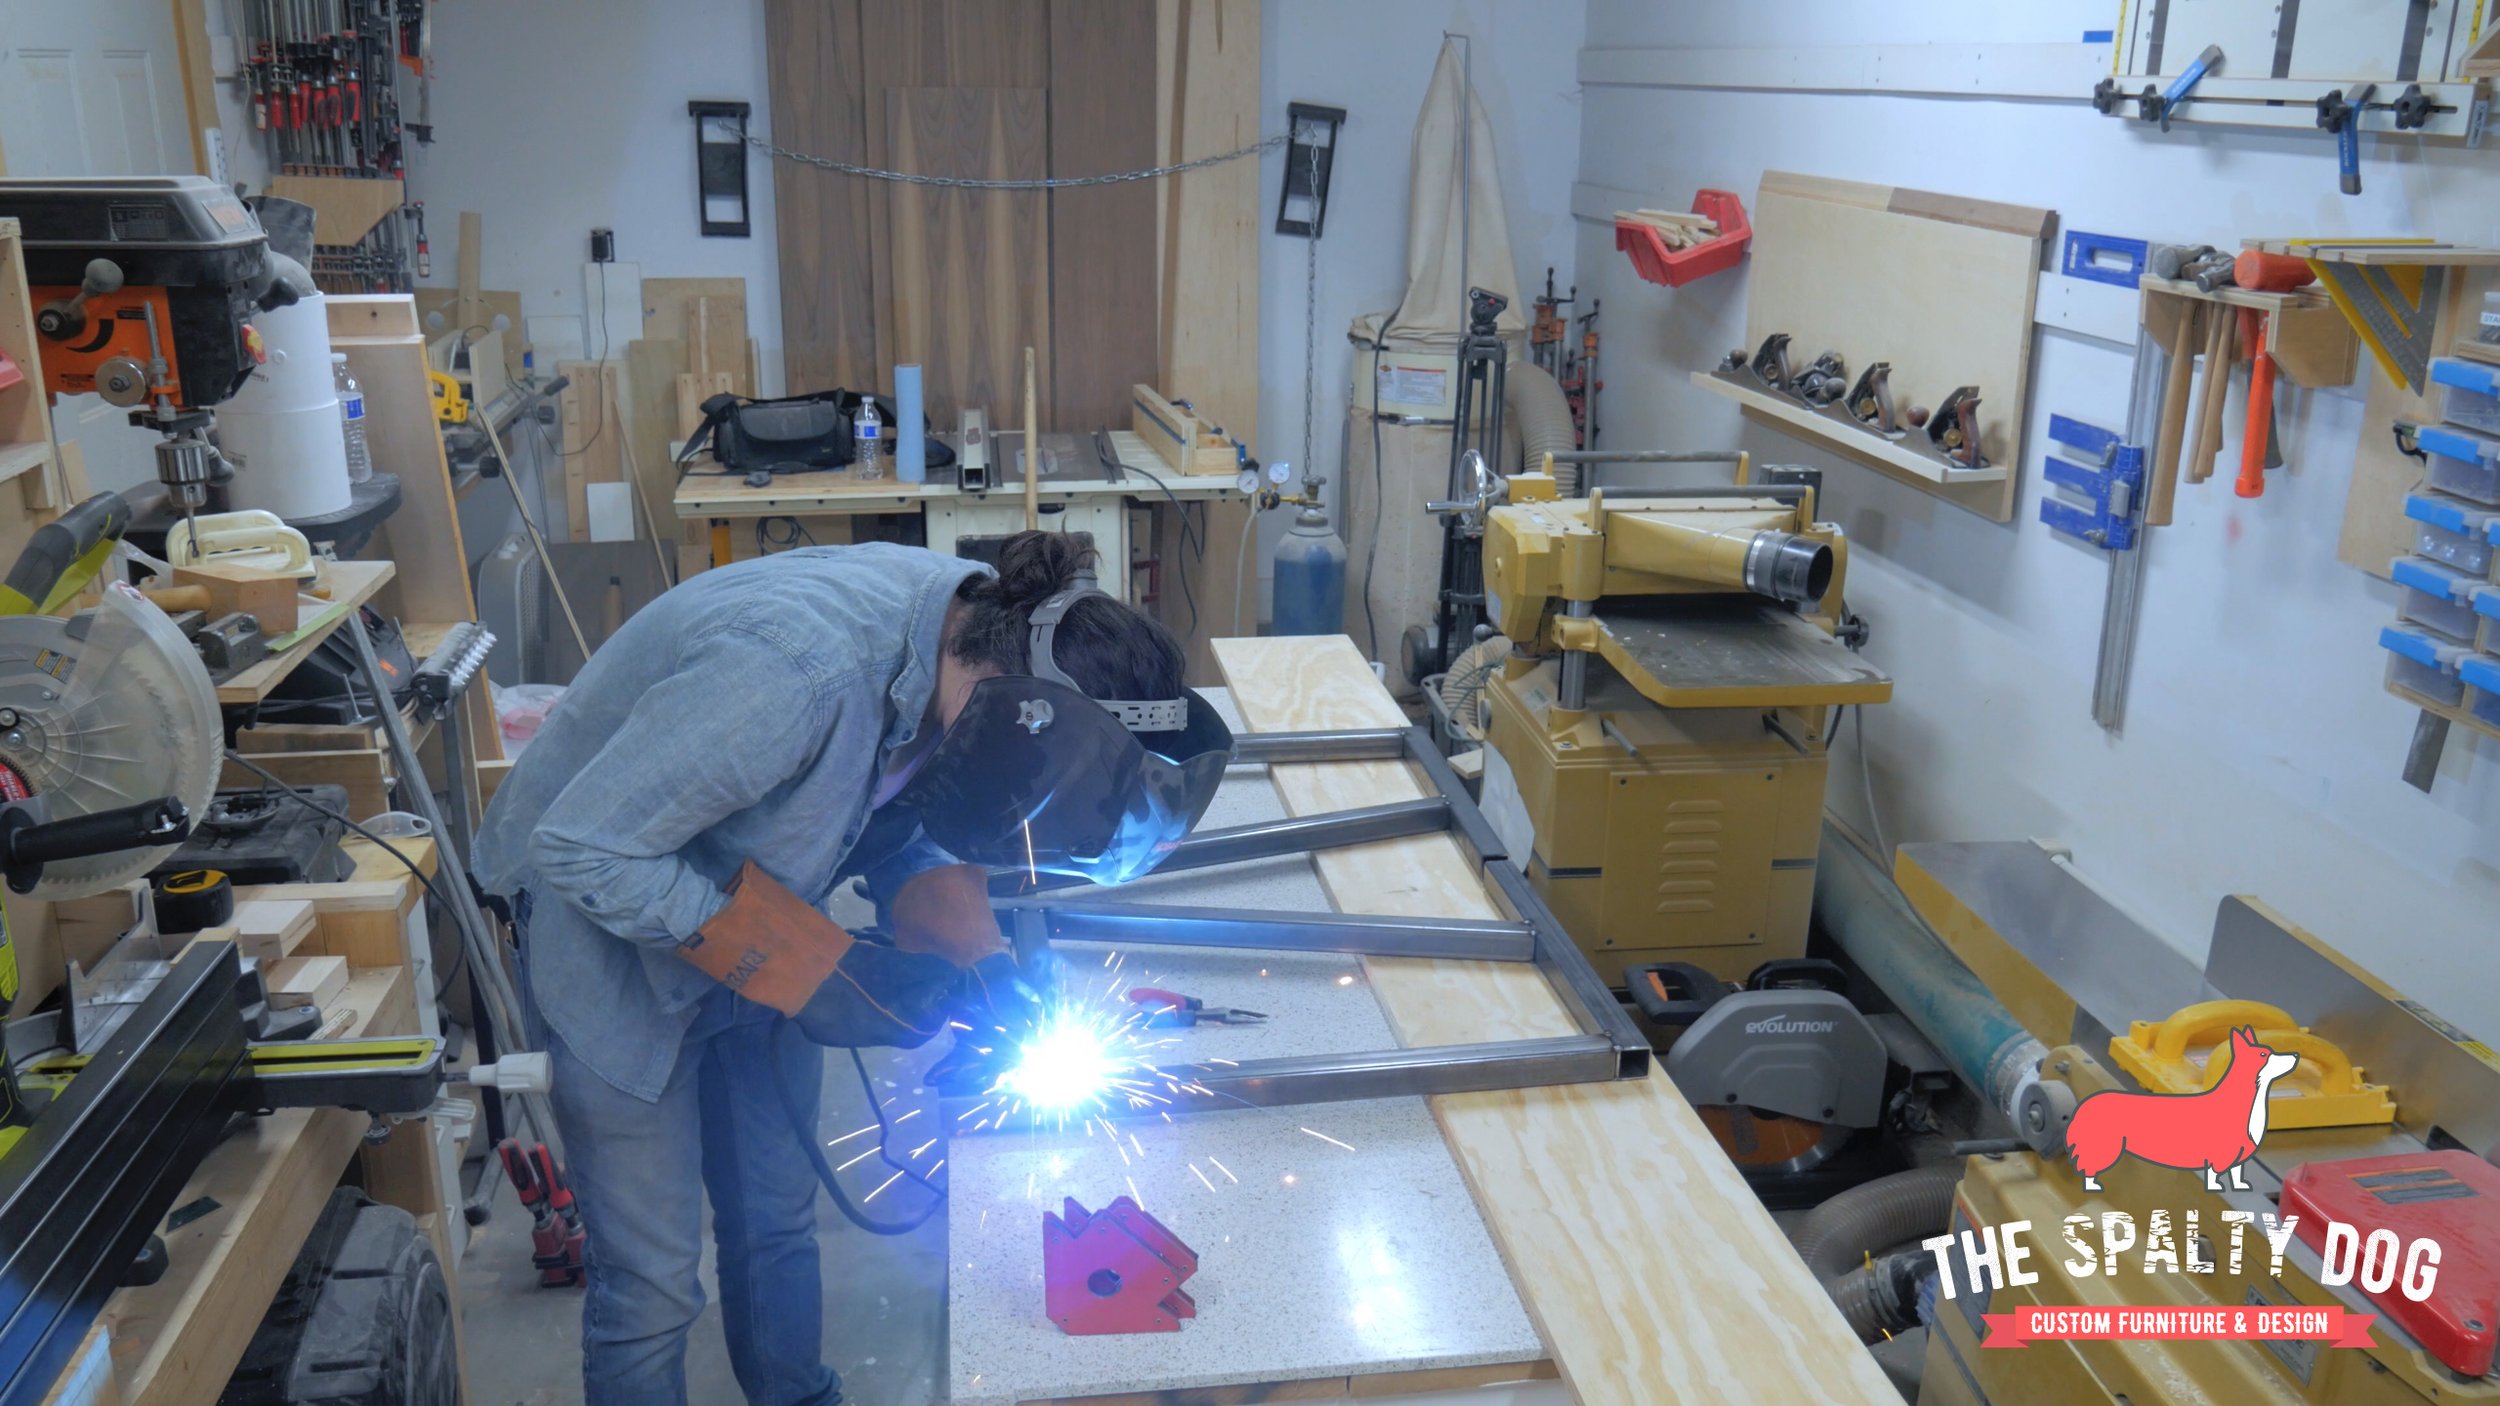
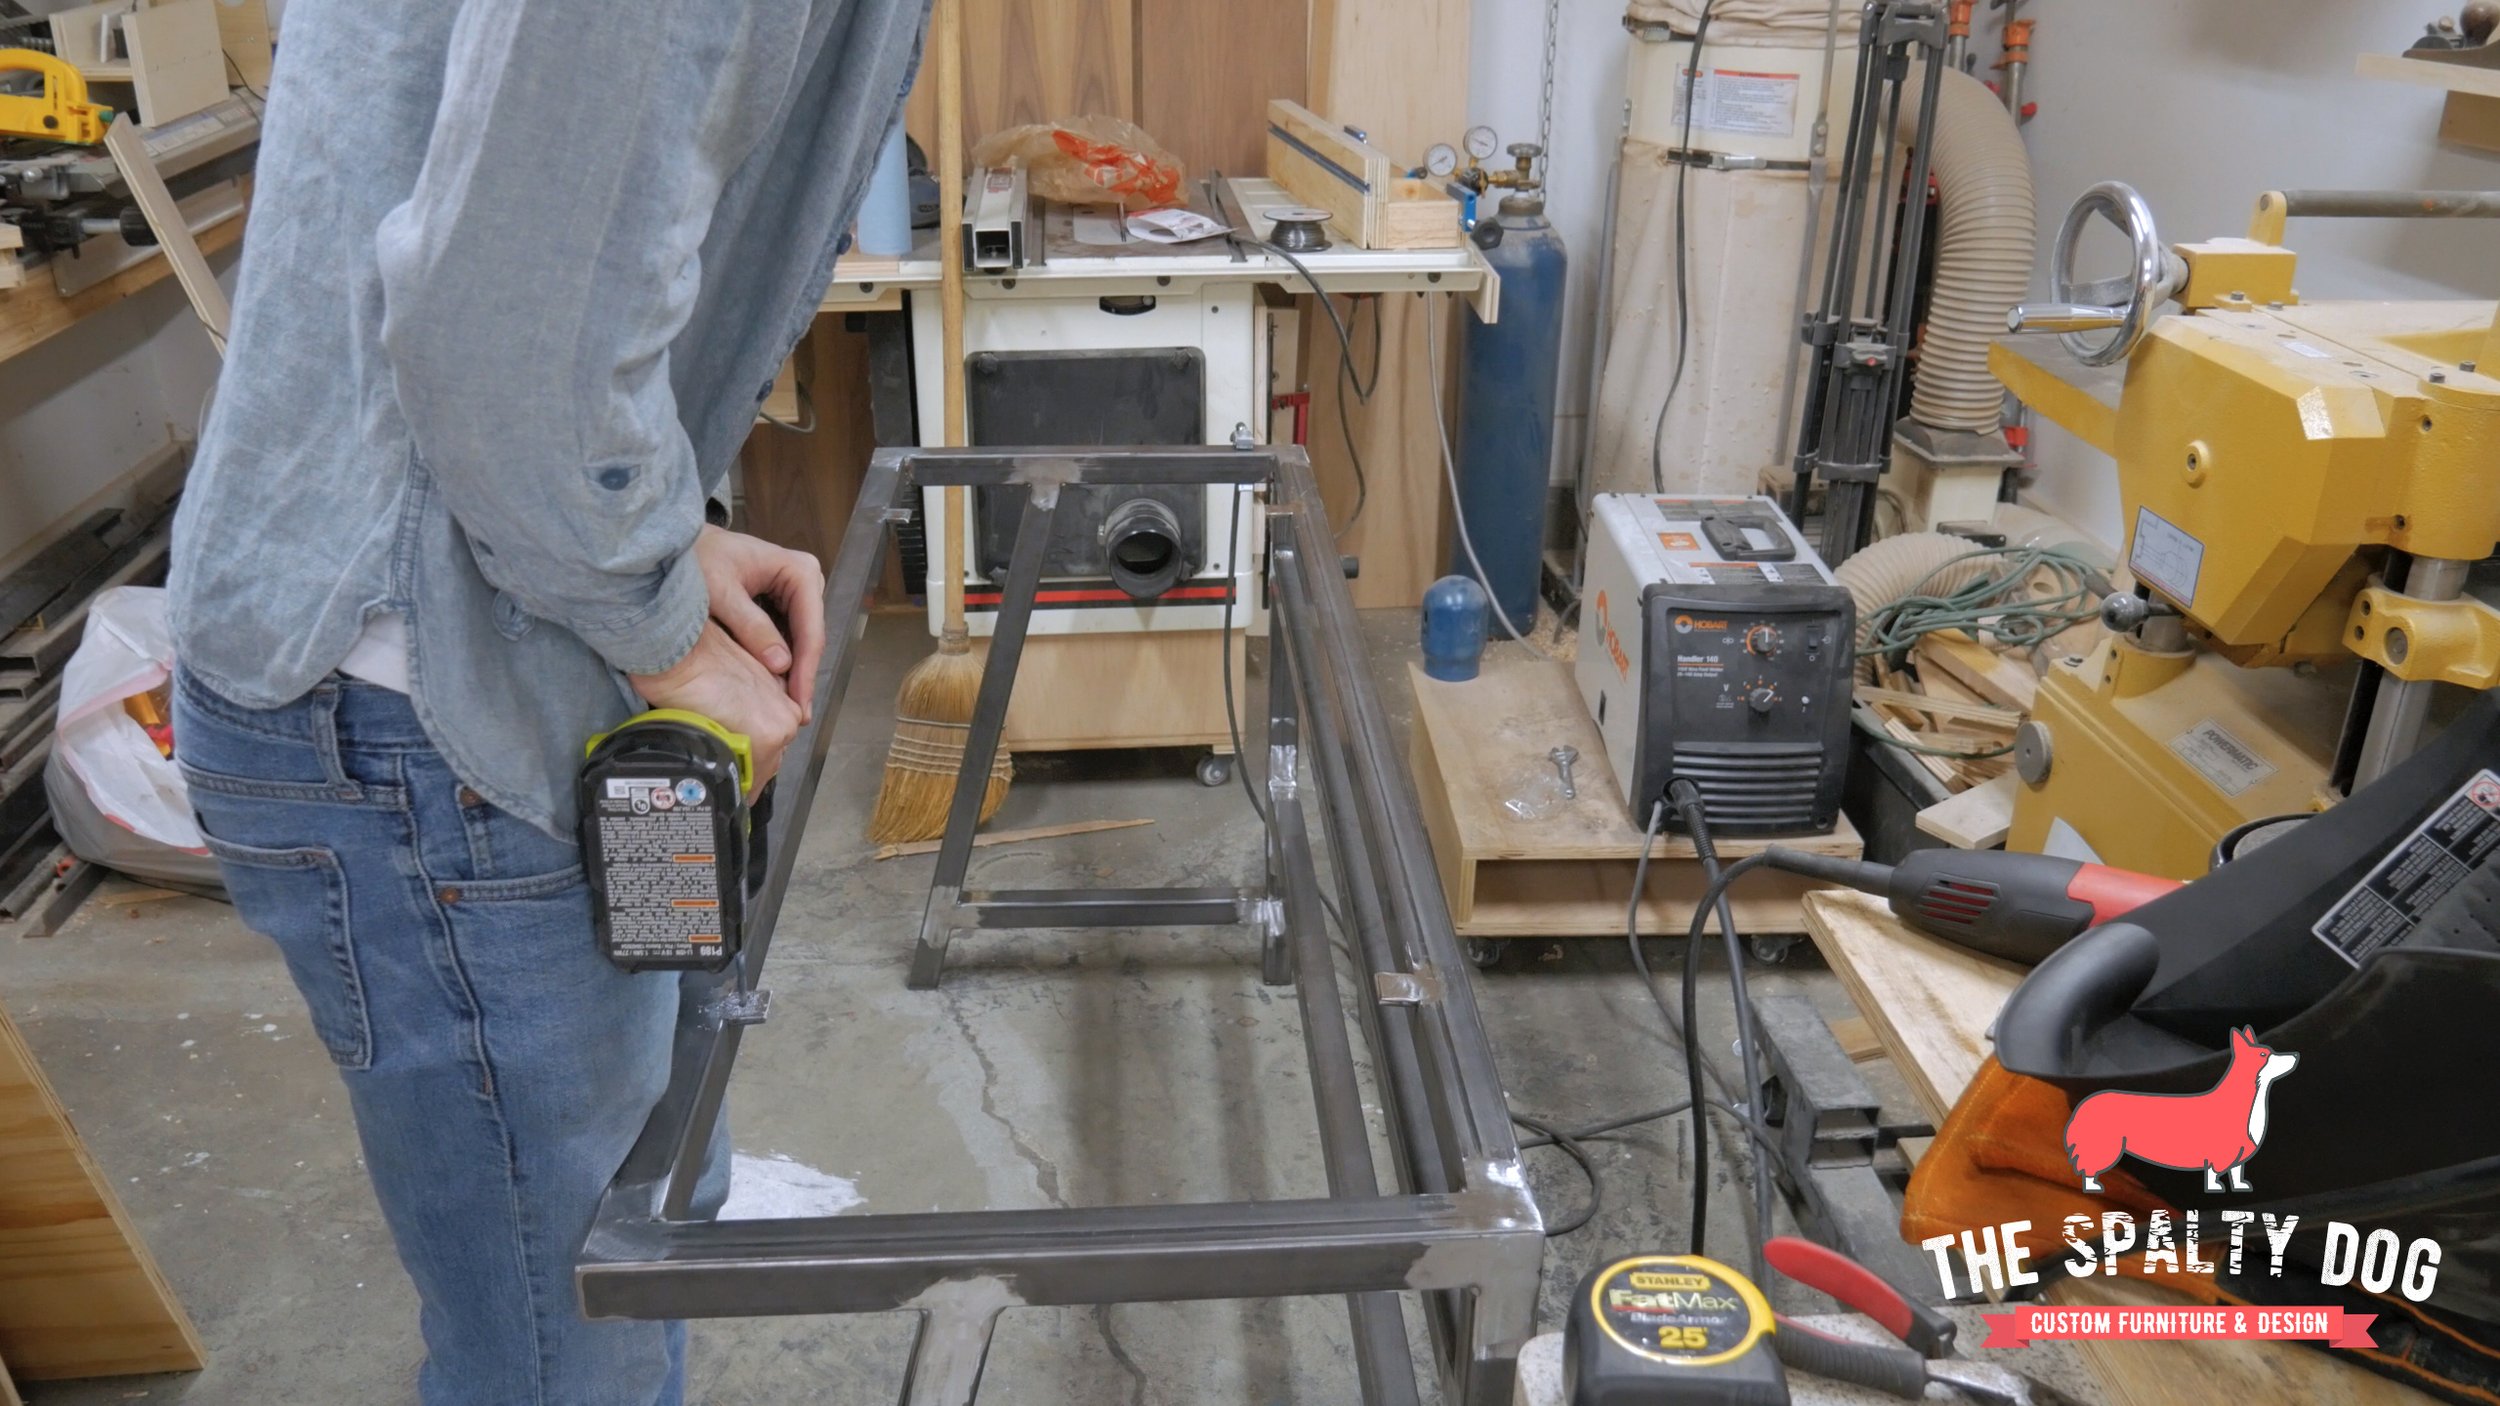
Following the same steps as earlier, I tack on the top stretchers to attach both leg assemblies to one another.

After checking for square I move on to attaching the stretchers for the front guard. I then go back to finish any welds and grind them smooth off camera.

Using the angle grinder I cut some flat bar into tabs that will be used to secure the top to the base.

I also cut some sheet metal to cap the open tubing on the base and legs.

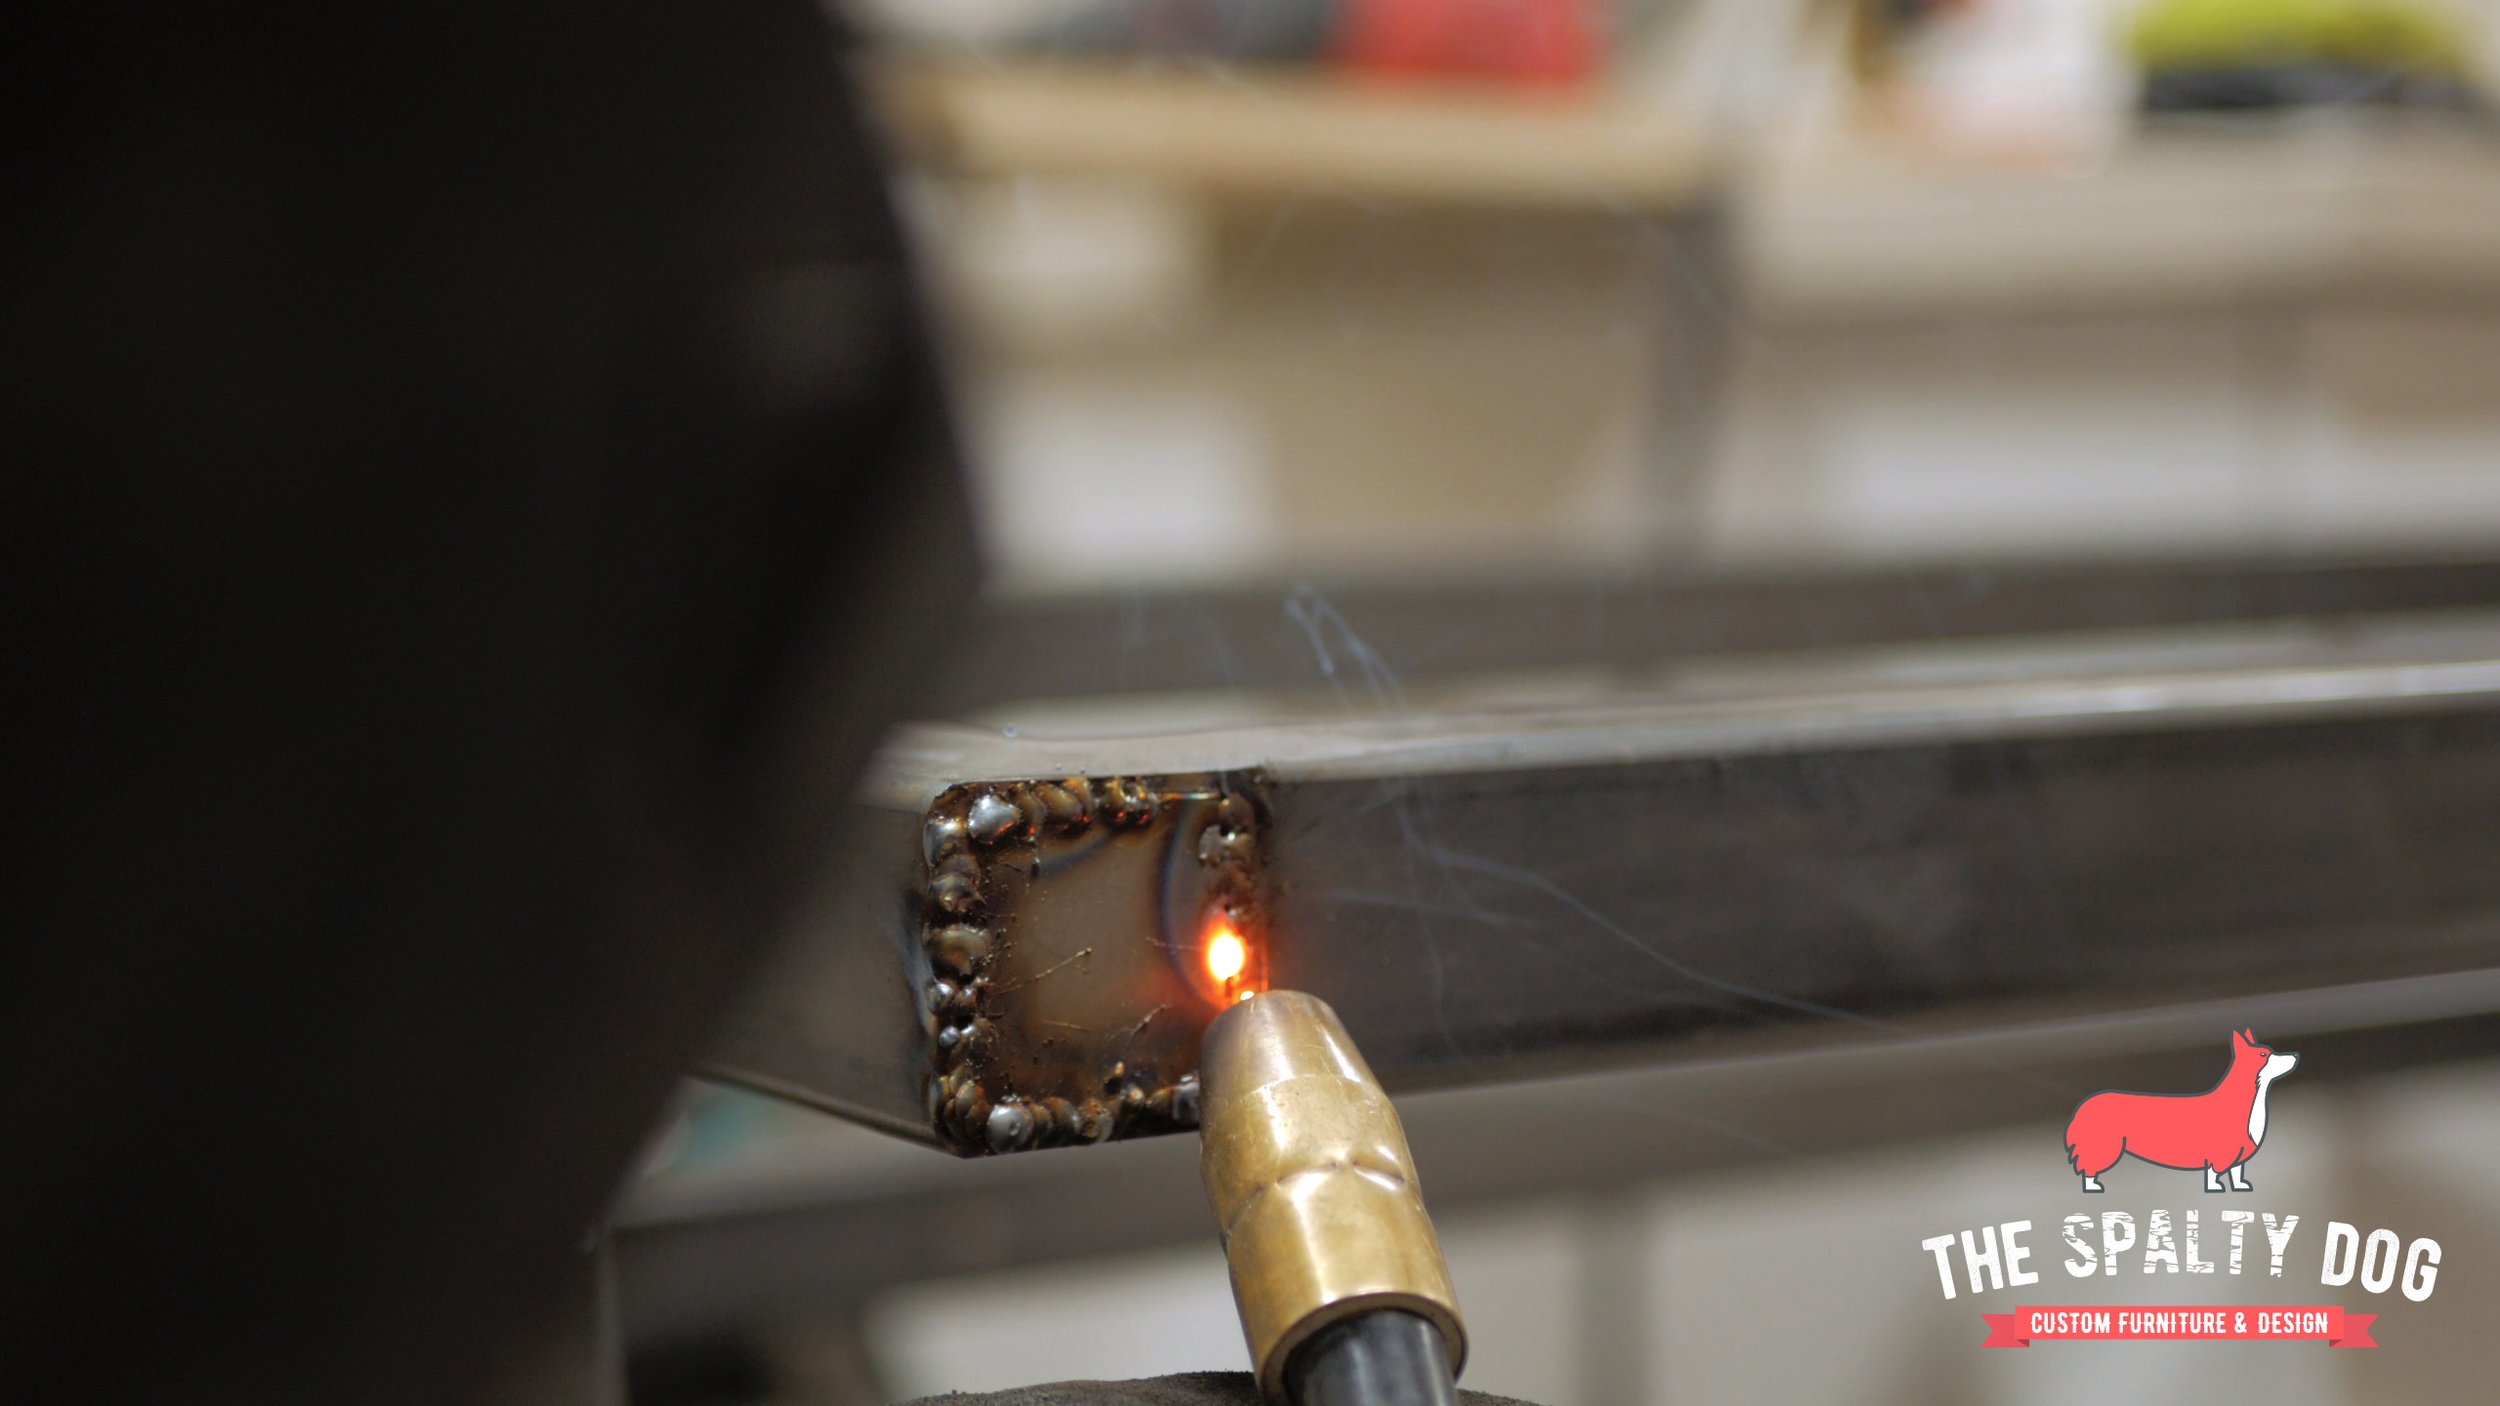
With a magnet to hold the cap in place, I tack weld all of the seams then grind everything smooth with an angle grinder.
I weld on the tabs I just cut to the base then drill oversized holes in each one to screw through when securing the top.

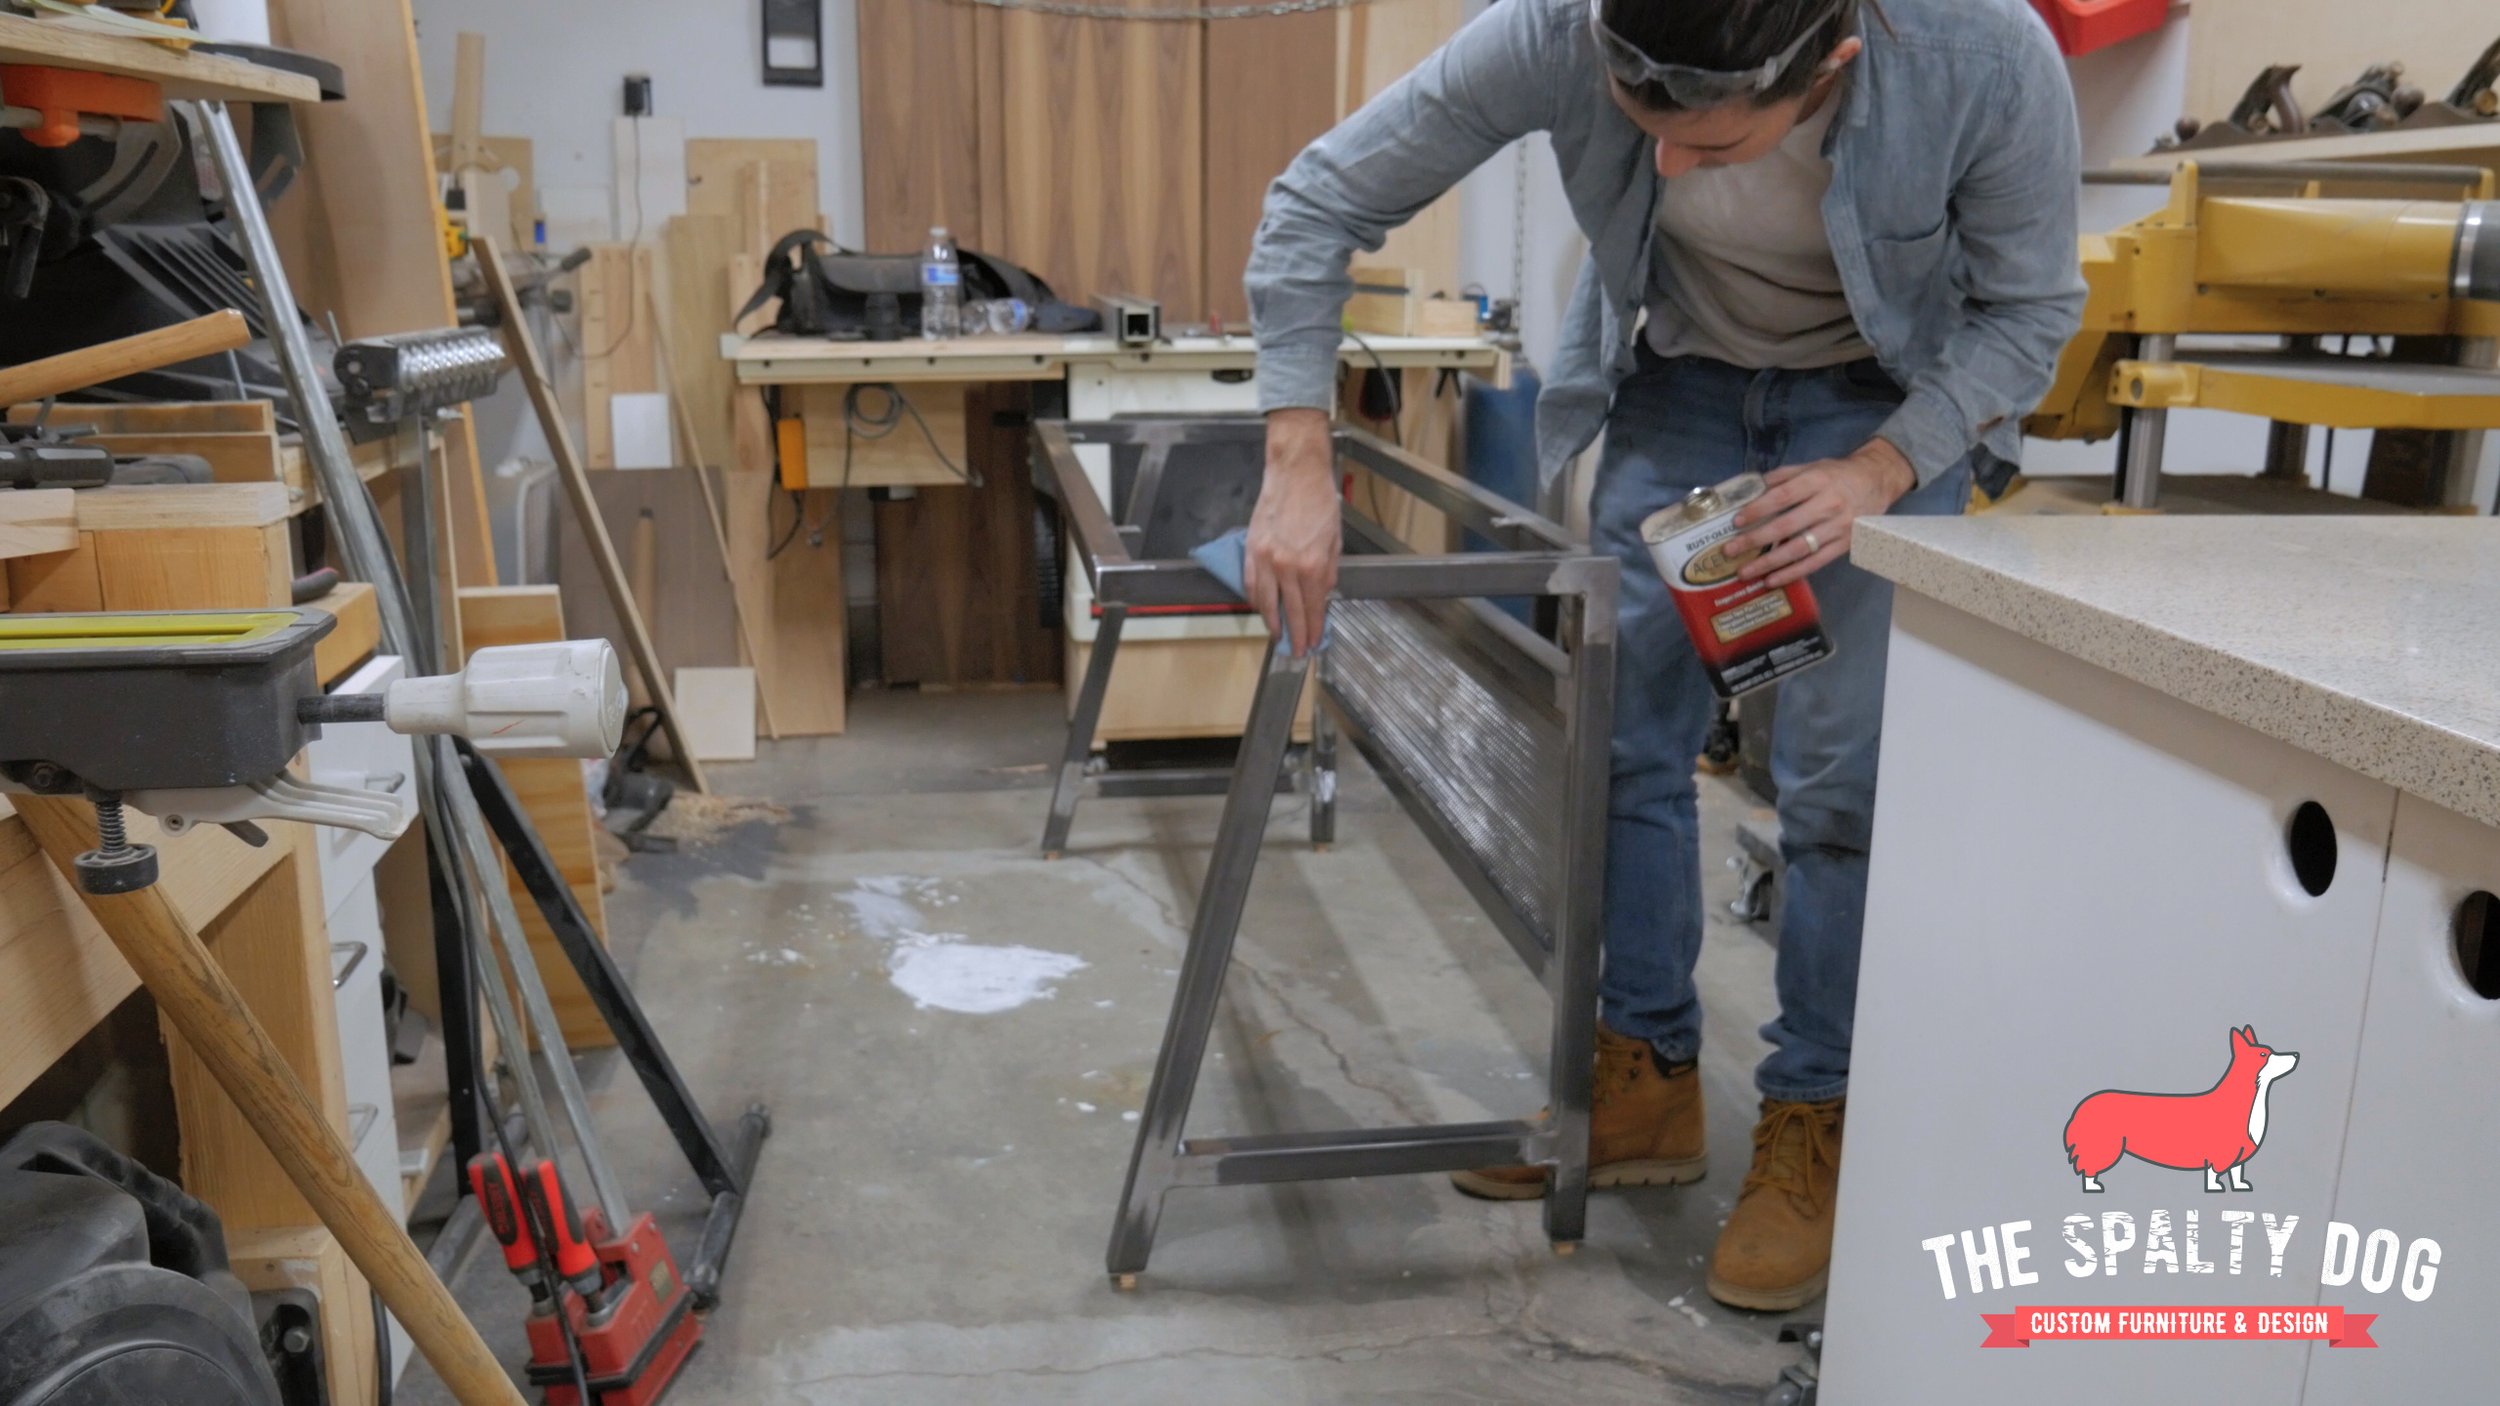
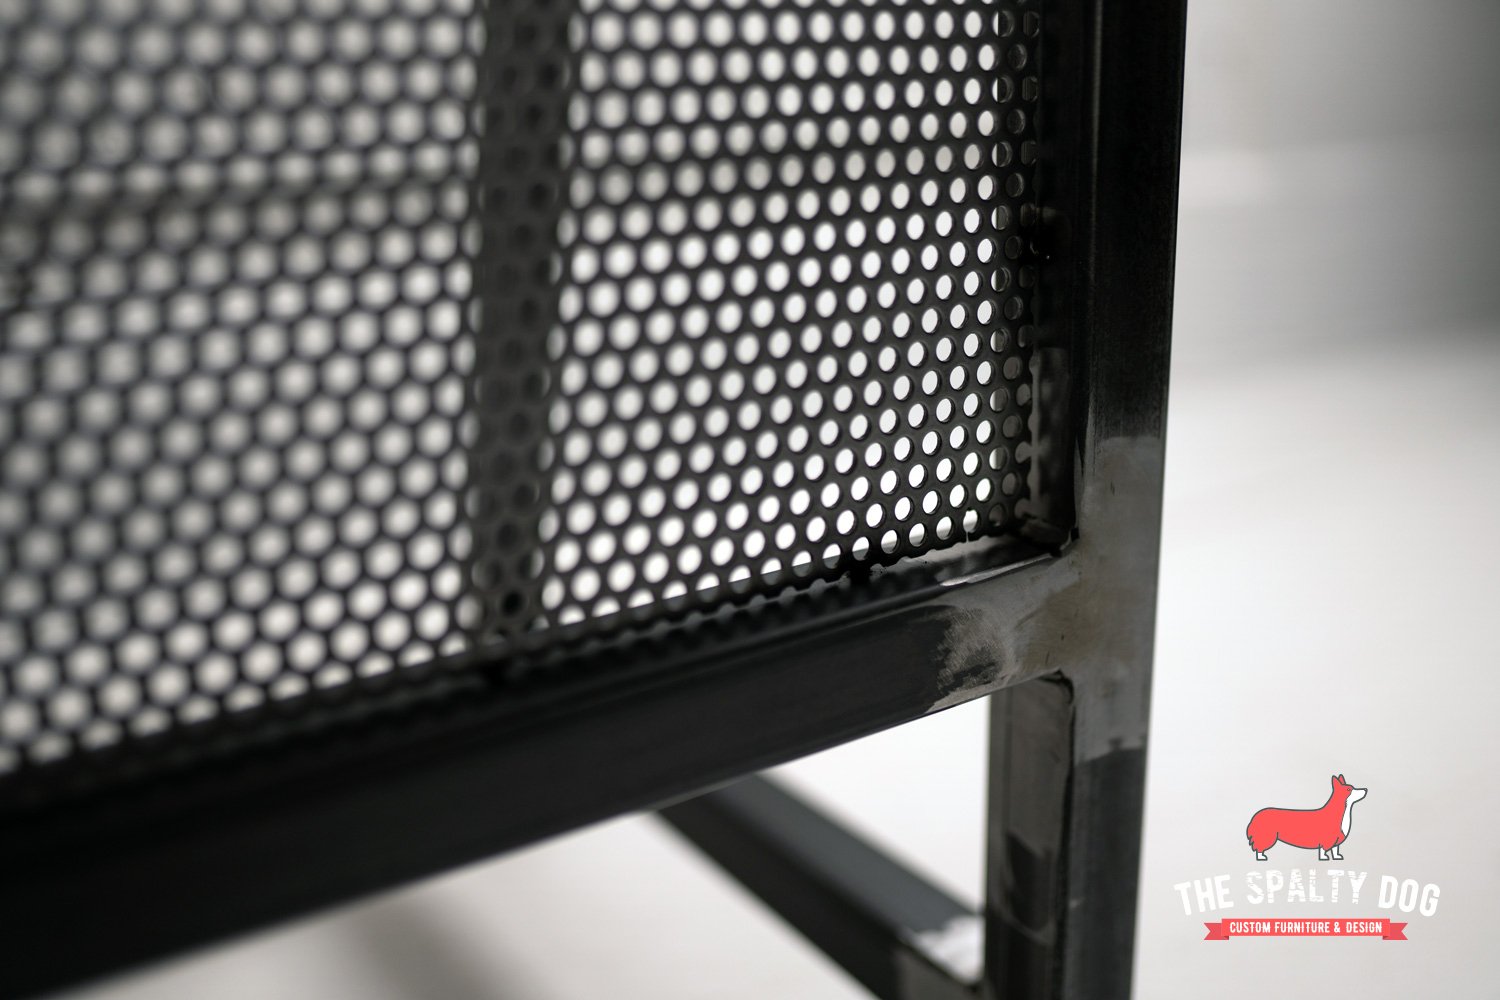
Off camera I cut down this perforated sheet to size. Using 3/4” plywood scraps I inset the sheet and tack weld it in place.

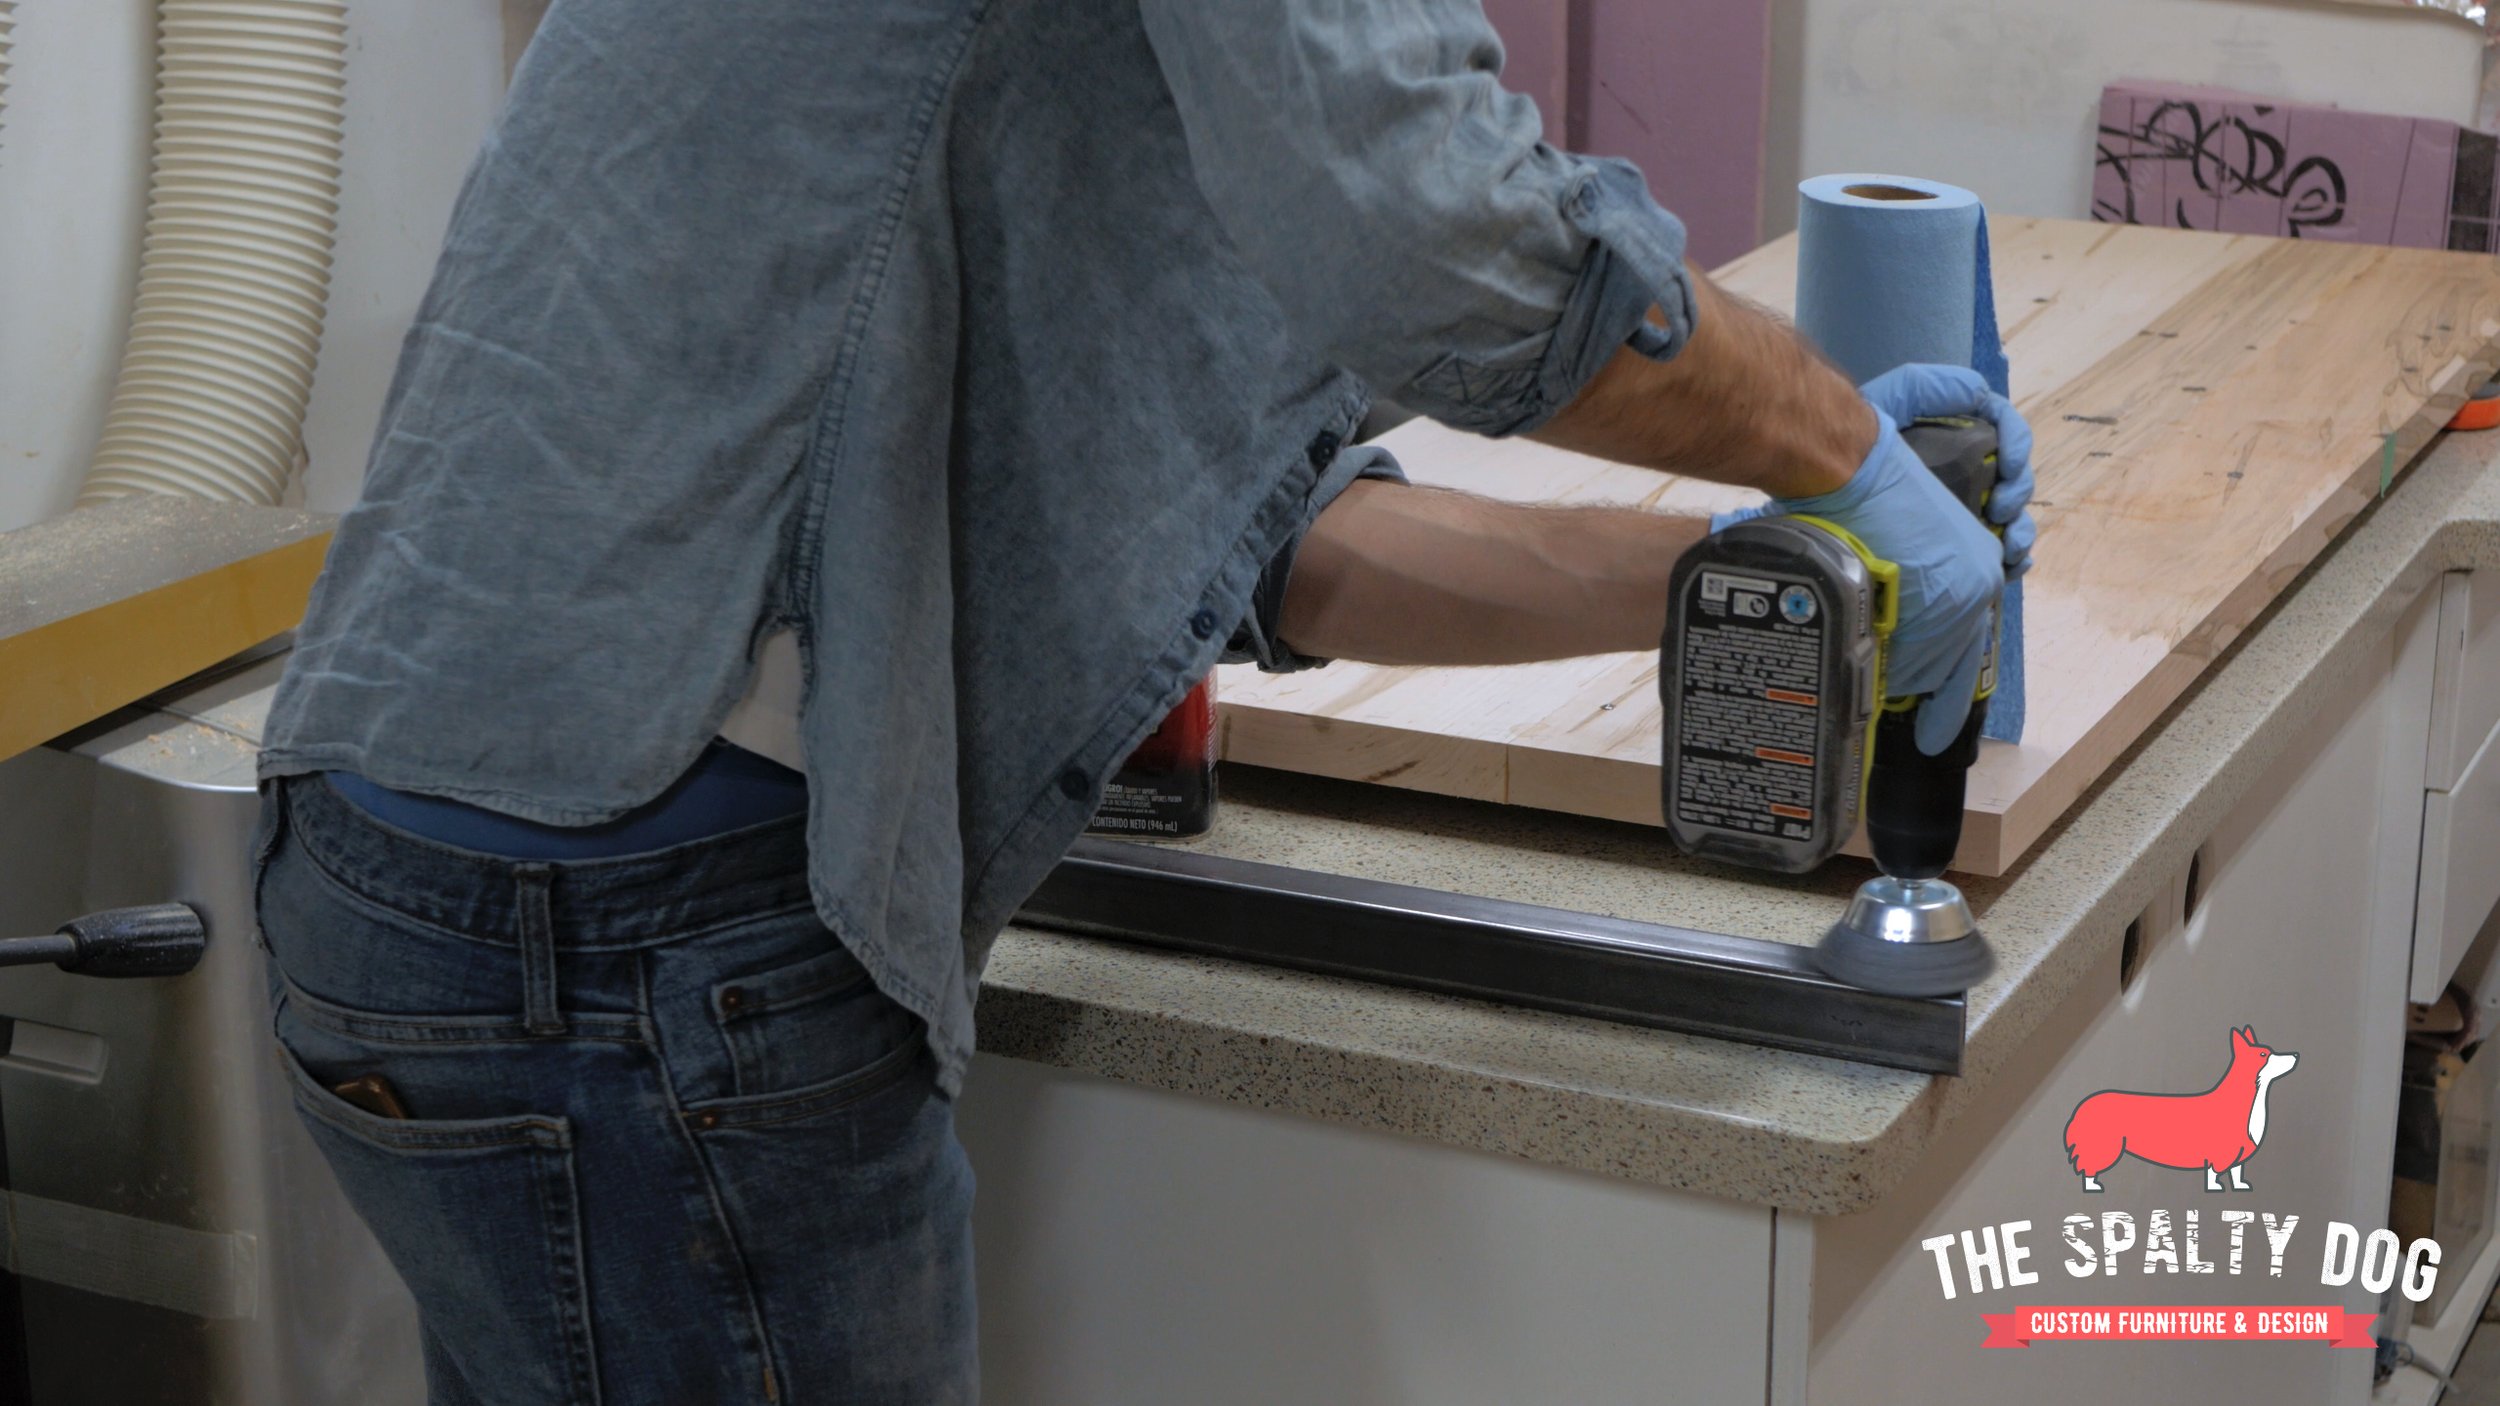
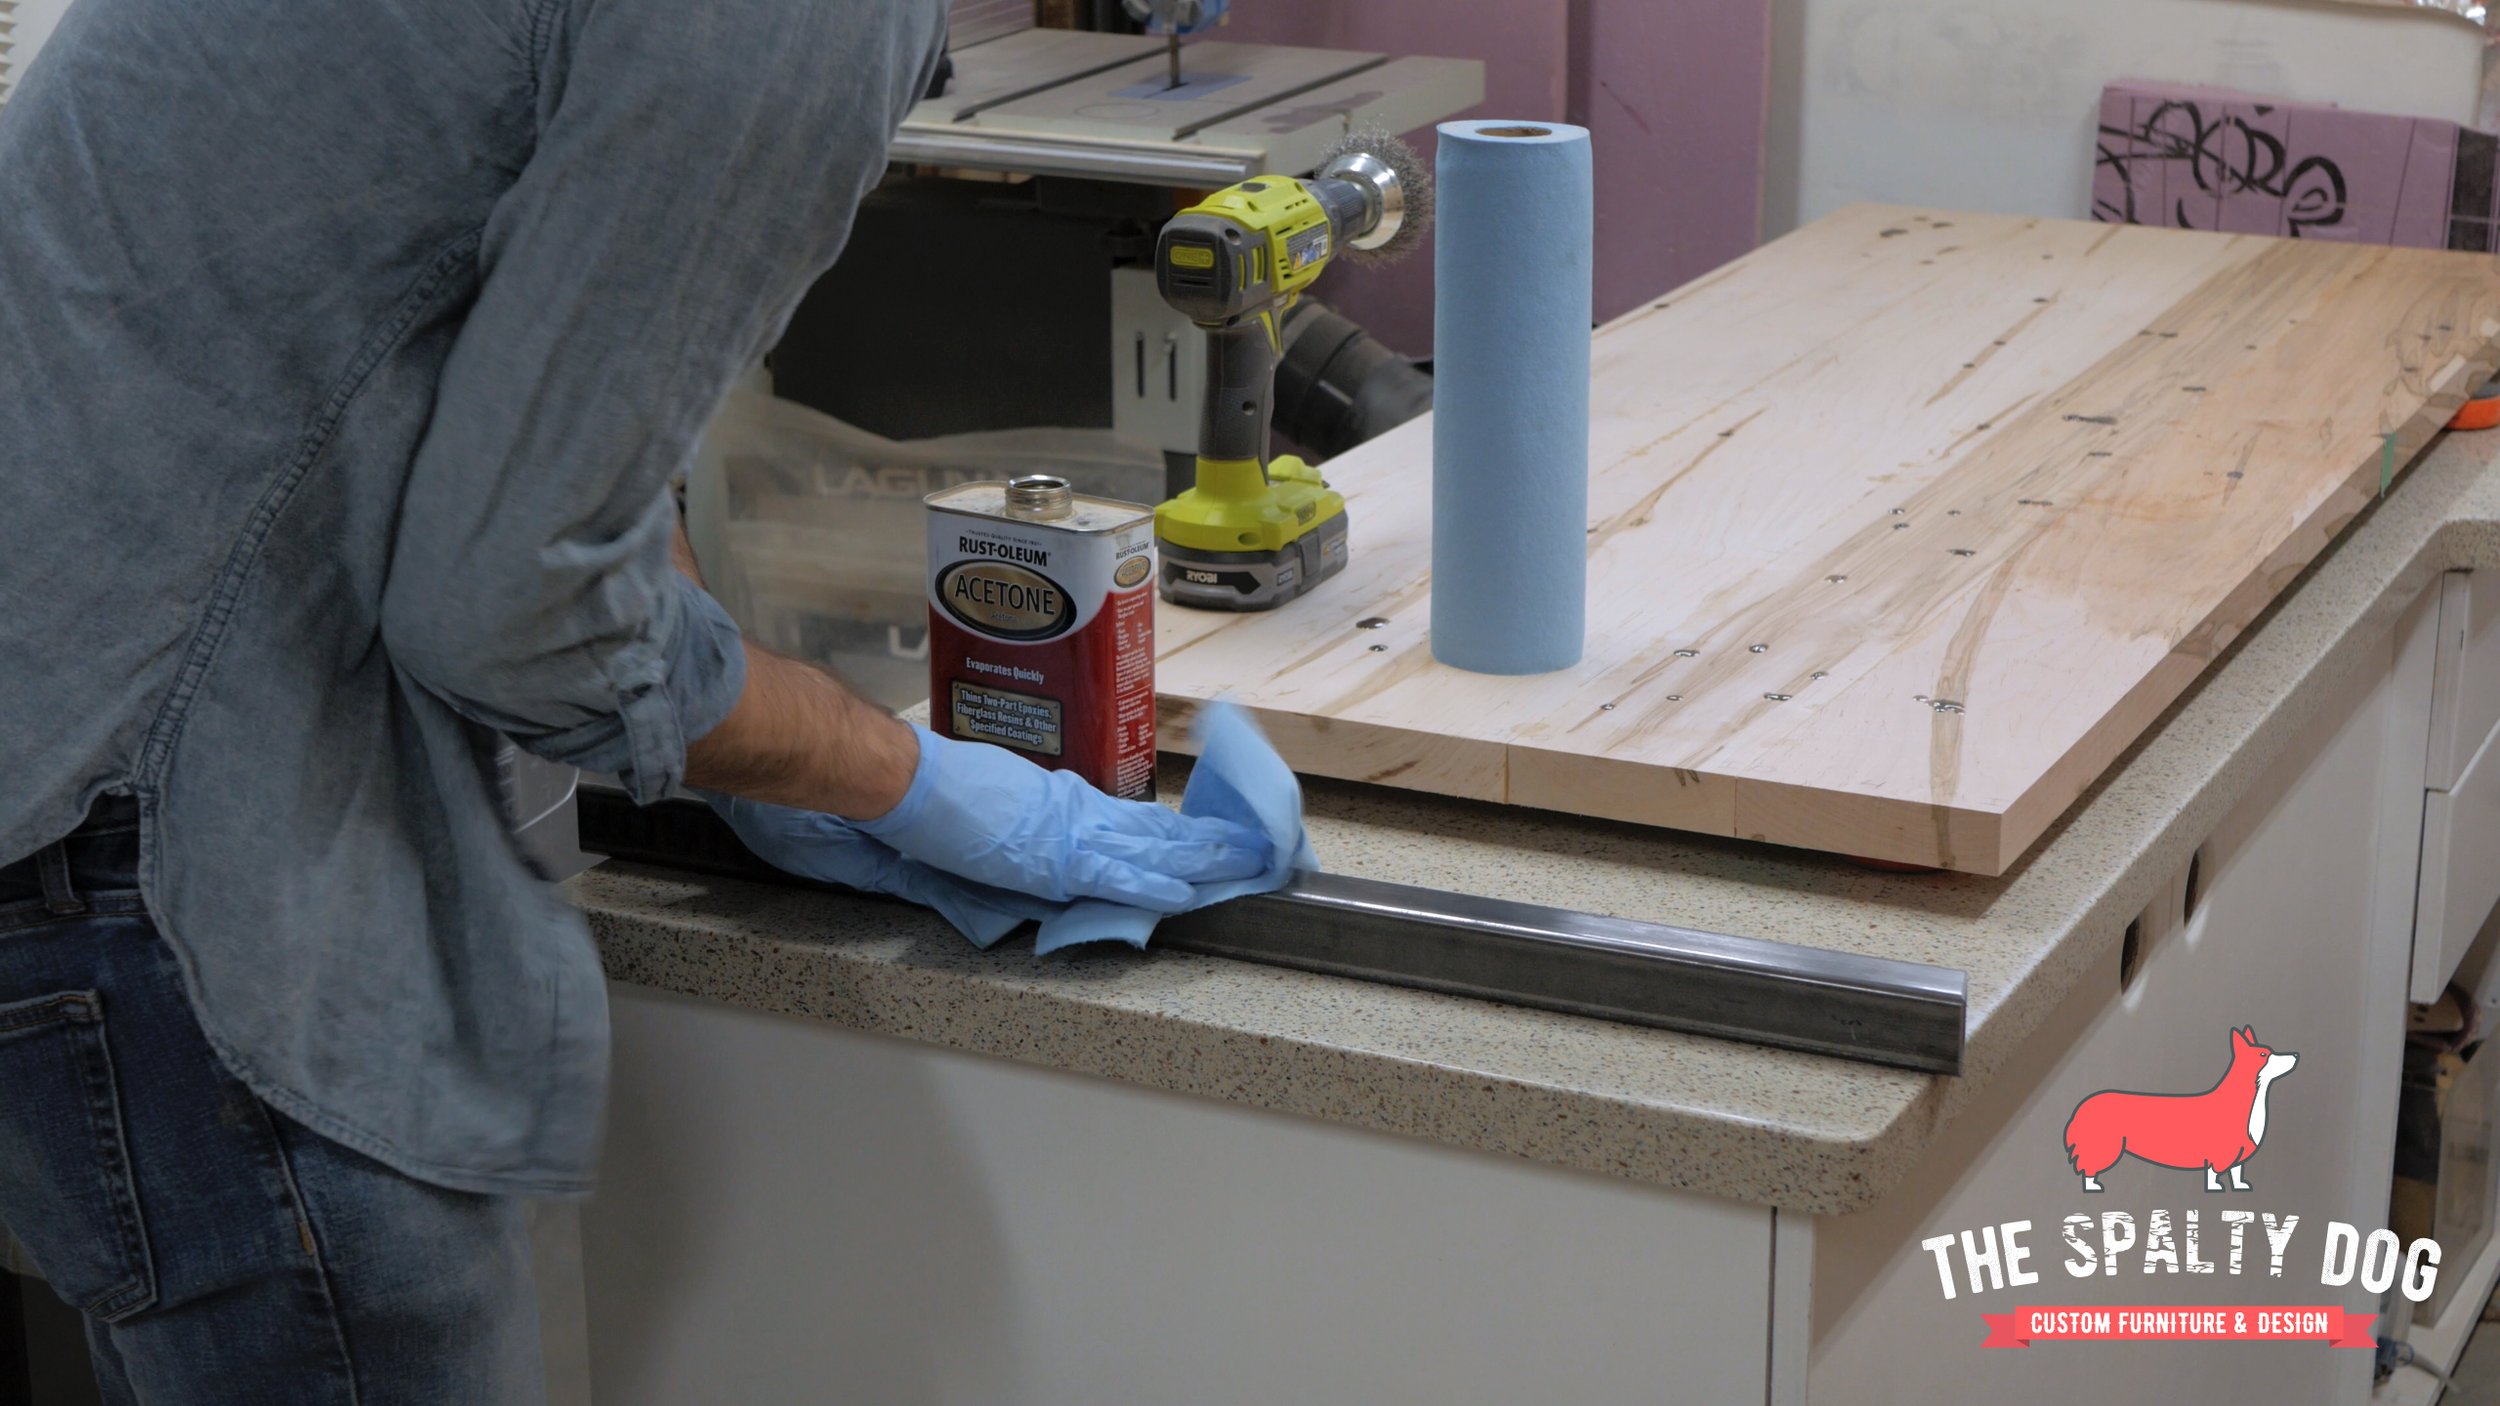
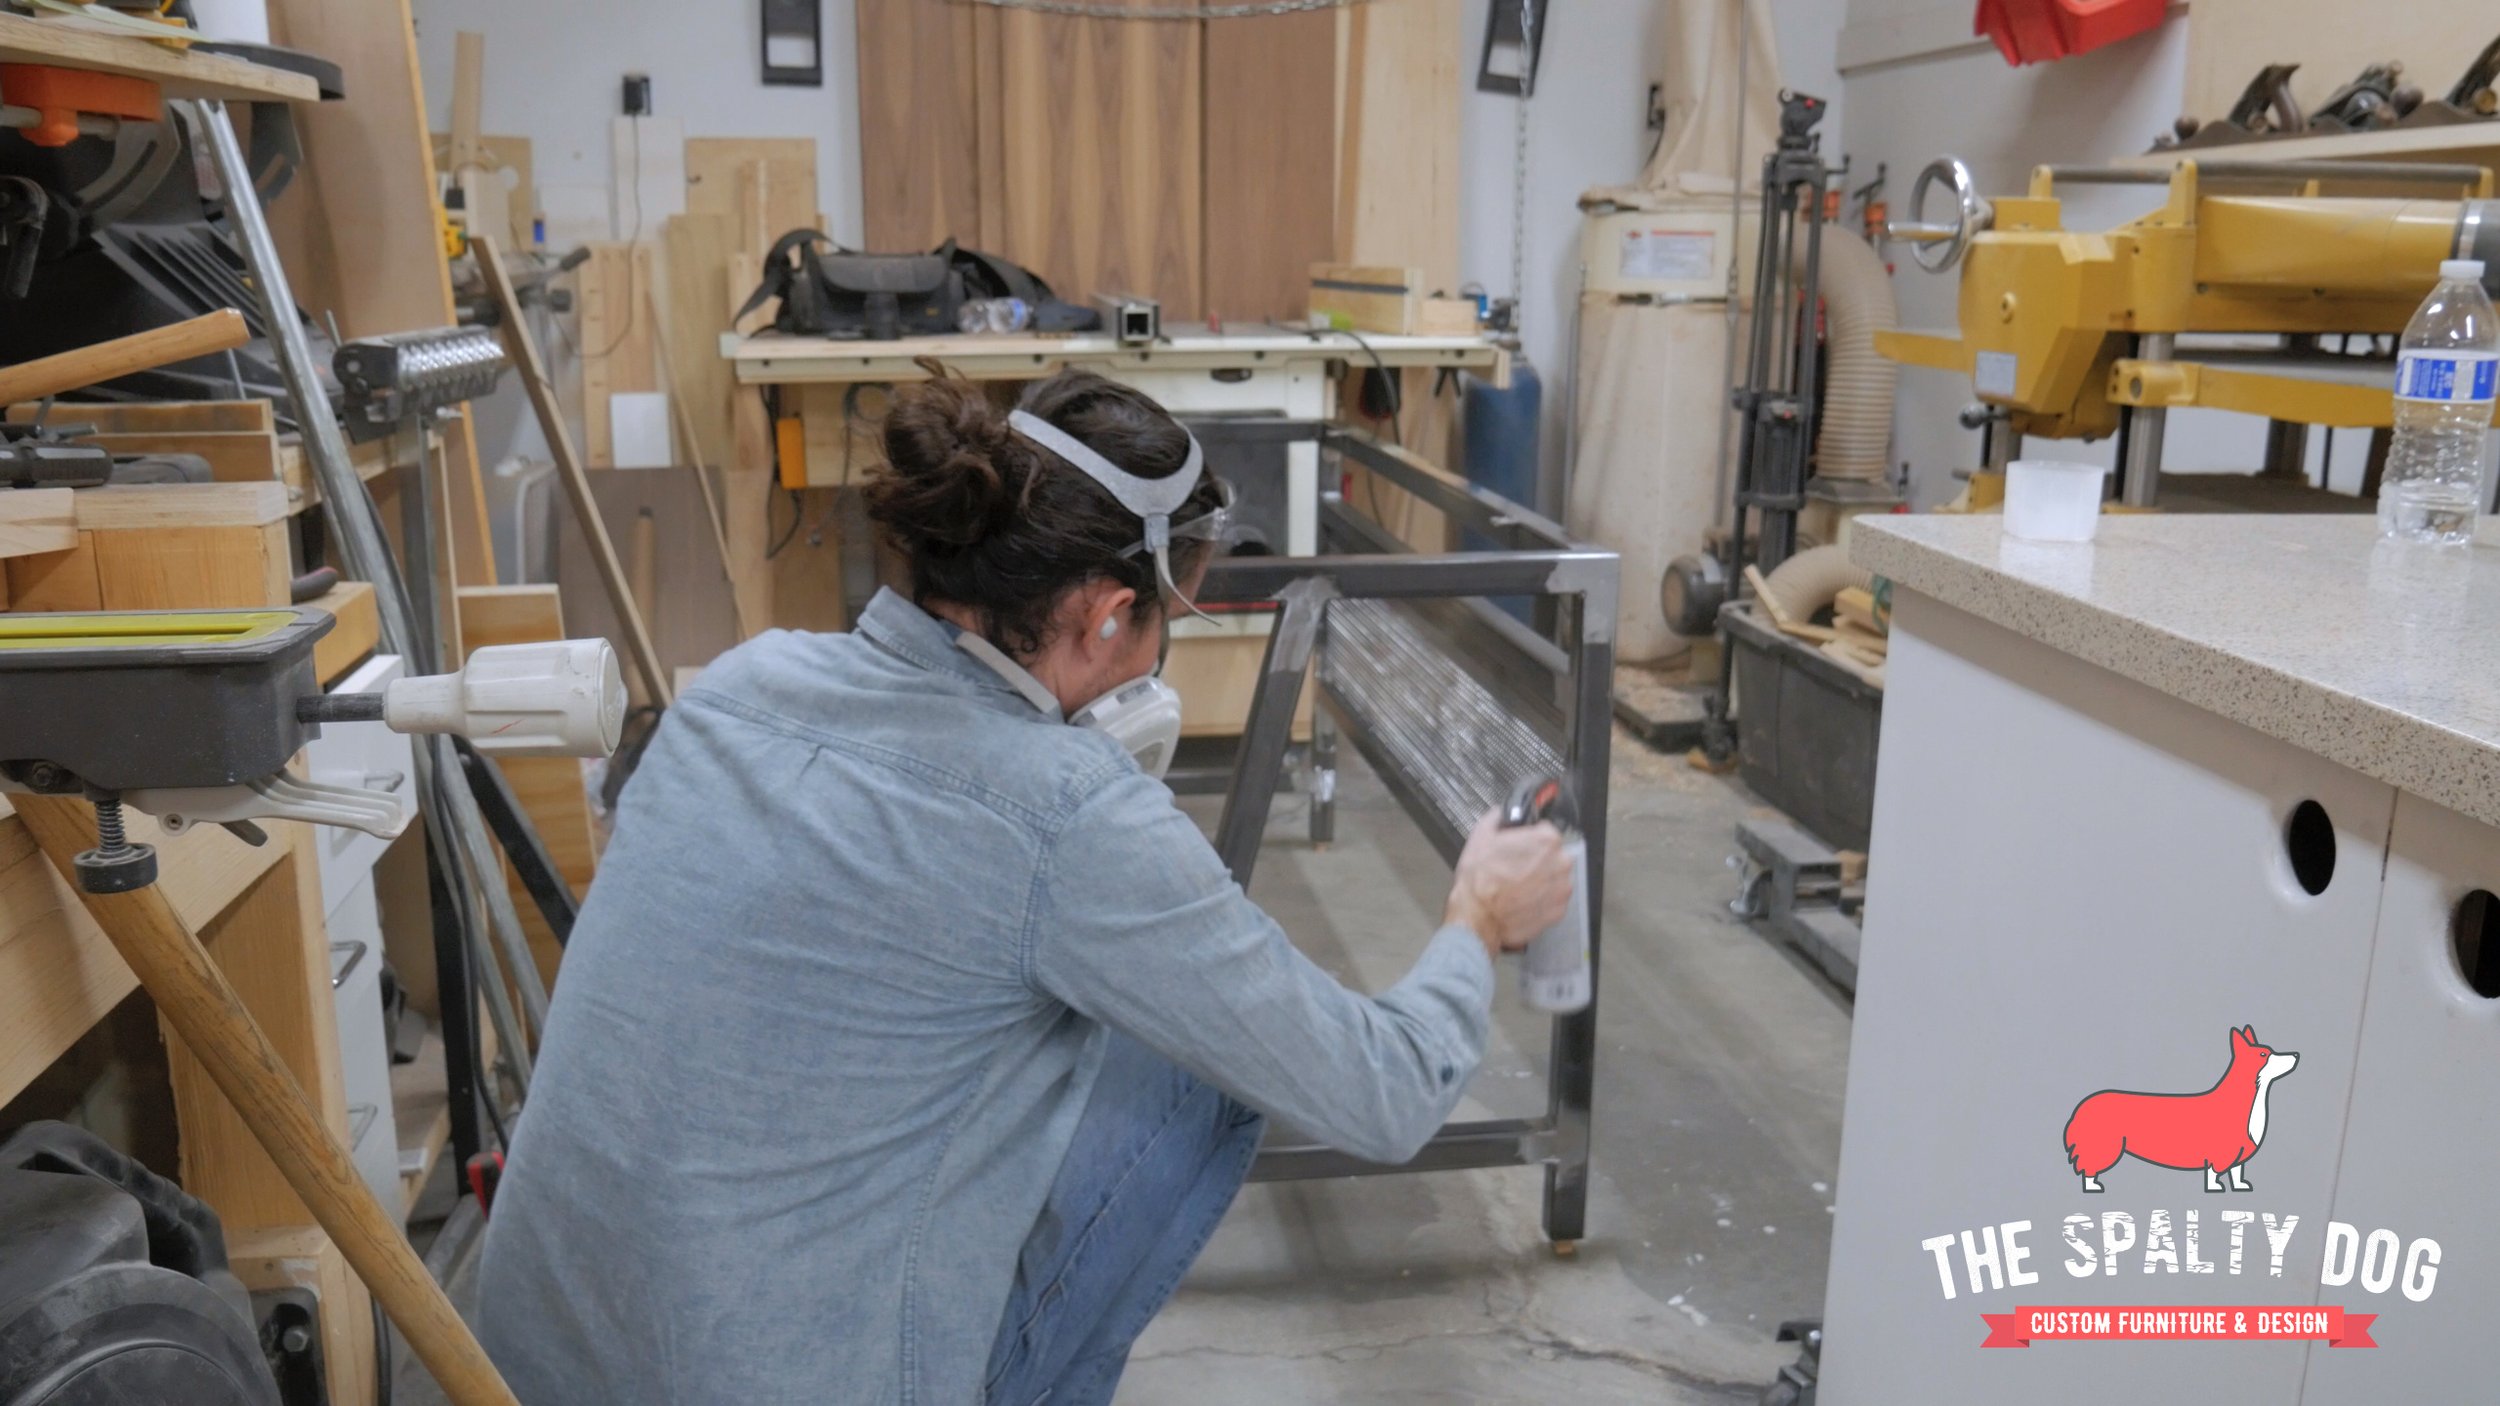
To prep for finish, I go back and clean the entire base again with acetone. Then spray everything down with a few coats of a clear satin finish.
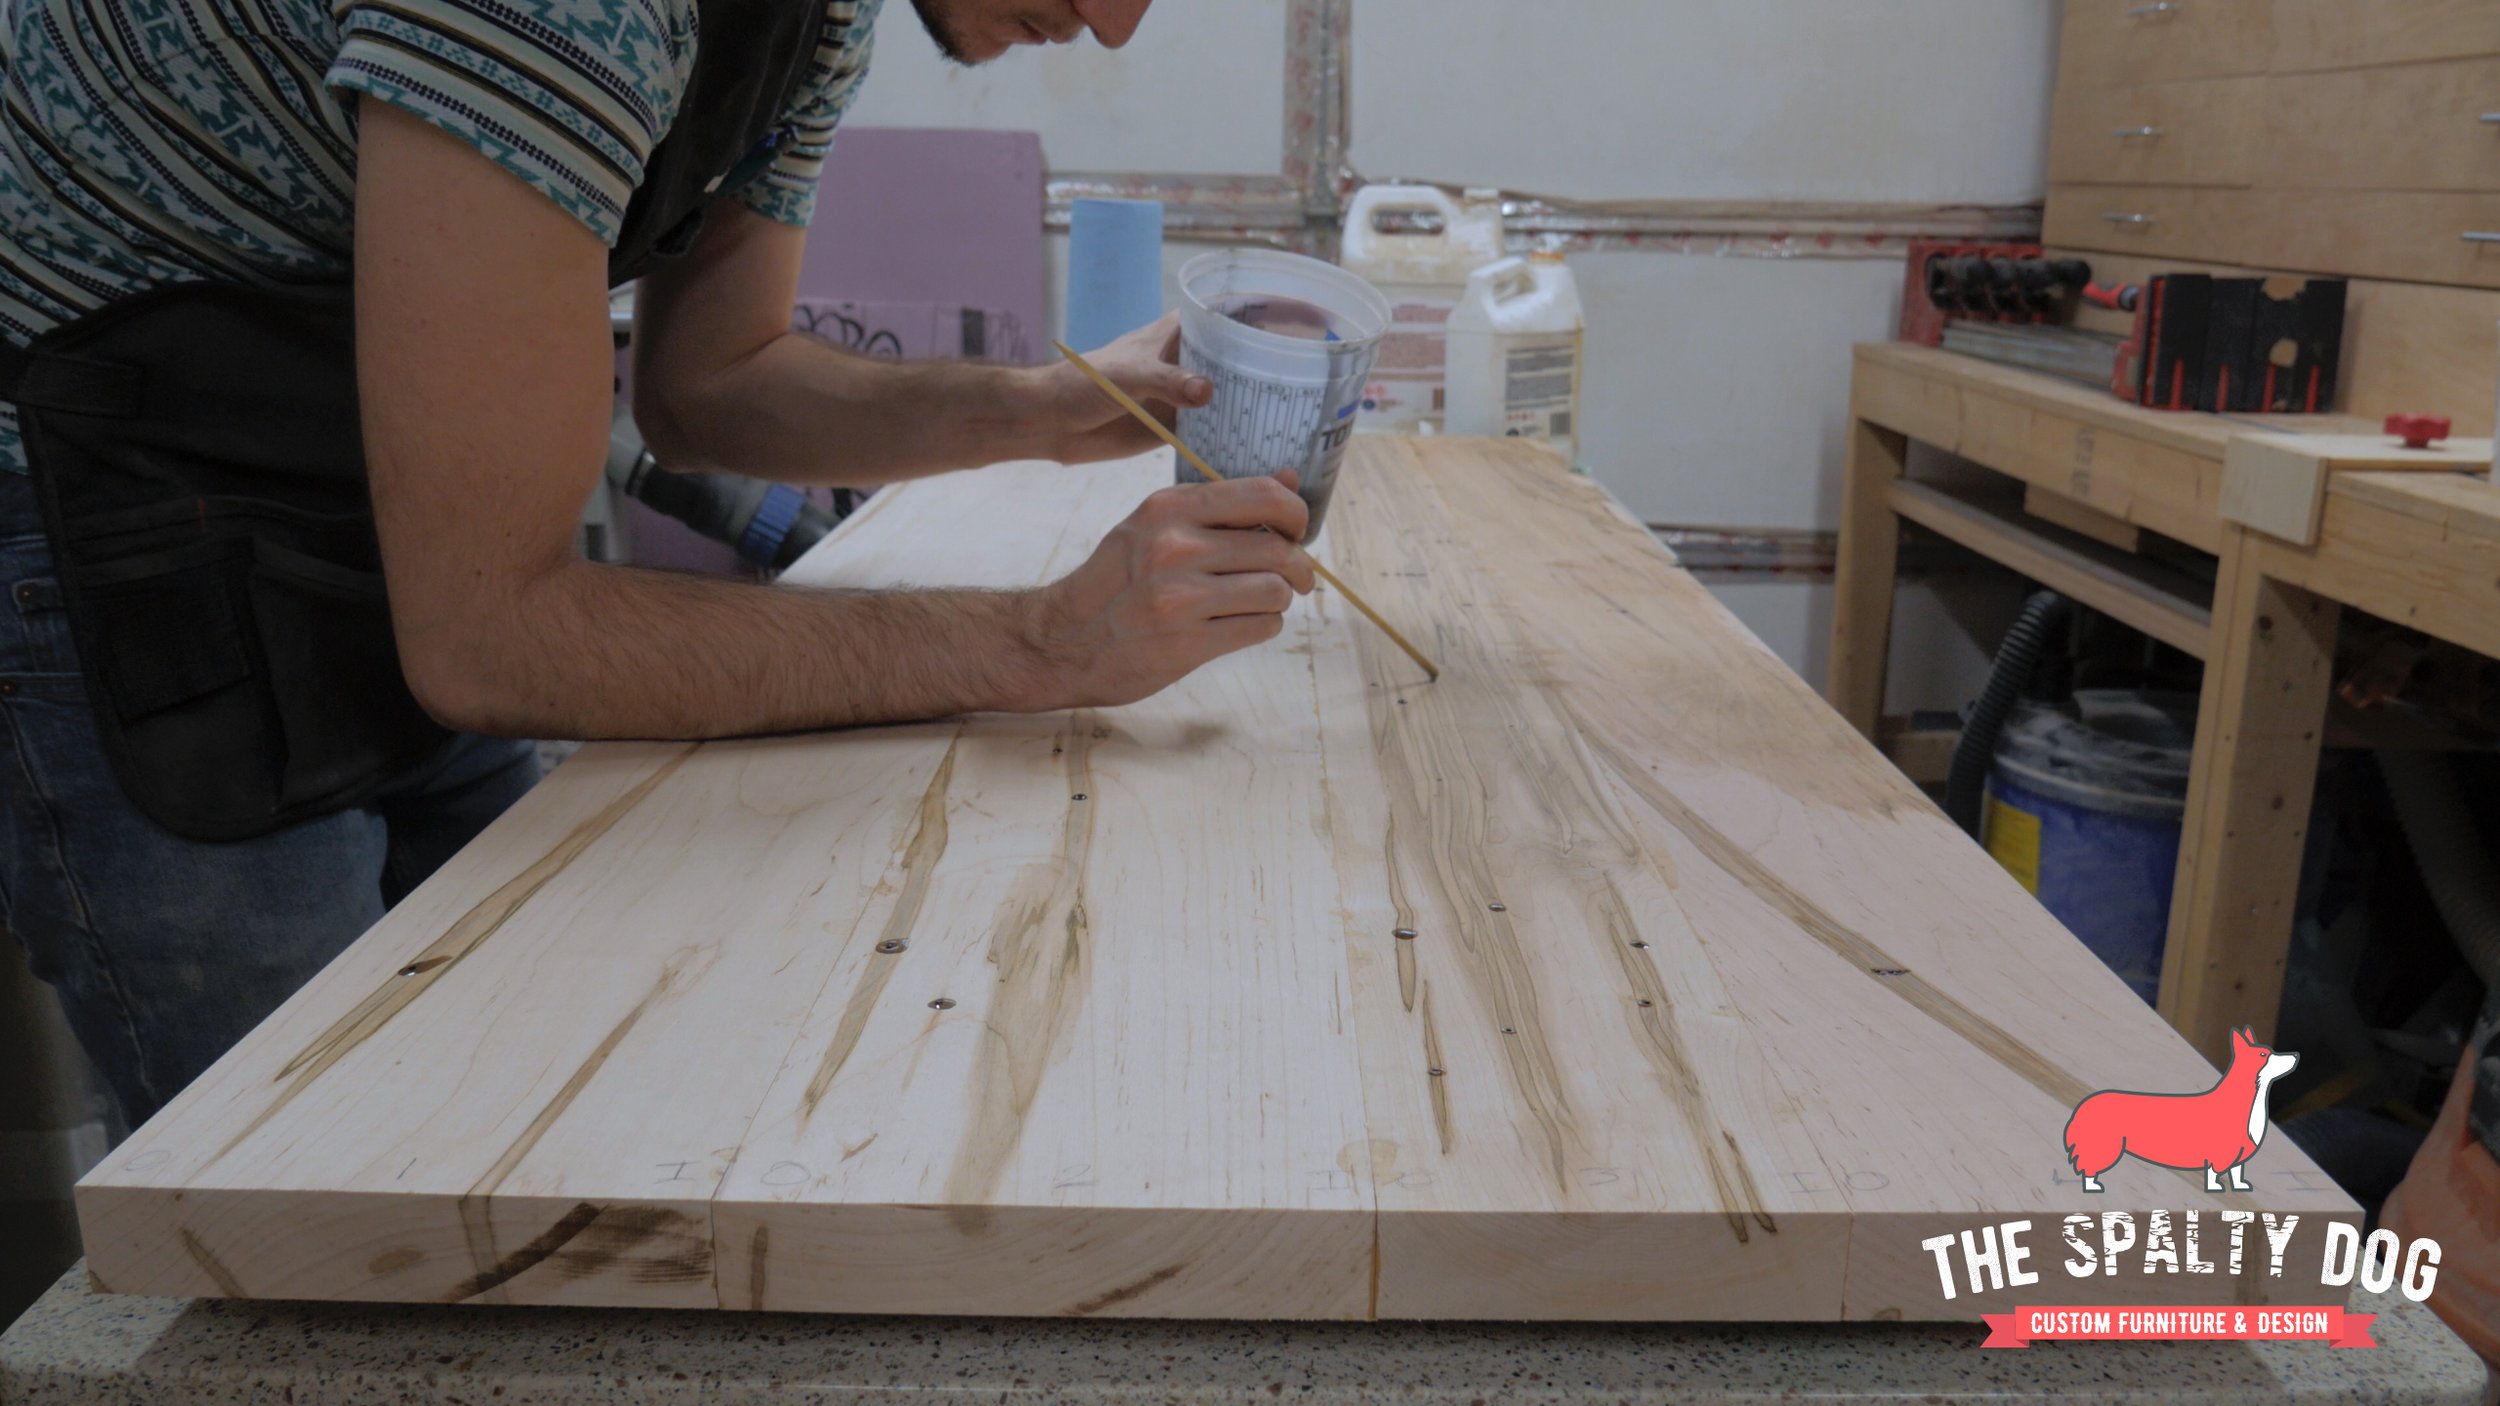
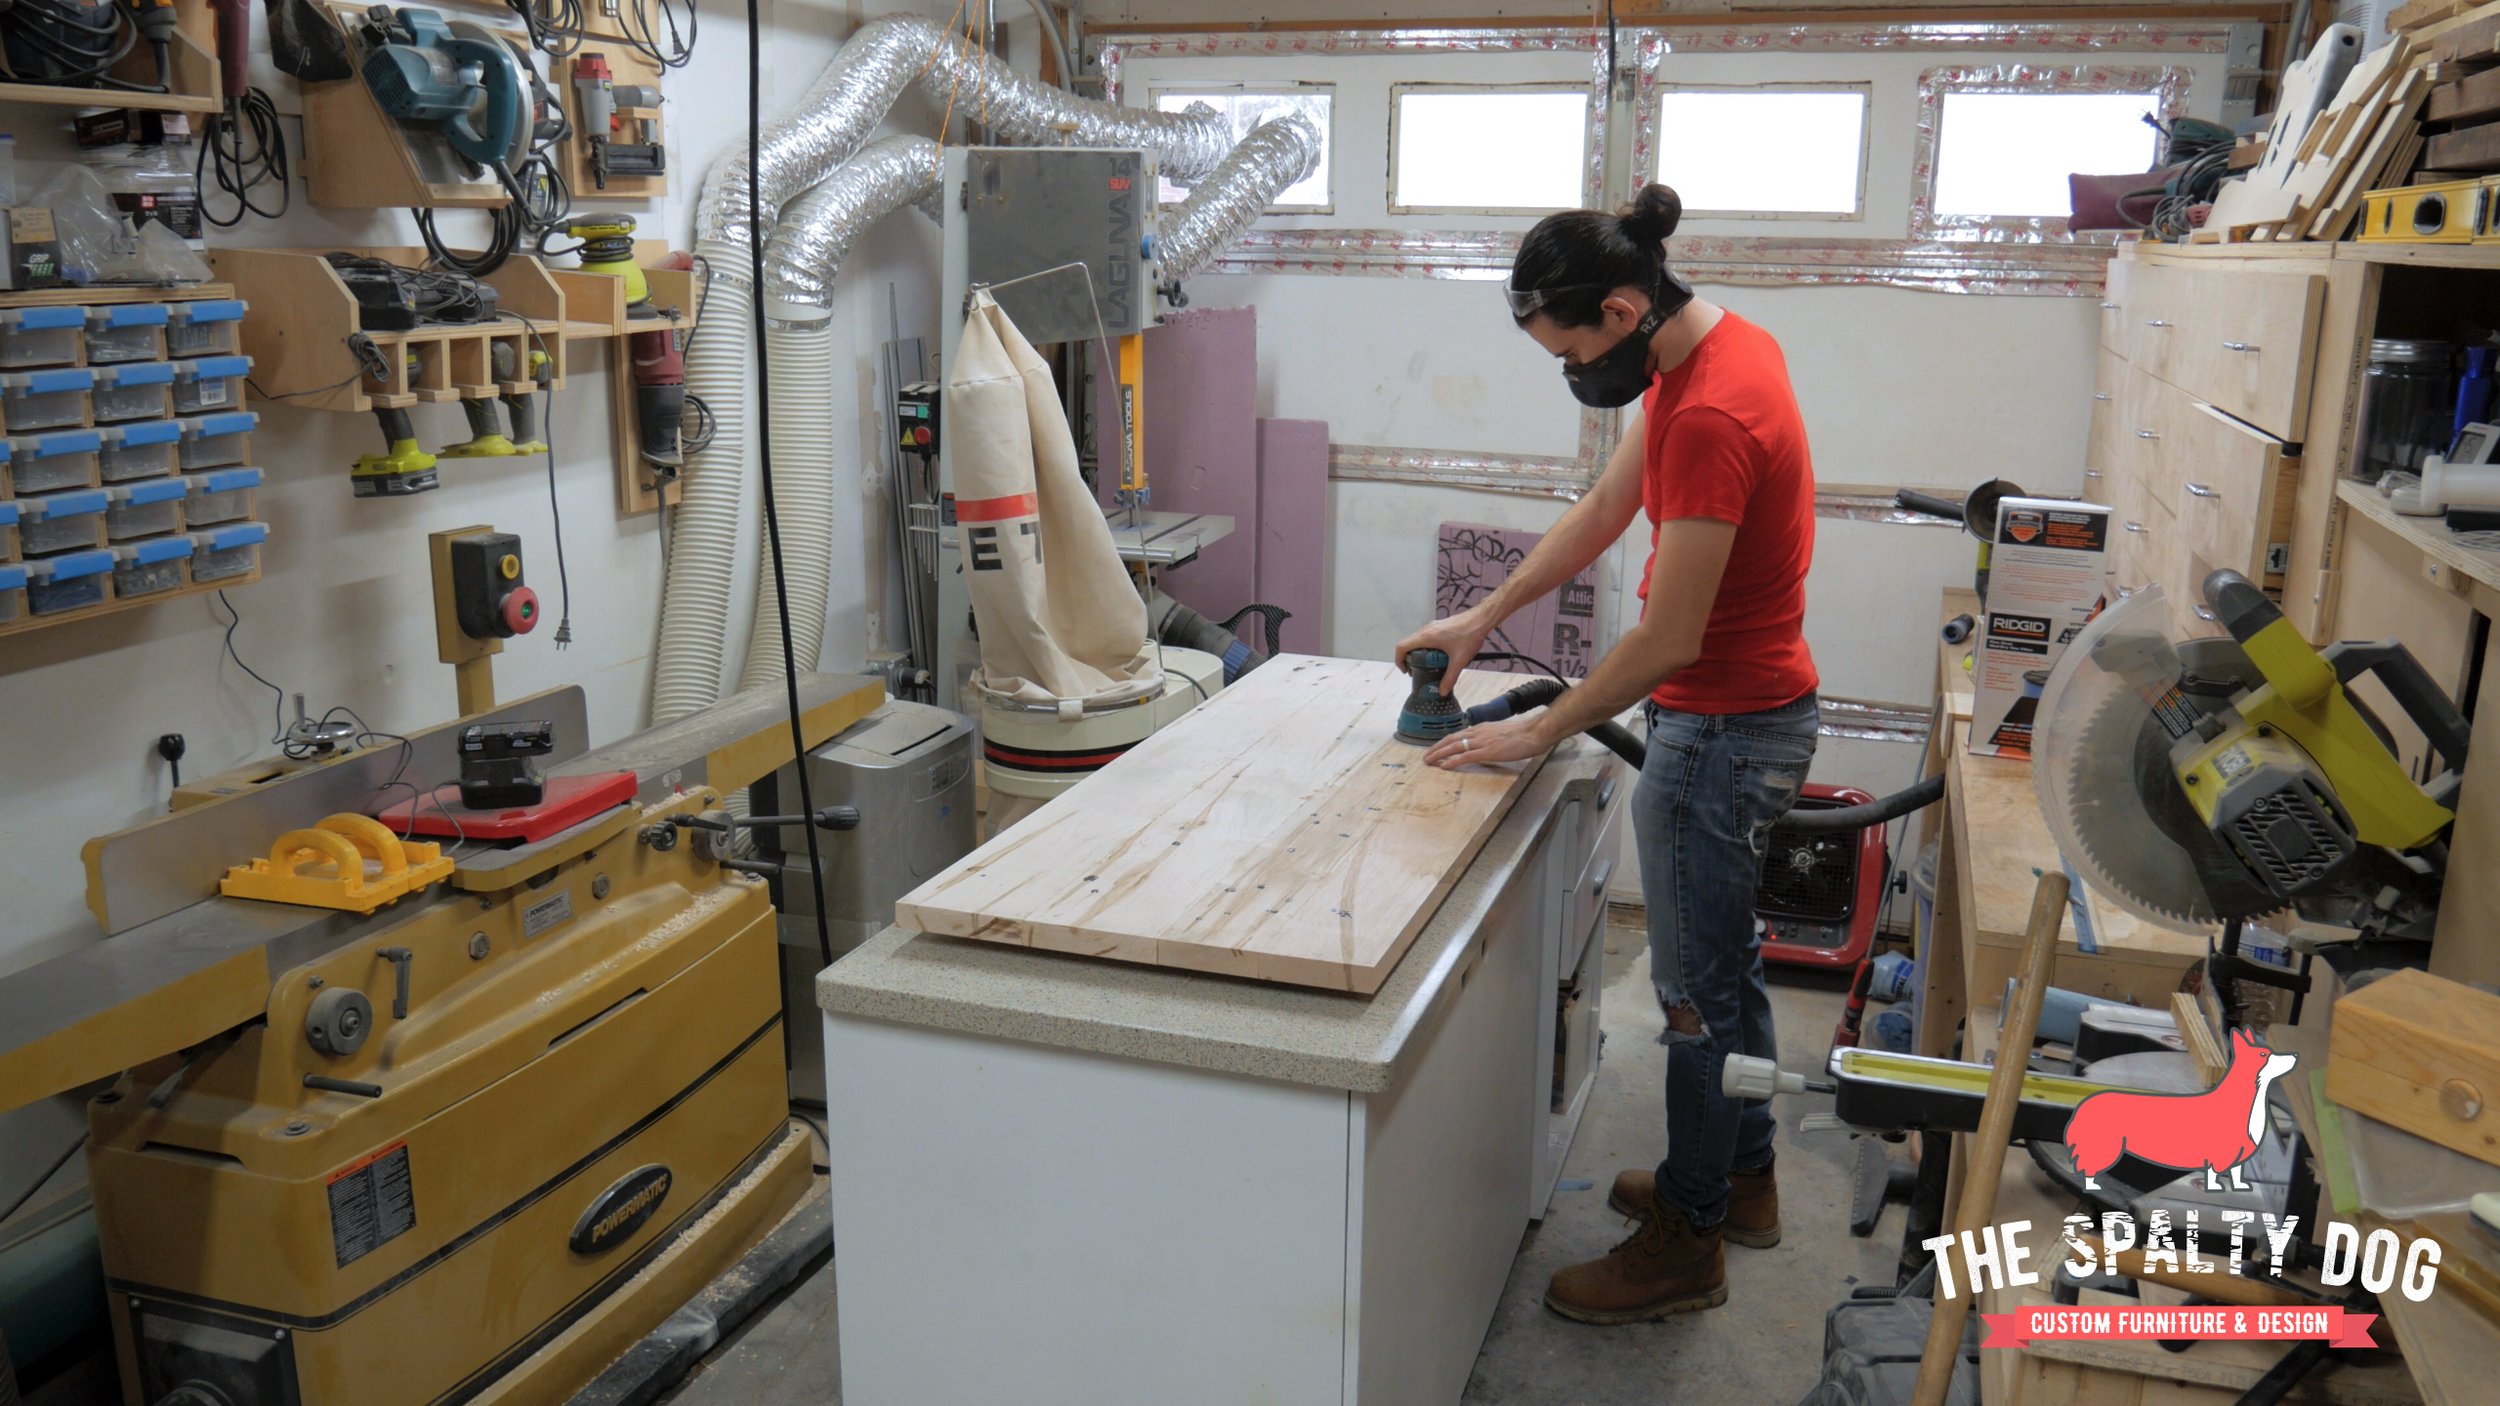
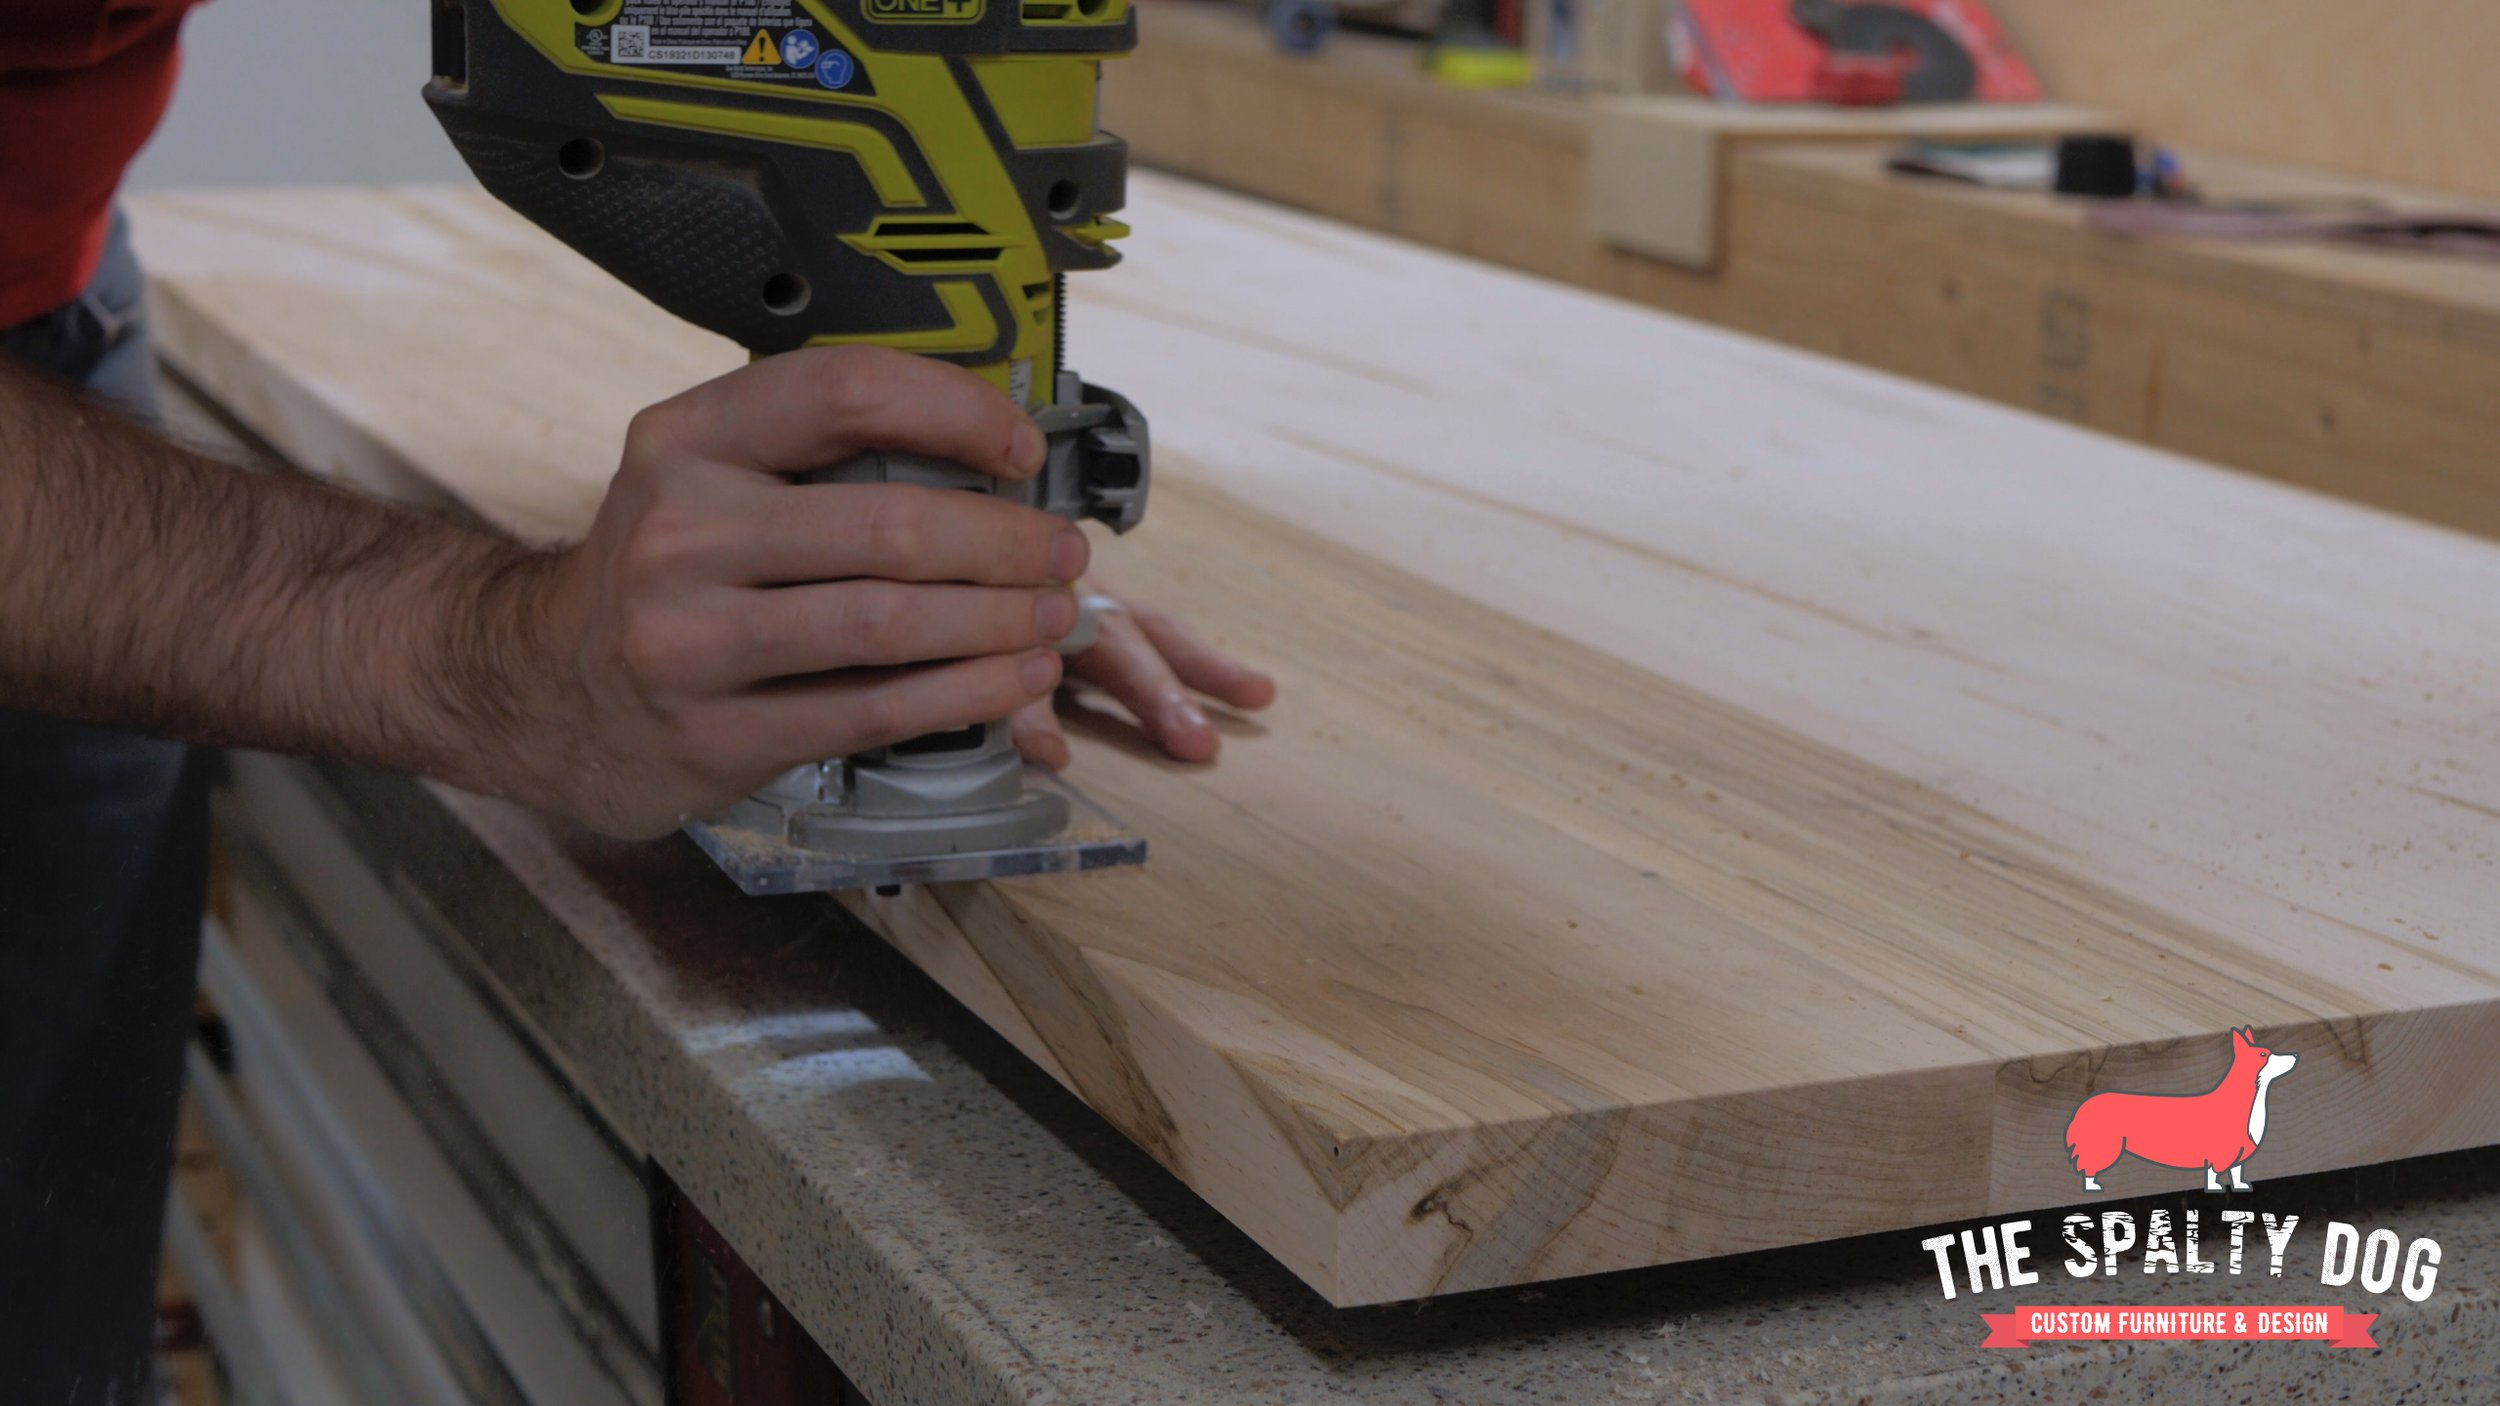
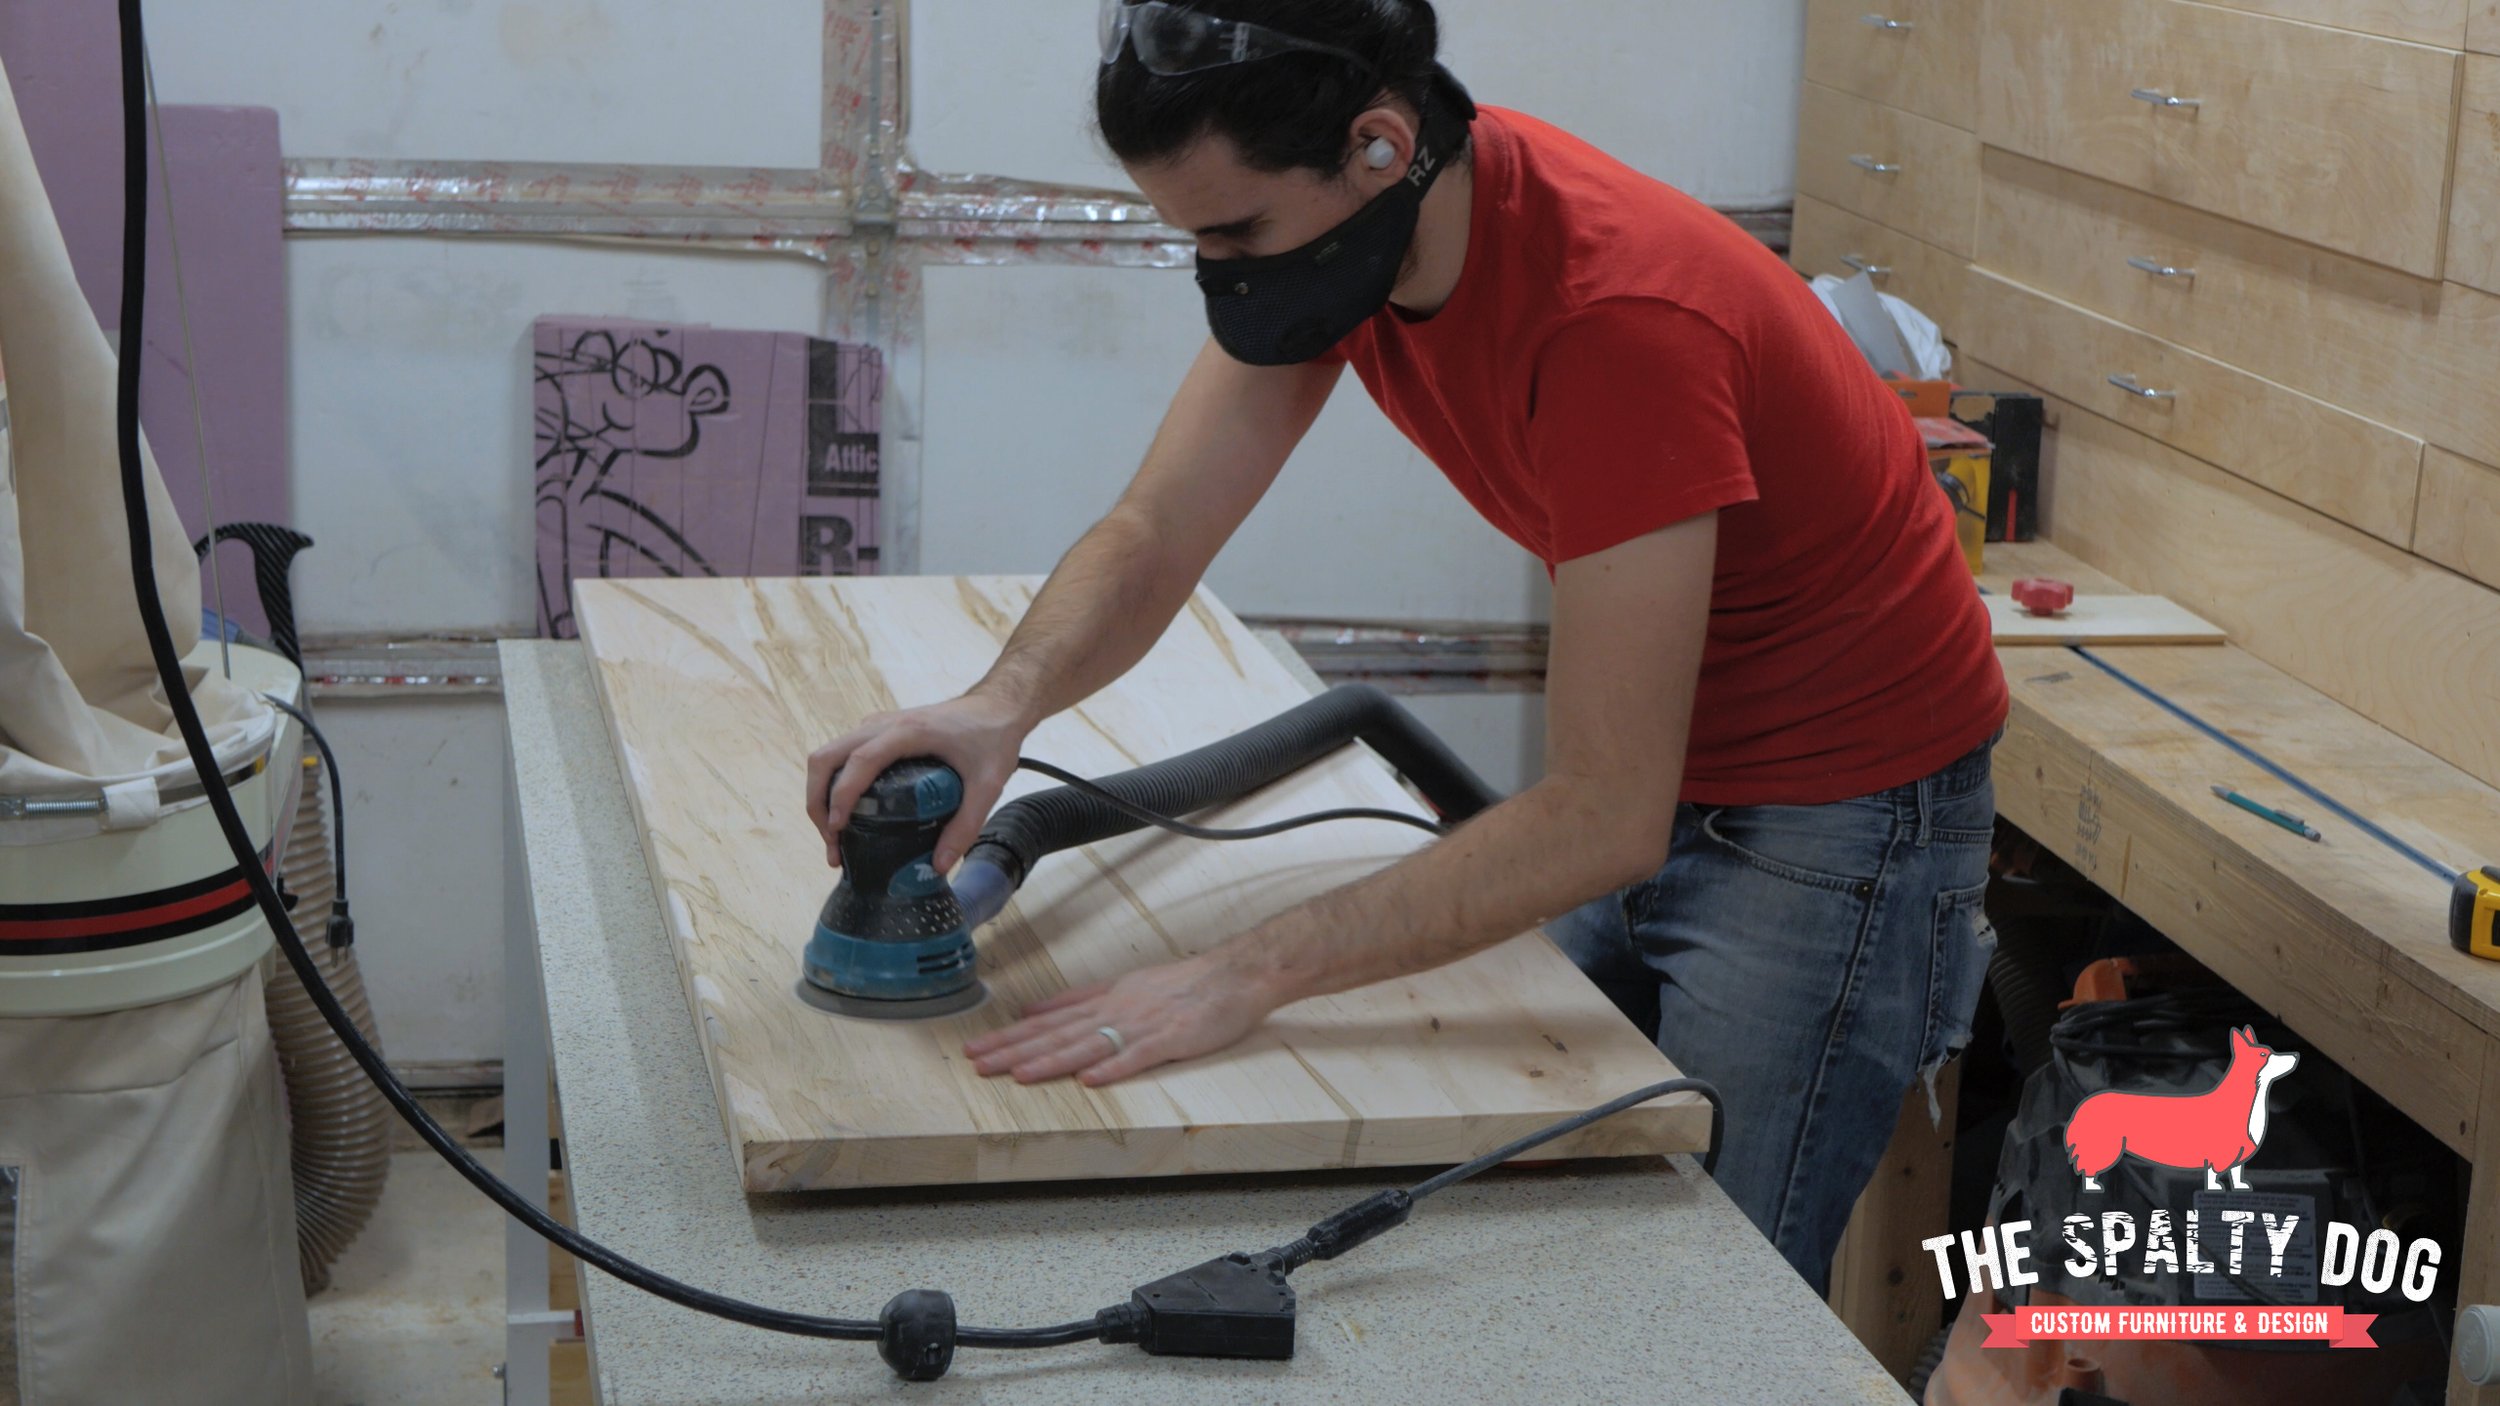
The next day I came back to remove any excess epoxy from the top and sand everything up to 120 grit. Then I rounded over all the edges using an 1/8” roundover bit in the trim router.
After that I water popped the grain and sanded once again at 120 grit.
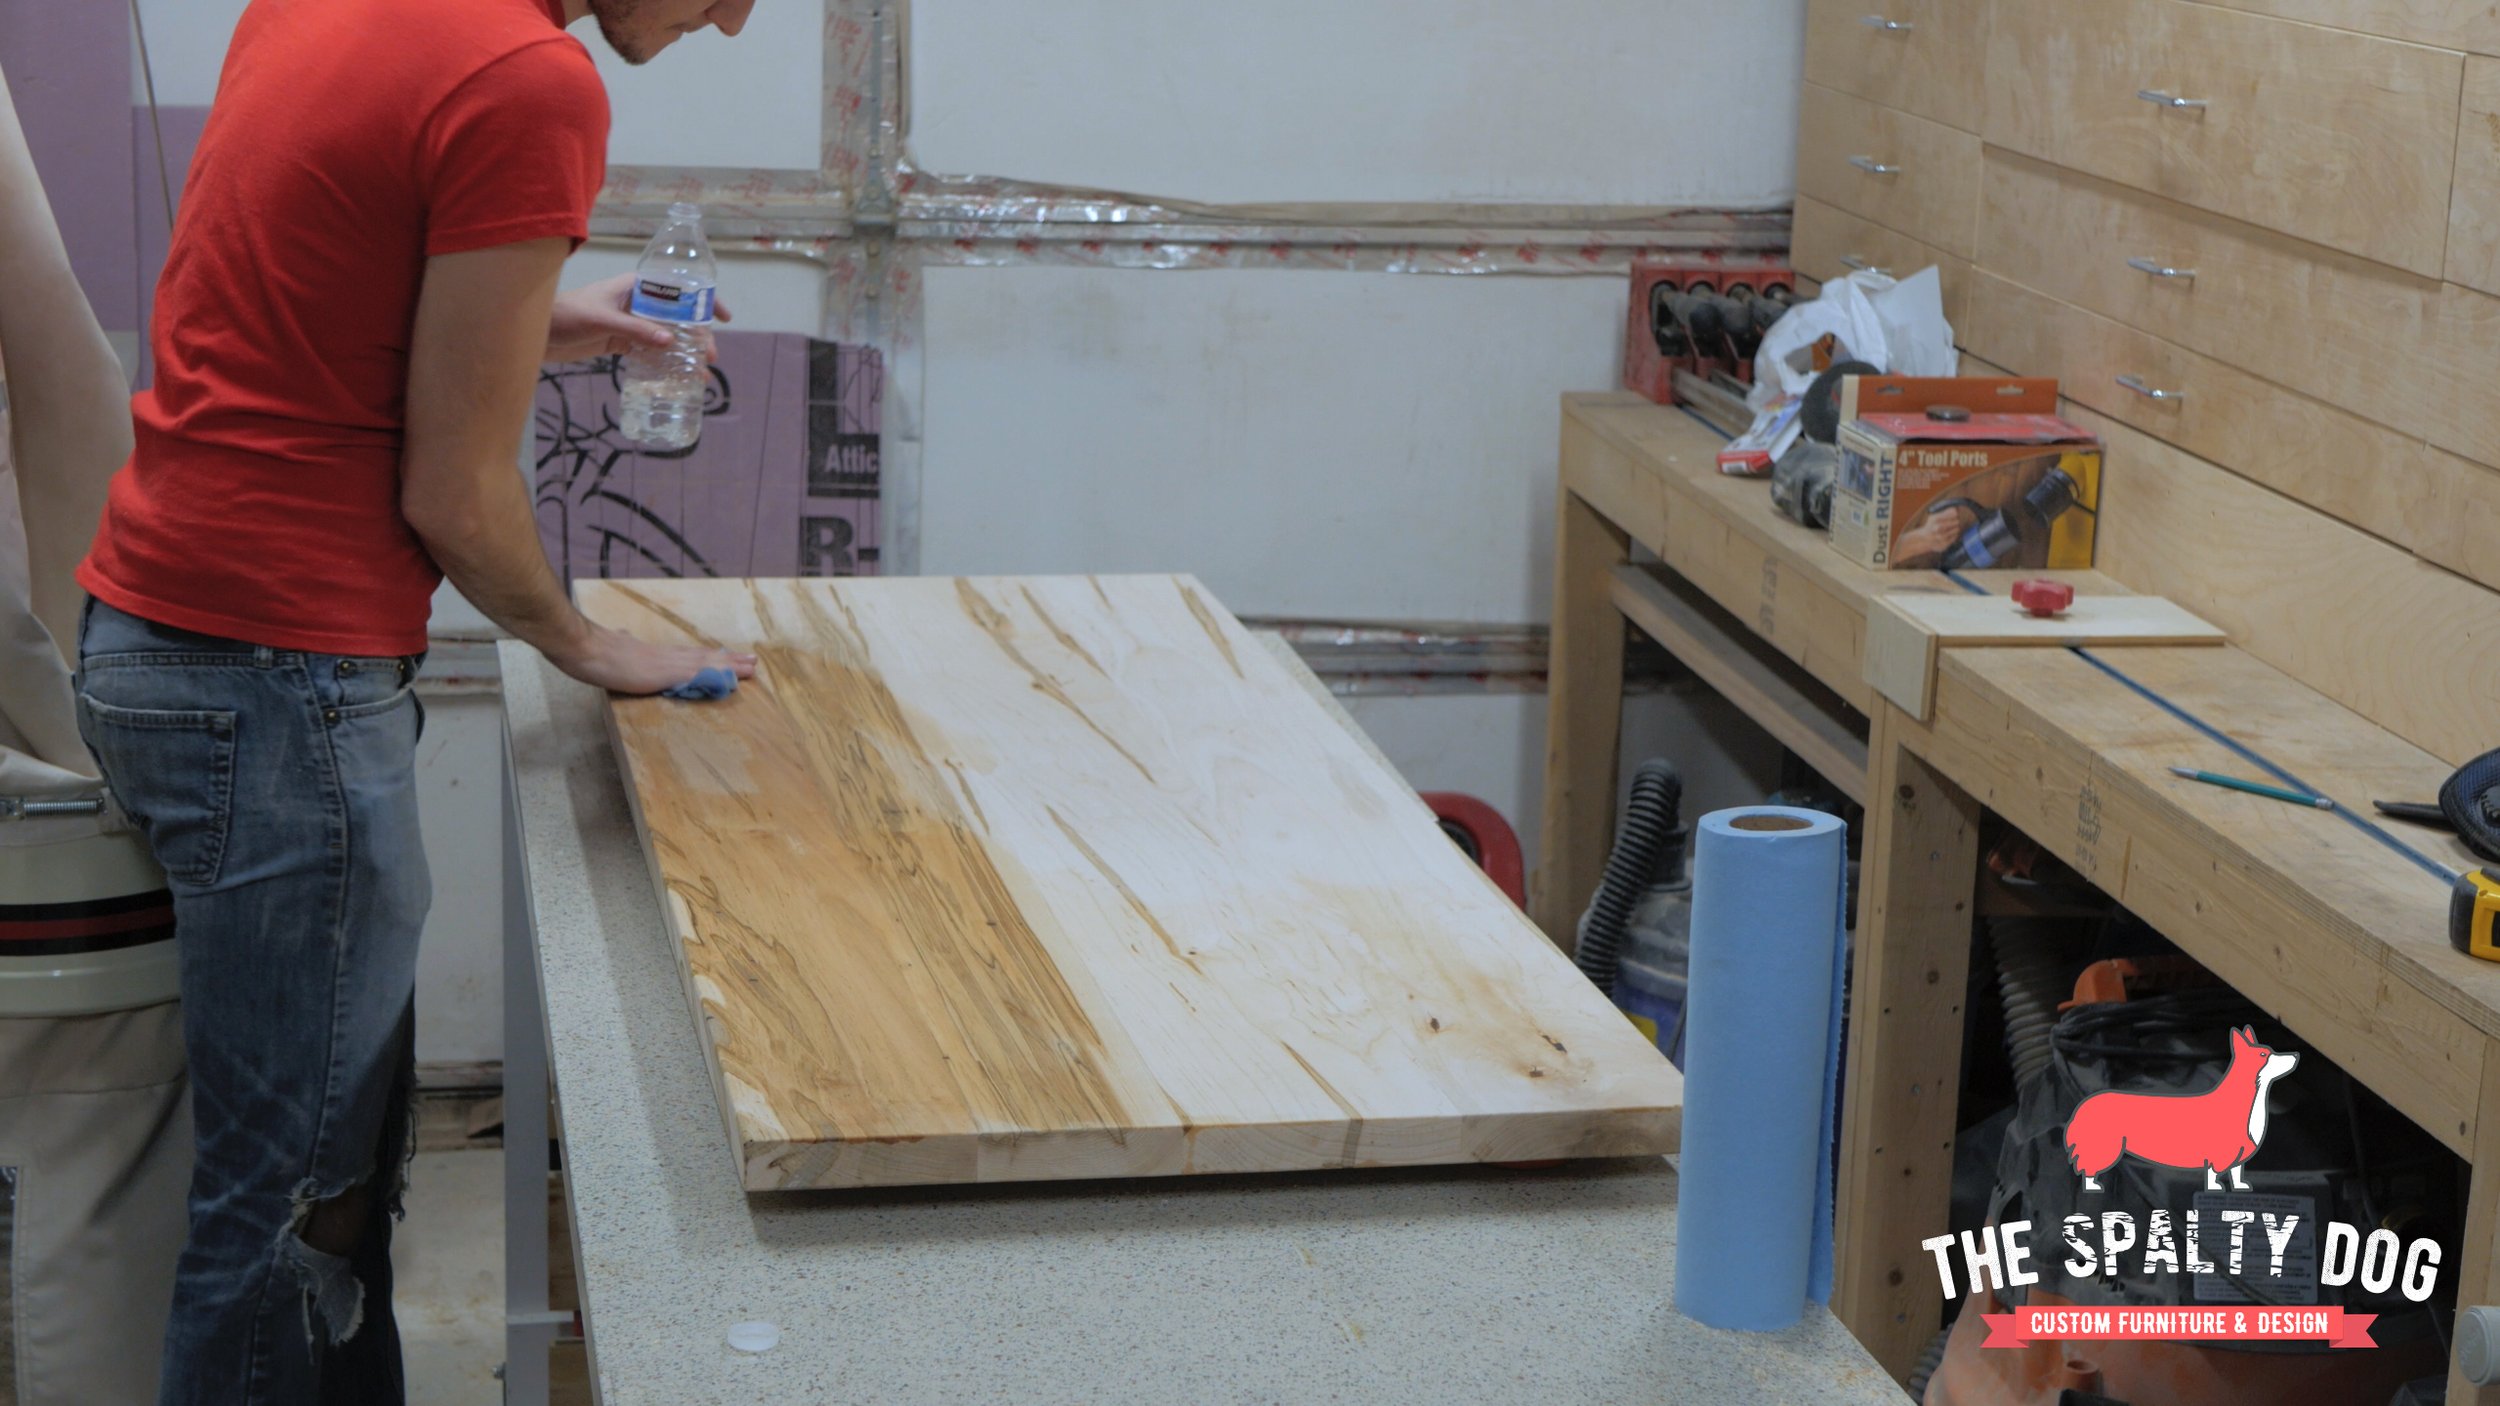
I wiped down the top with mineral spirits to remove any dust prior to finish.
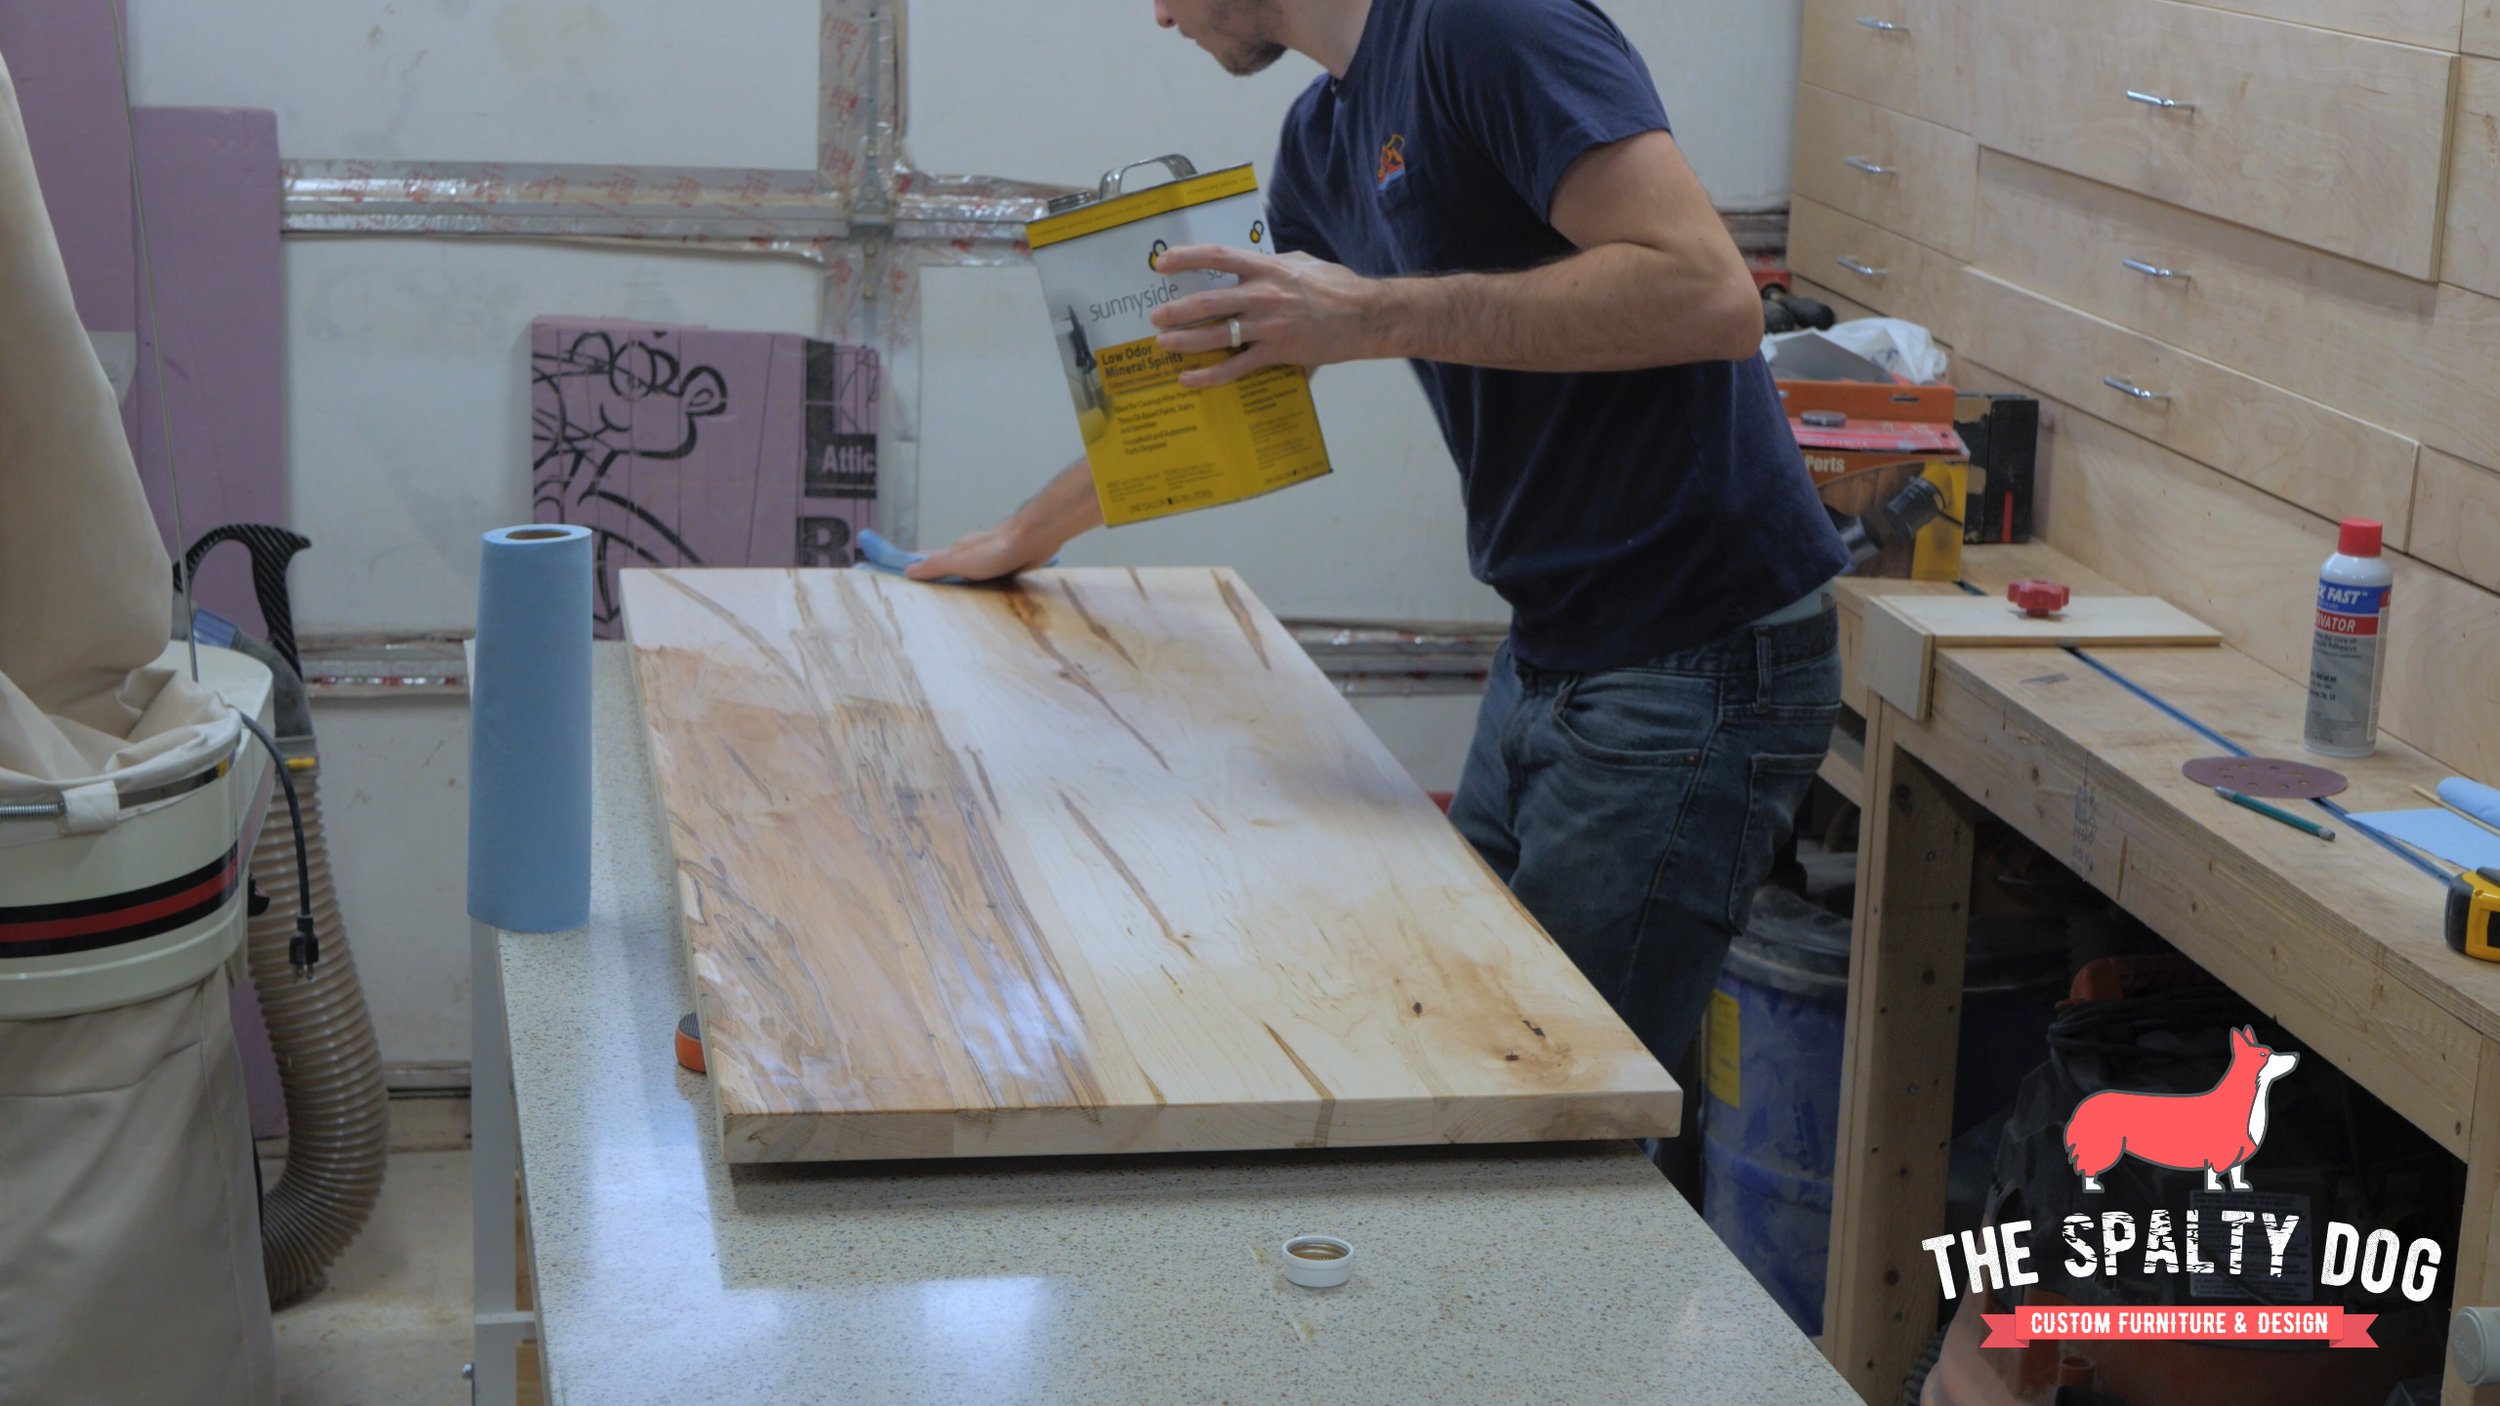
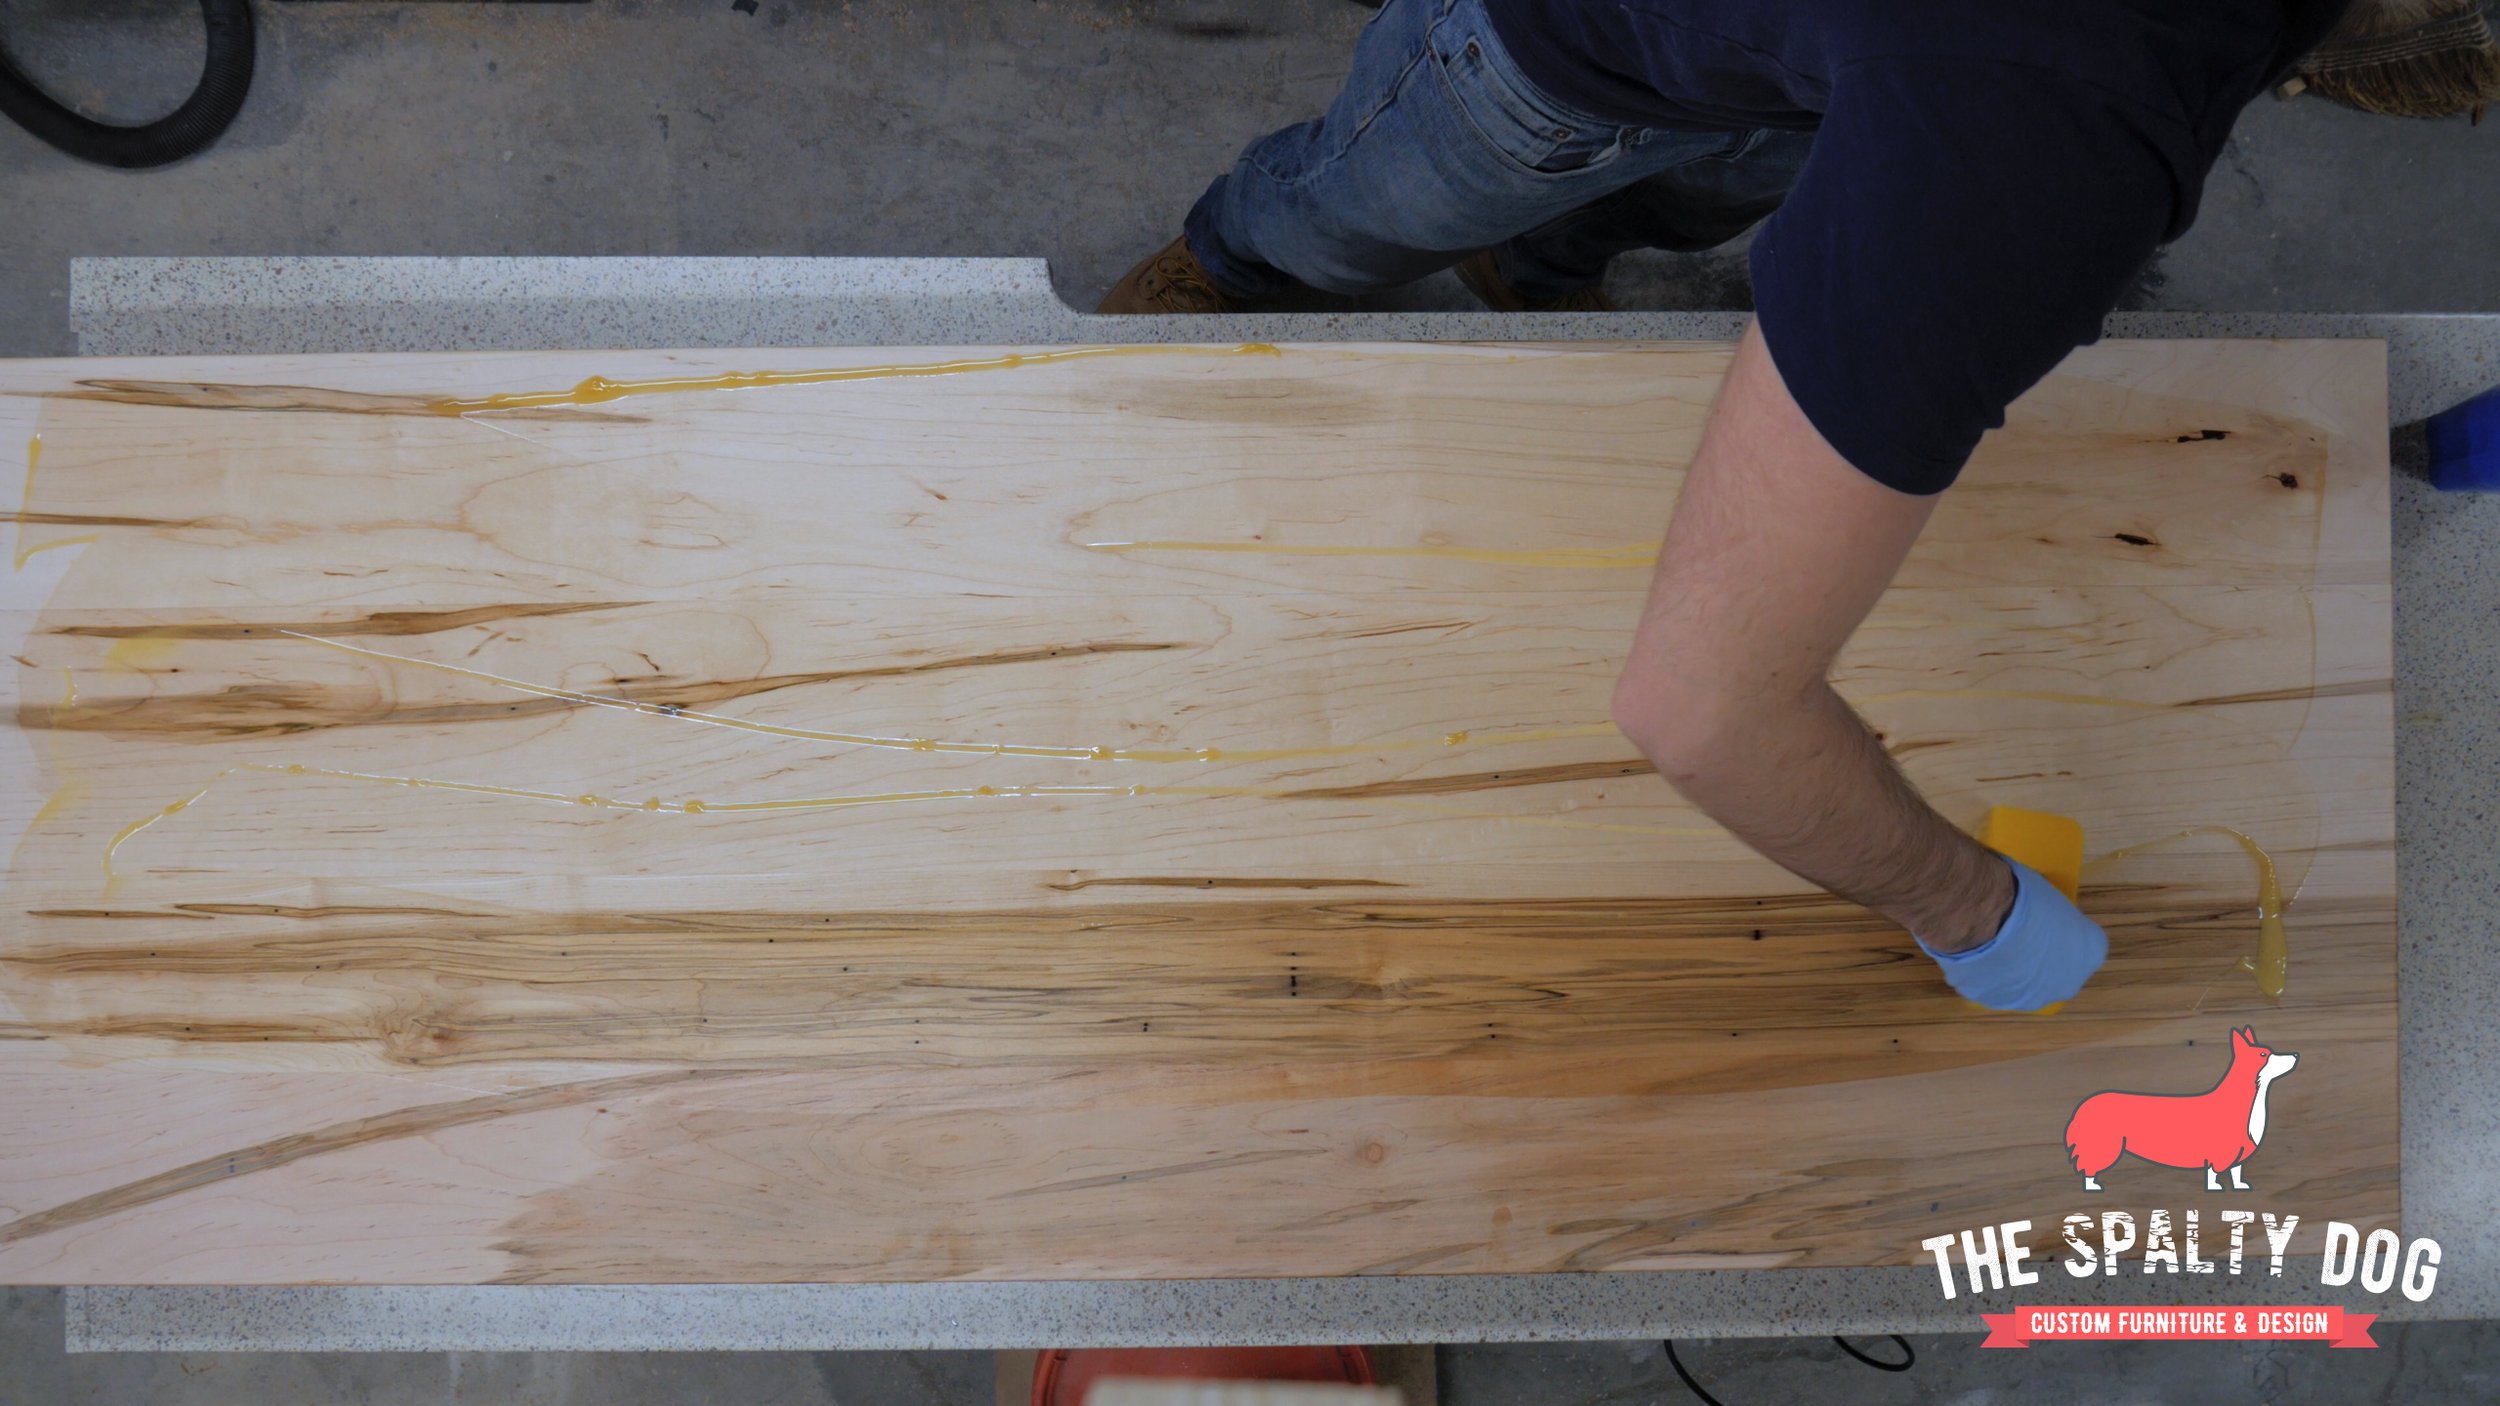
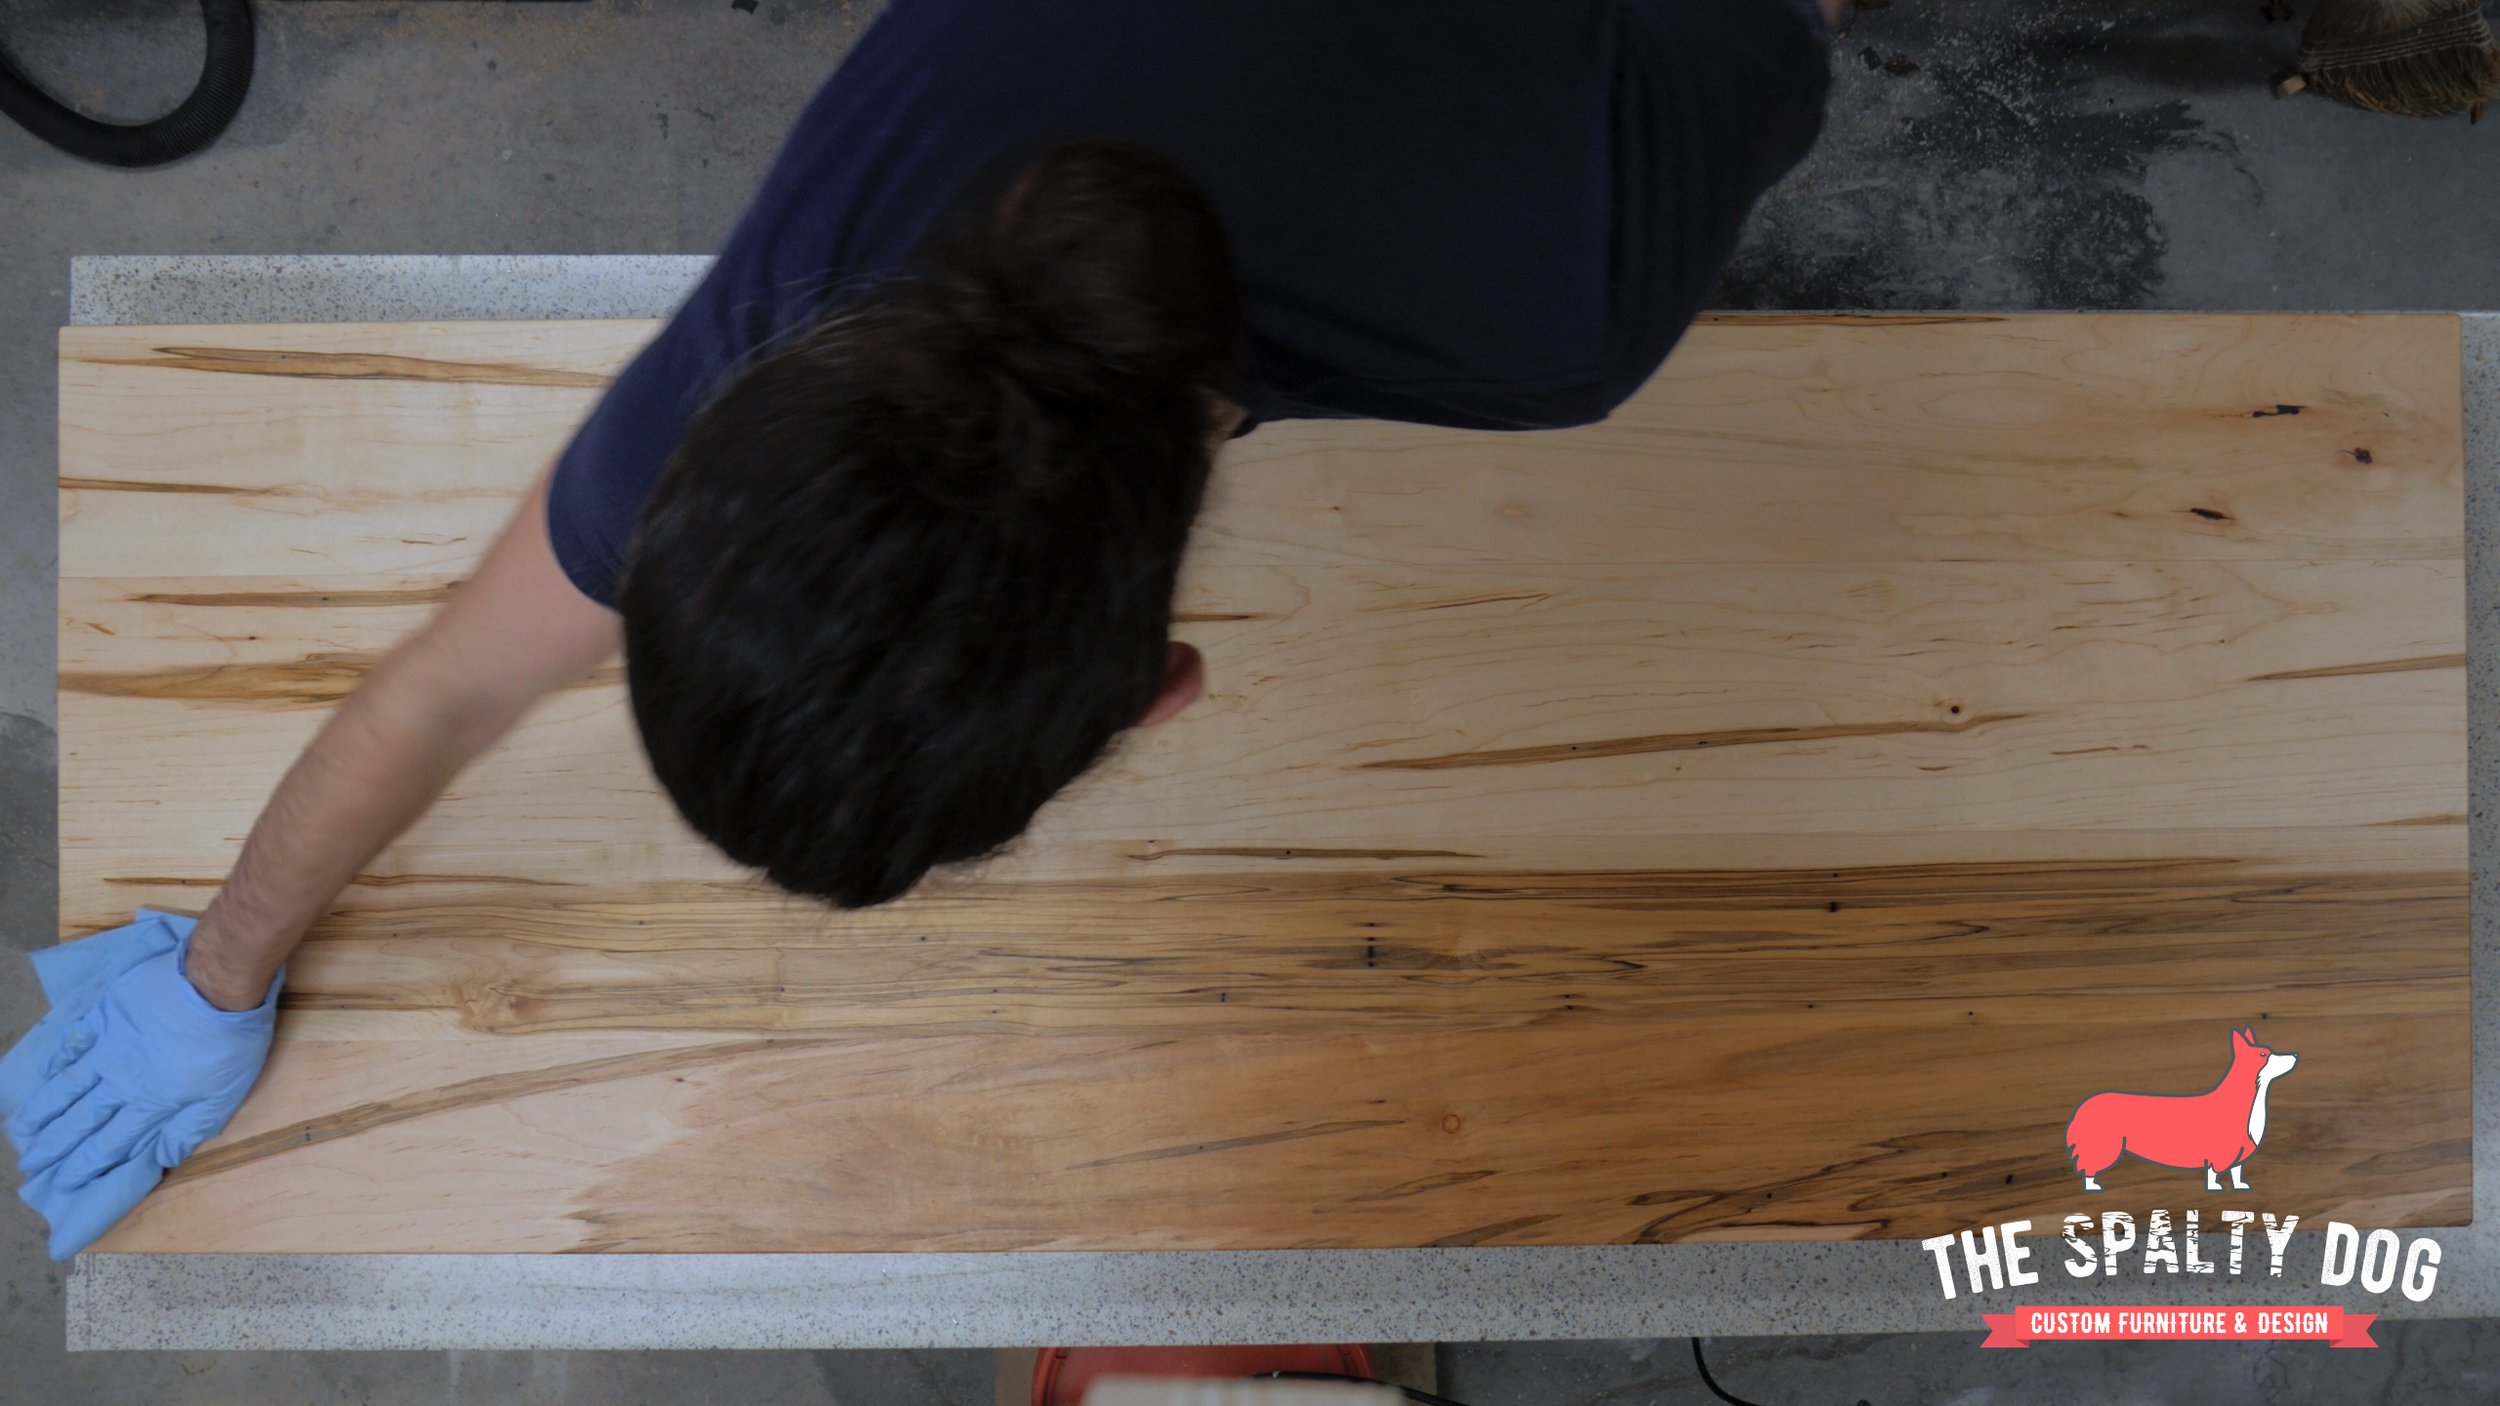
After the letting the mineral spirits dry, I apply Rubio Monocoat to the top and run over everything with a buffer to remove any excess finish. Then I wipe everything down one more time with a blue shop towel for good measure. All that’s left to do is screw on the top and we can call this one done.

Looking back on this project, I don’t think it could have gone any smoother. I went into this build with a vision and just did the thing. Now I know this won’t always be the case, but I’m going to enjoy the win while I can. I love how this desk turned out and would love to hear your thoughts as well.


Thanks for following me along on this build! If you liked what you saw, feel free to follow me on my social channels and subscribe to my newsletter to receive the latest updates of what’s going on with The Spalty Dog.