
Making a Mid Century Modern Sofa Table
The living room in our home is pretty long. When we originally looked at this house the previous owners had a MASSIVE sectional and their tv on the opposite wall which is about 20 feet away. The overall layout wasn’t the greatest so early on we decided to cut the room into two separate spaces using our couch. One side would be more of a living space to watch tv and just hang out and the other side would be slightly more formal to read comics or other things.
My wife has been asking for a sofa table for awhile now and I finally had some time to tackle it. Most of the furniture in our house is mid century modern so I wanted to stick with that style. We both also LOVE walnut so that was a no brainer. A lot of the accent pieces in the room are a mix of gold/brass so I wanted to get some brass drawer pulls to accent the walnut. I had a very specific look in mind when designing this piece and never would have thought I’d end up spending over 5 hours looking at drawer pulls but here we are.
Materials
5/4 & 6/4 Walnut Boards
4x8 Sheet of Walnut Plywood
Drawer Pulls
Rockler Wooden Dovetail Drawer Slides
Mineral Spirits
Sandpaper
Rubio Monocoat Oil Plus 2C (Pure)
Packing Tape
Biscuits
Titebond 3 Wood Glue
CA Glue & Activator
Tools
Jet Proshop Table Saw
Powermatic 8” HH Jointer
Wen 12.5” Planer
Makita Circular Saw
Makita Random Orbit Sander
Biscuit Joiner
Narex Chisels
Rockler Tapering Jig
Incra Miter Gauge
Kreg Rip-Cut Edge Guide
Kreg Cabinet Hardware Jig
Brass Spacer Bars
Mill the lumber
I start by milling some walnut for the main cabinet to rough dimension using the jointer, planer and table saw.
First I flatten one face on the jointer.

Next I flatten the opposite face on the planer.

Then I jump back to the jointer to square up one edge. Since I planed the other face flat I now have the option to choose which edge I want to square.
Finally I head to the table saw to square up the final edge.

Glue up the panel
Next I lay out the boards to mark and cut slots for biscuits using my biscuit joiner.

I then apply glue and biscuits to the joint. The biscuits aren’t necessary, however, they do help in keeping the boards aligned.

Next I clamp the boards together with a few pipe clamps. I also added a couple cauls at each end to help keep everything flat. I’m only applying enough pressure to see some glue squeeze out. I used to really crank down on the clamps but found it just isn’t necessary and would make your panels more likely to cup.

I removed most of the glue squeeze out by rubbing sawdust into the joint.

Final milling, well kind of…
I came back the next day and cleaned up any leftover glue with a chisel. This is just to keep the panel from rocking on the seam so I can run it through the planer.

Then I milled the panel again, this time to final thickness and width.

Edge detail
I wanted to have a beveled edge detail on the front of the main cabinet so I set my saw blade to 45 degrees and just took a few passes until I had about a quarter inch left square to the edge.

Cut the top, sides and bottom
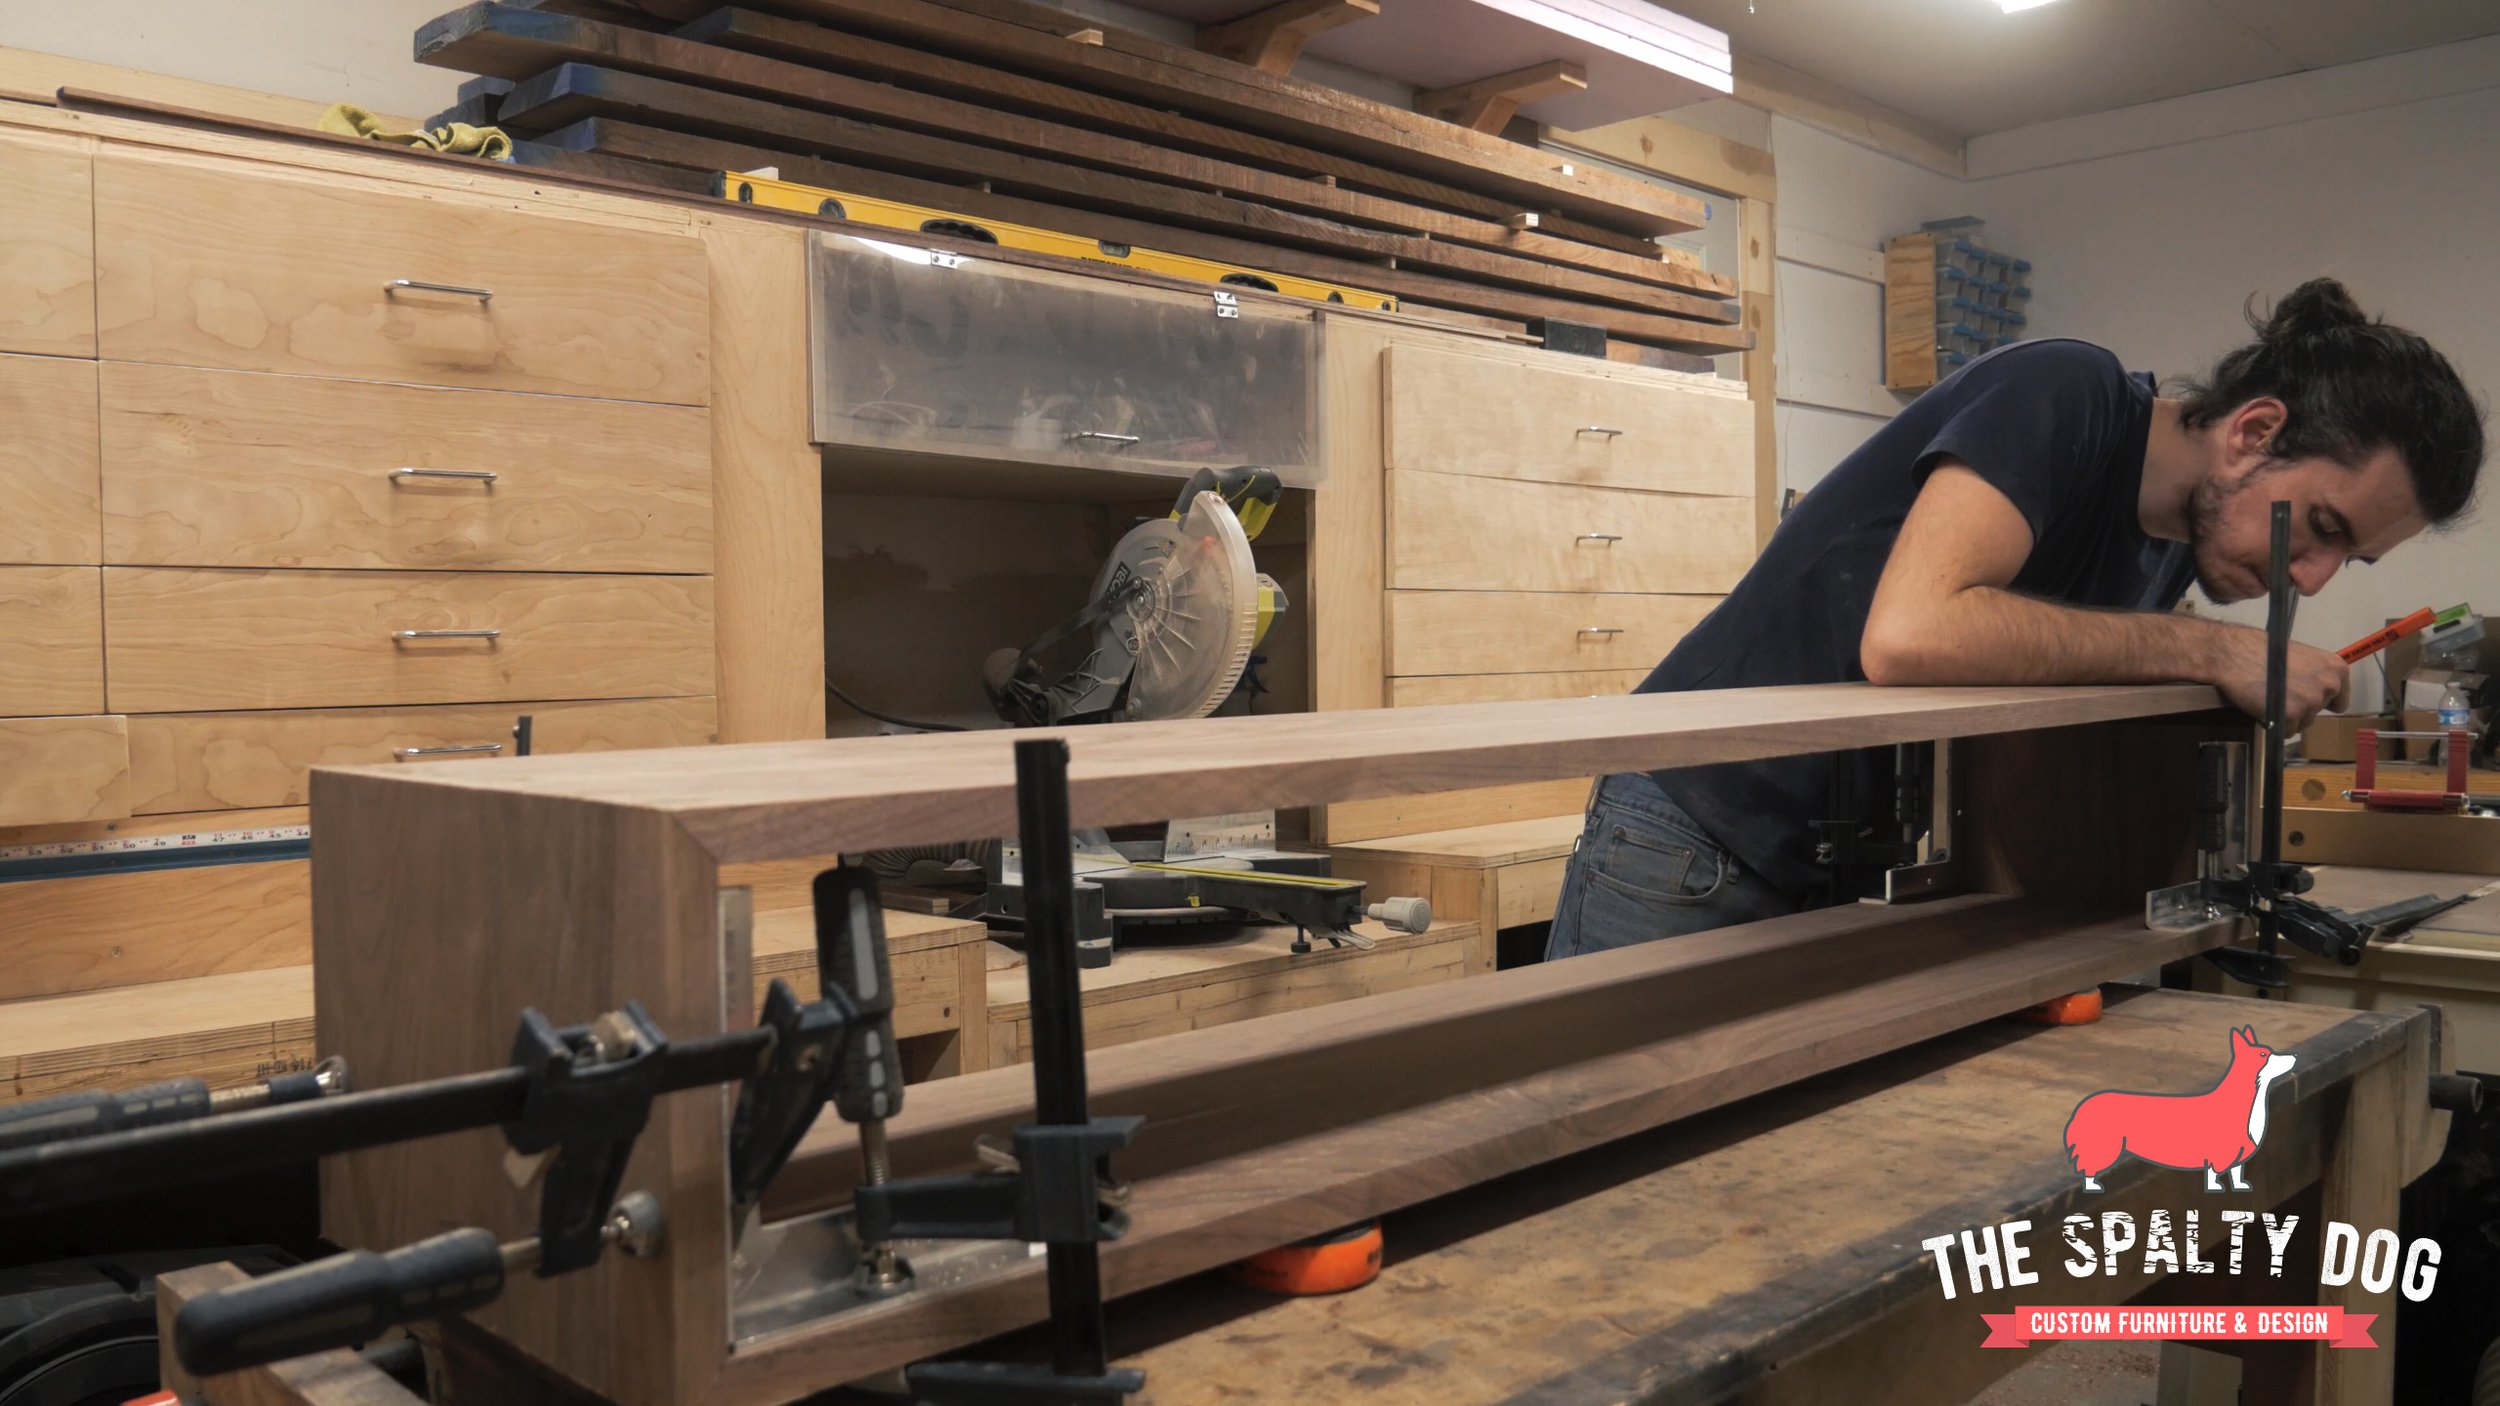
At this point our panel is still slightly longer than what we need so I jump over to the miter saw to cut each piece. I’m planning on using mitered corners and want a continuous grain flowing around the top and sides so I made sure to cut them in the correct order from my panel. The bottom was a separate panel so the grain won’t continue through it but you’ll never see it anyways.

Next I take the parts back over to the table saw to cut the mitered corners. I just cut these to final dimension so I’m only taking off the bare minimum for the miters.

I go ahead and sand the inside of the pieces up to 180 grit prior to gluing everything up.

To fit the bottom panel just right. I did a quick dry assembly, put the panel in place and marked where I needed to cut. Since there’s a good chance I introduced some error into my dimensions so far, this will help me be spot on without just relying on the measurement from the model.
Unfortunately my camera died and I wasn’t able to film the actual glue up, so just imagine me repeating these steps but more stressed out and glue everywhere.
I came back the next day to see how it turned out and I’m pretty happy with it, the miters came together really well and after a little sanding it should look great.

Build the base
I set the cabinet aside for now and began working on the base. First by milling up some more walnut to rough dimension.
For the legs, I used this tapering jig by Rockler for the first time. I have to say, I love this thing. It made cutting these tapered legs so easy and repeatable. By flipping the blank 180 degrees I’m able to get two legs out of each piece.

For the stretchers I began marking and measuring where to cut the cross lap joint. I wanted the legs to be inset about an inch from the front and back of the cabinet. This meant the stretchers needed to be angled about 20 degrees from one another. Using a speed square I could pretty easily mark everything out.

Then I set the height of my dado stack to cut halfway through the stretcher and began cutting the cross lap joint using my miter gauge. This was a pretty steep angle, but having the piece clamped to the miter gauge helped quite a bit.

With both stretchers cut, I do a quick dry assembly to test the fit and everything looked good.

I left my stretchers intentionally long so I can measure out from the center of the joint for each leg. This way I didn’t have to worry about cutting the cross lap perfectly center. I picked up this tip from one of Chris Salomone’s videos. You should check him out if you haven’t already, he does some killer projects.

With all my joinery marked, I trimmed the stretchers still leaving about an eighth inch on each end.

Then using my miter gauge I cut half laps on each of the legs and stretchers.

After a quick test fit, I sand each piece up to 180 grit.

The glue up was pretty straight forward, after getting the stretchers set, I just put a single clamp on each leg making sure they stayed positioned properly in the joint.

Sanding
The next day I came back and sanded the base and the outside of the cabinet up to 180 grit to clean everything up.

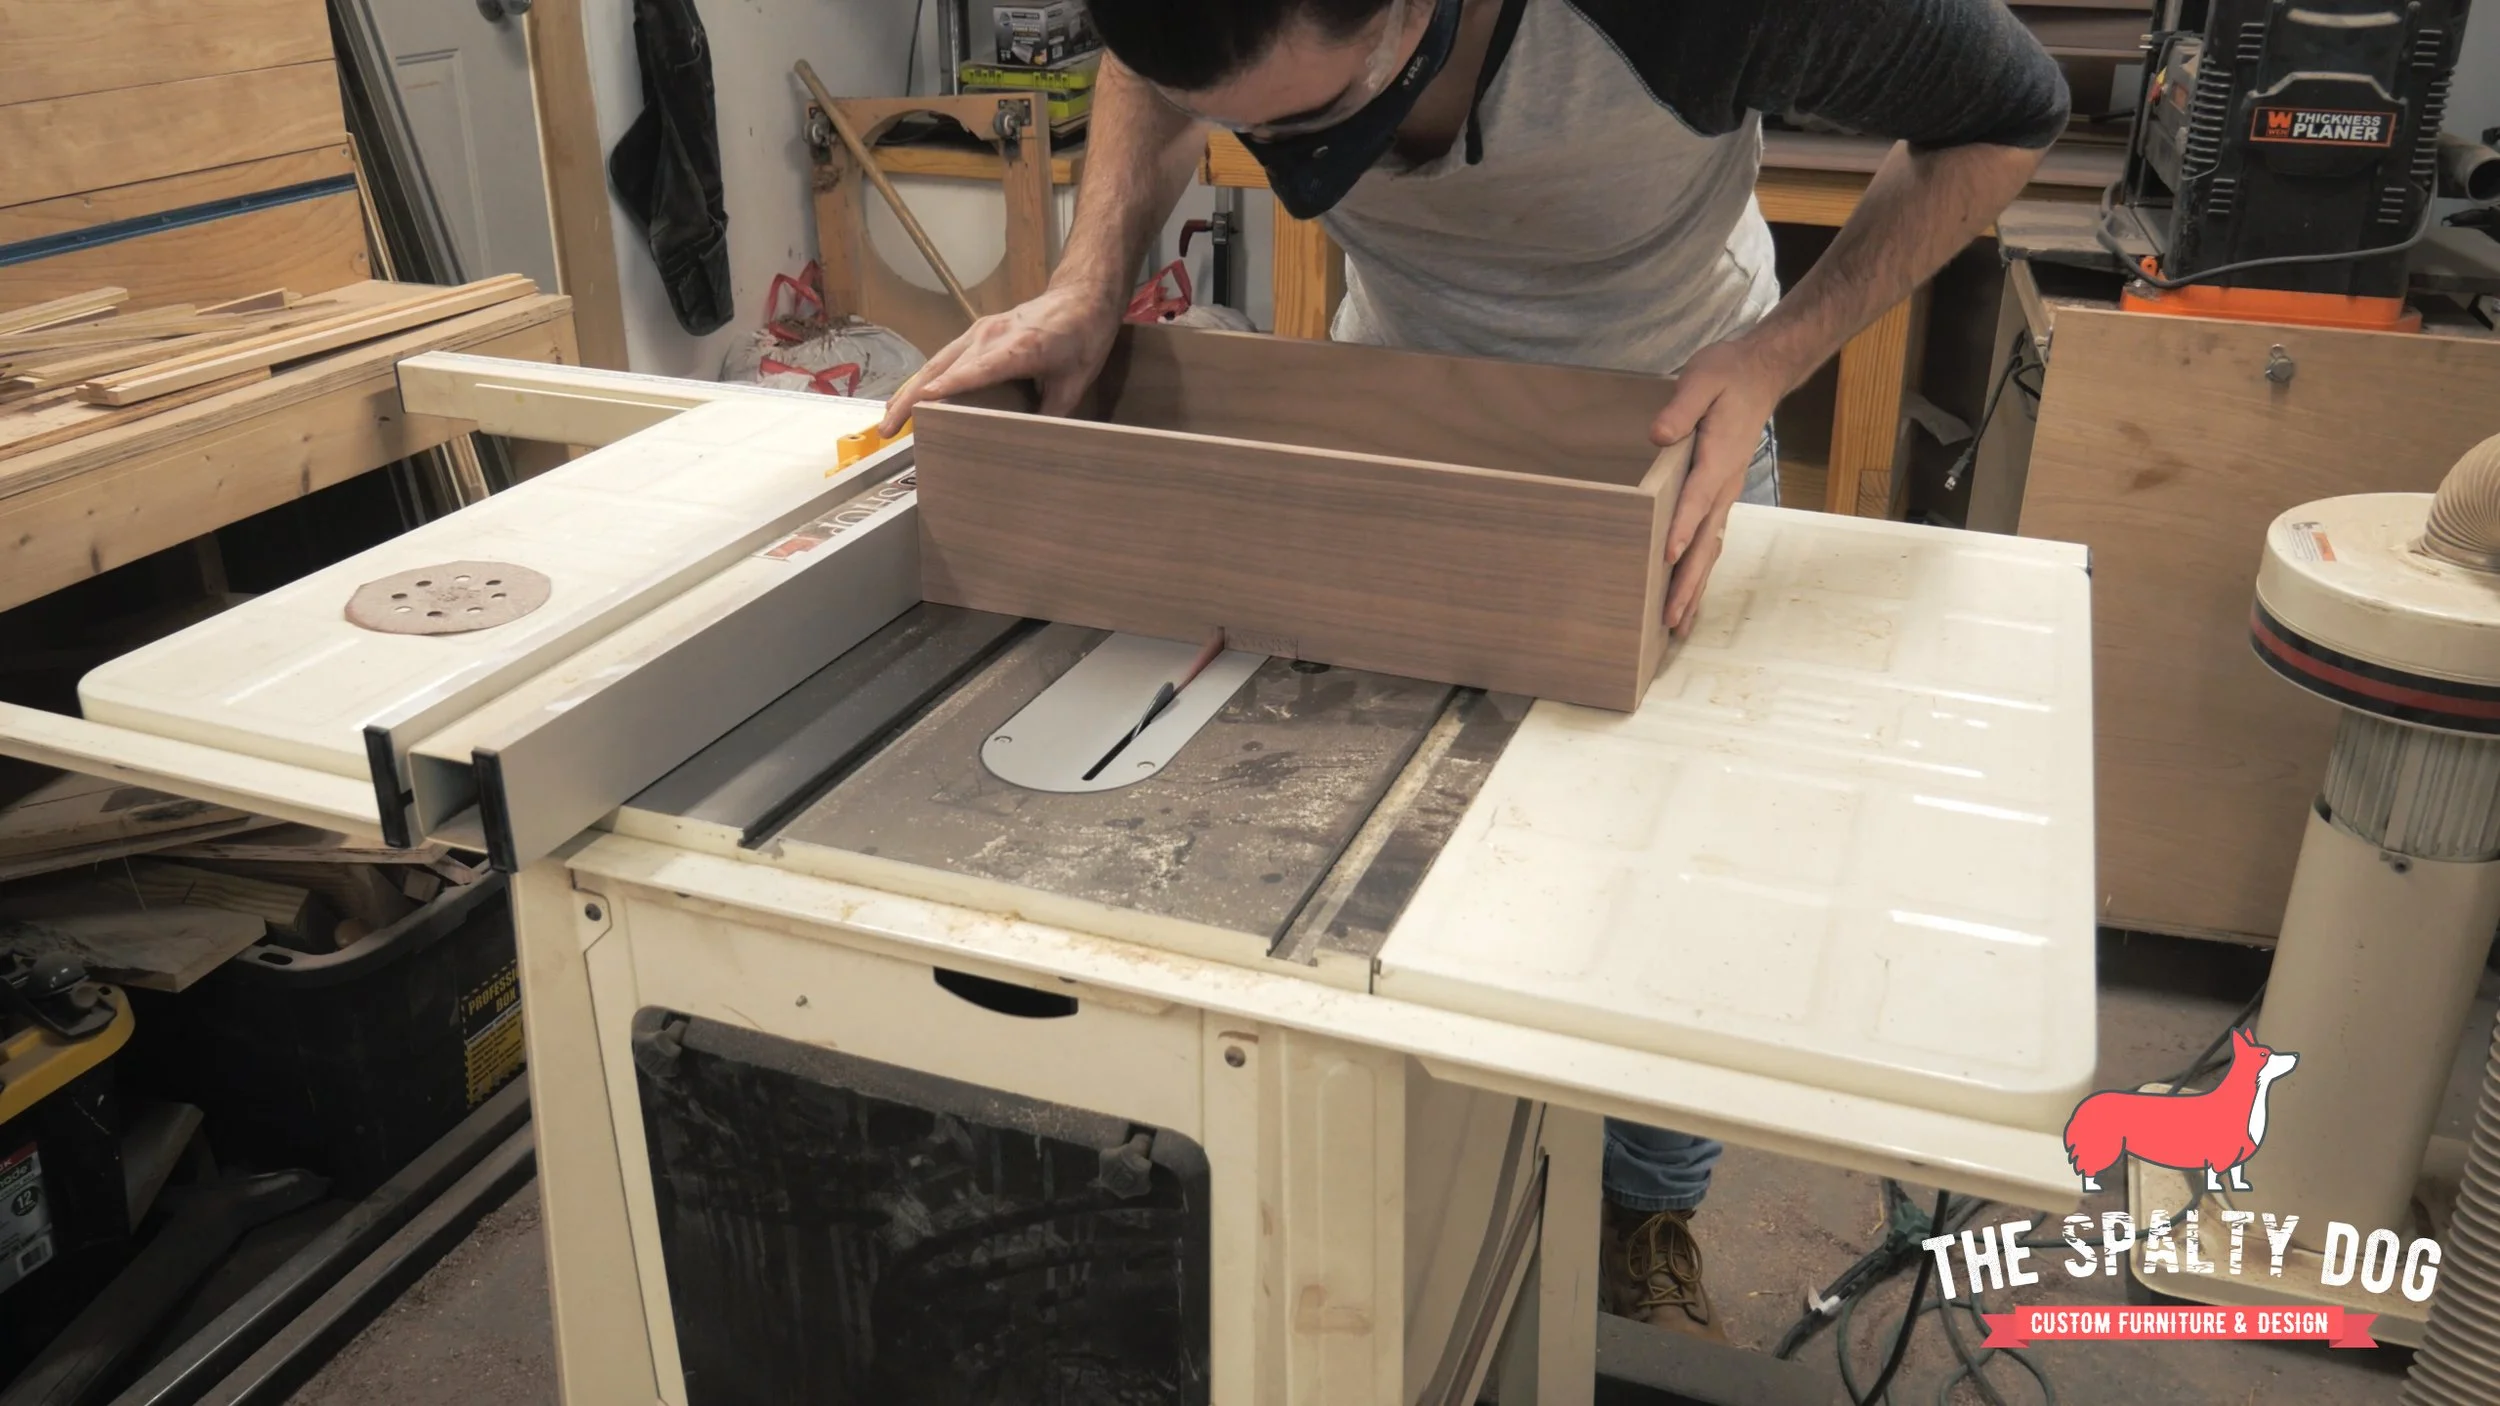
Build the drawers
I wanted 3 drawers for this table so I used my Kreg Rip-Cut Edge Guide to break down some half inch walnut plywood. Then cut everything to size on the miter saw.

Next I apply edge banding to the ends using an iron then come back with a razor to trim the excess.

Using a sacrificial fence I can then cut the rabbets for the drawers. I put the edge banding on the ends before this step so that the banding will be flush with the sides when everything is glued up.

While I’m there, I also cut a dado for the bottom panel and trim the parts to the final drawer height.

I sand all the panels up to 180 grit and apply the rest of the edge banding.

At this point all that’s left is to glue the drawer boxes up.

The next day I start marking out the drawer slides. The table is pretty narrow and I was limited with with undermount options so I decided to try these wooden dovetail slides from Rockler.

Using the table saw I cut out each side of the groove then took multiple passes to remove the middle. This was a little time consuming and next time I will probably just use a router to remove most of the waste.
Next I cut the slides to length at the miter saw.

Since I cut them down I needed to drill a few mounting holes in one of the slides.

After that I could attach the slides to the underside of the drawer. I also got these clips to attach it to the back of the drawer to avoid having to use glue, but I forgot to account for the added depth and ended up removing them.

Position the drawers
Now I can start positioning my drawers in the cabinet. To line up the other part of the slide, I just used a bit of CA glue and activator. I came back later with screws to help it hold better. These drawers won’t be opened and shut very often so I’m not too worried about the life of these slides.

Attach the drawer fronts
To attach the drawer fronts I again used CA glue and activator to temporarily hold it in place. I’m also using a few different spacers to make sure my drawer face has a consistent gap on all sides.

After the glue sets, I remove the drawer and clamp the faces to the box.

I can now add screws from the inside of the drawer to better attach the two together.

Final touches before finish
Next I remove all the dust using an air compressor and mineral spirits.

To attach the base I’ll be using these figure eight clips.

For the drawer pulls I used this hardware jig by Kreg to drill the mounting holes.

Finish & stuff
Now we’re ready for finish! I really loved using Rubio Monocoat on the live edge dining table I did so I decided to use it again for this. Just wipe it on, let it sit a few minutes then buff the excess away.

Next I glue the back panel into place.
You can also see I added two dividers on the inside due to slight sagging which interfered with the drawer faces. I originally wanted to pocket screw these in place but decided against it because I was worried it would restrict wood movement on the top and bottom.

Finally, all that’s left to do is attach the base and we can call this done.

Okay, we’re done here.
To say I’m thrilled over this piece would be an understatement. I’m a perfectionist and will often get hung up on any minor thing, but I made it a point during this build to just go with the flow. If something came up I just told myself I’d be able to fix it and everything would work out in the end.


Thanks for sticking around so far, if you liked the project consider following me on any of my social channels to stay up to date on future projects and see more behind the scenes content.