Making a Live Edge Dining Table with a Steel Base
Up until now, we've had a 4 person square dining table. We often host friends for dinner and board game nights, but we never really had a good space for either of those things. We wanted a table that could seat at least 8 and I've been wanting to build a live edge table for a few years now.
Originally we were leaning towards an epoxy river table or some sort of live edge table with colored epoxy. However, we ultimately decided to stick with something that will be more timeless. We did use epoxy to fill a few voids in the slab, but decided to leave it clear as we didn't want to commit to a specific color. This way if we ever want to redecorate or paint the room we won't be limited with a specific color in the table. Really the focus of this table is the overall shape and the beautifully figured grain.
Materials
1 1/2 x 1 1/2” steel tubing
2 1/2 x 1 x 3/16” c-channel
1/4 steel flatbar
Wood Slab
4 1/2” cut off discs
Denatured alcohol
Mineral Spirits
Black spray paint
Automotive Body Filler
Sandpaper
Rubio Monocoat Oil Plus 2C (Pure)
Total Boat Thick Set Epoxy
5 Minute Epoxy
Packing Tape
Tools
Milwaukee angle grinder
Hobart 140 MIG welder
Narex Chisels
Makita Circular Saw
Plunge Router
Unbox the slab
I got this English Elm slab online and had it shipped to me. After getting it in the shop, I started opening up the crate to get my first look in person. The slab was pre-flattened and wrapped in plastic to help keep the moisture content stable during shipping so I removed that as well.

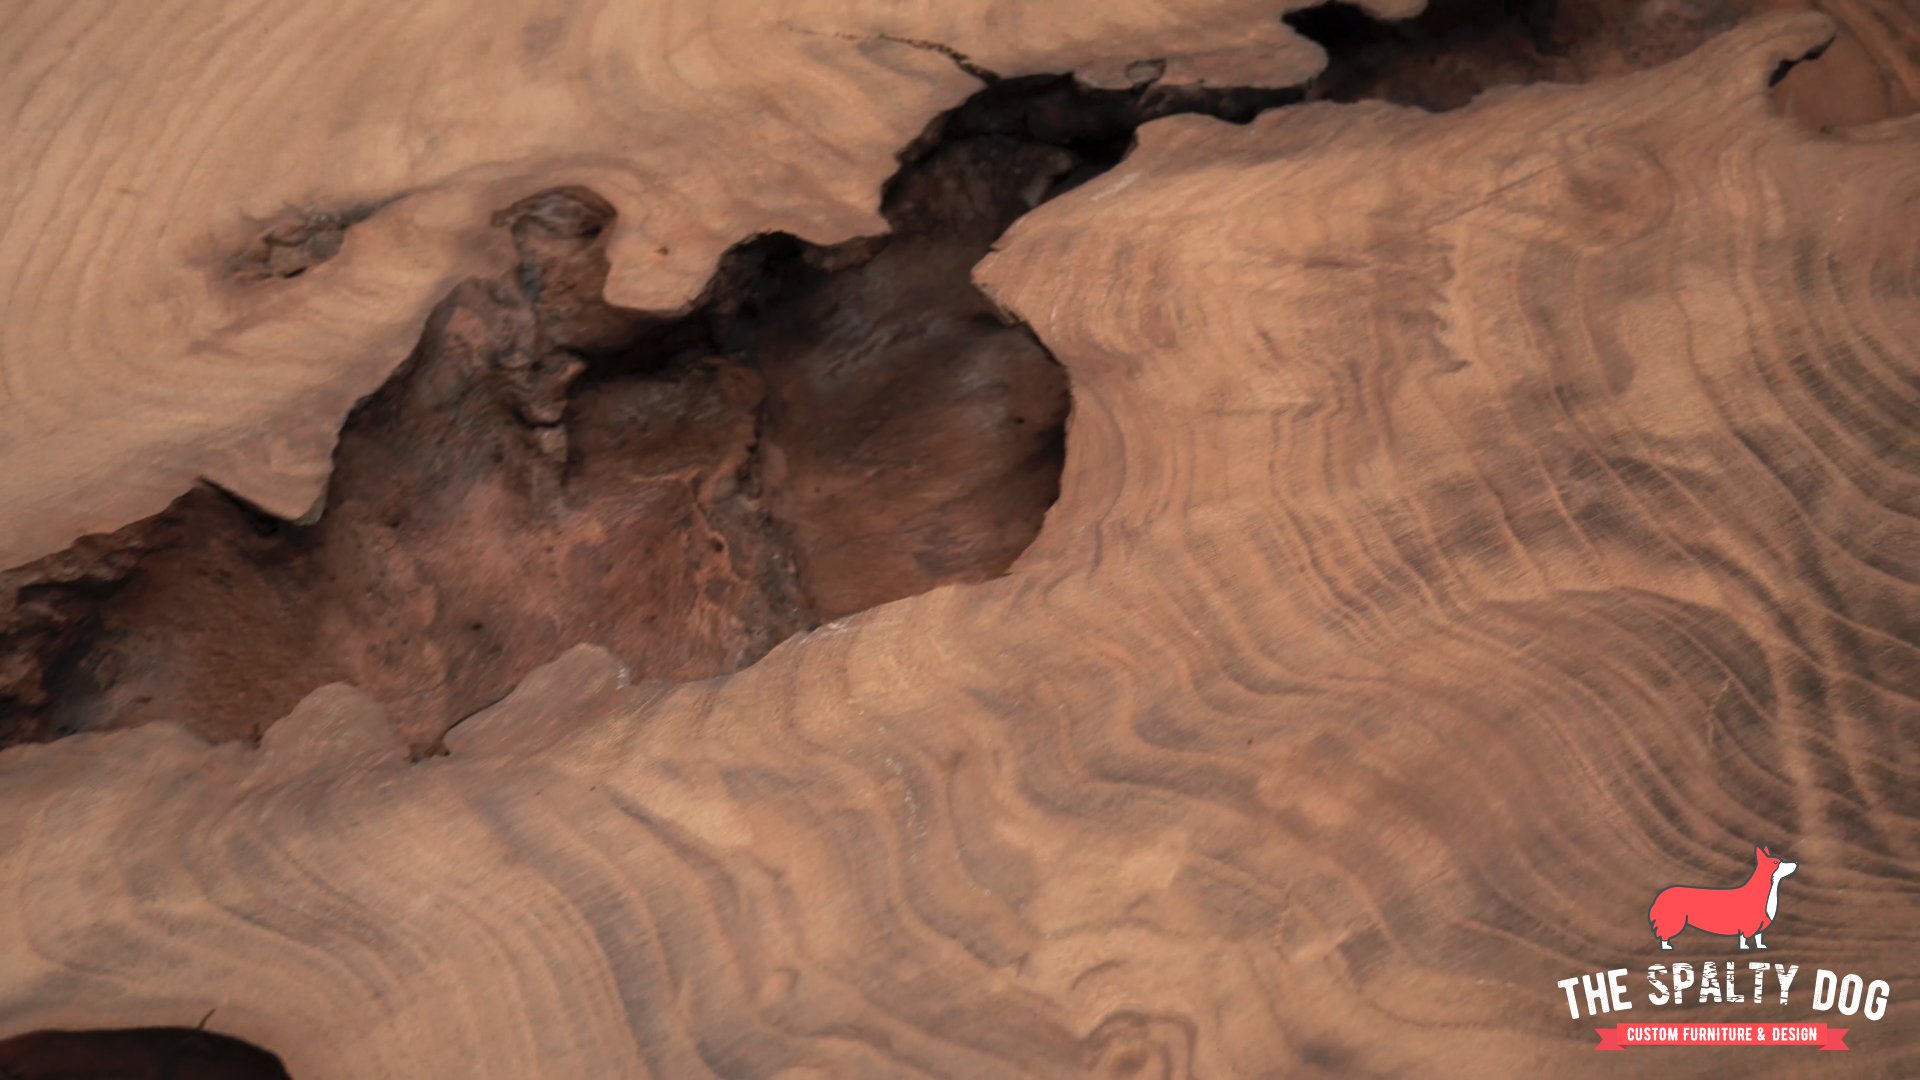
Holy bark inclusion
On the underside of the slab was a decent sized bark inclusion that needed to be addressed.

So I went at it with a couple chisels and a mallet, breaking away as much material as possible. This entire process was extremely satisfying and I could do this for hours.

To get into those harder to reach areas, I used a wire brush with my drill. This also helped smooth everything out.

I sucked up the big pieces with my shop vac, then blew out the finer stuff with my air compressor. After that I cleaned the area by wiping it down with mineral spirits.

I really love how this looks on it’s own. It makes me think of a giant canyon or valley in the desert, and while it looks really cool, we’re going to fill it with epoxy to help stabilize everything.
Epoxy pour (Part 1)
Since the inclusion runs off the edge of the slab, I needed to block off one side to keep the epoxy from leaking. To do this I lined some thin cardboard with packing tape and held it in place with hot glue.

I decided to use Total Boat ThickSet epoxy to fill the inclusion. This epoxy has a longer cure time that allows you to make deeper pours while basically leaving zero air bubbles.
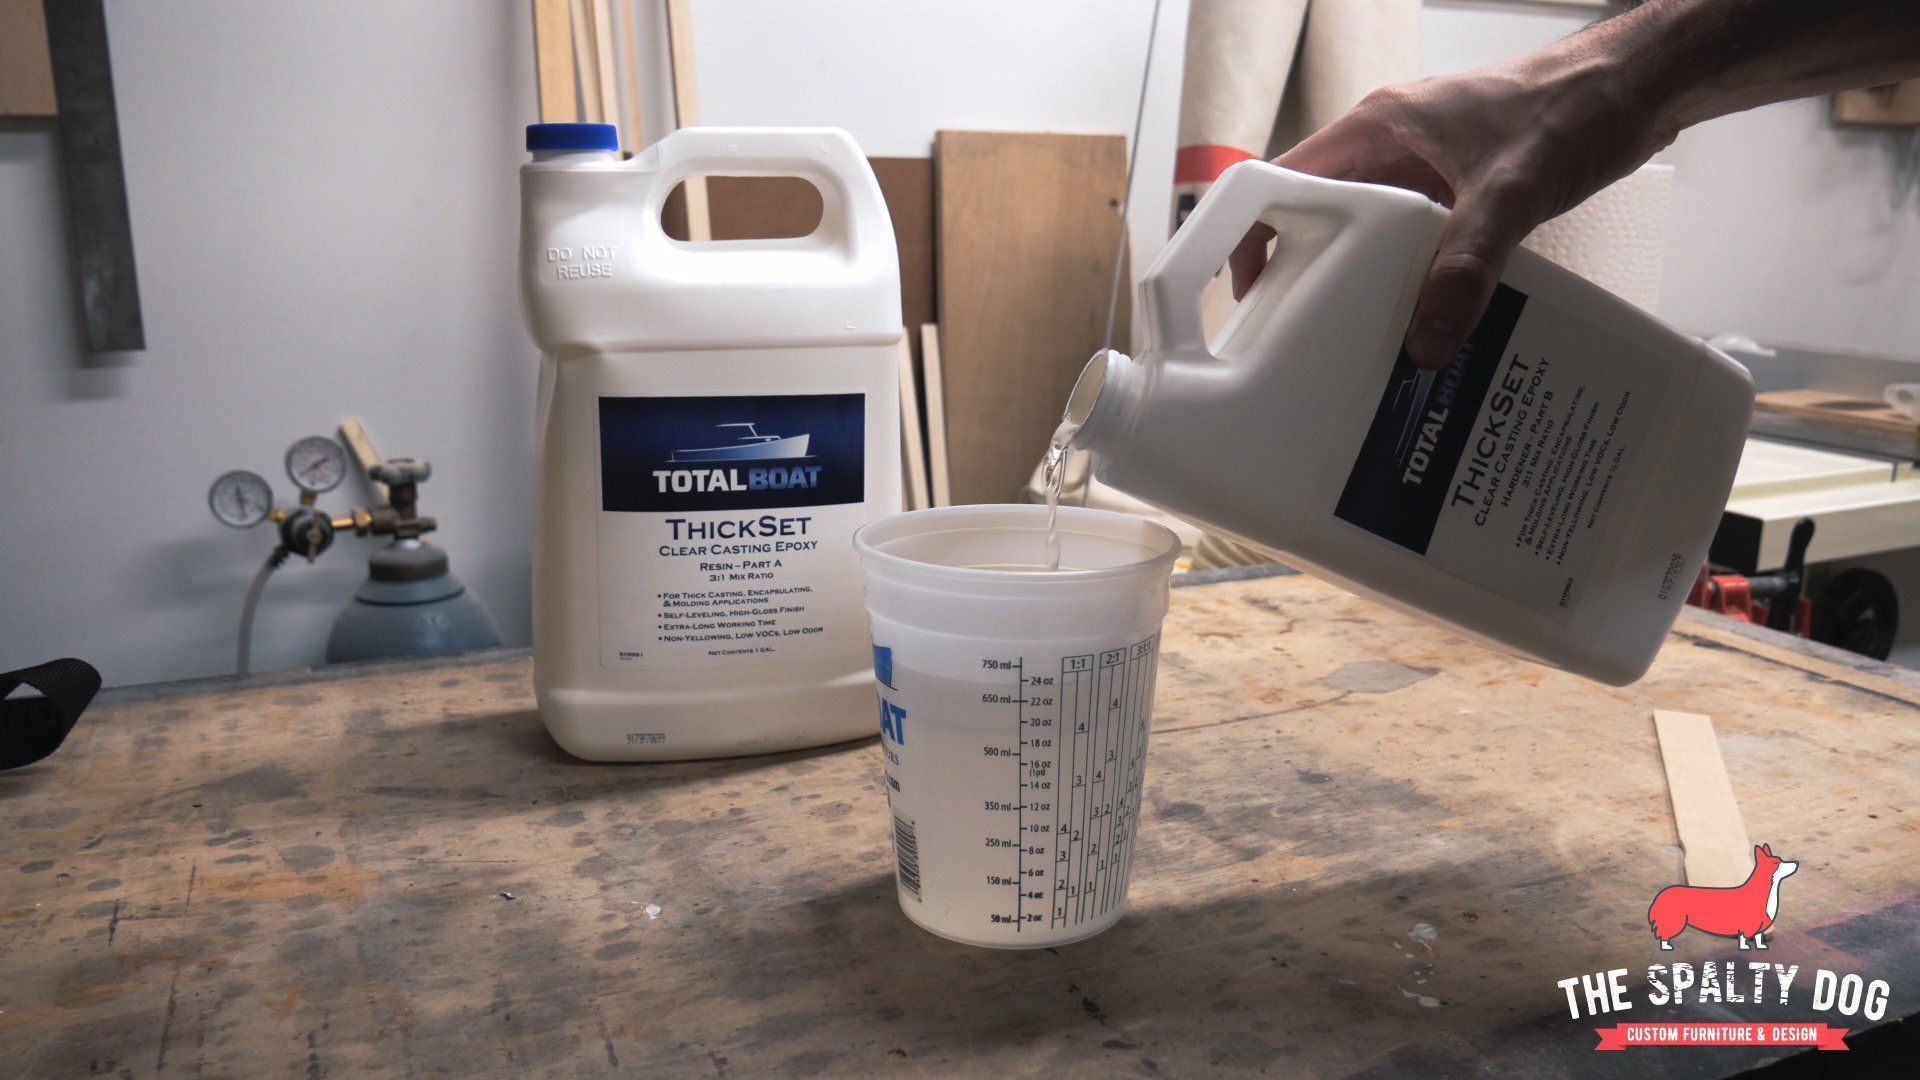
I mixed up a few batches to fill most of the inclusion, then hit it with a heat gun to pop any air bubbles on the surface.

While the epoxy cures, I start making c-channel supports for the top by measuring and cutting each piece. I decided to try this metal cutting disc over the abrasive type and was really impressed with how it held up. It cut through this 3/16” steel with no problem.

Make c-channel supports
Next I took the supports over to the drill press to drill out elongated holes for mounting to the top.

This gets most of the job done, however I had to go back with a carbide grinding bit to smooth out each hole.

Epoxy pour (Part 2)
After the epoxy cured, I could remove the cardboard. Some epoxy got behind the hot glue and encased it, but I didn’t worry too much because it’s not something you will see from the top.

I flipped the slab over and filled a few voids on the top following the same steps as earlier.

Cut the steel
While that epoxy cured, I started making the table base by measuring and cutting all my pieces from 1.5” tube steel.

I needed to cap off a few pieces of the tube steel. So I traced out the ends of each tube on some 16 gauge steel.

Next I roughly cut out each piece using my angle grinder.

After that I marked a few tabs on some left over 1/4” steel bar and drilled out elongated holes on the drill press.

With the holes drilled, I then cut each tab. First by scoring a shallow line, then coming back to complete the cut. Cutting these after drilling your holes makes it easier since you have a larger piece to hold steady at the drill press.

Next, I switched over to an 80 grit flap disc to chamfer all my edges to prep for welding.

Cap the steel tube
I tack the caps to the appropriate pieces with the help of some right angle magnets keeping the tube upright.

I then grind off the excess plate, tack weld the entire seam, then smooth it all out with the flap disc.

Assemble the base
After that, I start assembling four pieces into a rectangle that will make one end of the base. I go around and tack each joint then check everything for square by measuring the diagonals.

I then go back and run full beads on all the joints and grind them smooth with a flap disc. Making sure not to heat up one area too much.

Next I begin spacing two stretchers that will run the length of the table. I center a spacer on the rectangle and use that to butt each stretcher up against.

With the help of some right angle magnets I can tack and weld each into place.

After that, I added a few spacers between the stretchers to provide some rigidity to the base.

I then welded a leg to the end of each stretcher. This will make up the other end of the base. Since the top is more narrow on one end, I designed this base to be asymmetrical to better flow with the overall shape.

At this point I could flip over the base and repeat the process by welding and grinding all of the joints on the top side.

Next I needed to weld the tabs to the base and remove all of the mill scale.

Prep for paint
Before painting, I mix and apply an automotive body filler to all of the joints on the base.

After about 30 minutes I come back and sand everything smooth, then wipe the entire base down with denatured alcohol.

Paint the base
I then start priming the base with a self etching primer, followed up by wet sanding with 600 grit sandpaper making sure to dry the base with a towel after.

Finally, I spray on a few coats of matte black enamel and the base is finished.

Sanding (Part 1)
With the base finished I can move back over to the top. I sand everything up to 180 grit, water pop the grain, then finish up at 220 grit.

Install the c-channel supports (Part 1)
Next I need to inlay the c-channel on the underside of the top. These supports are meant to help keep the slab flat overtime. I mark where I want each of them to go, clamp a straight edge and use my router to route out the grooves for the walls.

When routing, I plunge to my full depth at both ends of the groove. Then I make multiple shallow passes to connect the two holes.
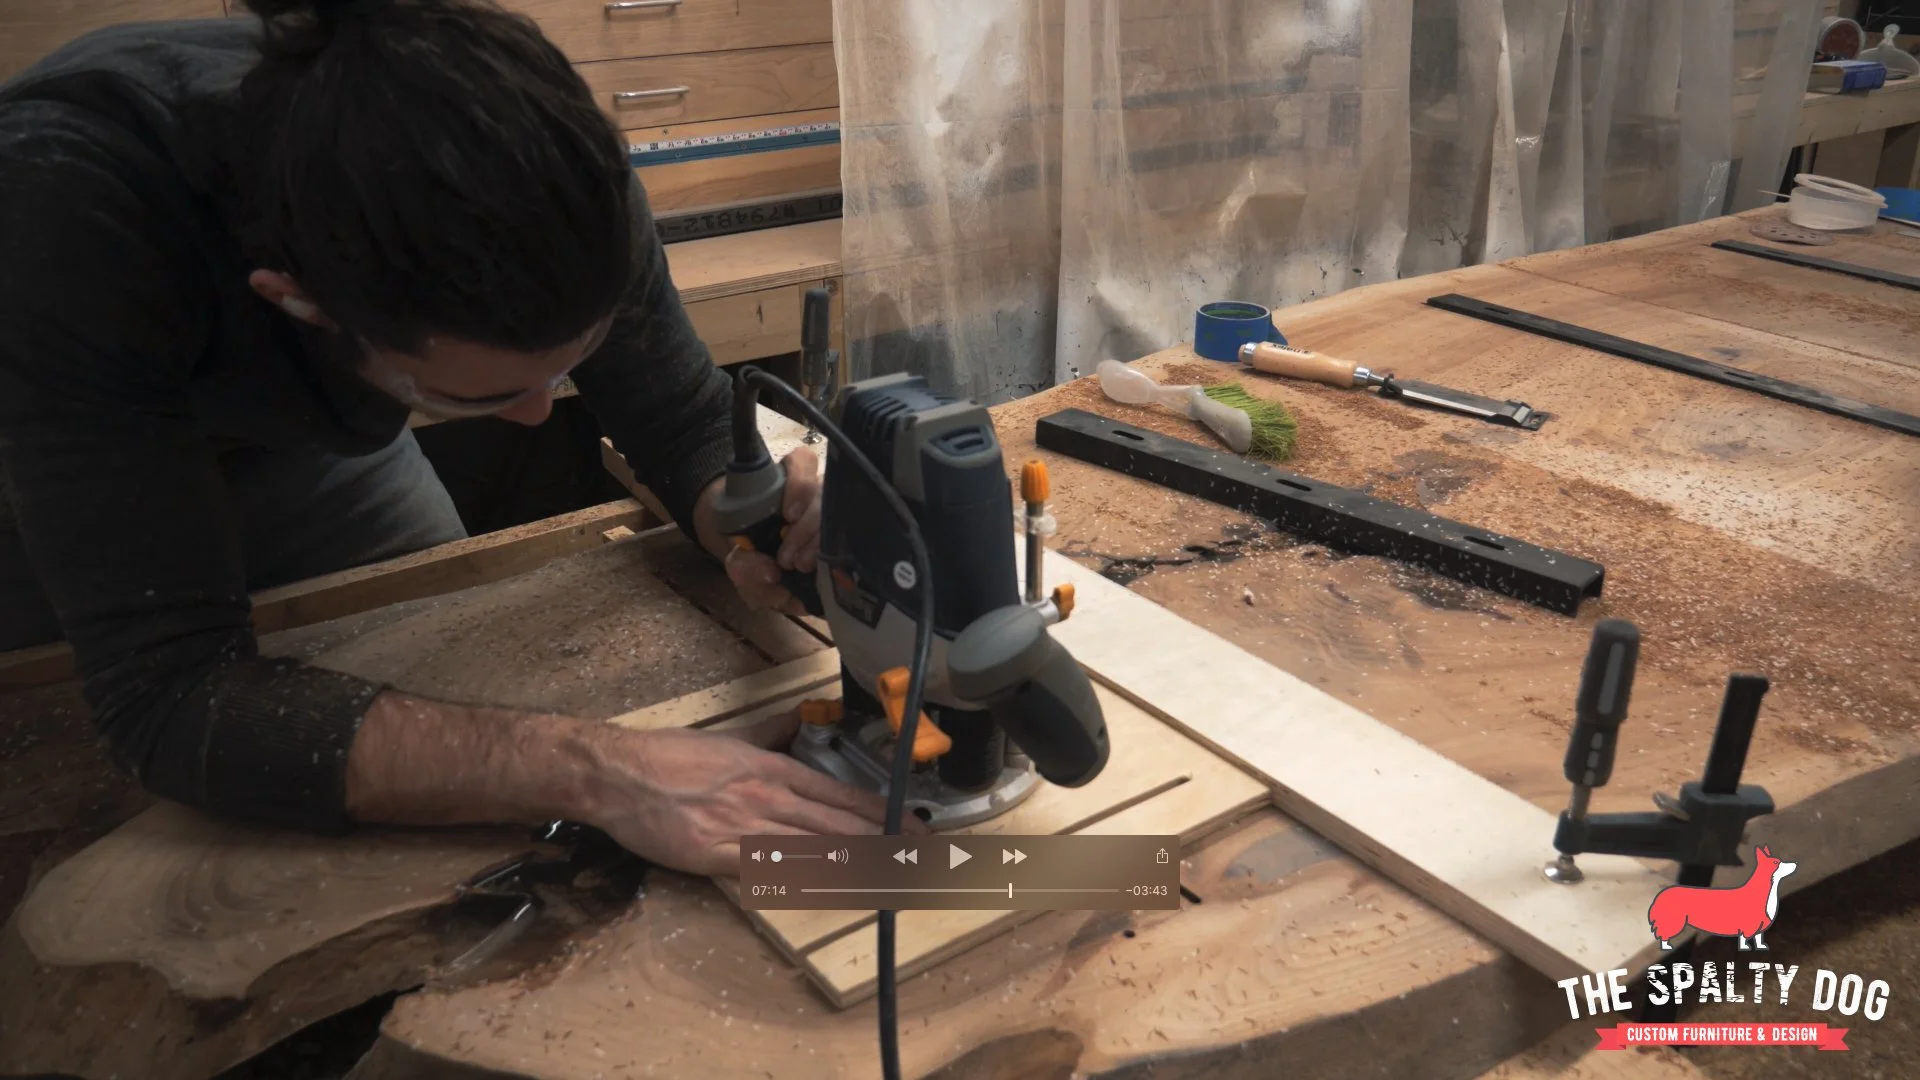
You could stop here, but I want the c-channel to be flush with the underside. So I set my router depth to the thickness of the c-channel and removed the area between the two grooves.

I made the grooves about a half inch longer on both sides so there is room for the table to expand and contract without binding the c-channel.

Sanding (Part 2)
With my grooves cut, I sand the bottom of the table up to 220 grit then start working on the edges.

Shape the slab
Now there was a spot where the slab was only about 3/4” thick and I was worried about the stability so I decided to remove it. I drew a line attempting to follow the grain so it would appear more natural, then cut along my line with the jigsaw.

After that, I sanded the area up to 220 grit. I also removed any hard edges from the cut to make it blend in more with the rest of the live edge.

Install the c-channel supports (Part 2)
Next, I center the c-channel in their grooves and start drilling the mounting holes.

You can mount the c-channel a few different ways. I decided to use hex bolts and threaded inserts. So here I’m mixing up and applying a 5 minute epoxy to the inserts and screwing them into the holes I drilled using an allen wrench.

Cut the slab to length
I needed to trim off about six inches from the end of the slab because of a small crack. So I measured and marked in from a few spots, then connected them using a straight edge.

Then I just followed along that line with my circular saw.

The saw blade left a few burn marks, so I sanded those away and smoothed over the newly cut edges. Then wiped down the underside with mineral spirits to remove any dust.

Install the c-channel supports (Part 3)
While the mineral spirits dried, I started attaching the c-channel using my driver. I tightened the center bolt down almost completely, while only snugging up the ends.

Finish the slab
I decided to try Rubio Monocoat for finishing this top and I have to say, I love the simplicity of this product. You apply a single coat, let it sit for a few minutes then buff away the excess.

They recommend only sanding up to around 120 grit because of how it bonds with the wood. However, I saw others sand to 220 with no issues so that’s what I tried. Unfortunately, it just didn’t seem to bond evenly and I think the figured grain on this english elm made it worse. I ended up sanding back down to 120 and refinishing which turned out much better.

Attach the top and base
Finally, I attached the top to the base using a few screws and washers through the mounting tabs to allow for wood movement.

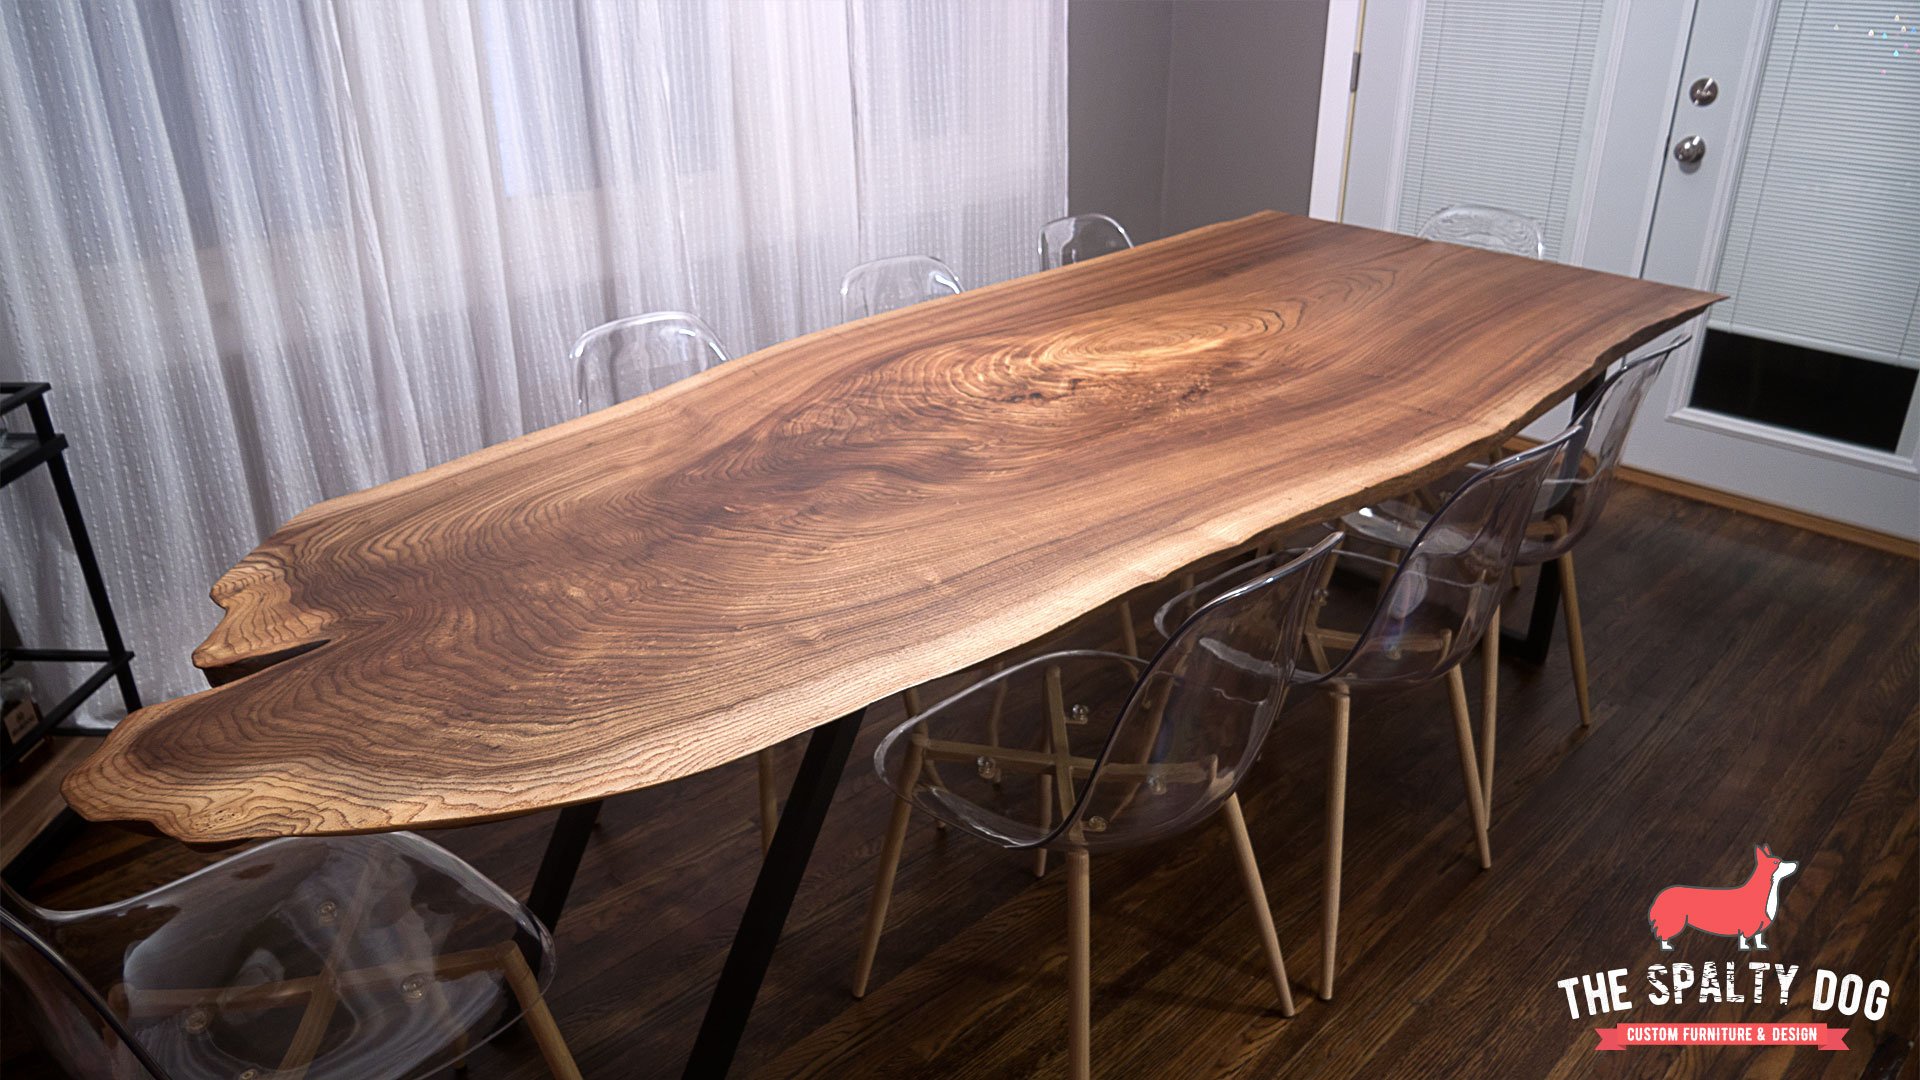
WOWZA, THAT WAS A LOT!
There it is, a 9 foot live edge dining table with a steel base that comfortably seats 8 people. This was one of my biggest builds to date and was definitely challenging in my small shop. However, I’m extremely happy with how everything turned out and it goes to show just because you have a small shop doesn’t mean you can’t go big on your projects.