
Making a DIY Industrial Pipe Desk
I’ve been rocking an IKEA desk for a few years now and I’m planning on moving my office to our basement, so we can turn our other bedroom into a guest room. With that being said, the desk doesn’t match any of the furniture I’ve build for the basement so far… Looks like I’ll just have to make a new one!
Materials
2 x 8 x 10’ (x2)
2x8x8’ (x1)
10’ 3/4” black iron pipe (x2)
Various pipe fittings
Denatured Alcohol
Cutting Oil
Wood Screws
Stain/paint/poly (optional)
Tools
Miter Saw
Table Saw
Jointer
Cordless Drill/Driver
Angle Grinder
Pipe Threader
I start off by cutting the lumber to rough length over on the miter saw. I set a stop block to make quick work of this.

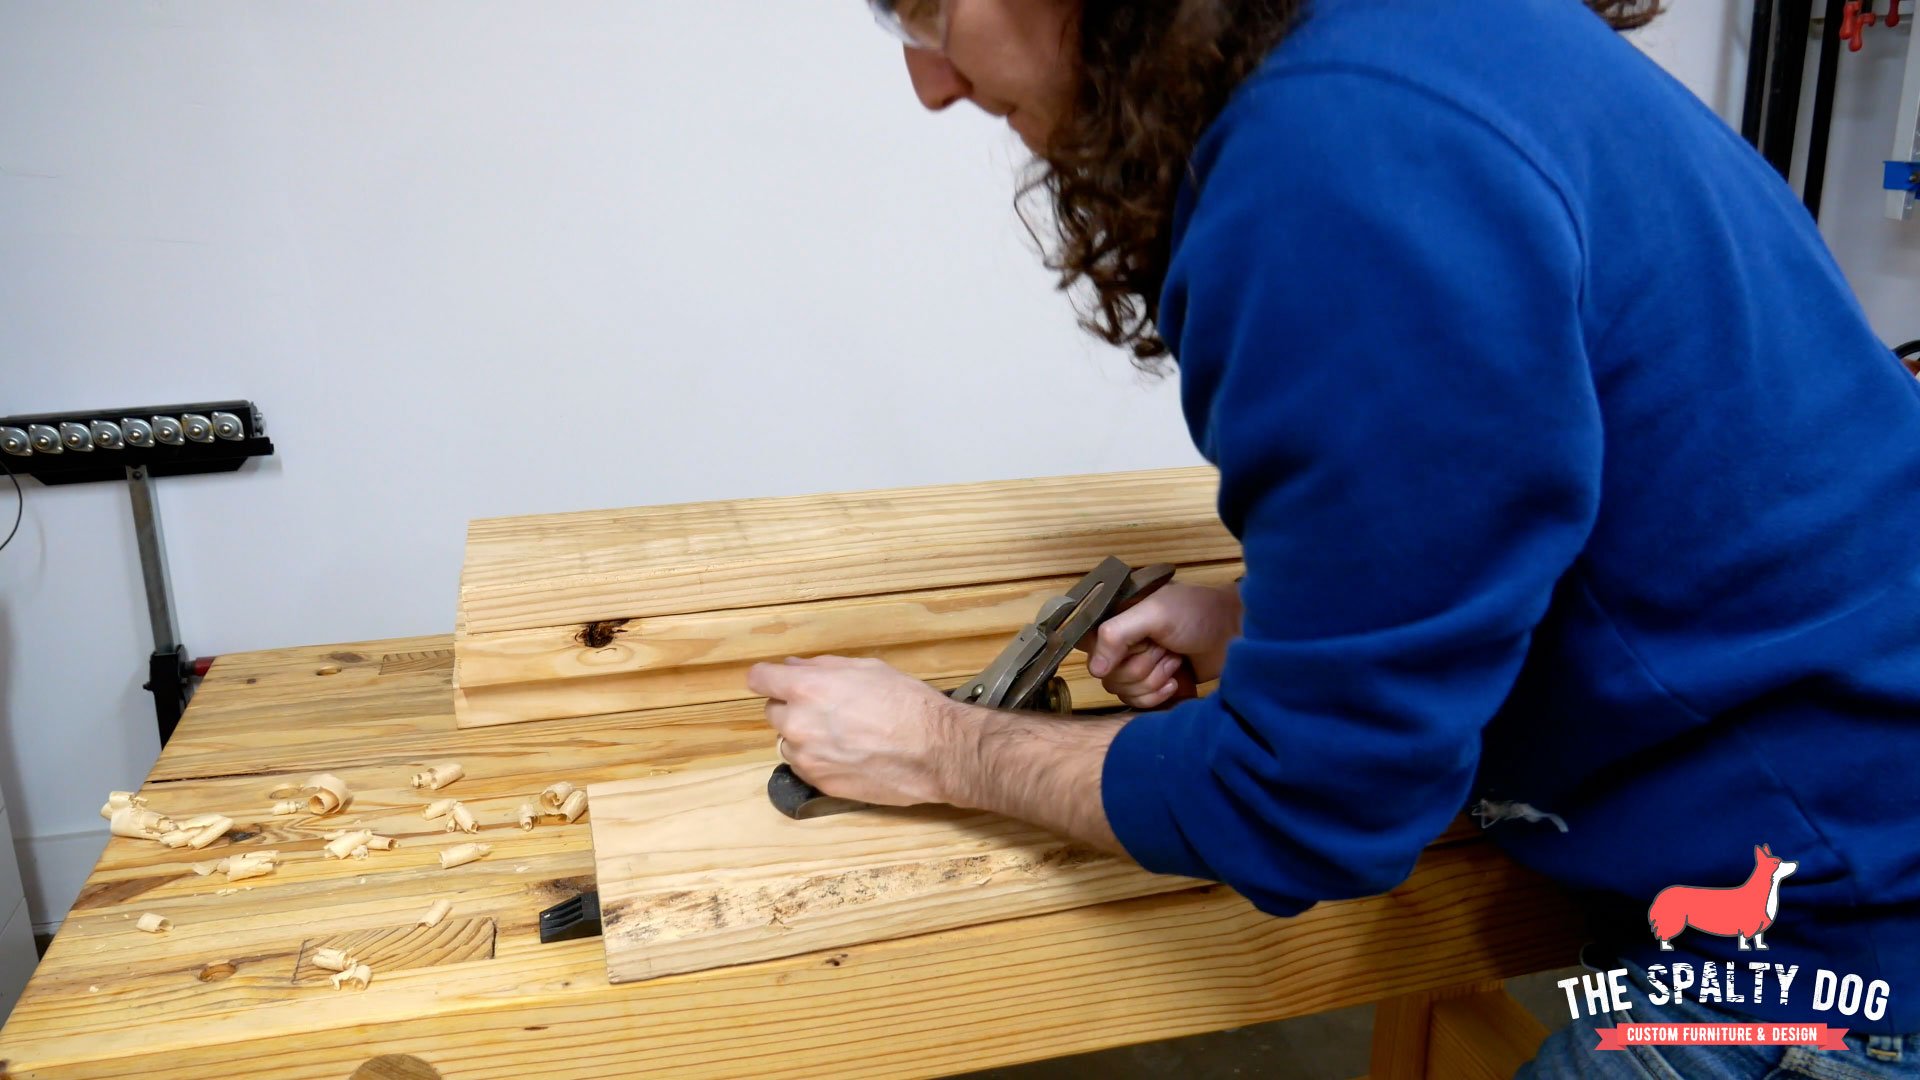
I’m using standard 2x8s on this project and they had some twist to them. After cutting them to rough length, I took them over to my workbench and knocked down the high corners with a Stanley no. 5.
With most of the twist removed, I took each of the boards over to the jointer. First, I flatten one face while making sure to apply even pressure. Here I am walking along the board with my push blocks, maintaining pressure on the out-feed table.

With a flat face on each board, I then make one edge perpendicular to that face by placing it against the fence of the jointer and maintaining pressure.

Now that we have one flat face and one straight edge, I move to the planer to get the boards to their final thickness. By using the jointed face as a reference on the planer bed this will make both faces parallel.

All that’s left is to get the final straight edge! To do this I set the blade height and adjust the fence on my table saw to the final width.

I then run each board through the table saw making sure the jointed edge is referencing the fence.

I’d like to add if you’re not able to work with rough lumber or aren’t able to mill it you can purchase pre-milled boards from your local big box store or lumber yard and skip everything up until now.
Glue up the top
With the boards cut to their final width, I start planning for the glue up. For this build I didn’t use anything special for alignment such as dowels or biscuits. I just went with simply edge gluing the boards.

I applied glue along the edge of each board and then spread it out using a silicone brush, adding glue as needed.

Typically for a glue up like this I would use caul boards to prevent any cupping however, I realized I was out of packing tape so I quickly jumped over to adding clamps at the end of each edge joint. Let me know in the comments below if there is something I could have done instead.
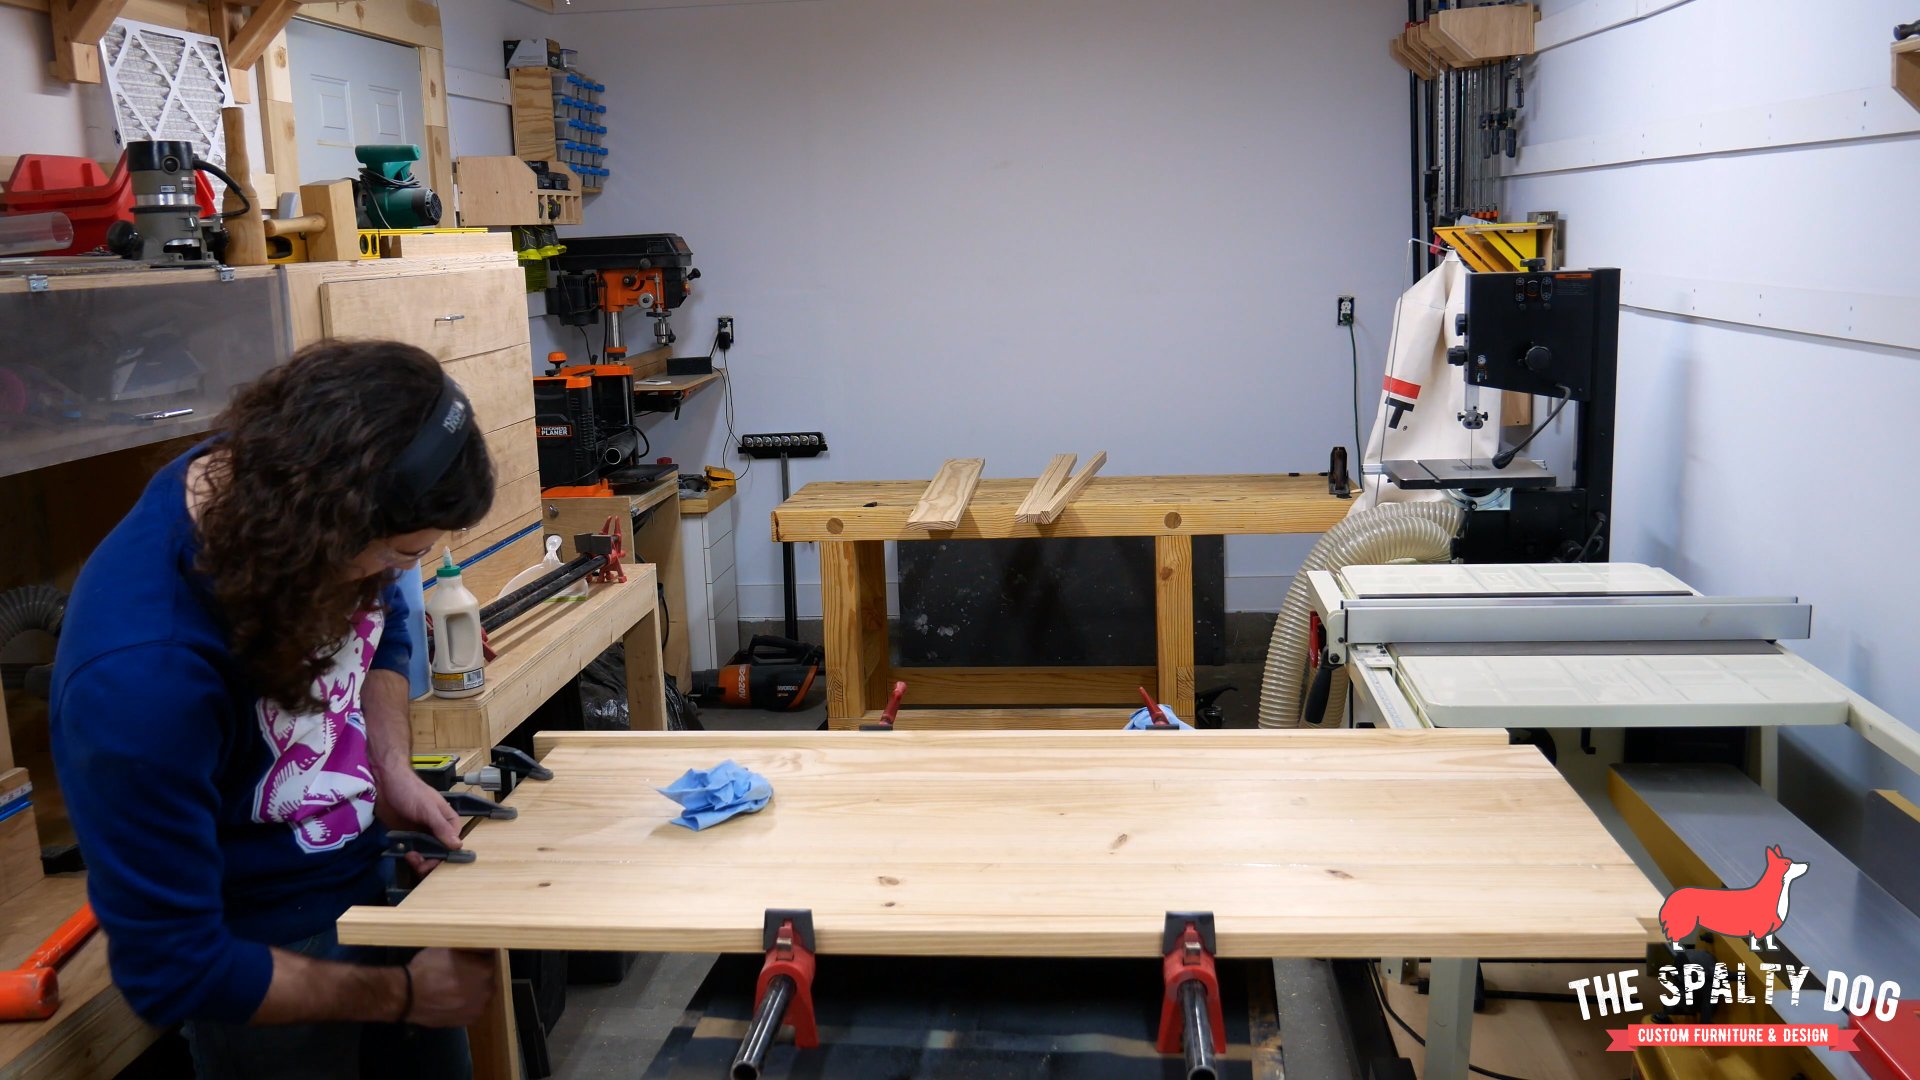
To finish it off, I added a couple more pipe clamps and wiped off any glue squeeze out with water and paper towels.
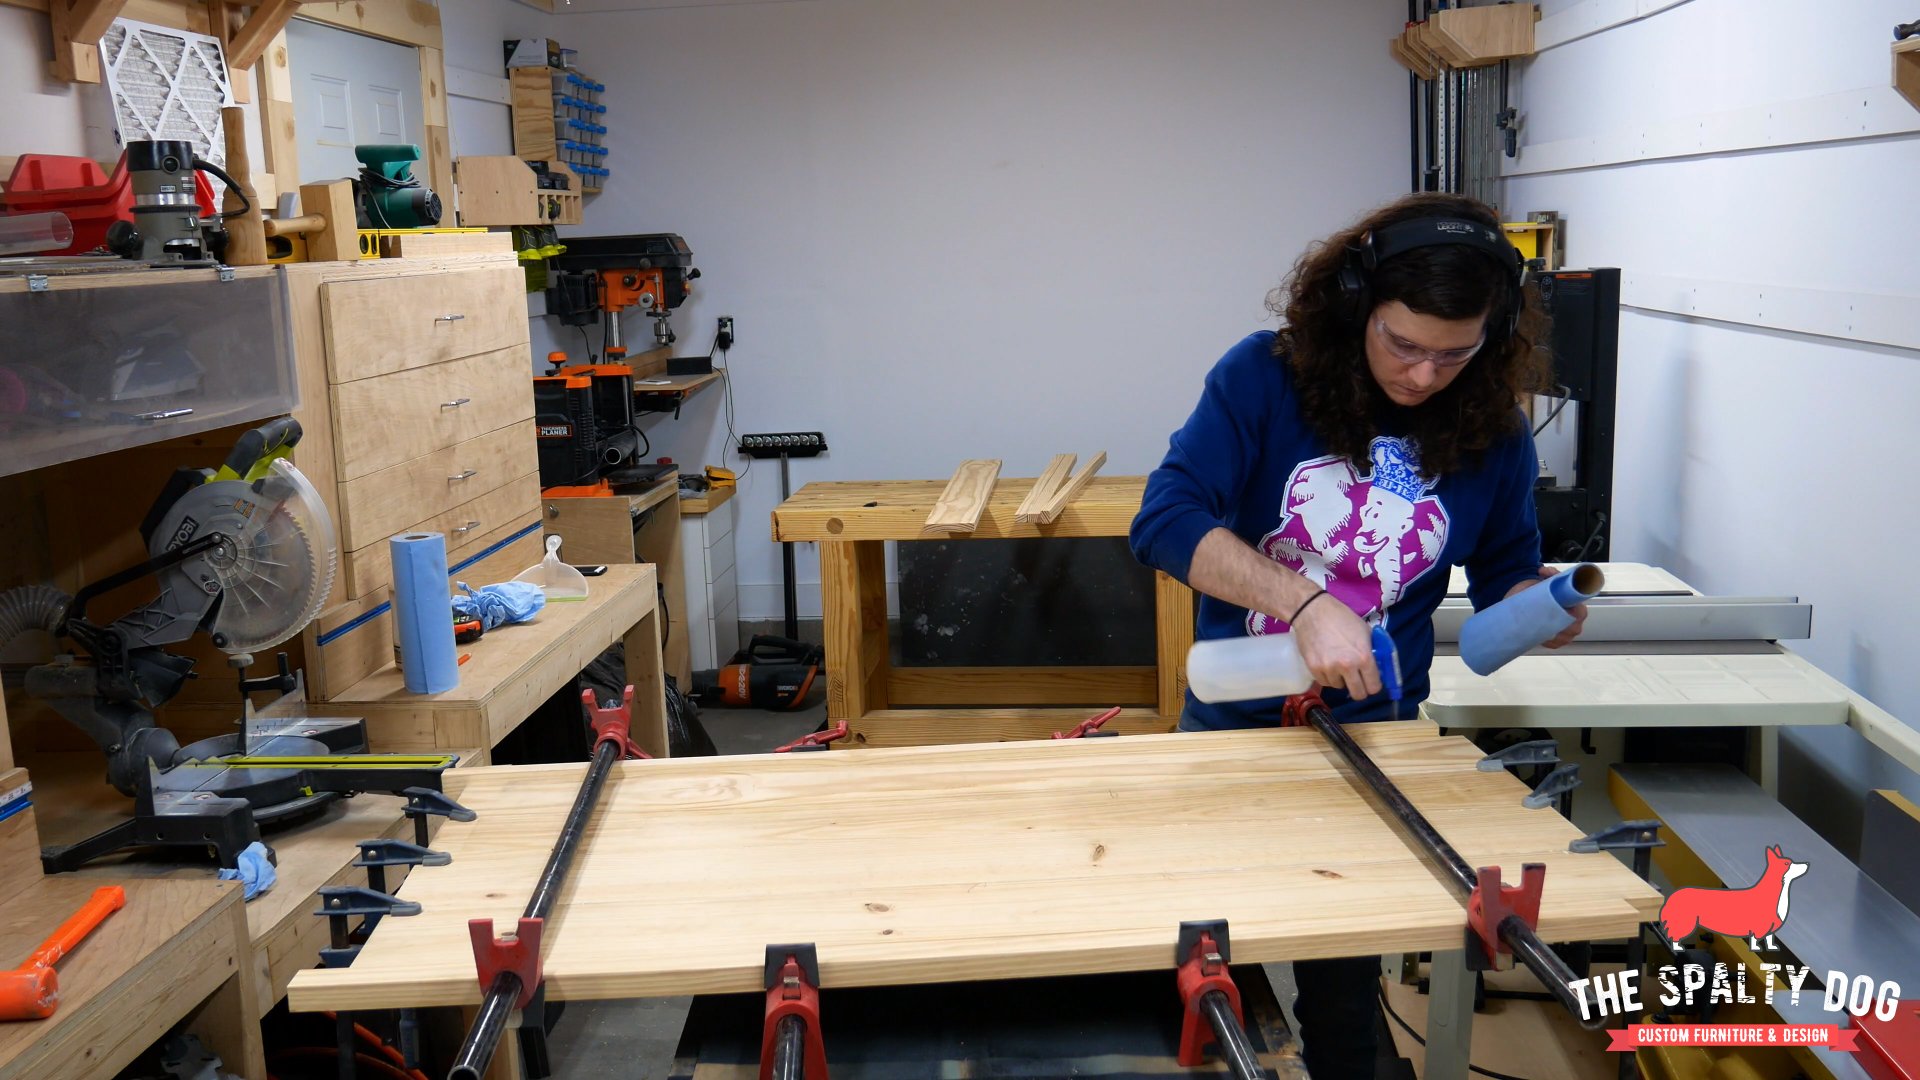
I let the glue set overnight then came back and sanded with 80, 150 and 220 grit paper. I would mark with pencil along the entire surface, and when the pencil had disappeared I knew it was time to move up to the next grit.

Now that sanding is out of the way, I move on to trimming the top to final length with my track saw. If you don’t have a track saw, this can also be done with a circular saw and straight edge.

Then using the top as a reference, I cut the monitor shelf to final length as well over on the miter saw.

Cut and thread the pipe
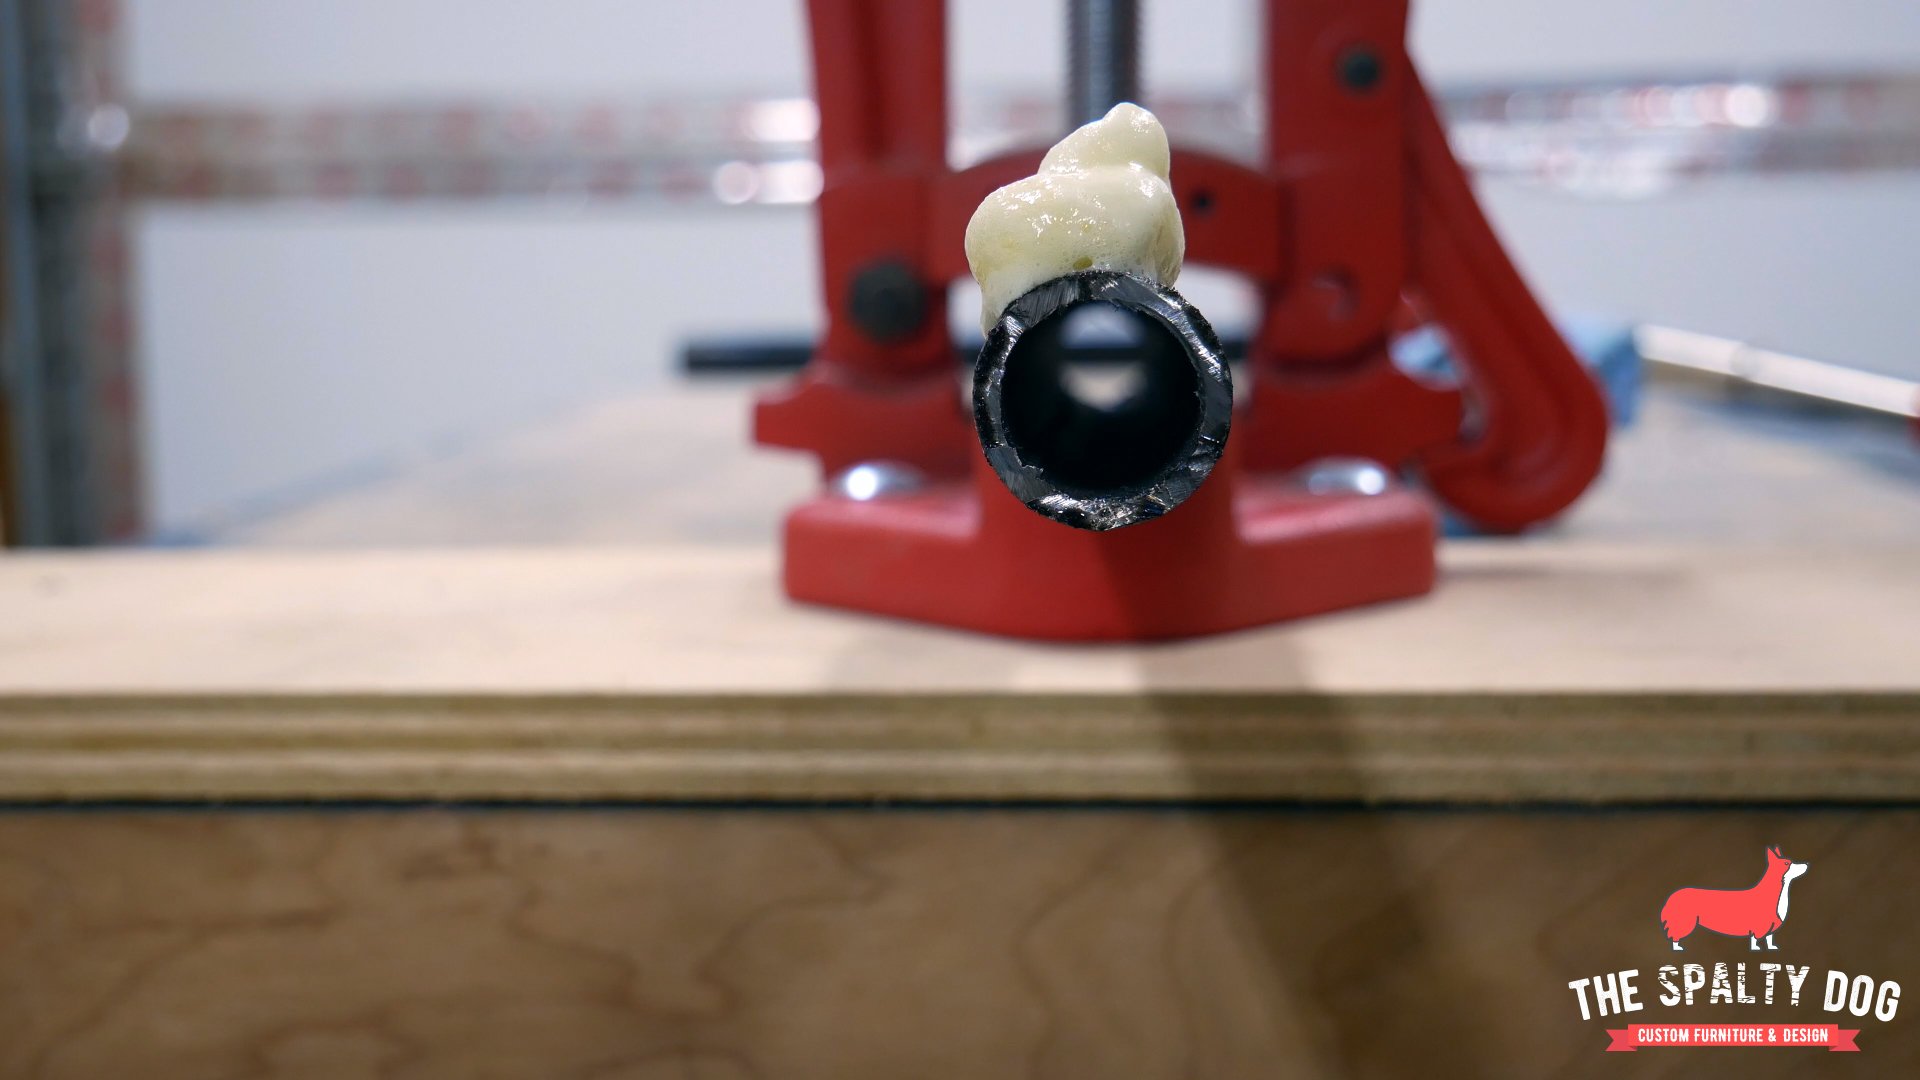
I set the top aside and started working on the base, which is made of 3/4” black pipe. I measured and cut each piece to length using my angle grinder and a cutoff wheel, and then threaded each end with my pipe threader. Now, at some big box stores they will cut and thread the pipe for you at no additional cost for certain sizes, however, this was not possible for me due to my dimensions.

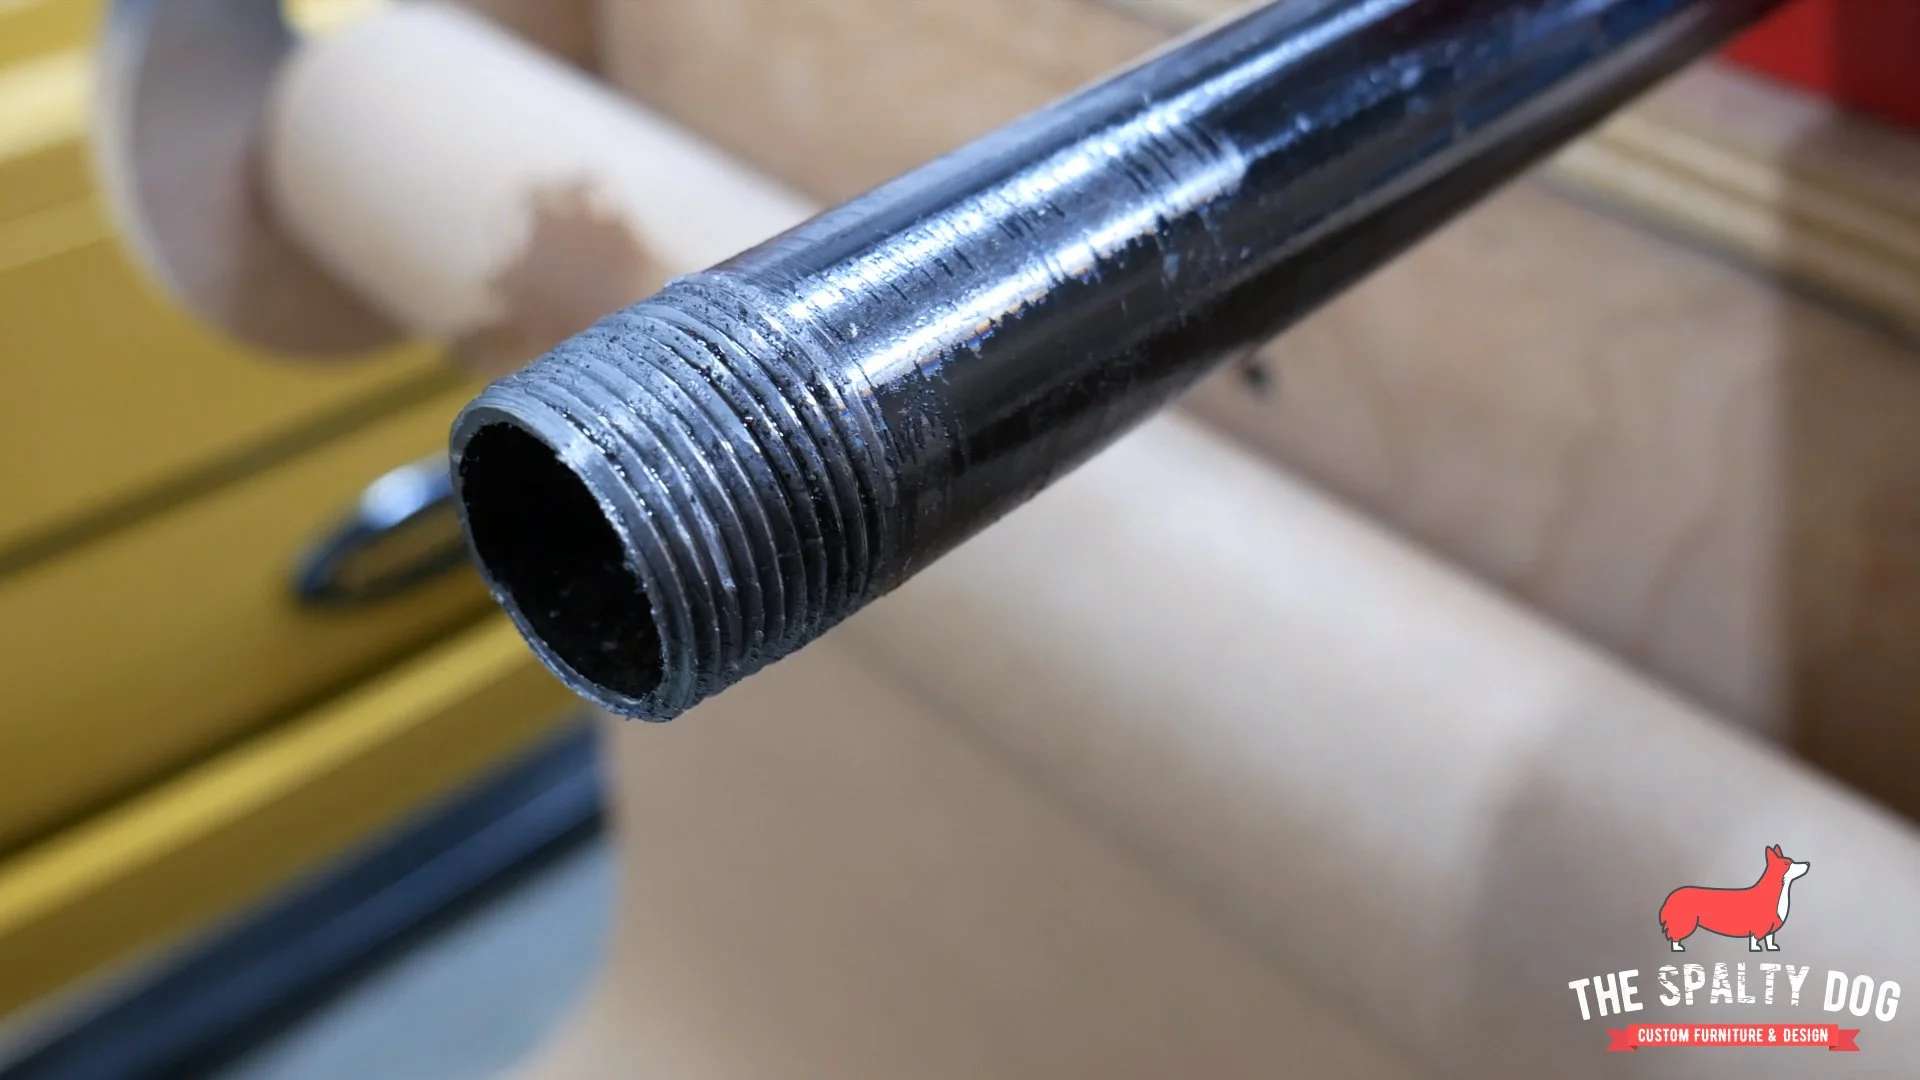
Before threading the pipe I apply a cutting oil to the pipe end, as well as the threader, to keep everything lubricated while the threader is biting into the pipe.
Threading the pipe isn’t really difficult, to start you place the threader over the pipe end and apply light pressure towards the pipe while cranking the handle to get the teeth started. Once you feel the teeth starting to bite, you can relieve the pressure and simply crank the handle, making sure to clean the threader for clogs, and applying cutting oil as necessary.

When you’re finished, you should have something that looks like this.
Clean and assemble the base
With all the pipe cut and threaded, I go ahead clean everything with denatured alcohol to remove the residue that is normally found on black pipe.

Now it’s time to start assembling the base! I take the pipe and start threading on the fittings - Prior to starting this build I had sketched everything up, so I knew exactly what I wanted the base to look like and what fittings I needed.
Here I am assembling the front and back sections for both of the legs.

Next, I attach the stretcher that will go along the back of the base to help provide rigidity to the desk.

After that, I attach two pipes that will connect the front and back section of each leg.

For this base, specifically, I wanted these closed in rectangles on the bottom of the legs. To accomplish this I would thread the connecting pipes as far as I could into one fitting, then position the front section of each leg in place, and finally loosen the bottom connecting pipe. As you loosen the pipe it will move out of one fitting and into the other - thus creating that closed in shape.

To finish it off, I attached floor flanges to the top of each leg - this is how we will connect the base to the top.

Finish the base
With the base assembled, I apply multiple thin coats of a flat black spray paint. After the paint has dried, I come back and apply a satin clear lacquer to protect the paint.

Finish the top
While the base is drying, I move over to finishing the top. Since the top is made of pine, I apply a pre-stain conditioner to help the stain take more consistently to the wood.

After letting that dry, I apply a dark walnut stain by rubbing it in with a clean rag and wiping any excess stain off after 15 minutes.

I let the stain dry overnight and applied 3 coats of wipe-on poly the following day. After letting the poly dry for 24 hours, I wet sanded with 600 grit paper and added a coat of paste wax off camera.

Final assembly
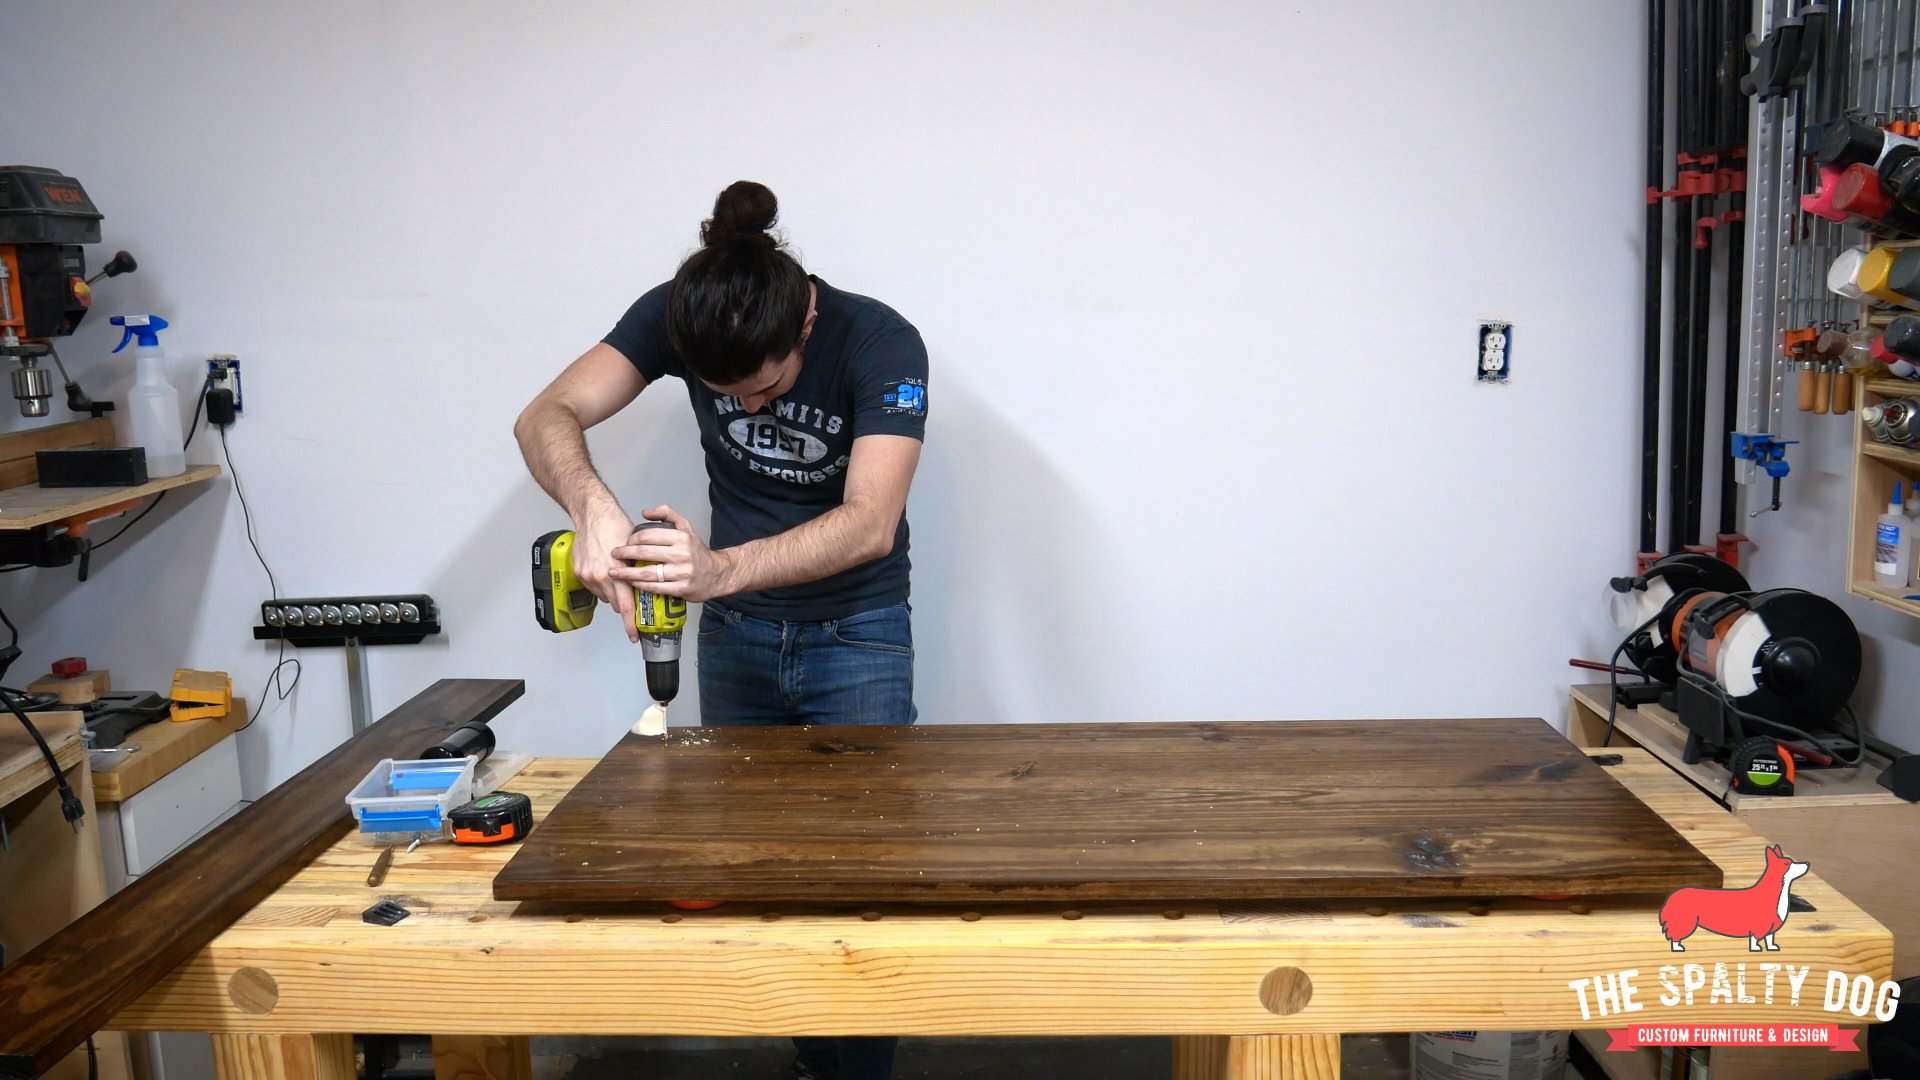
At this point we are done with finishing and are onto the final assembly. Here I am positioning the base and punching holes on the underside of the top.

With the holes punched, I set my depth by using a piece of tape on my drill bit and pre-drill all of the holes.
I then set the base back into position, and start attaching it to the top by securing two screws in each flange, then working my way back to complete the remaining two.

With the base attached, I move onto the monitor stand. I followed the same process as I did for attaching the base, by punching and pre-drilling holes. However, due to the tight space, I needed to use this flexible driver attachment to secure the screws.

Here you can see I’m making sure the monitor stand lines up with the top. I attach a screw on one end, then position the opposite end and clamp it down to hold it in place.
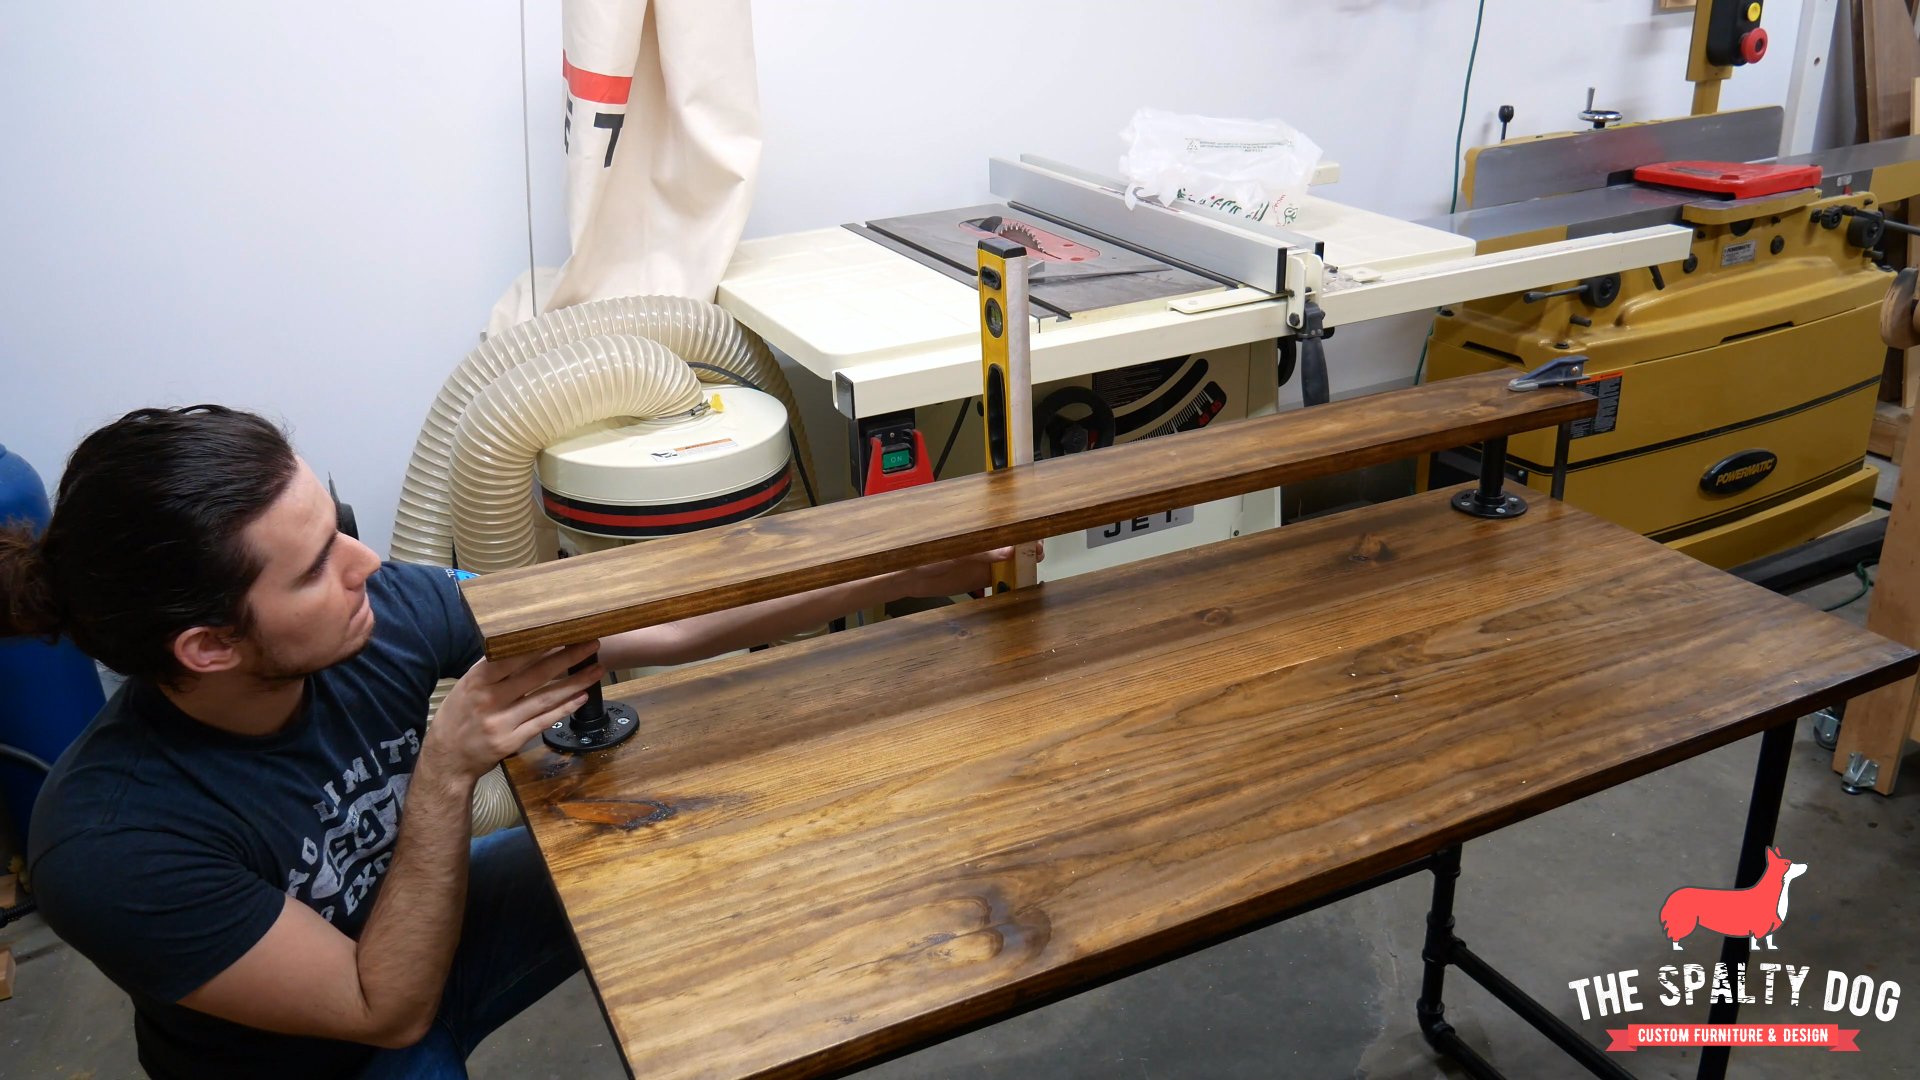
After checking both sides again for alignment, I go back and attach the remaining screws.

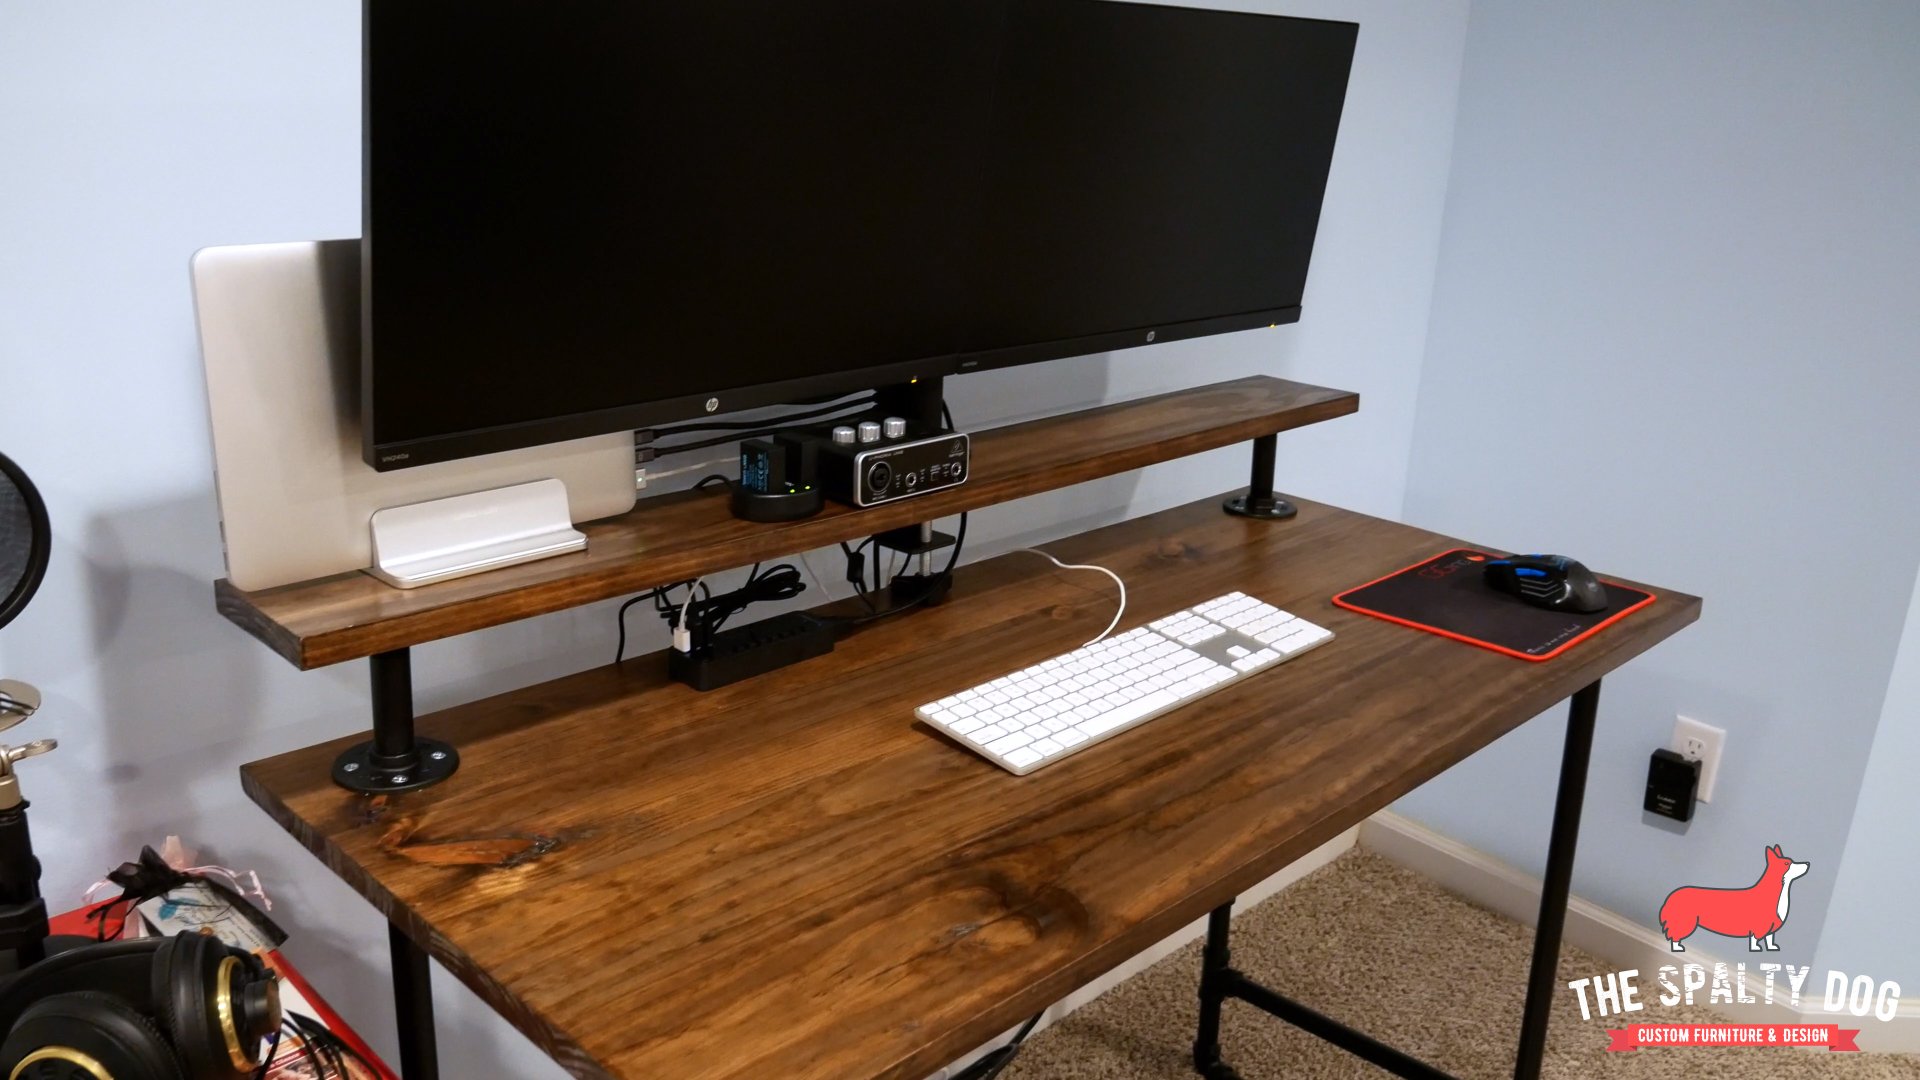
You’re all set!
There you have it, an industrial pipe desk that is a great alternative to the traditional style desks you may see in a typical office.
Thanks for following me along on this build! If you liked what you saw, feel free to follow me on my social channels and subscribe to my newsletter to receive the latest updates of what’s going on with The Spalty Dog.