
Making a Heavy Duty Mobile Base
Recently I had purchased a few tools off of a guy who was selling his entire shop, one of which was this Jet ProShop Table Saw. Now, it did come with a mobile base however, the base had two fixed wheels on the back side. For most, this wouldn’t be an issue, however for me needing to pull the saw out from the wall and turn it 90 degrees made this base not easily usable in my shop. I have limited space and had to push the saw back and forth numerous times just to get it into position. Looking around online I was surprised to see that there weren’t many (if any) options out there that offered all swivel wheels. Now, I had already ran into this issue when I decided to purchase a new Powermatic 8” Jointer, so I took the same design I used for that and simply scaled it down to fit the size of my table saw.
Materials
1 1/2 x 3” steel tubing
1 1/2 x 1 1/2” steel angle
1/4 steel flat bar
Four 3” full swivel locking casters
4 1/2” cut off discs
4 1/2” flap disc
Denatured alcohol
Spray paint
Tools
Milwaukee Angle Grinder
Hobart 140 MIG Welder
Prep the material
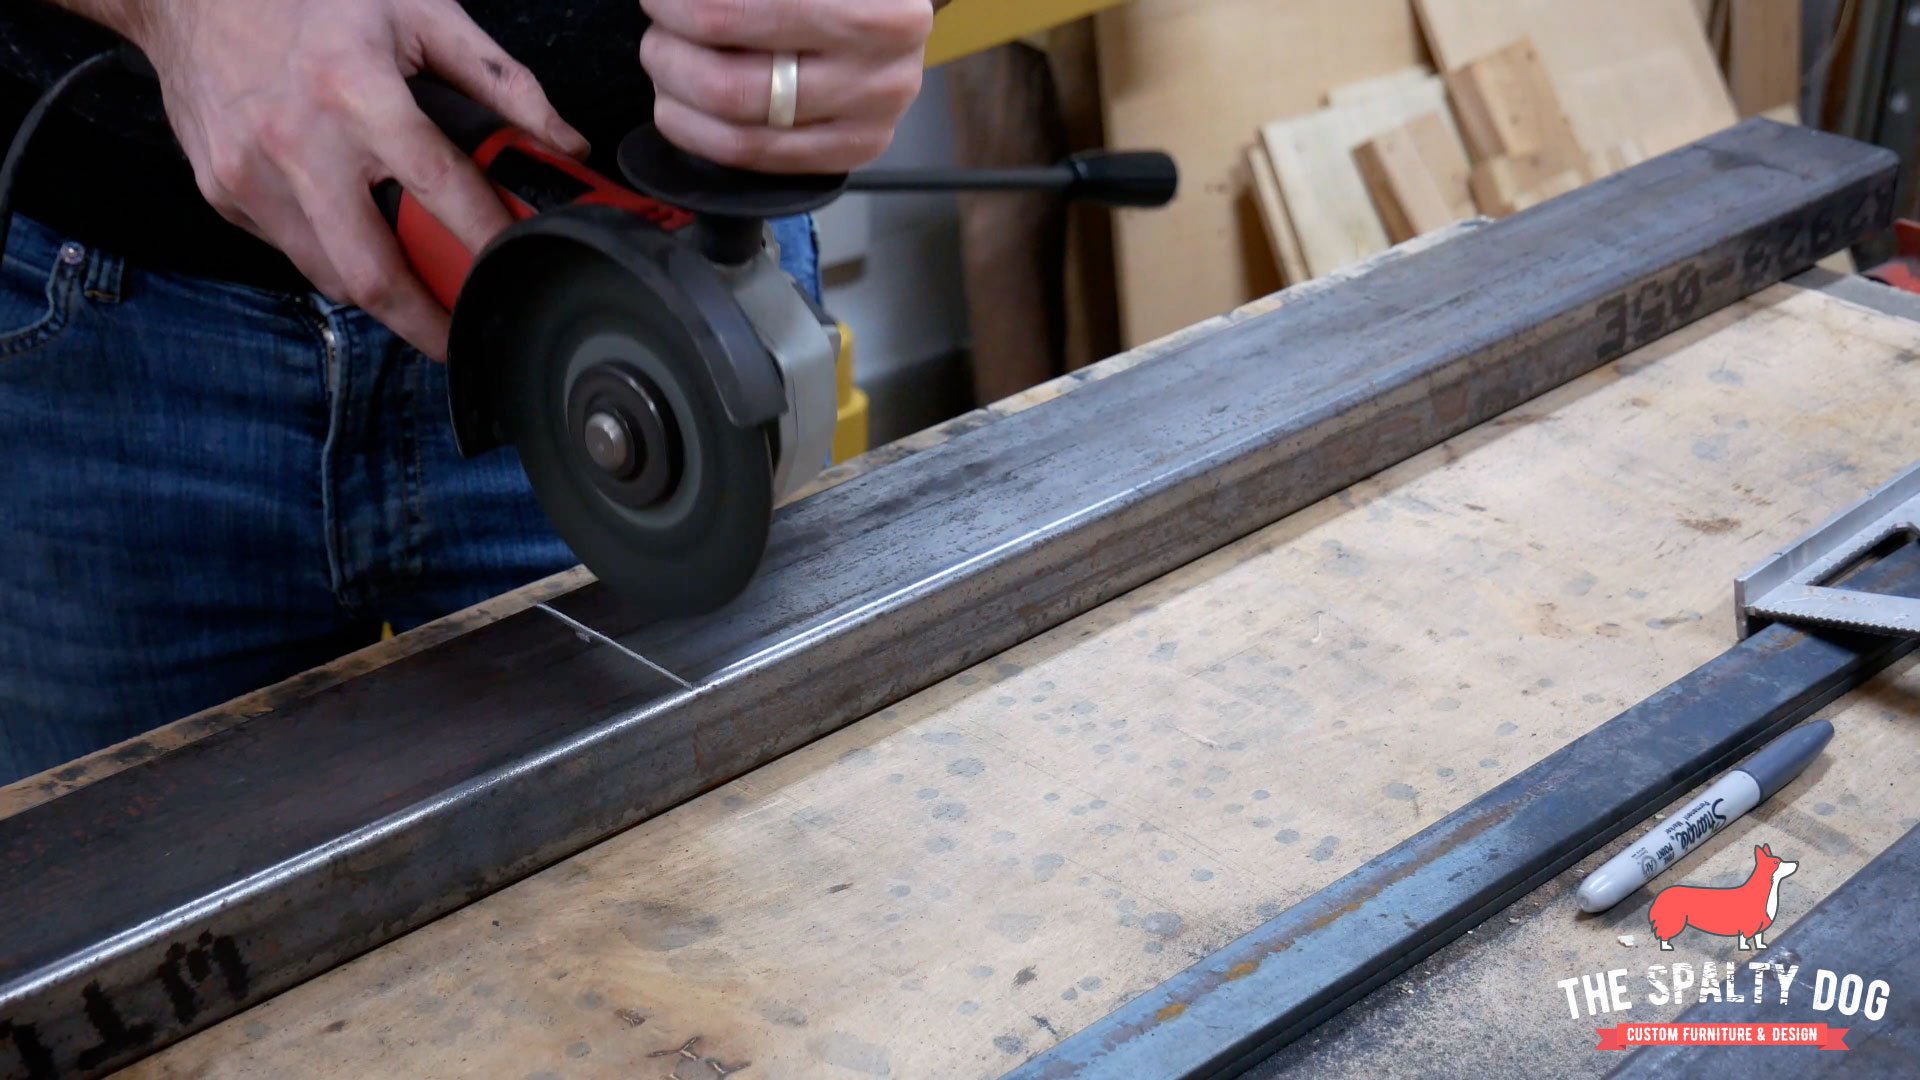
To start off I begin cutting my material to size using my angle grinder and a cutoff wheel. I purchased all of this steel from a local supplier and got these pieces from their remnant section at a discounted price. If you’re interested in building something similar, I would recommend seeing if you have a local steel supplier near you. They are usually more affordable and offer a wider selection than most big box stores.

When cutting the tubing I first mark and score a line then go back over the line I just made to complete the cut. This helps establish a groove for the cut off wheel to sit in, resulting in a cleaner cut. I then repeat this process on all four sides until I have my desired piece. It’s important to note, you don’t have to be extremely accurate at this point because we can correct any errors during assembly.
After I have all four sides of the frame cut, I do a quick dry assembly while checking for square, and then measure how long my cross supports need to be so they can be cut to length.
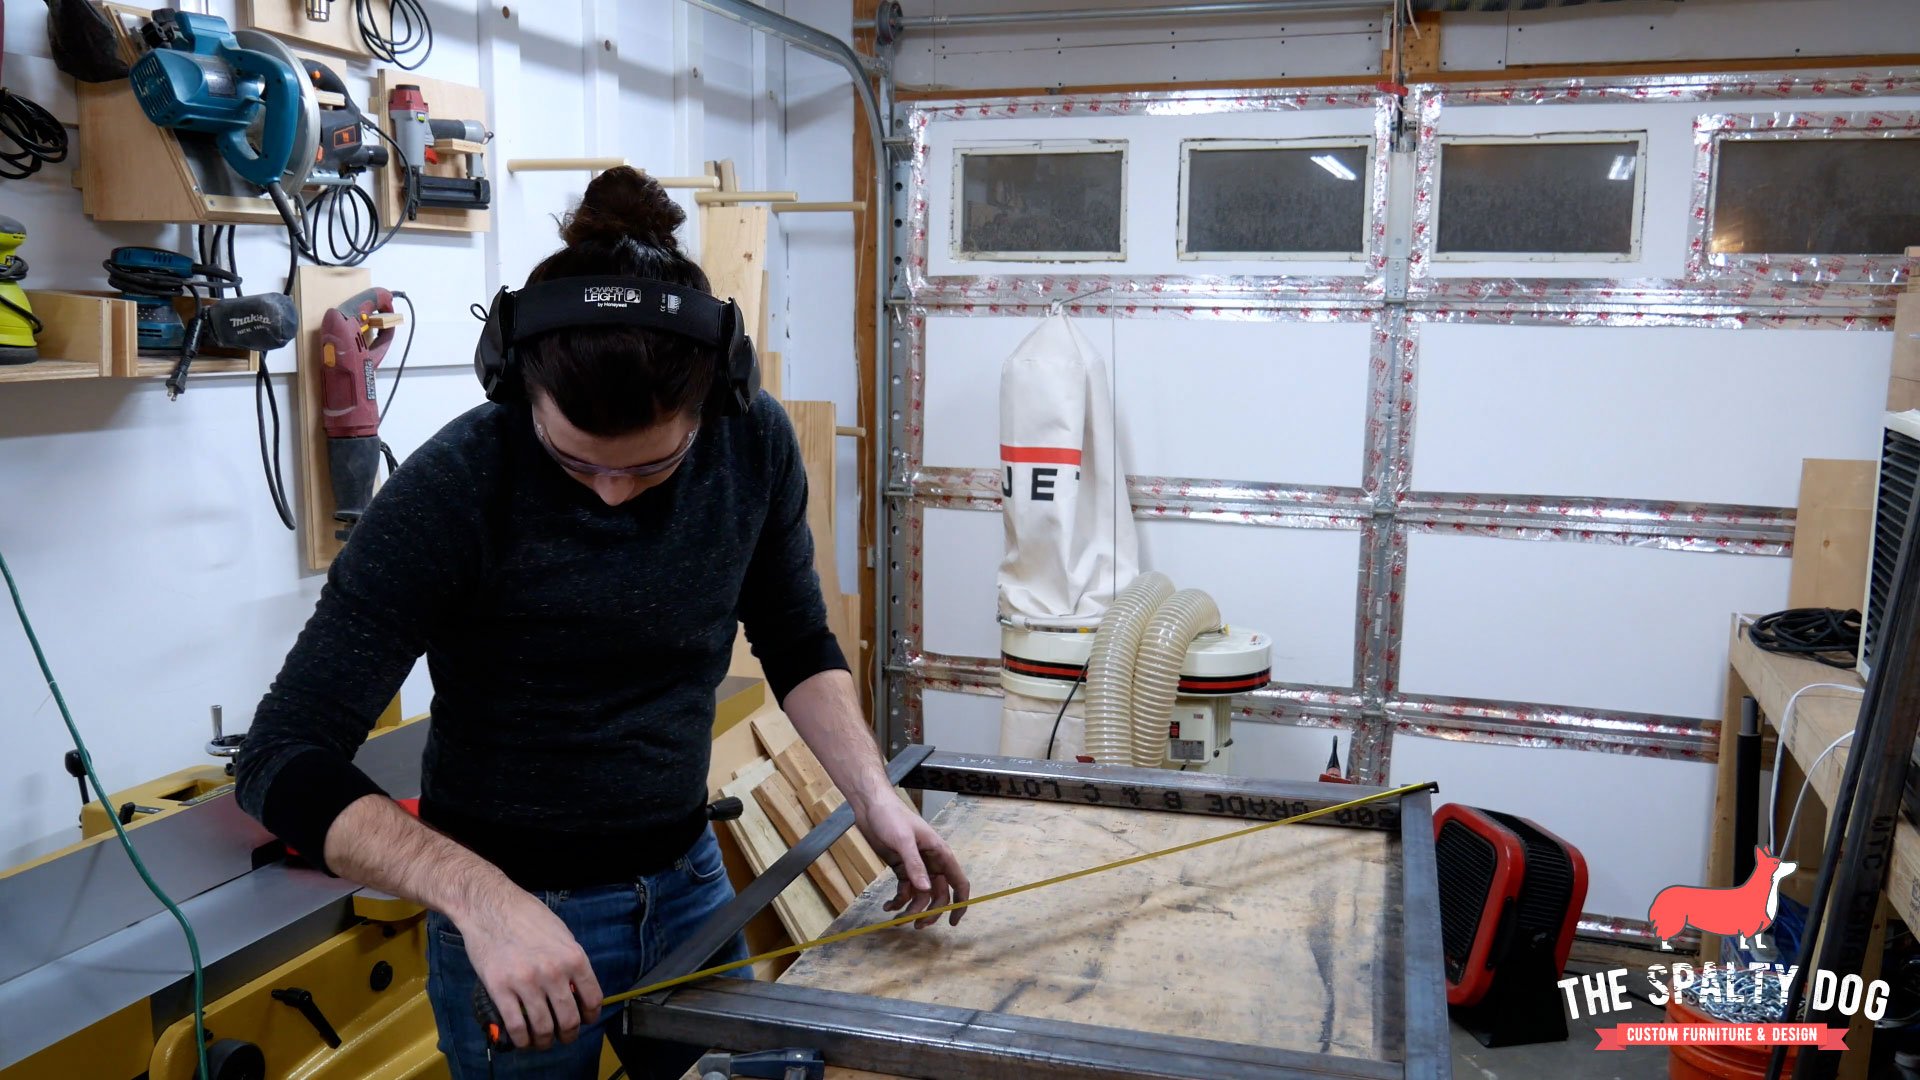
I needed two supports for this base, so I lined up two pieces of flat bar on end, clamped them together and cut them to length to ensure they were the same. However, again you don’t need to be extremely accurate at this point since we can correct any errors later on.
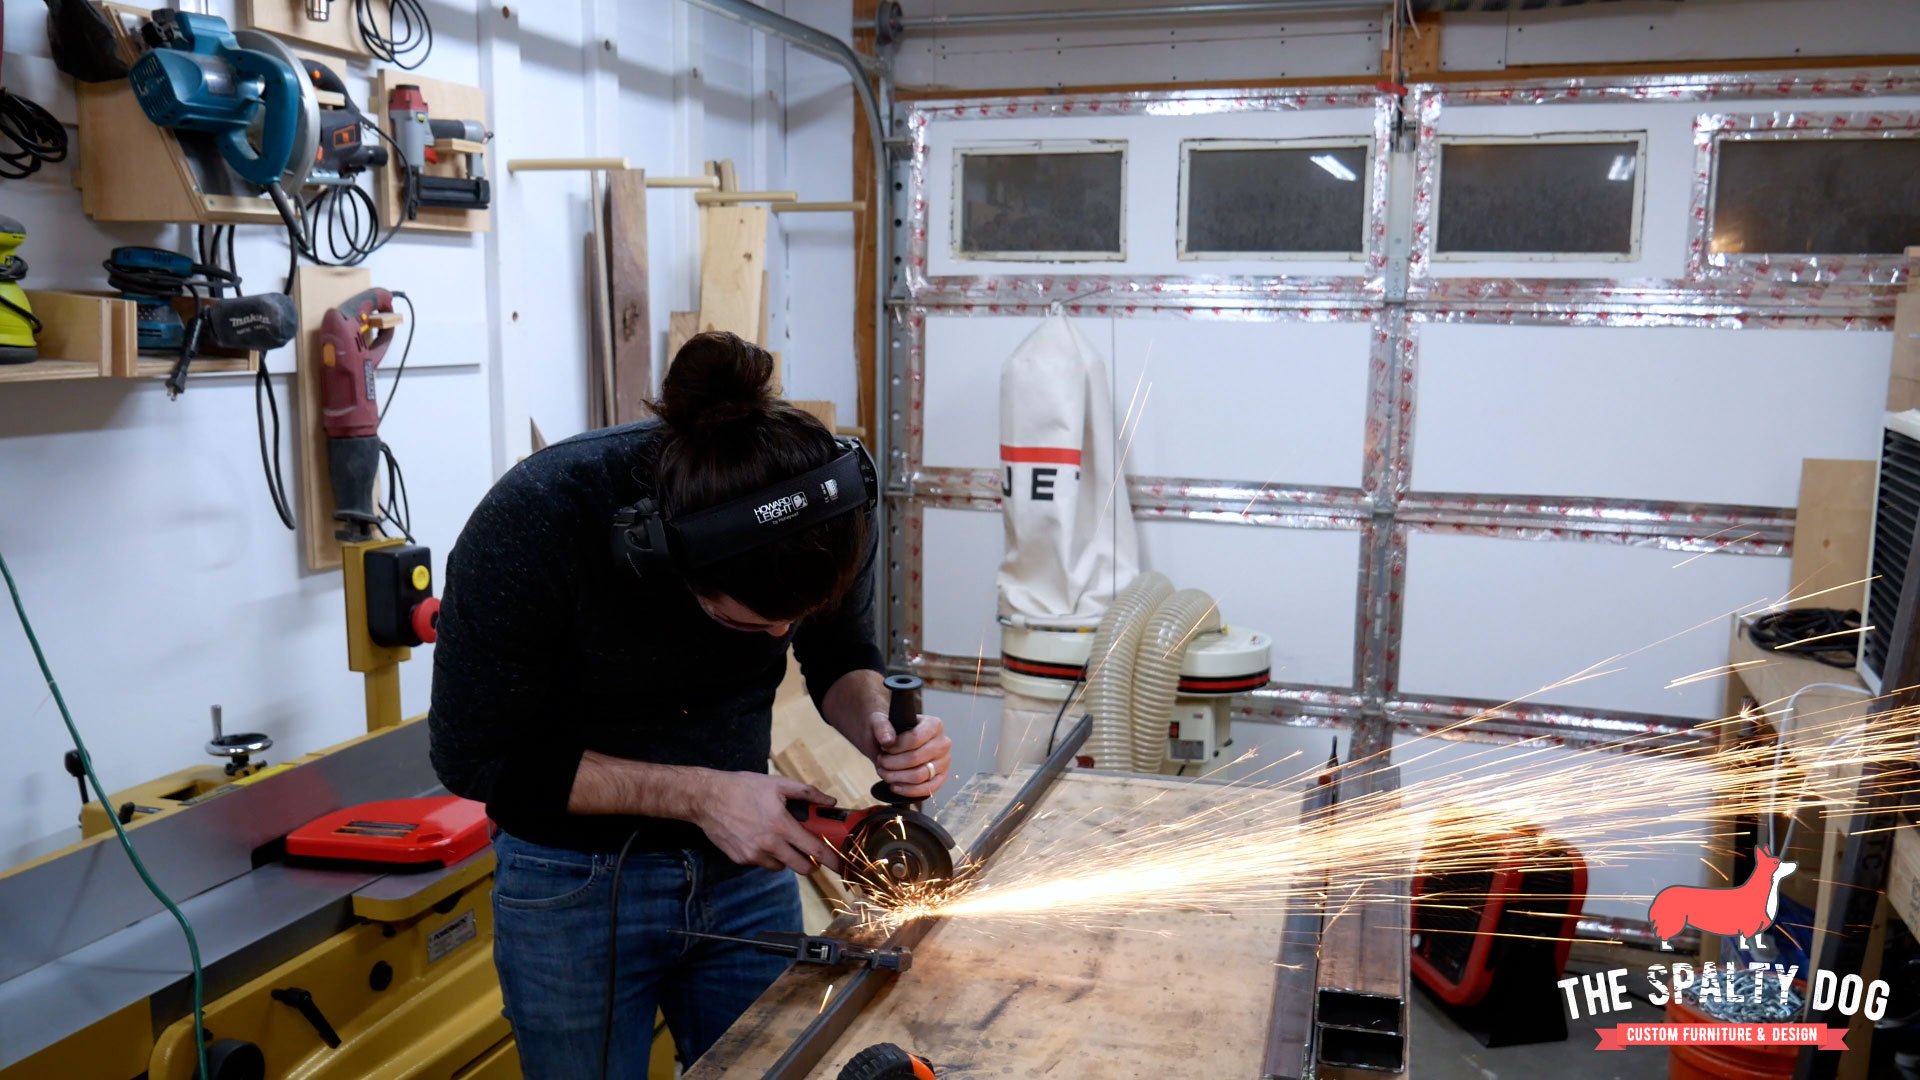
With all the pieces cut to length, I switch over to a flap disk on my angle grinder and put a 45 degree chamfer on all sides. This will give the weld a place to sit when we assemble the base.

Assembly
With all our pieces cut and prepped, we are ready to start assembly. I begin by arranging the sides of the base and checking for square.

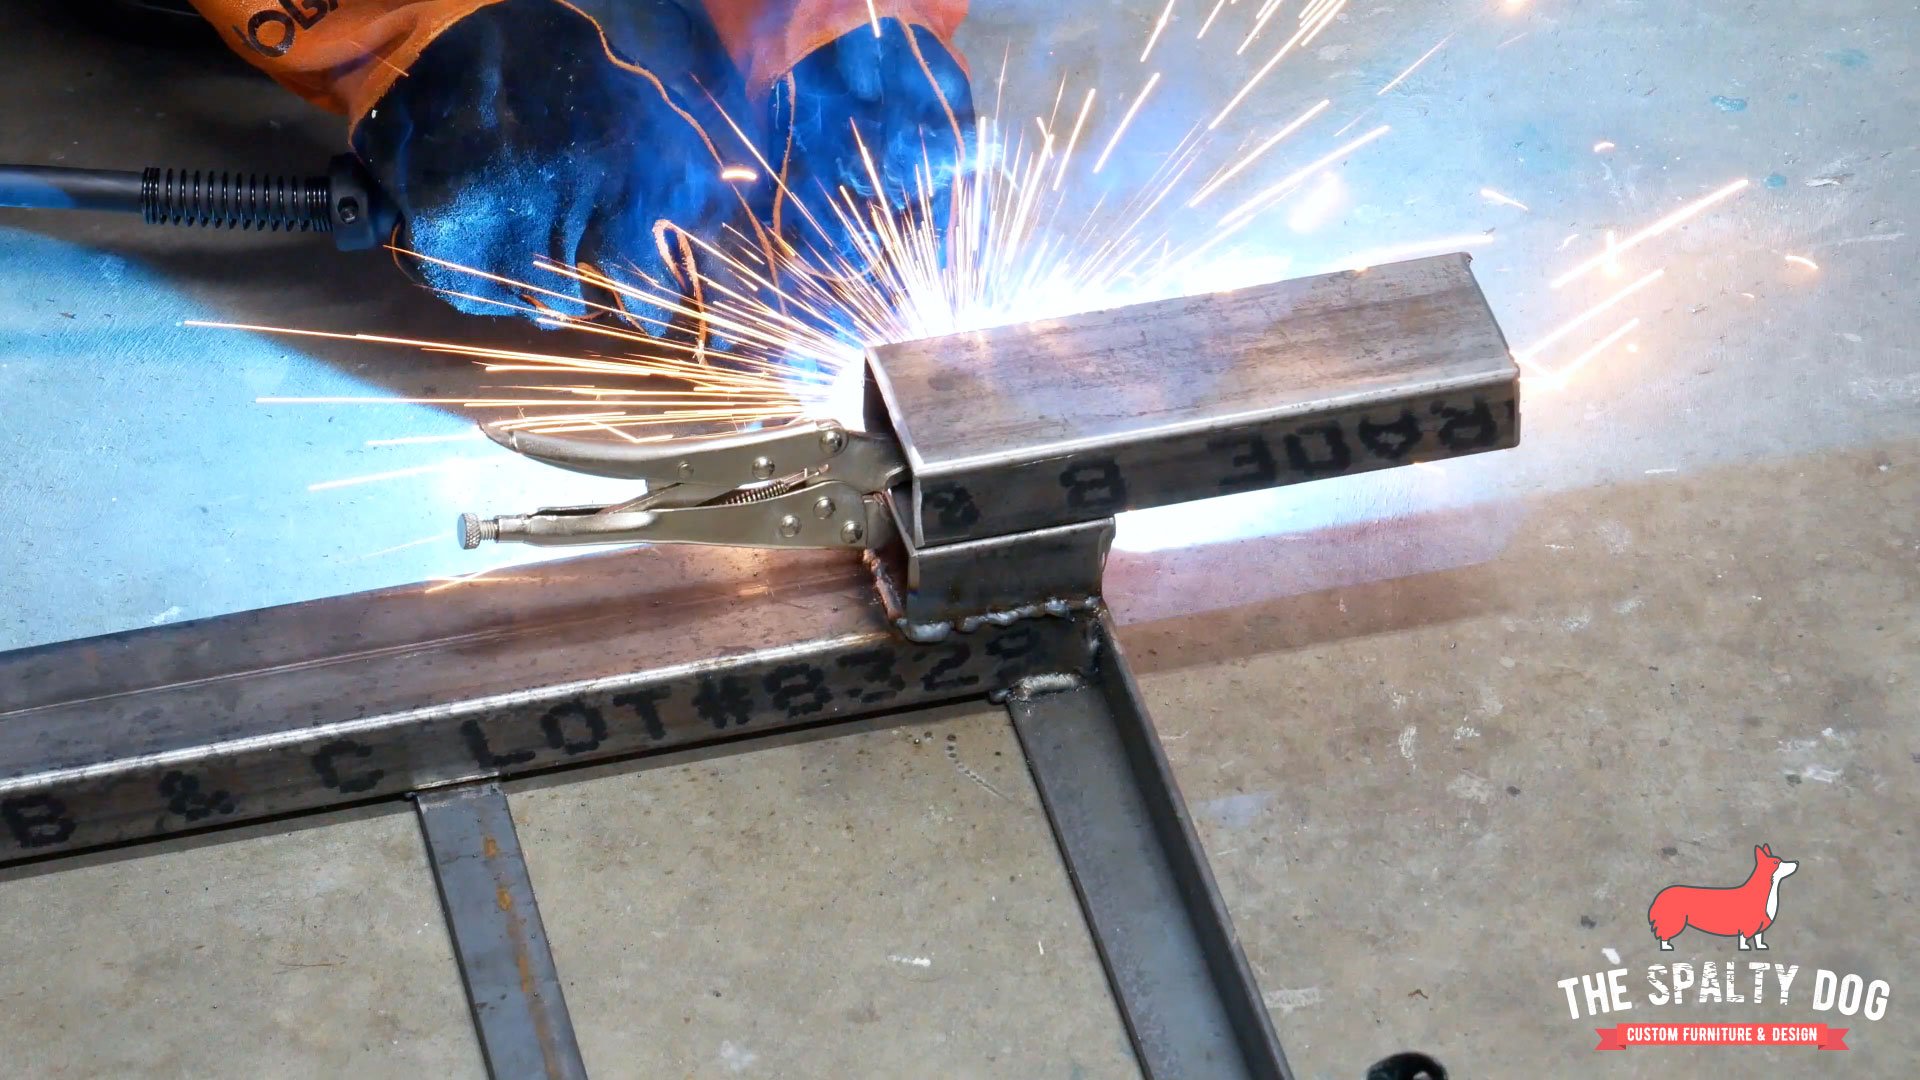
Then, I move on to tack welding the inside corners - this will keep the frame in place while not producing too much heat. Once I’ve tacked all four corners, I check for square again to see if any adjustments are needed.
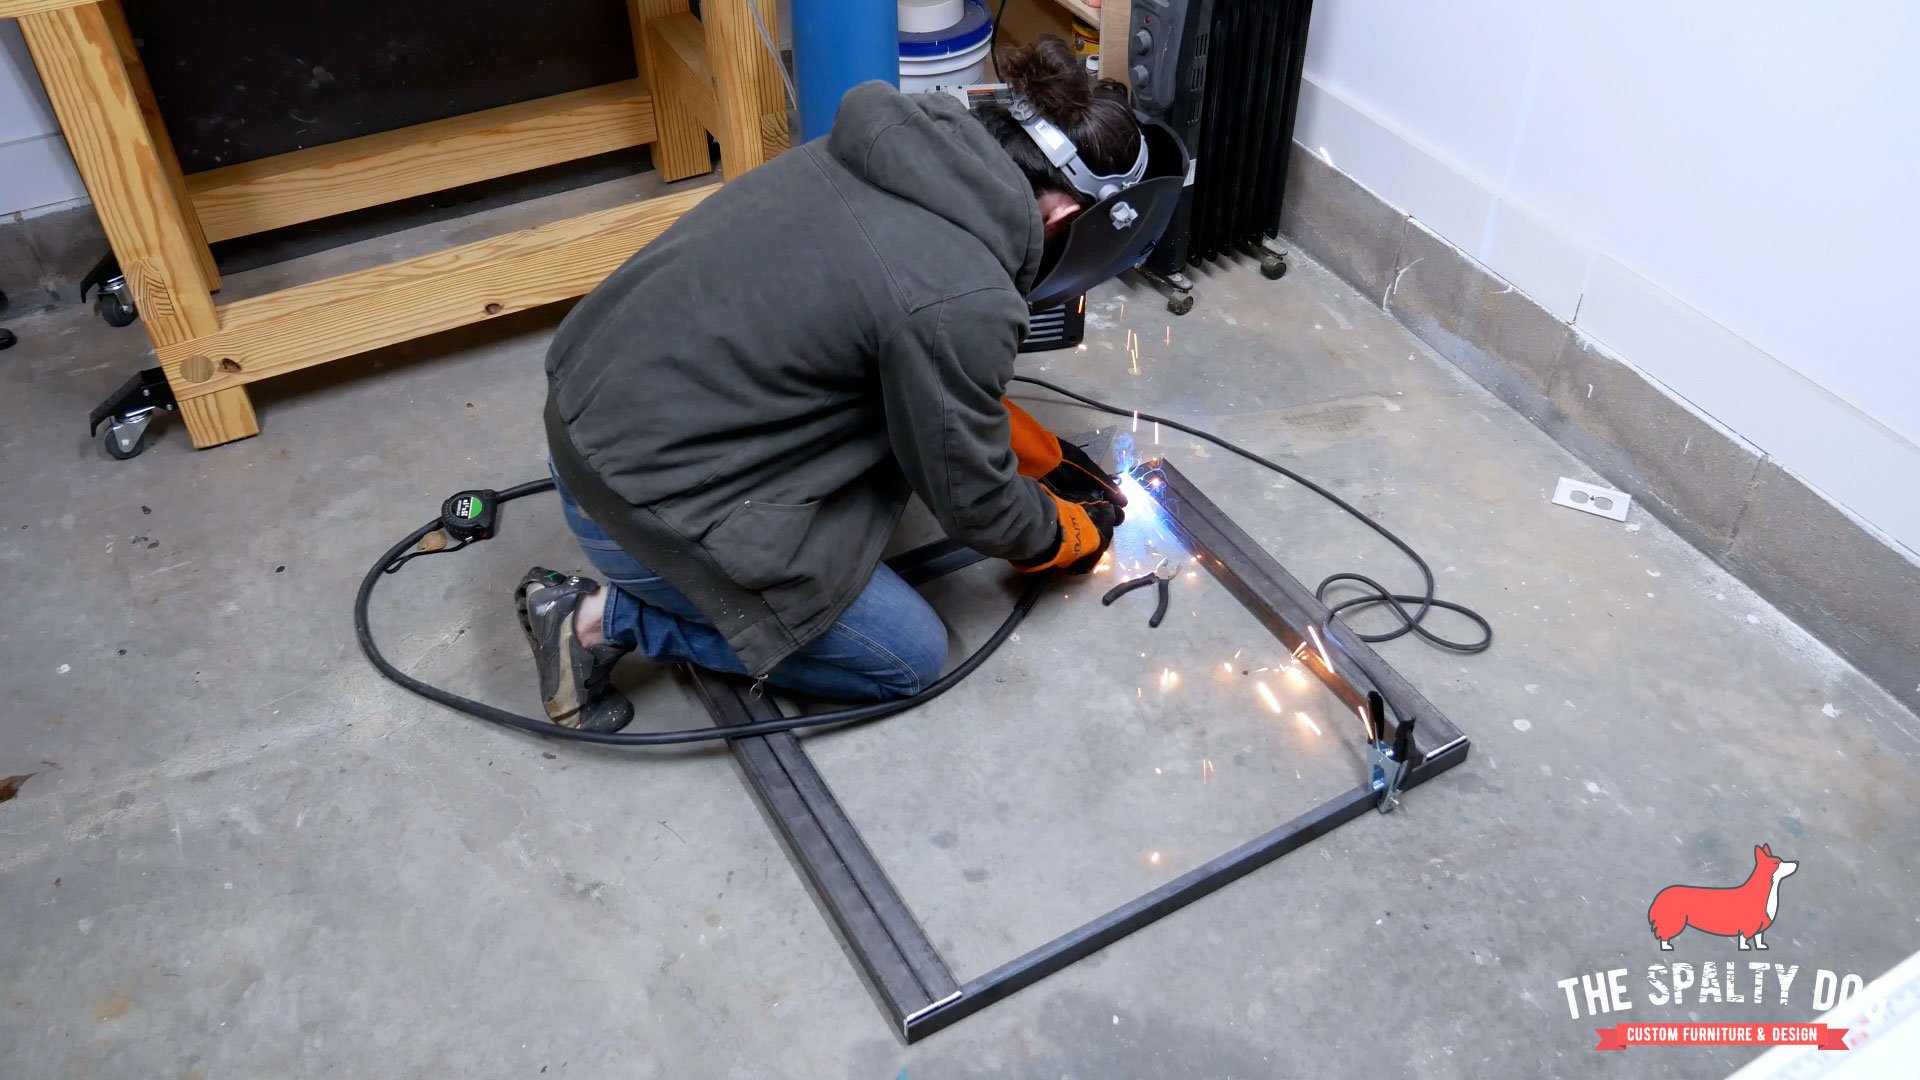
With the base all squared up, I continue by running full beads along the outside of the frame then follow up by moving to the inside.

I then flip the frame over to line up the cross supports, checking that they are square, and welding them in place.

With the frame assembled, it’s time to move on to the feet. To start off I position a spacer, tack it in place and then run full beads along each of the sides. This will allow the base to maintain a lower profile and stay close to the ground.

With the spacer set, I clamp the foot to it using a pair of vice grips while I tack it in place. I then remove the vice grips and run full beads on all sides, repeating this process for each foot.
Now that the feet are assembled, the last thing to do is attach the casters. I went with all steel locking casters that are rated for heavier loads. I position the casters on each foot making sure there is enough room for them to fully rotate.
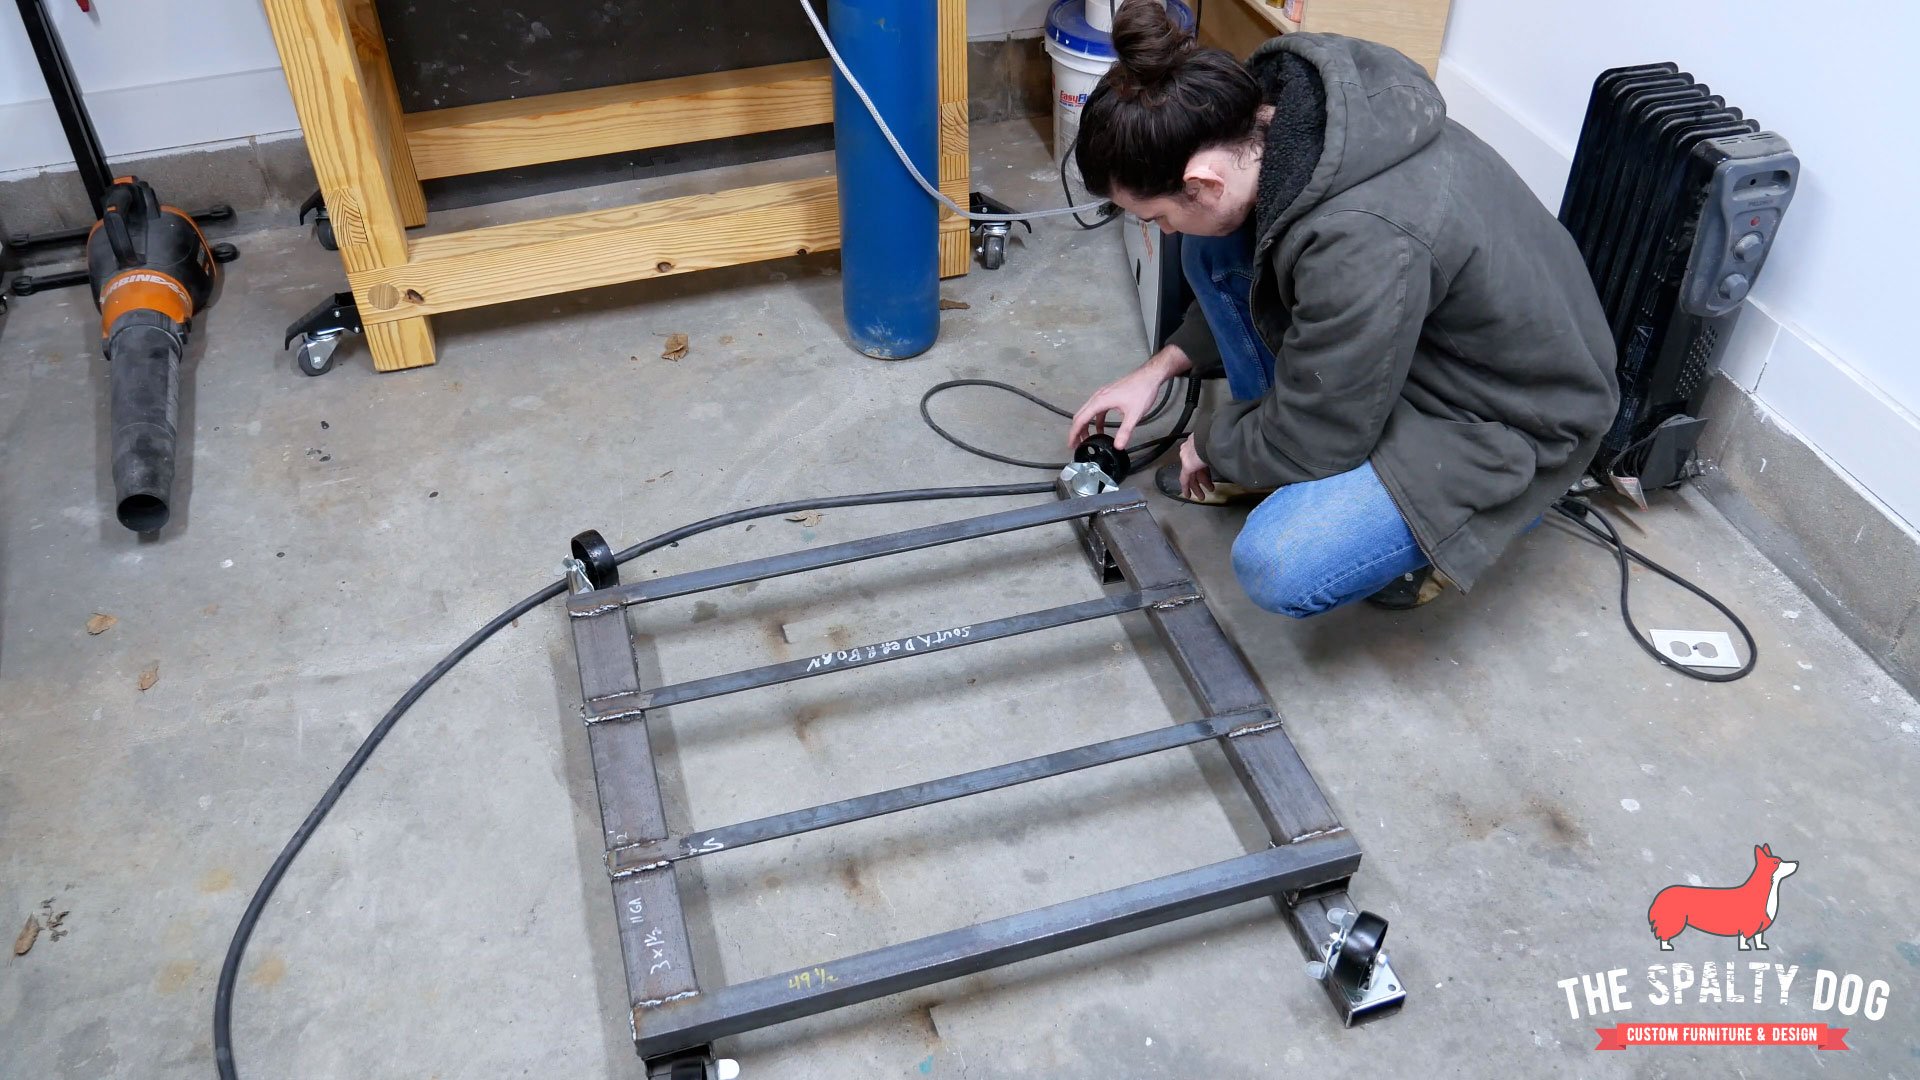
Then, I tack each caster into place and spot weld it for a permanent hold.

We could stop here however, I wanted it to look more professional.
Prep for finish
With the base fully assembled, I move to grinding down all my welds with a flap disk.

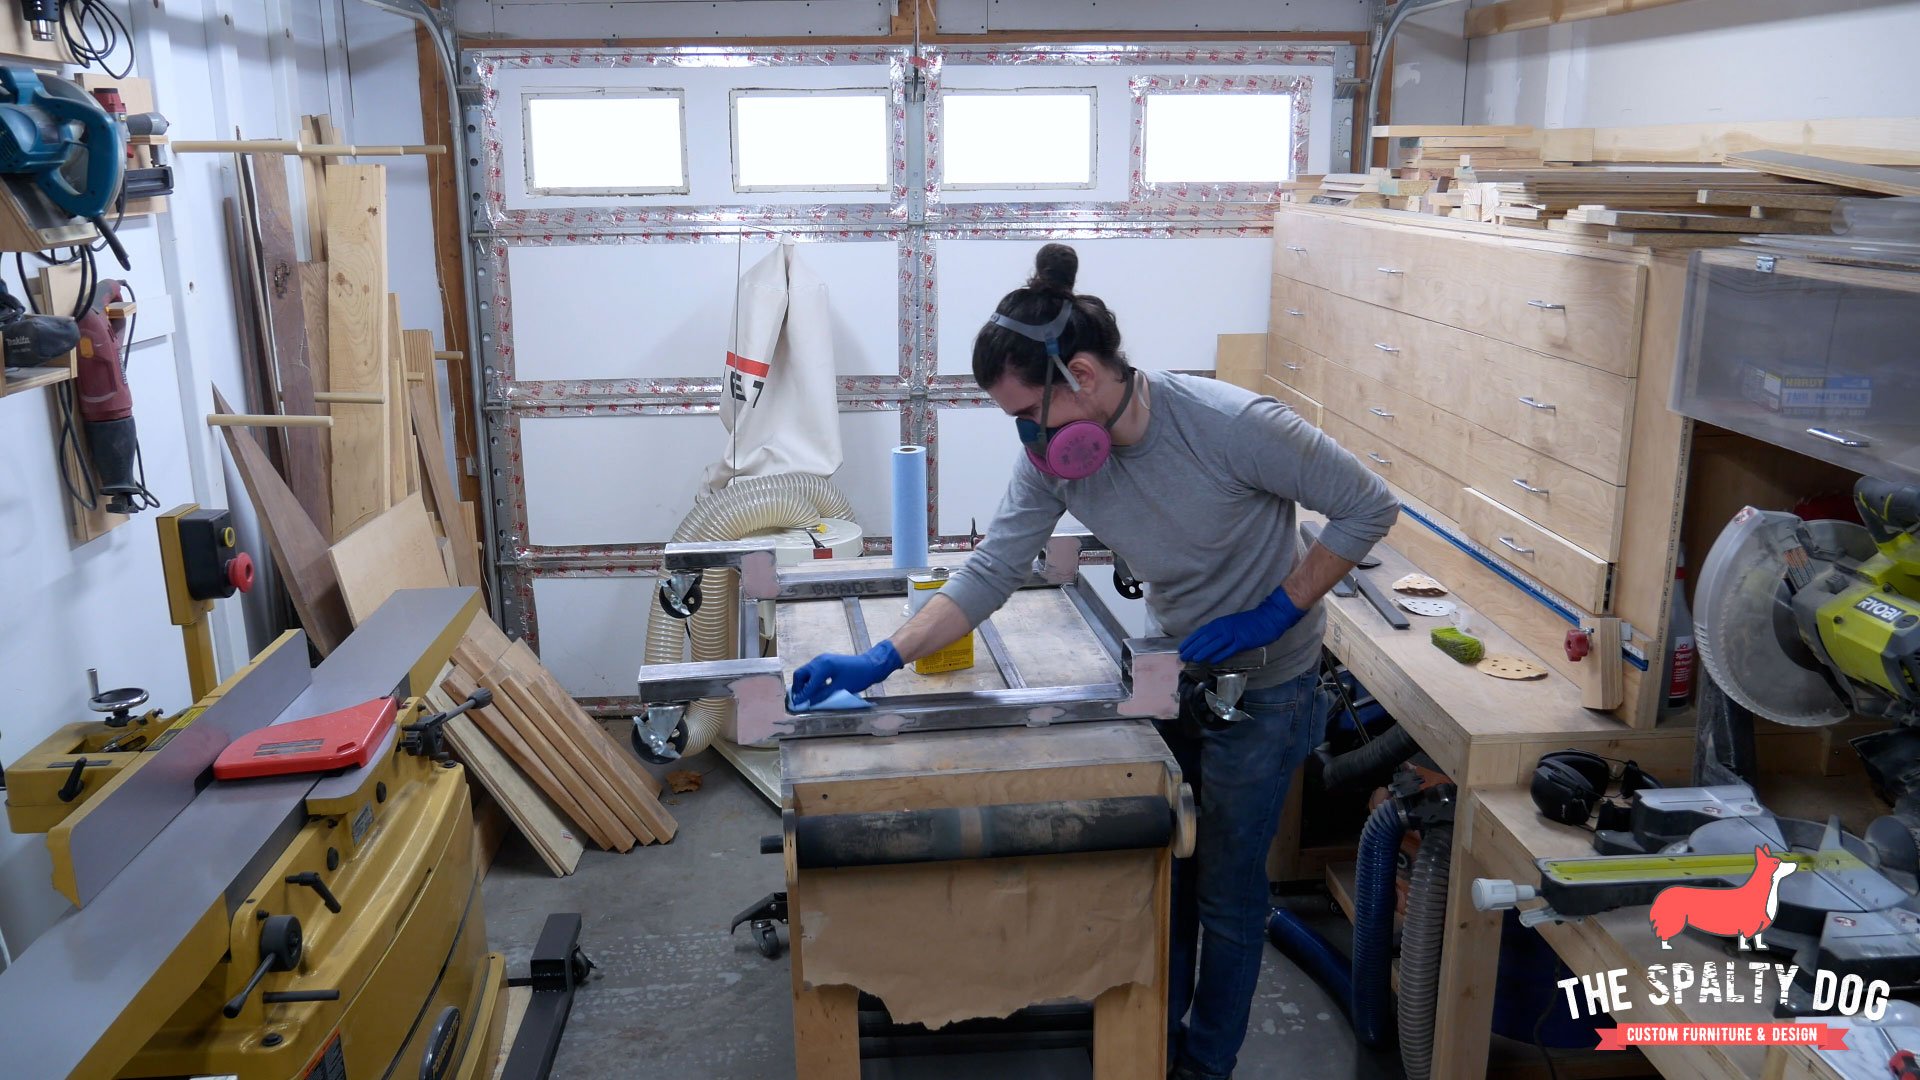
Here I am mixing up an automotive body filler to apply to all of my welds. This should fill any small pinholes that may have appeared after grinding. This isn’t necessary however, it’s something I prefer to do to get a more seamless finish.

After giving the body filler time to dry, I come back with my random orbit sander to remove any excess filler.

I then clean the base of any oils/dust by wiping it down with denatured alcohol.
Finishing
Alright, now we’re ready to start finishing. First, I masked off each of the casters with tape and went over the entire base with a self etching primer, making sure to apply multiple thin coats.

I let the primer dry, then came back and applied multiple thin coats of black spray paint to finish it off.

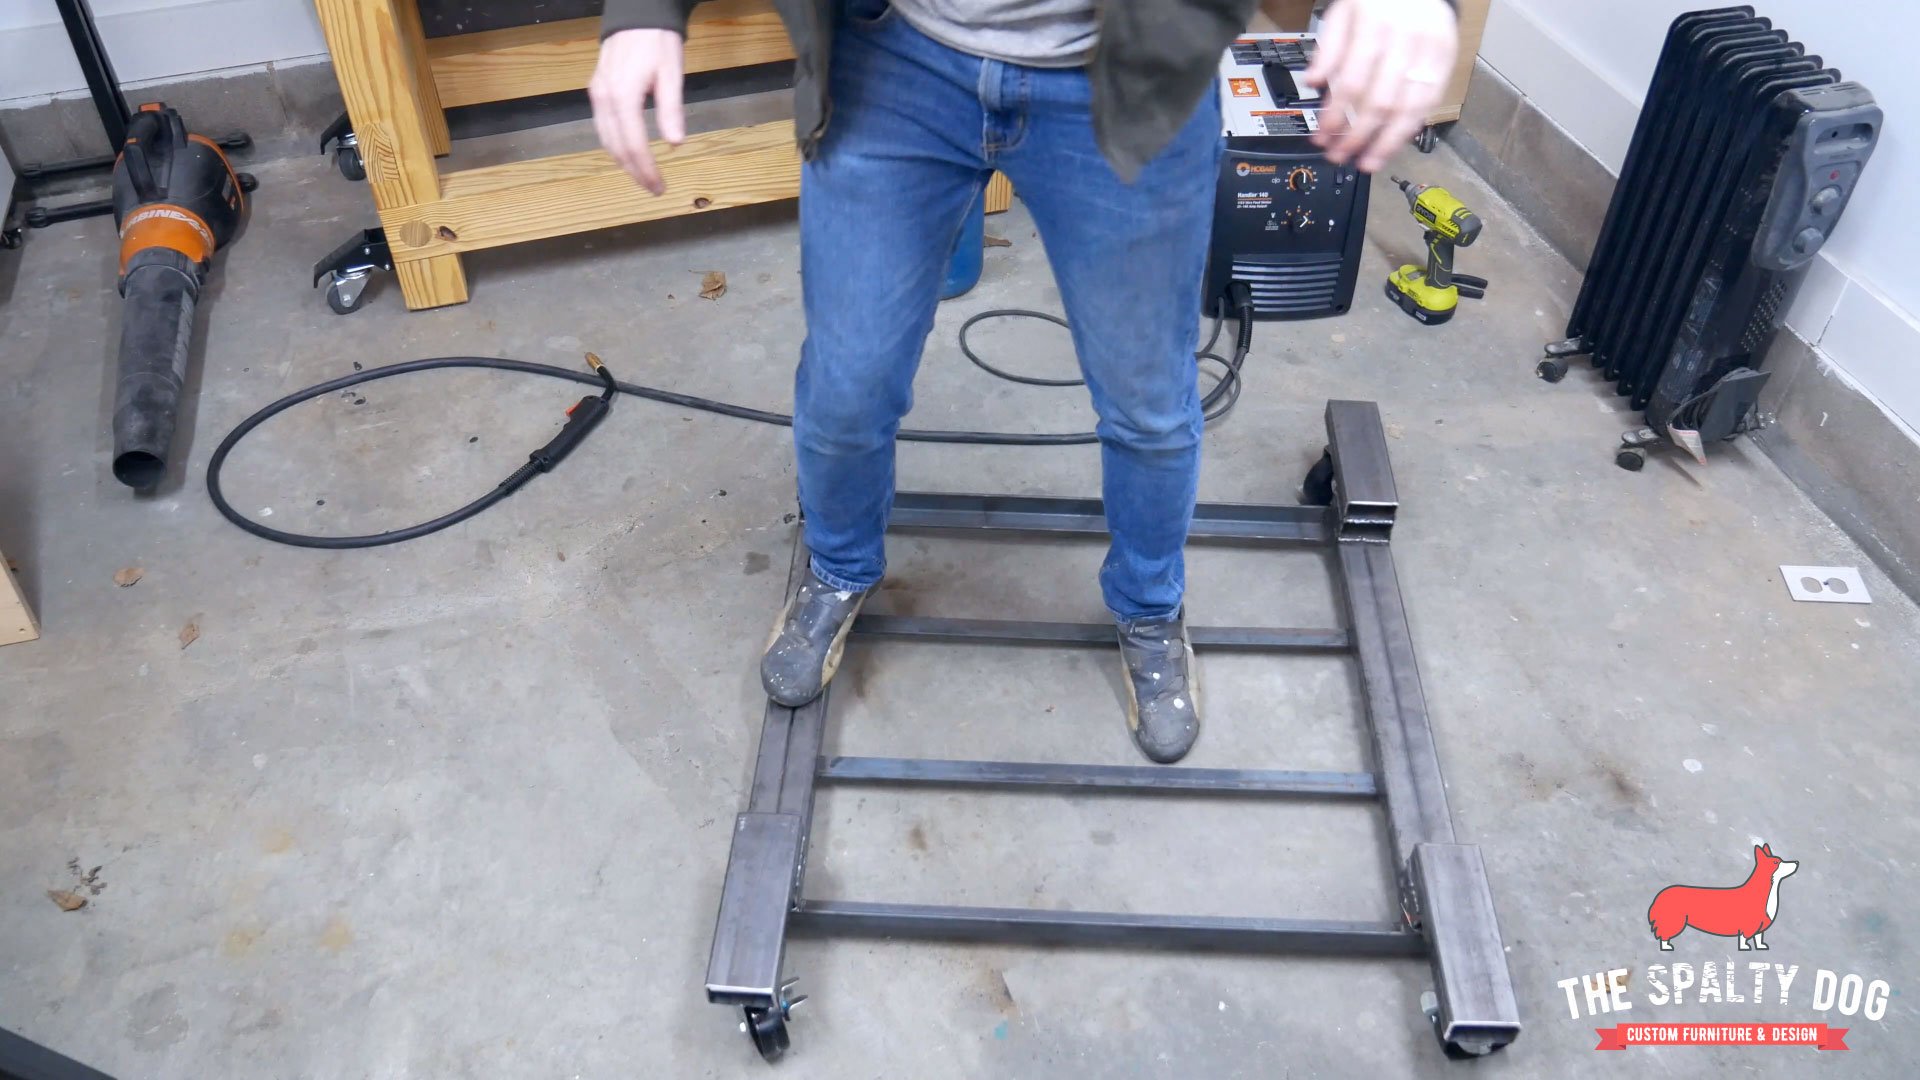
Now get moving!
There it is, a full swivel mobile base that should be able to hold just about any tool you throw at it.

Thanks for following me along on this build! If you liked what you saw, feel free to follow me on my social channels and subscribe to my newsletter to receive the latest updates of what’s going on with The Spalty Dog.